The new M103A2 by Tacom is AMAZING!
A friend purchased this kit and asked me to build it, and I was happy to do so. I had no idea the kit would be so great.
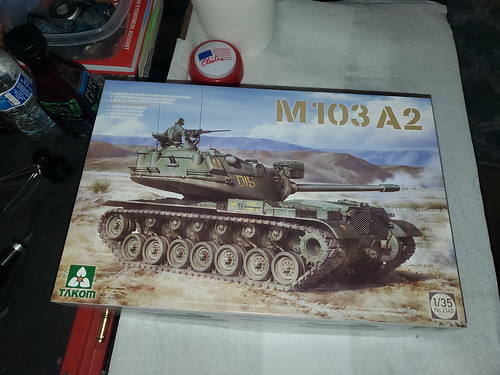
I just have to say this kit is something you could only dream of in 1986, when I really started on Armor models. It comes with a metal barrel and workable tracks and suspension.
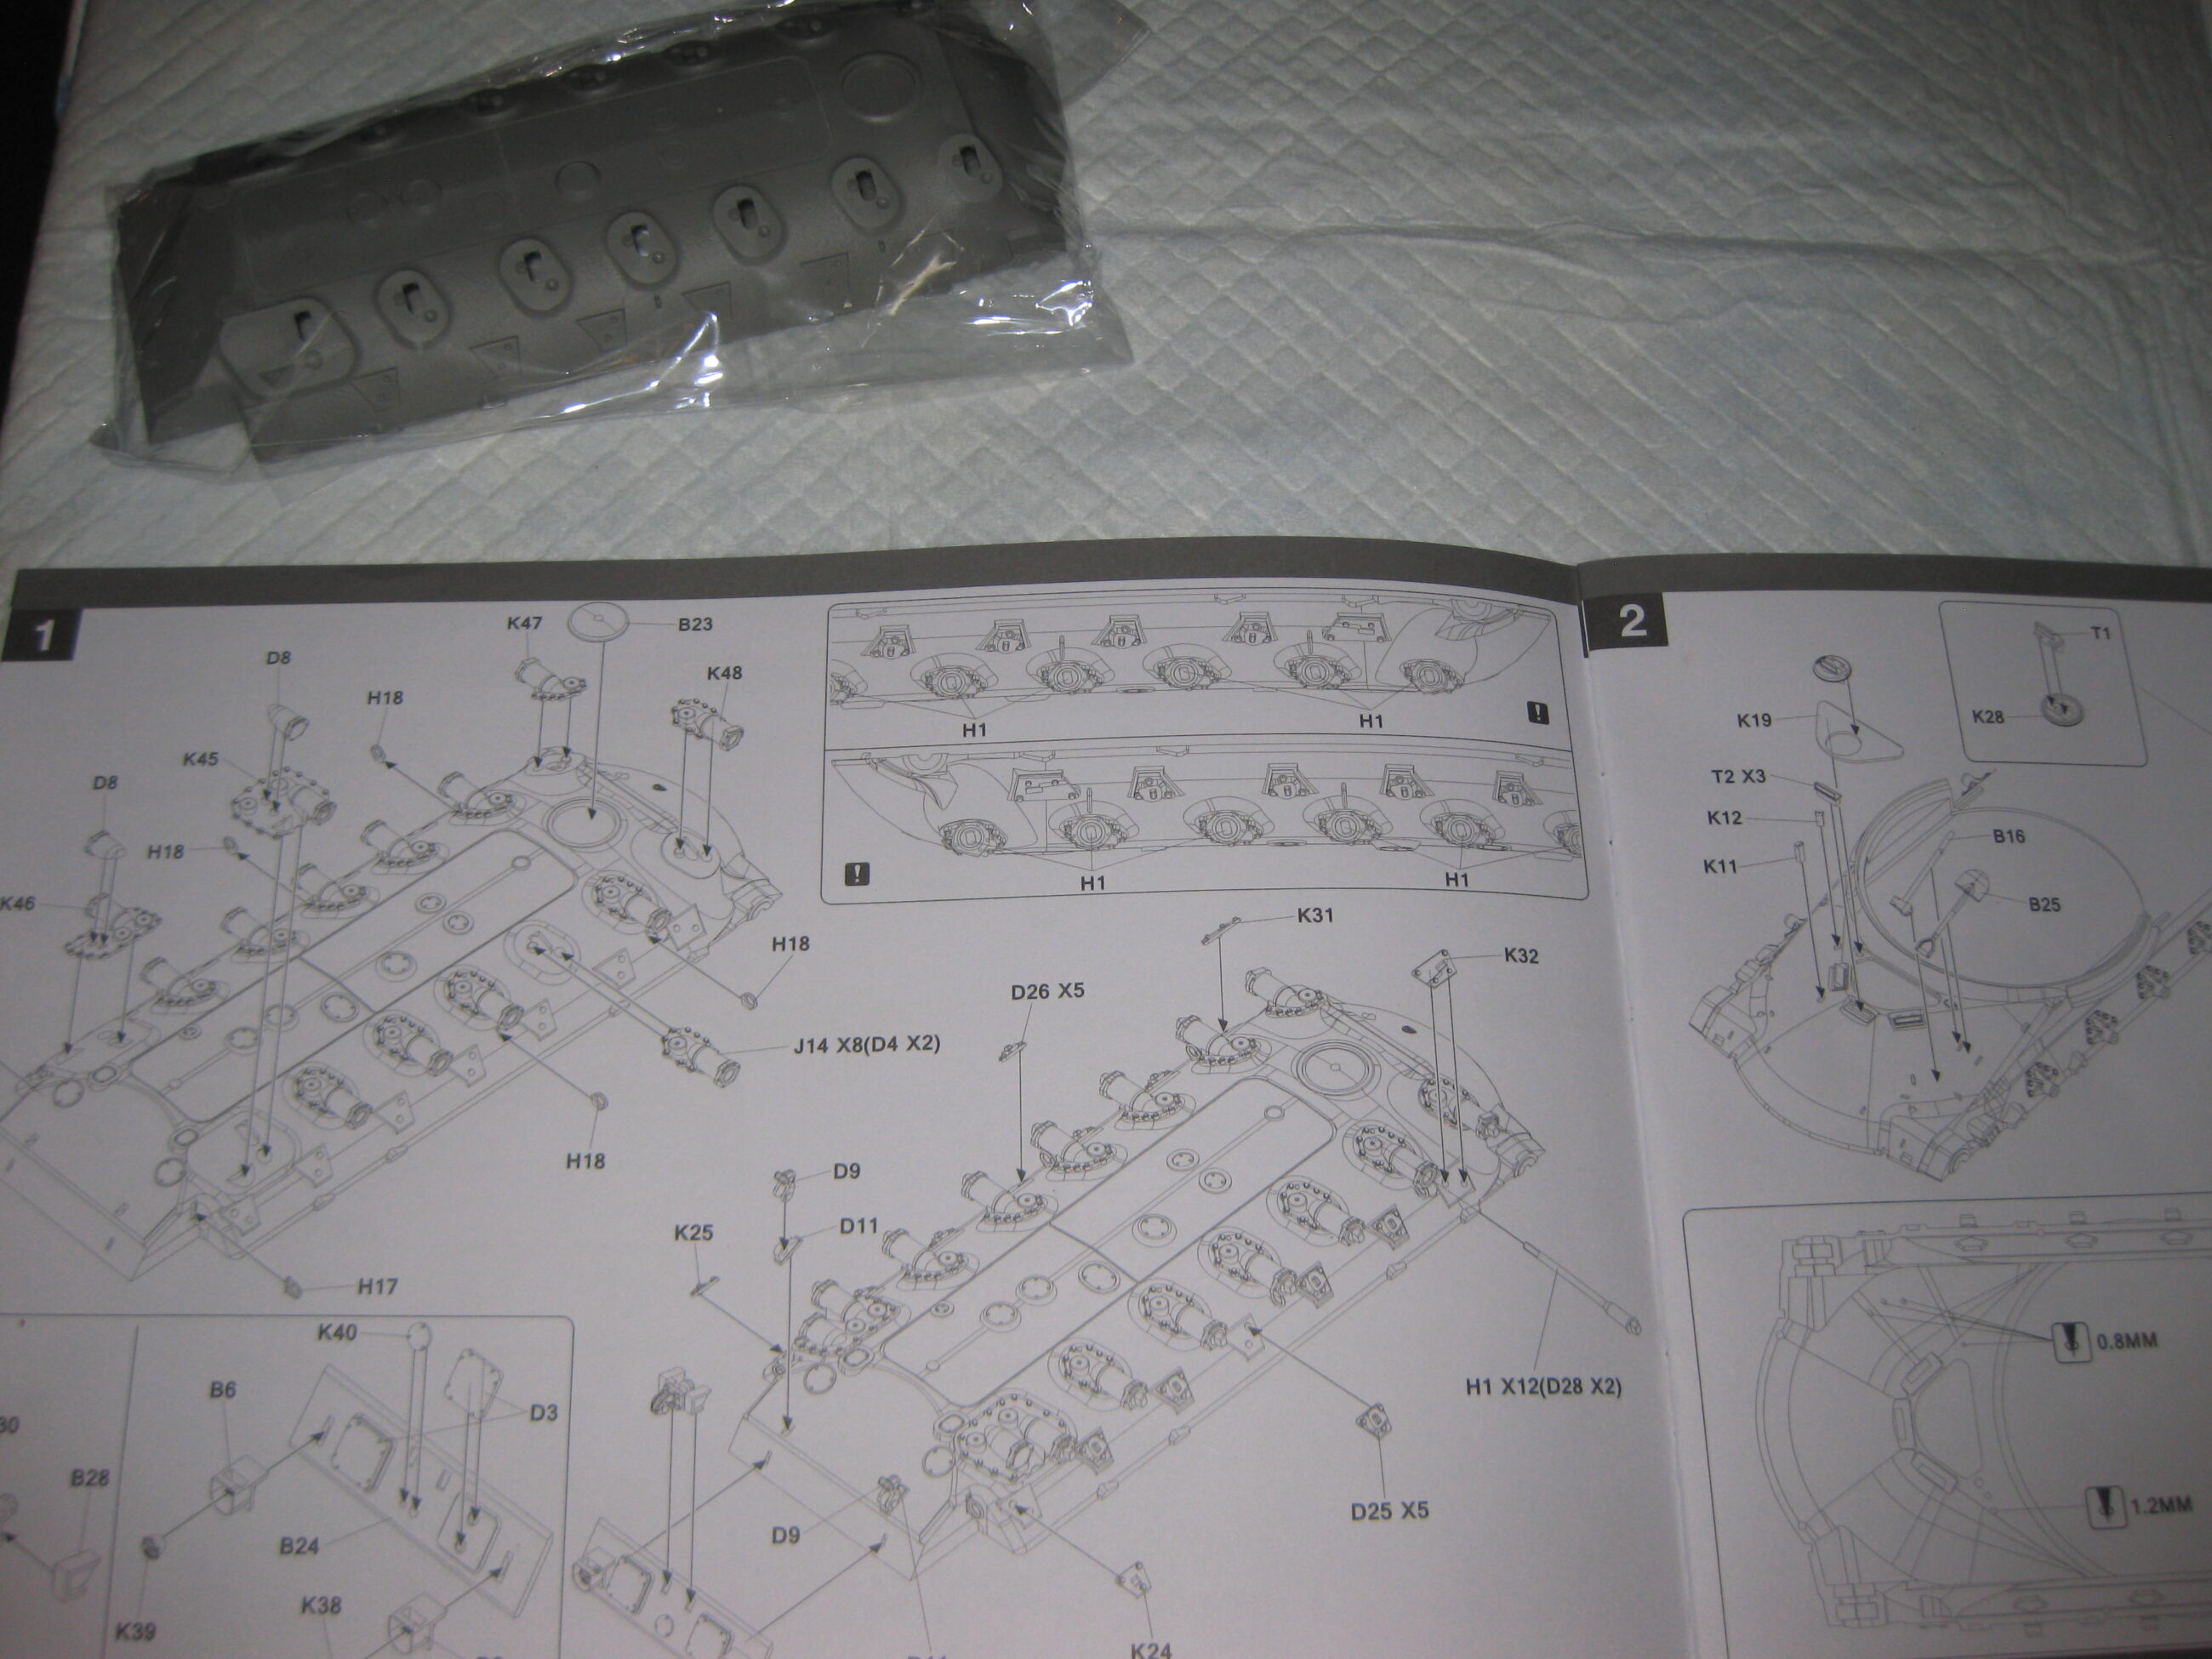
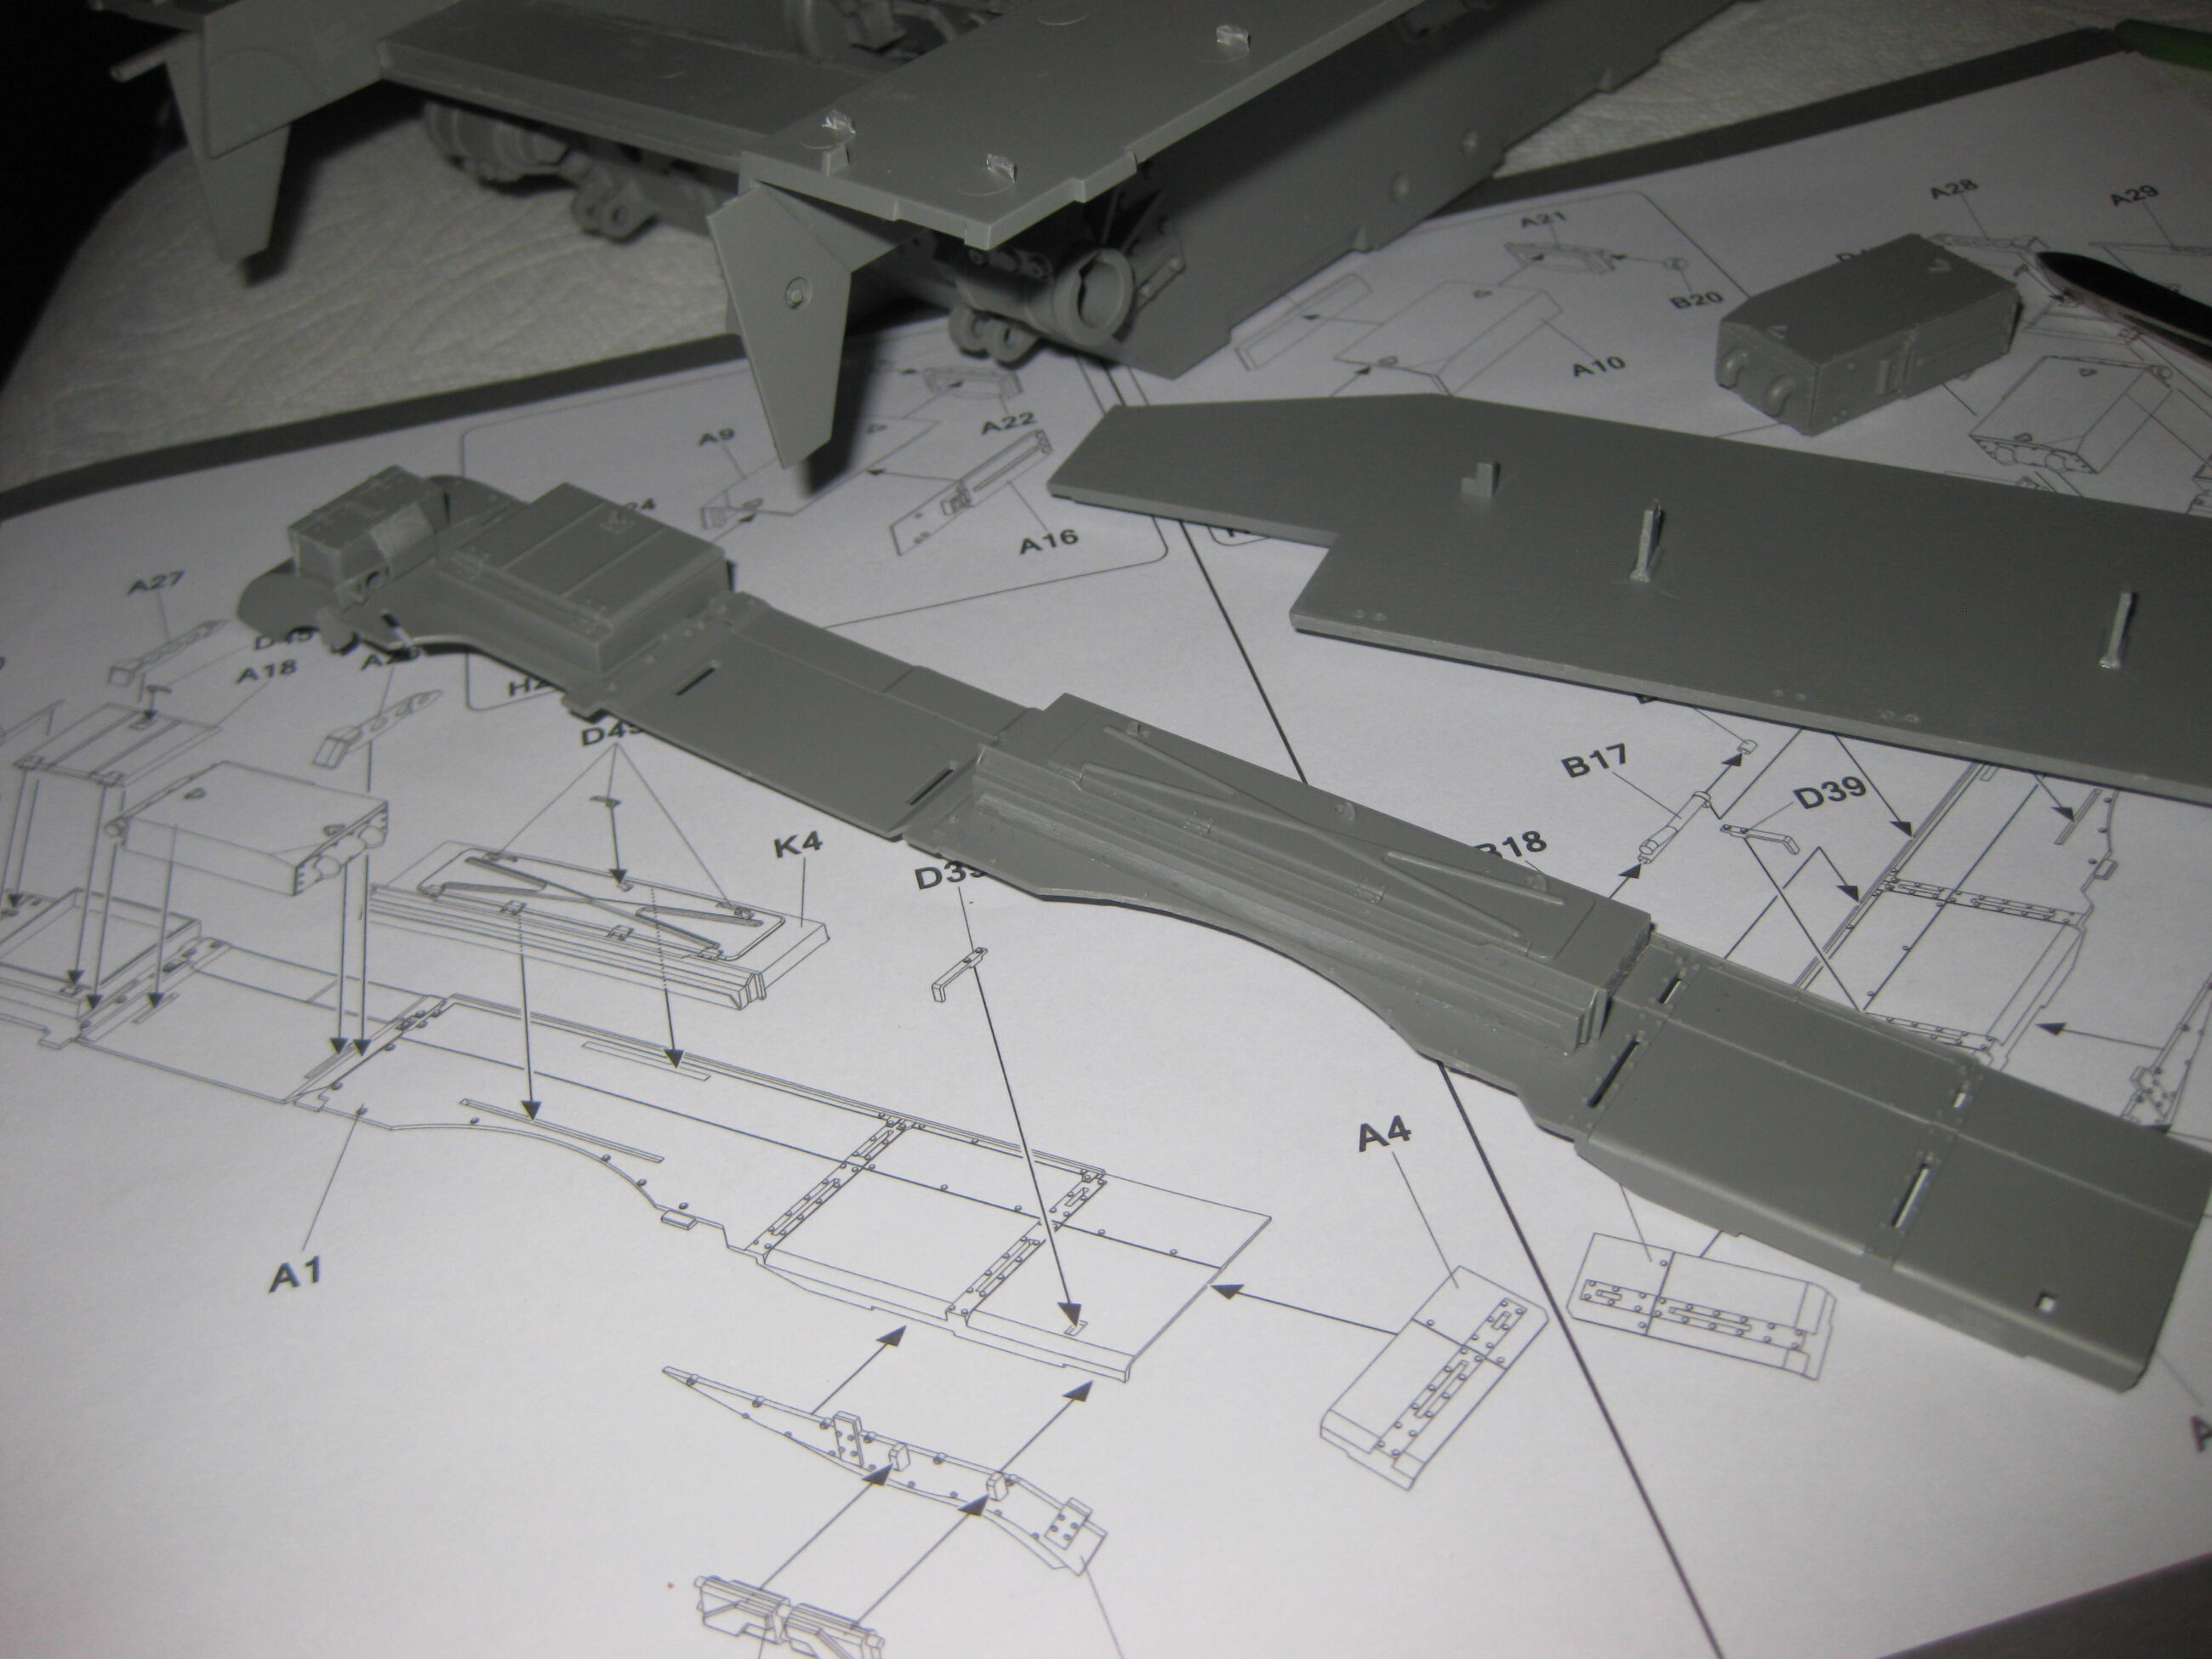
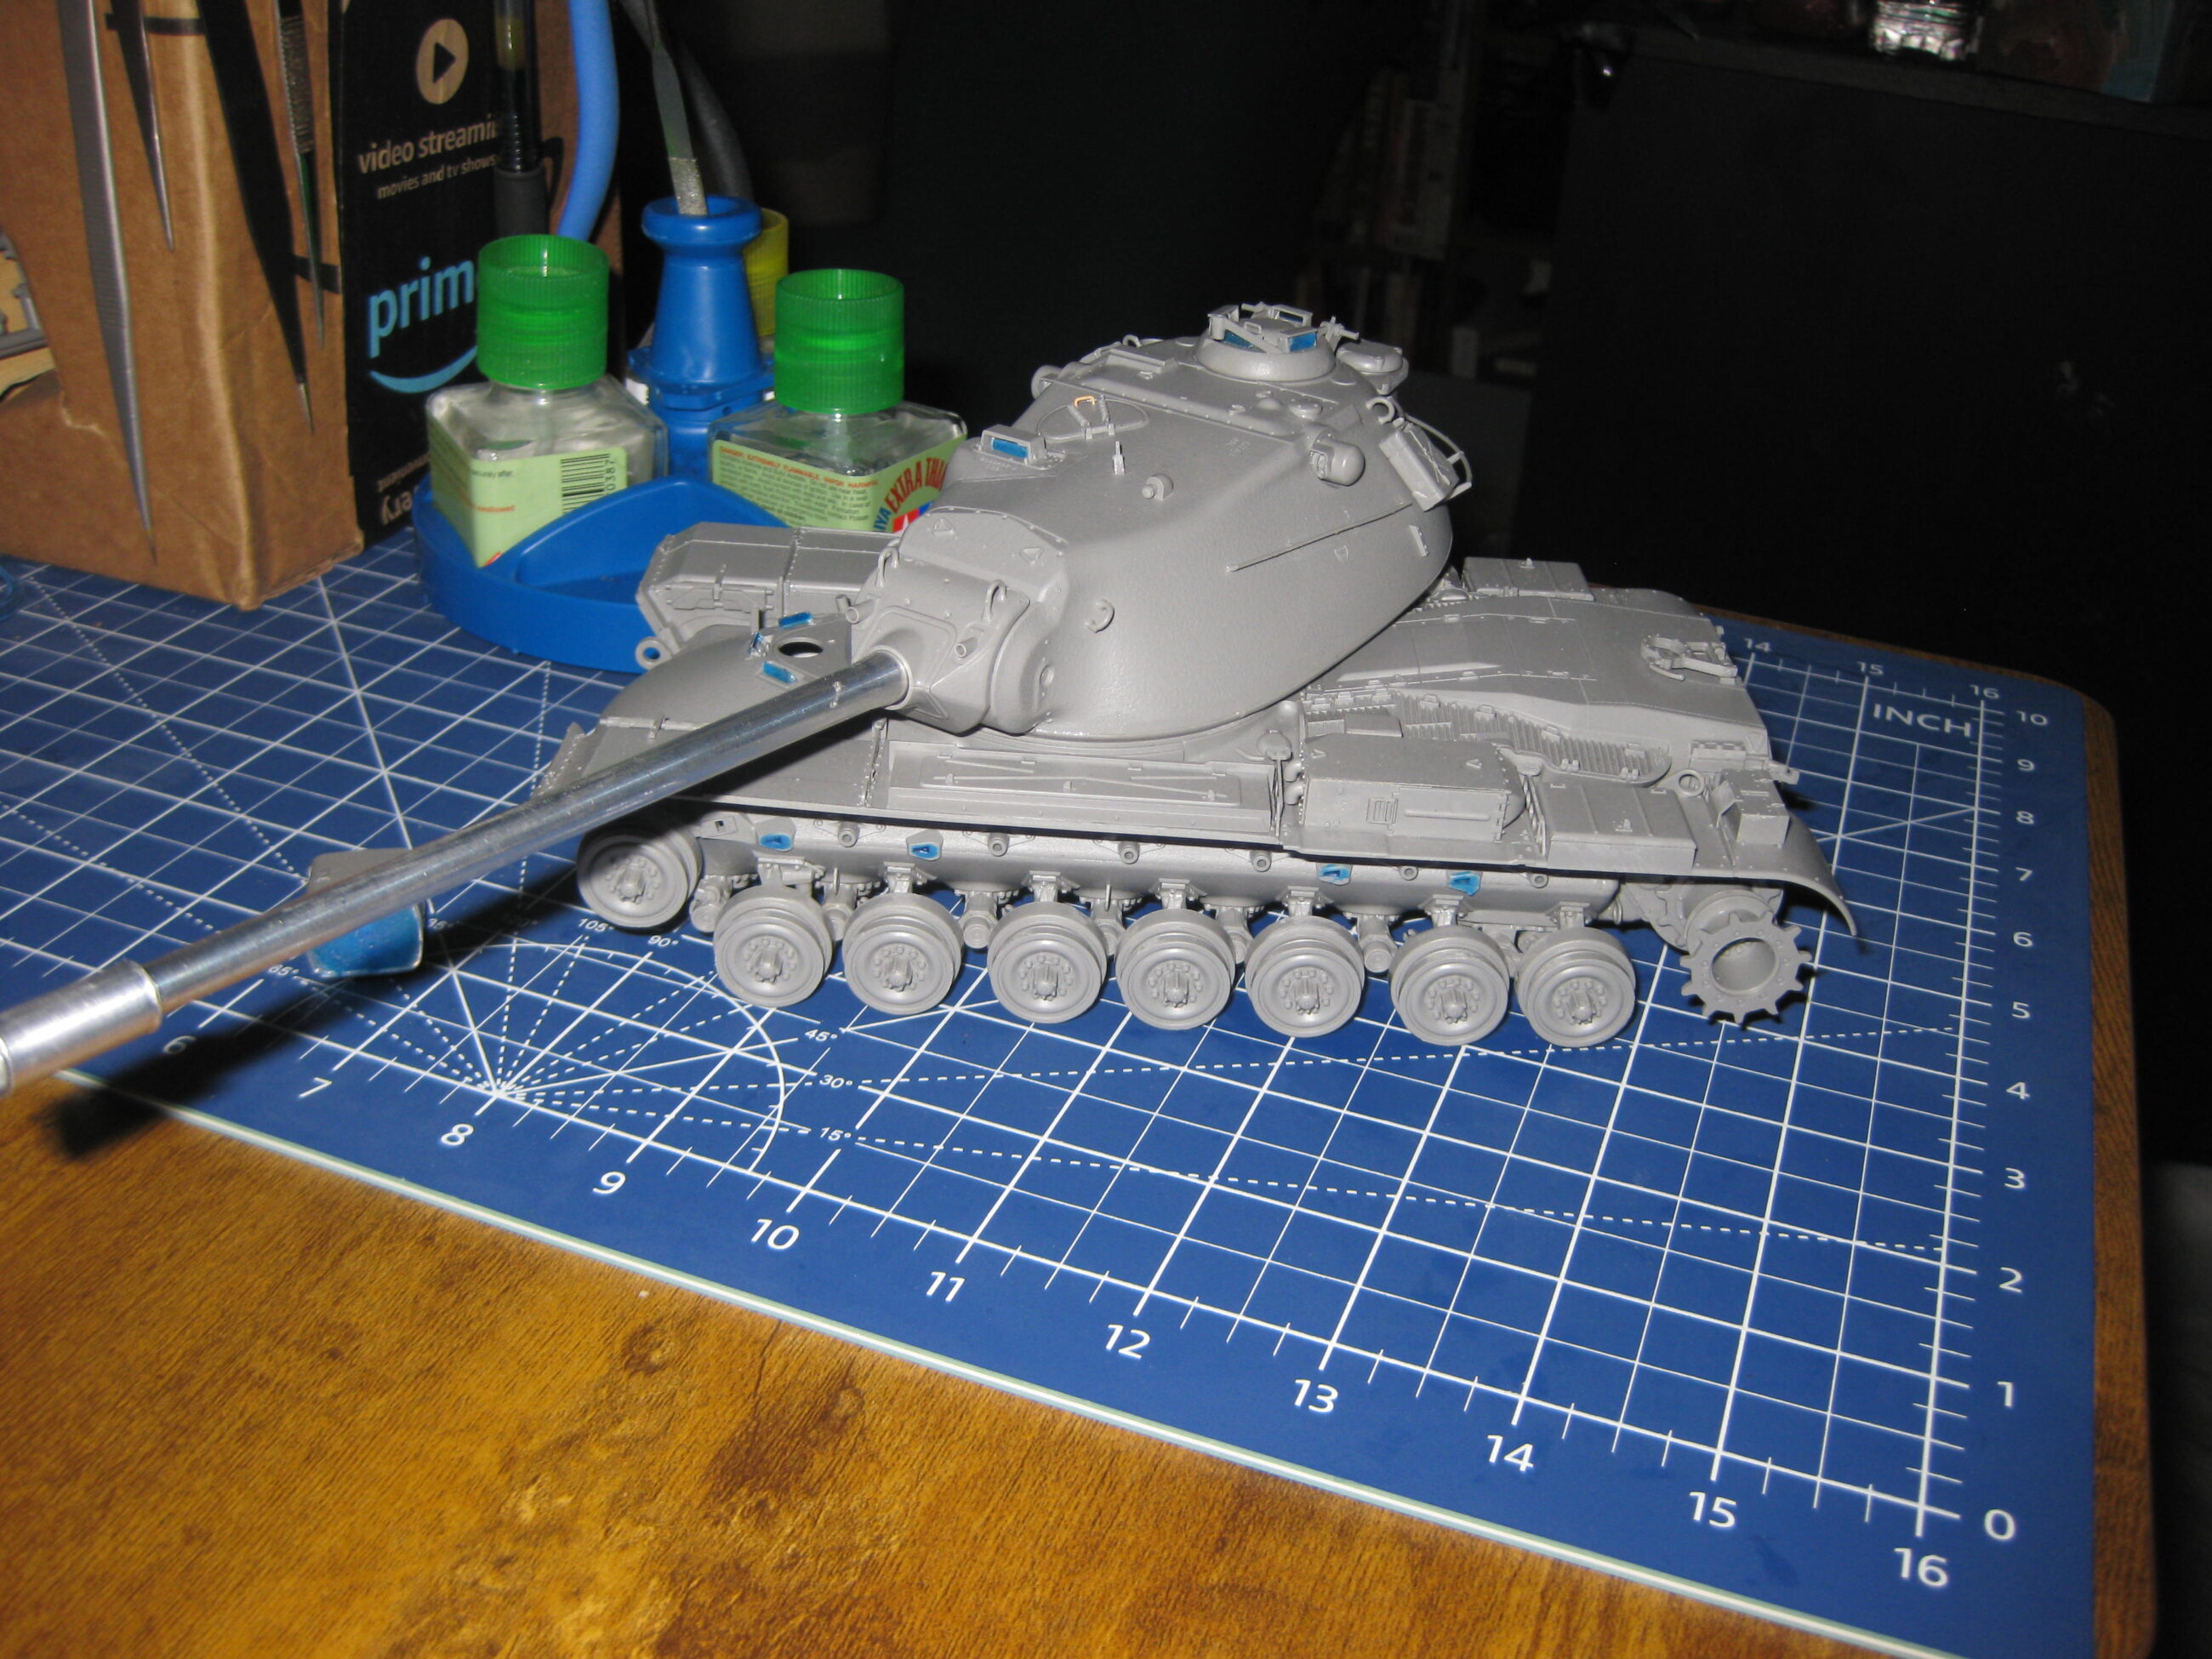
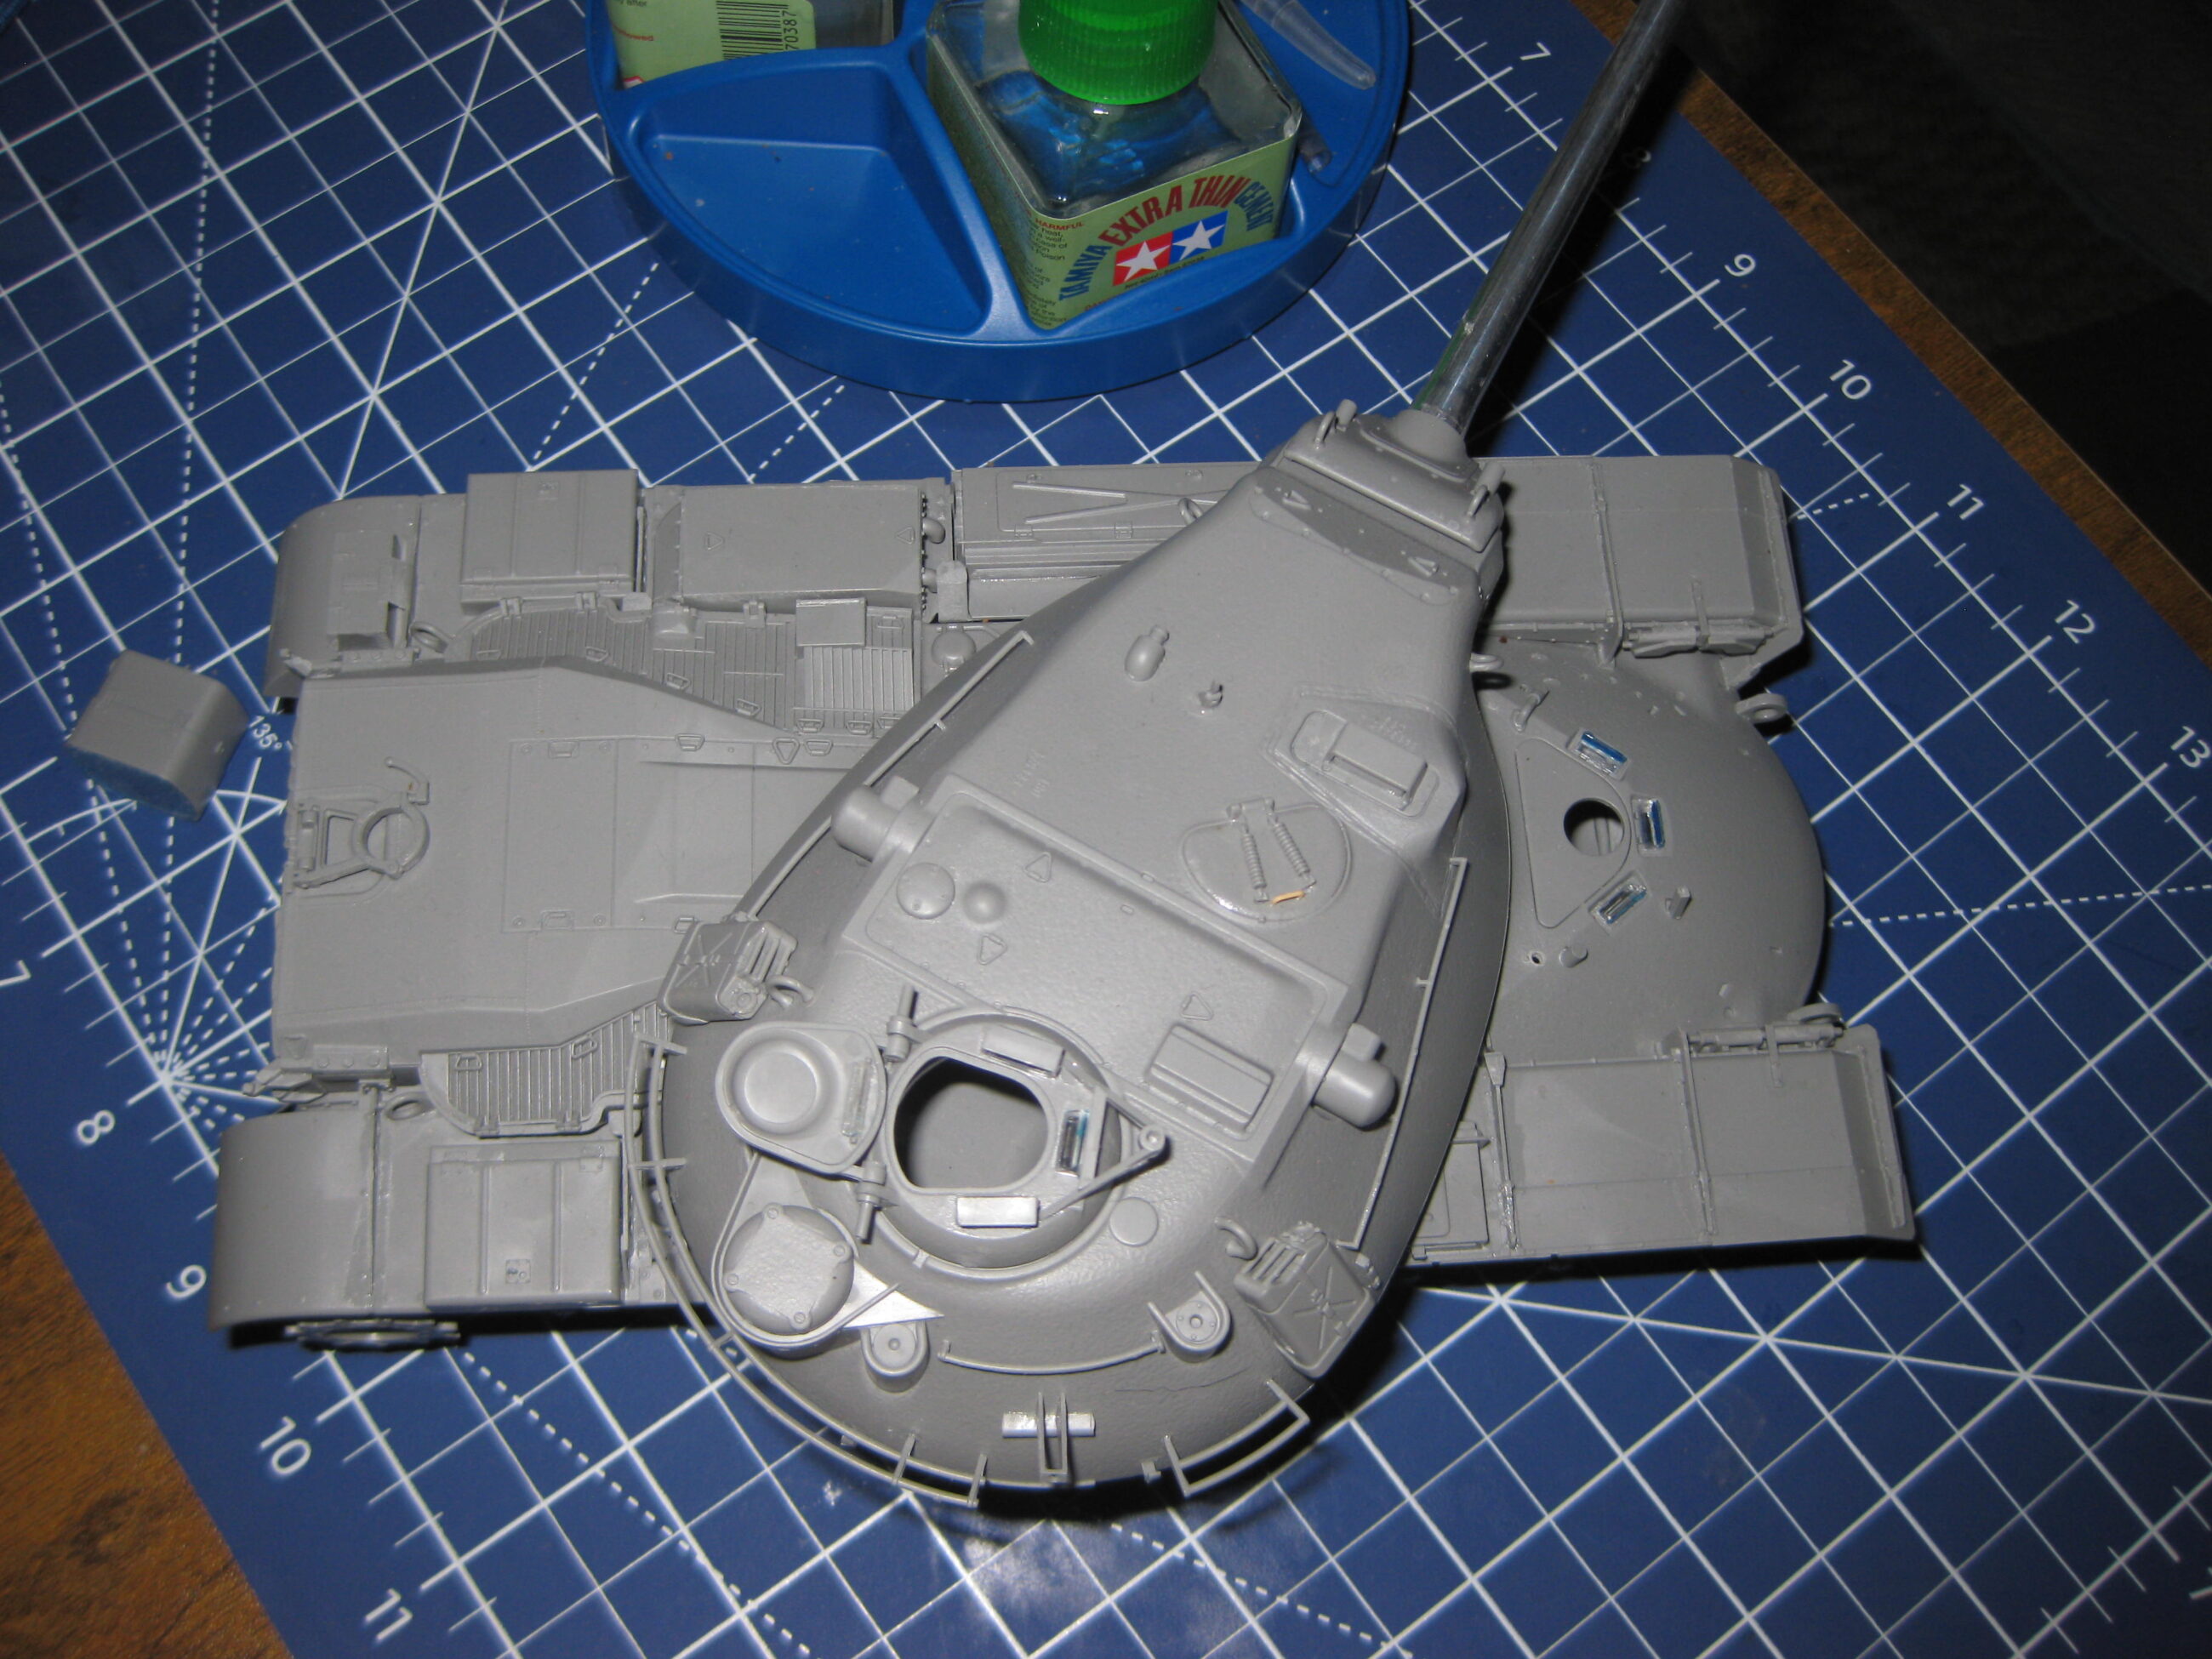
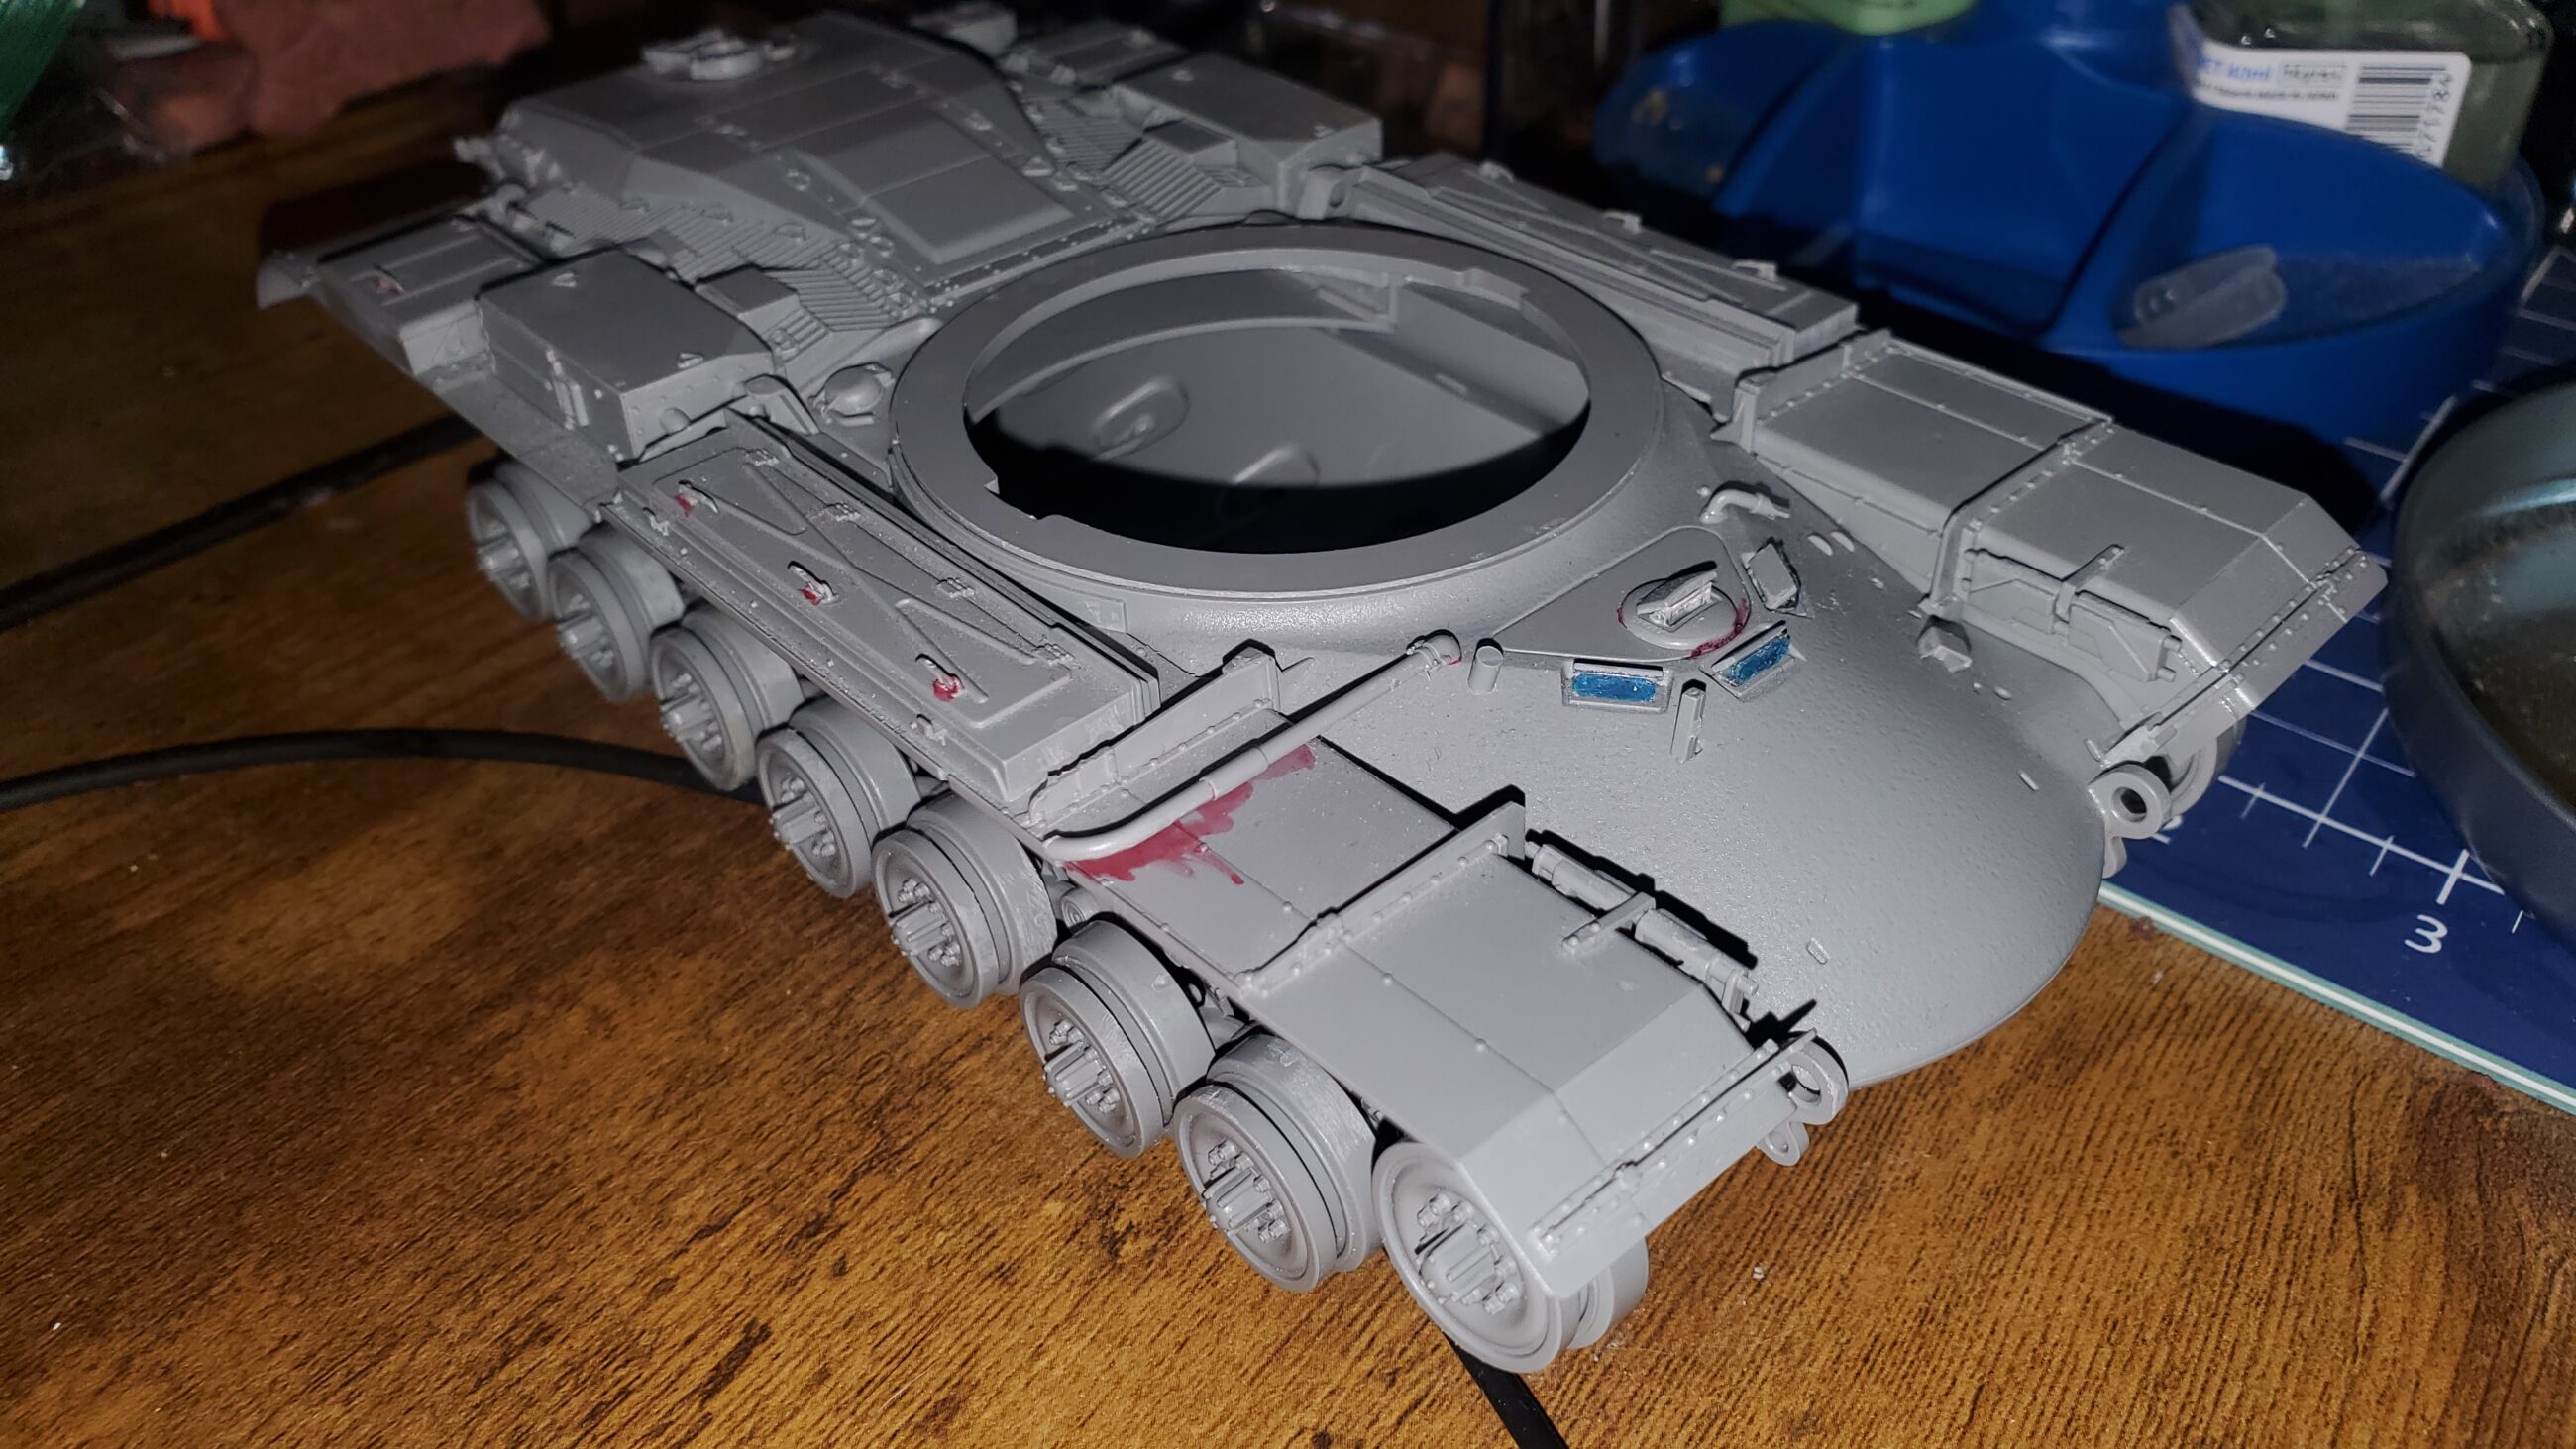
The kit starts with the lower hull tub.
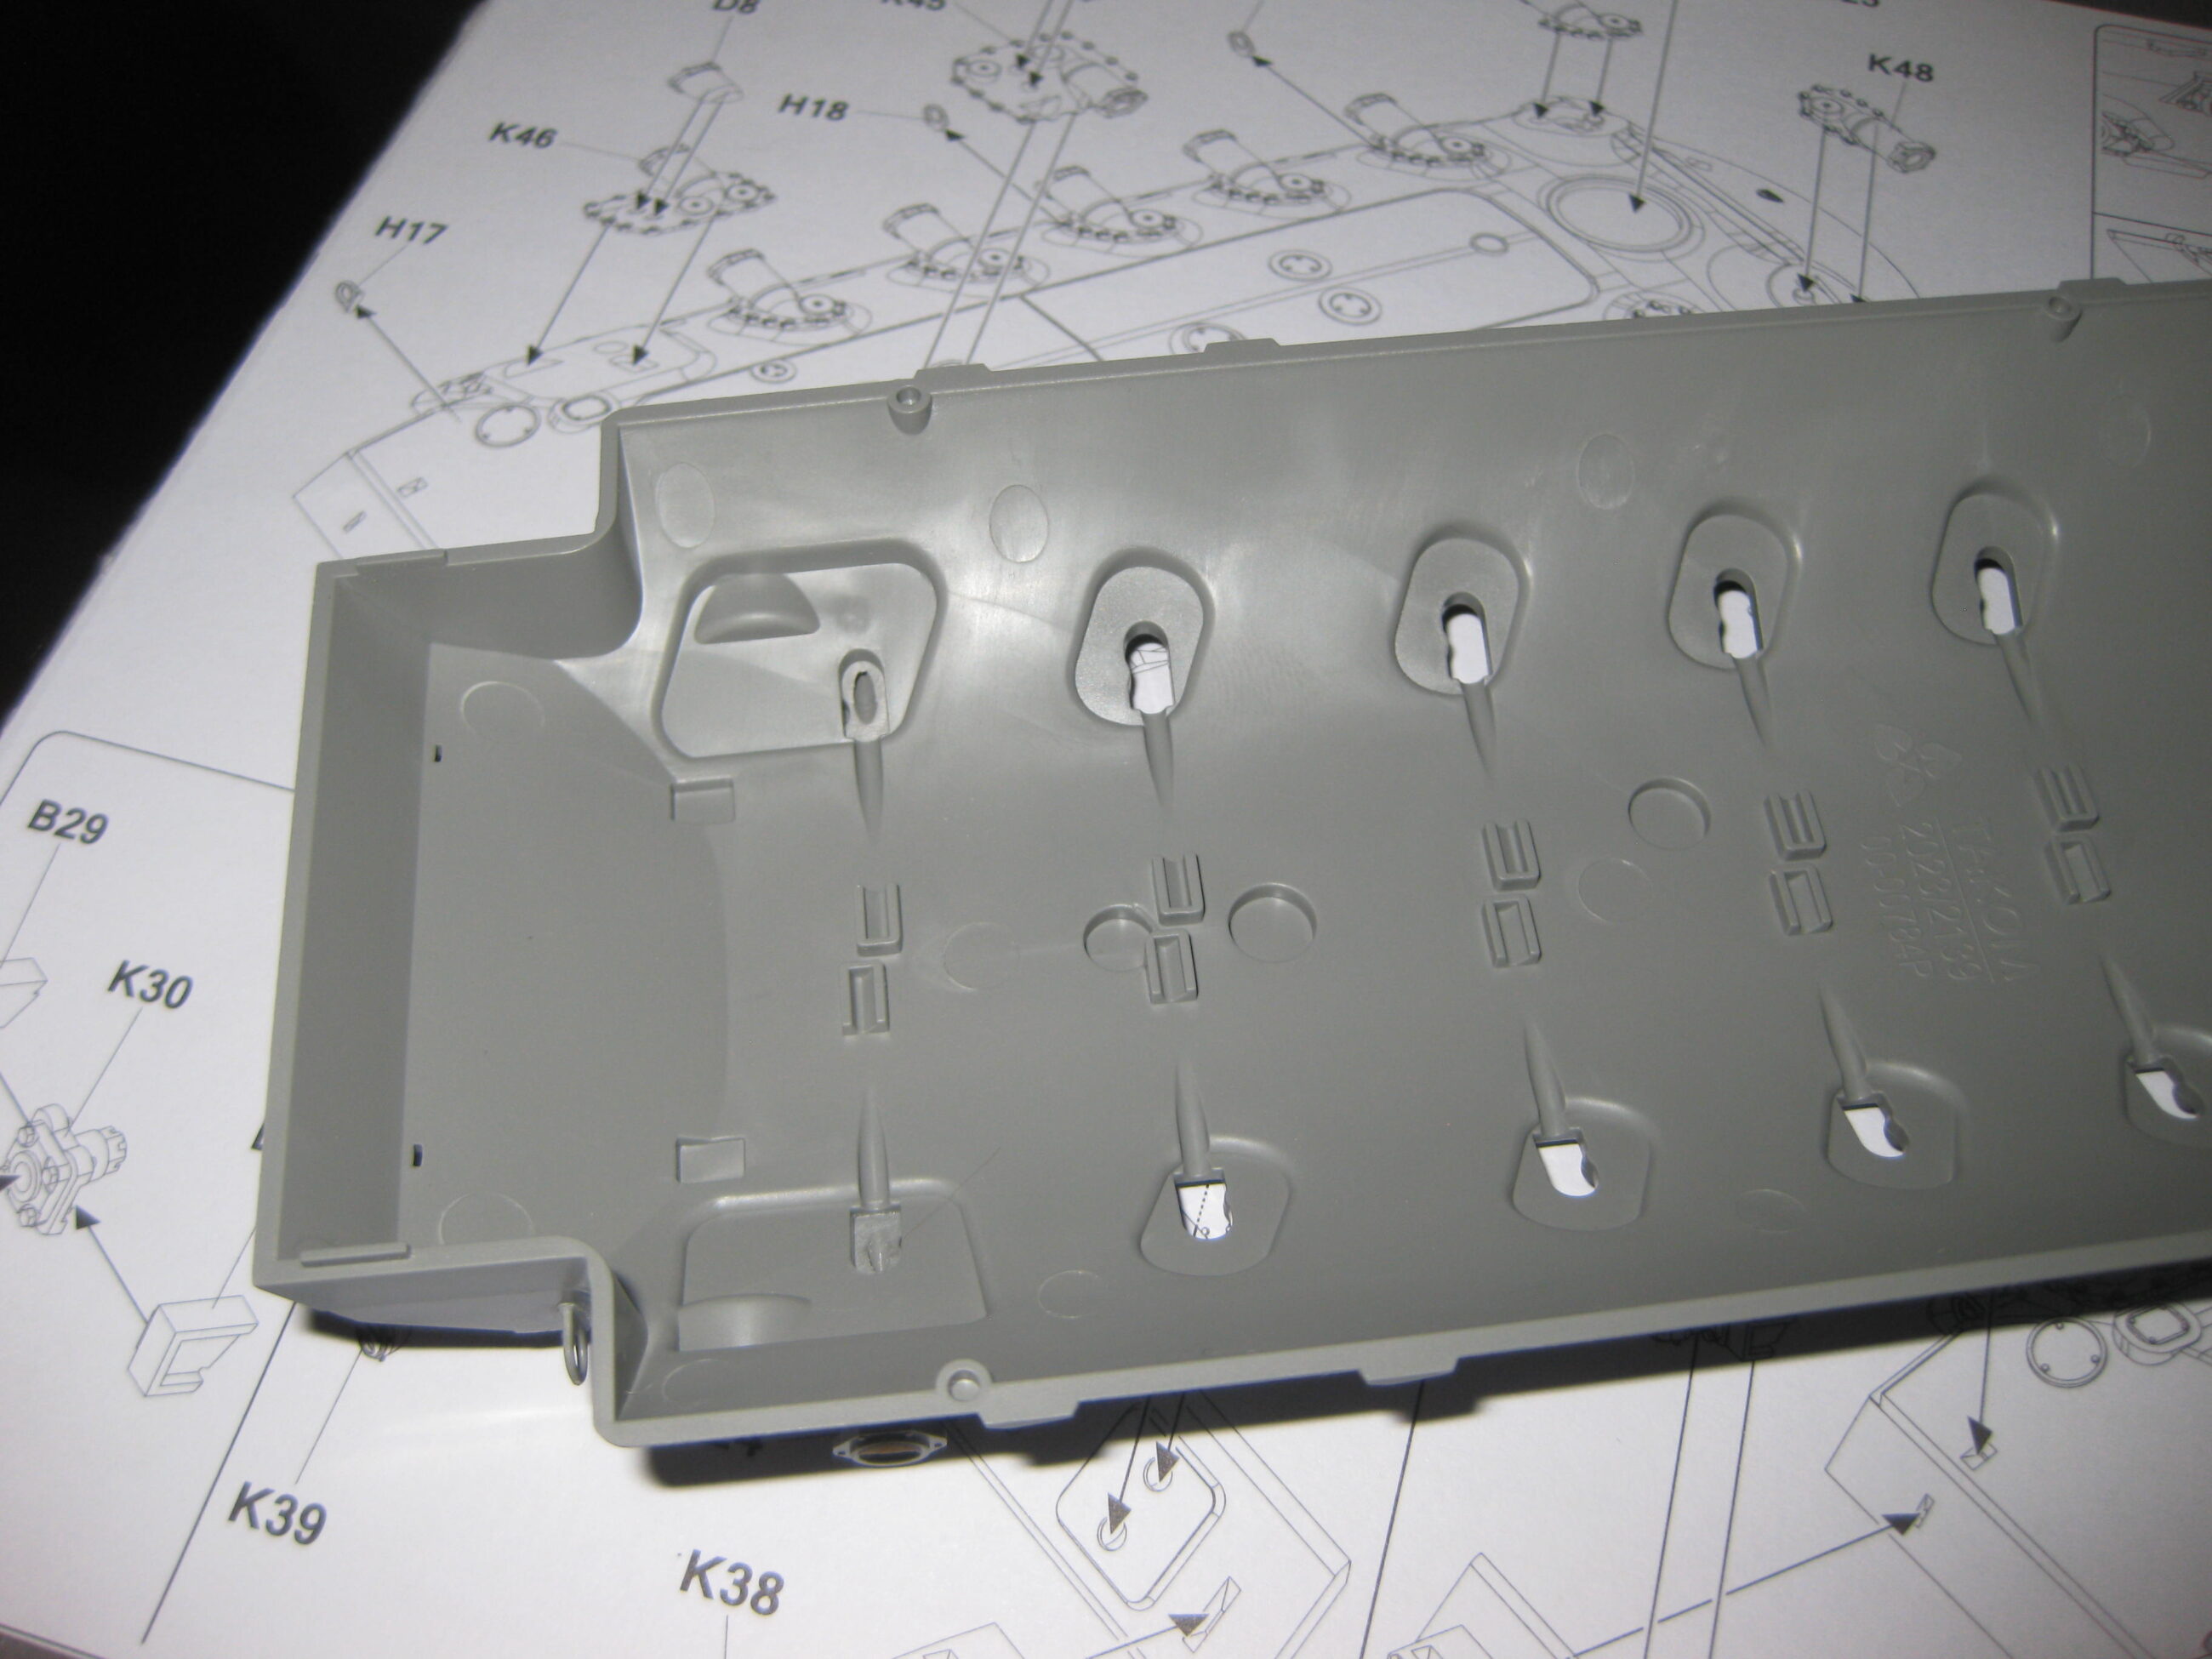


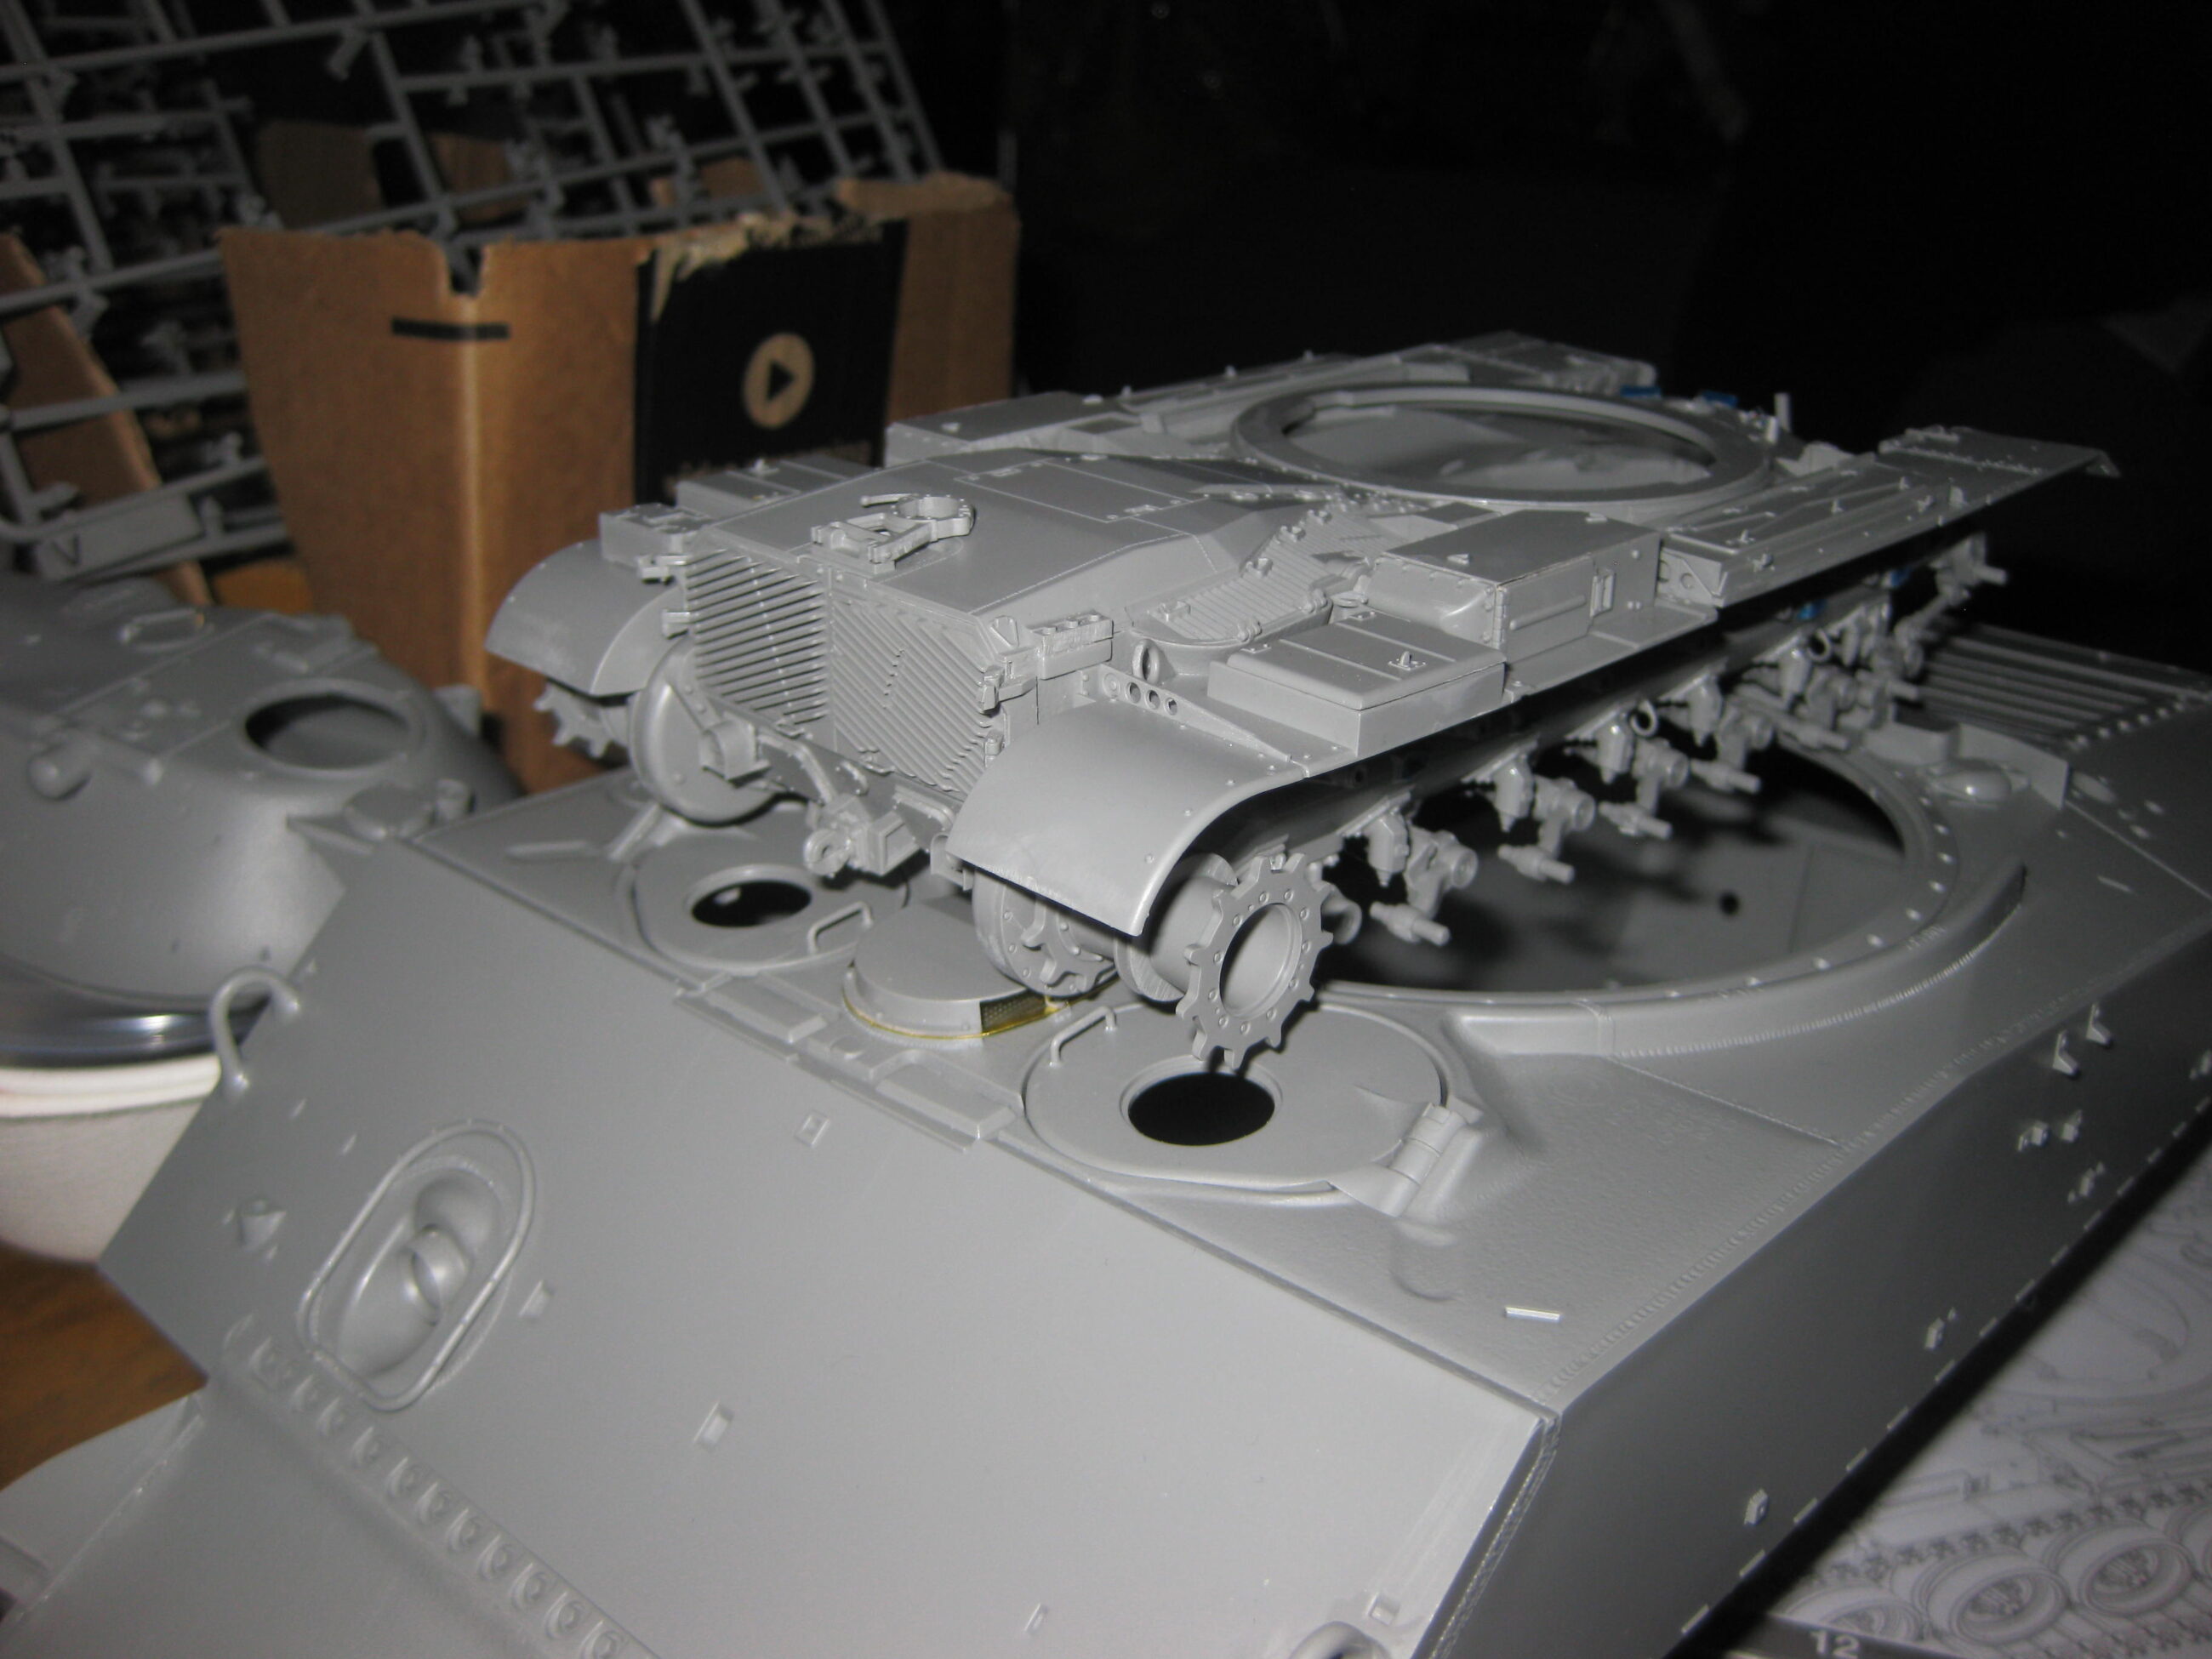
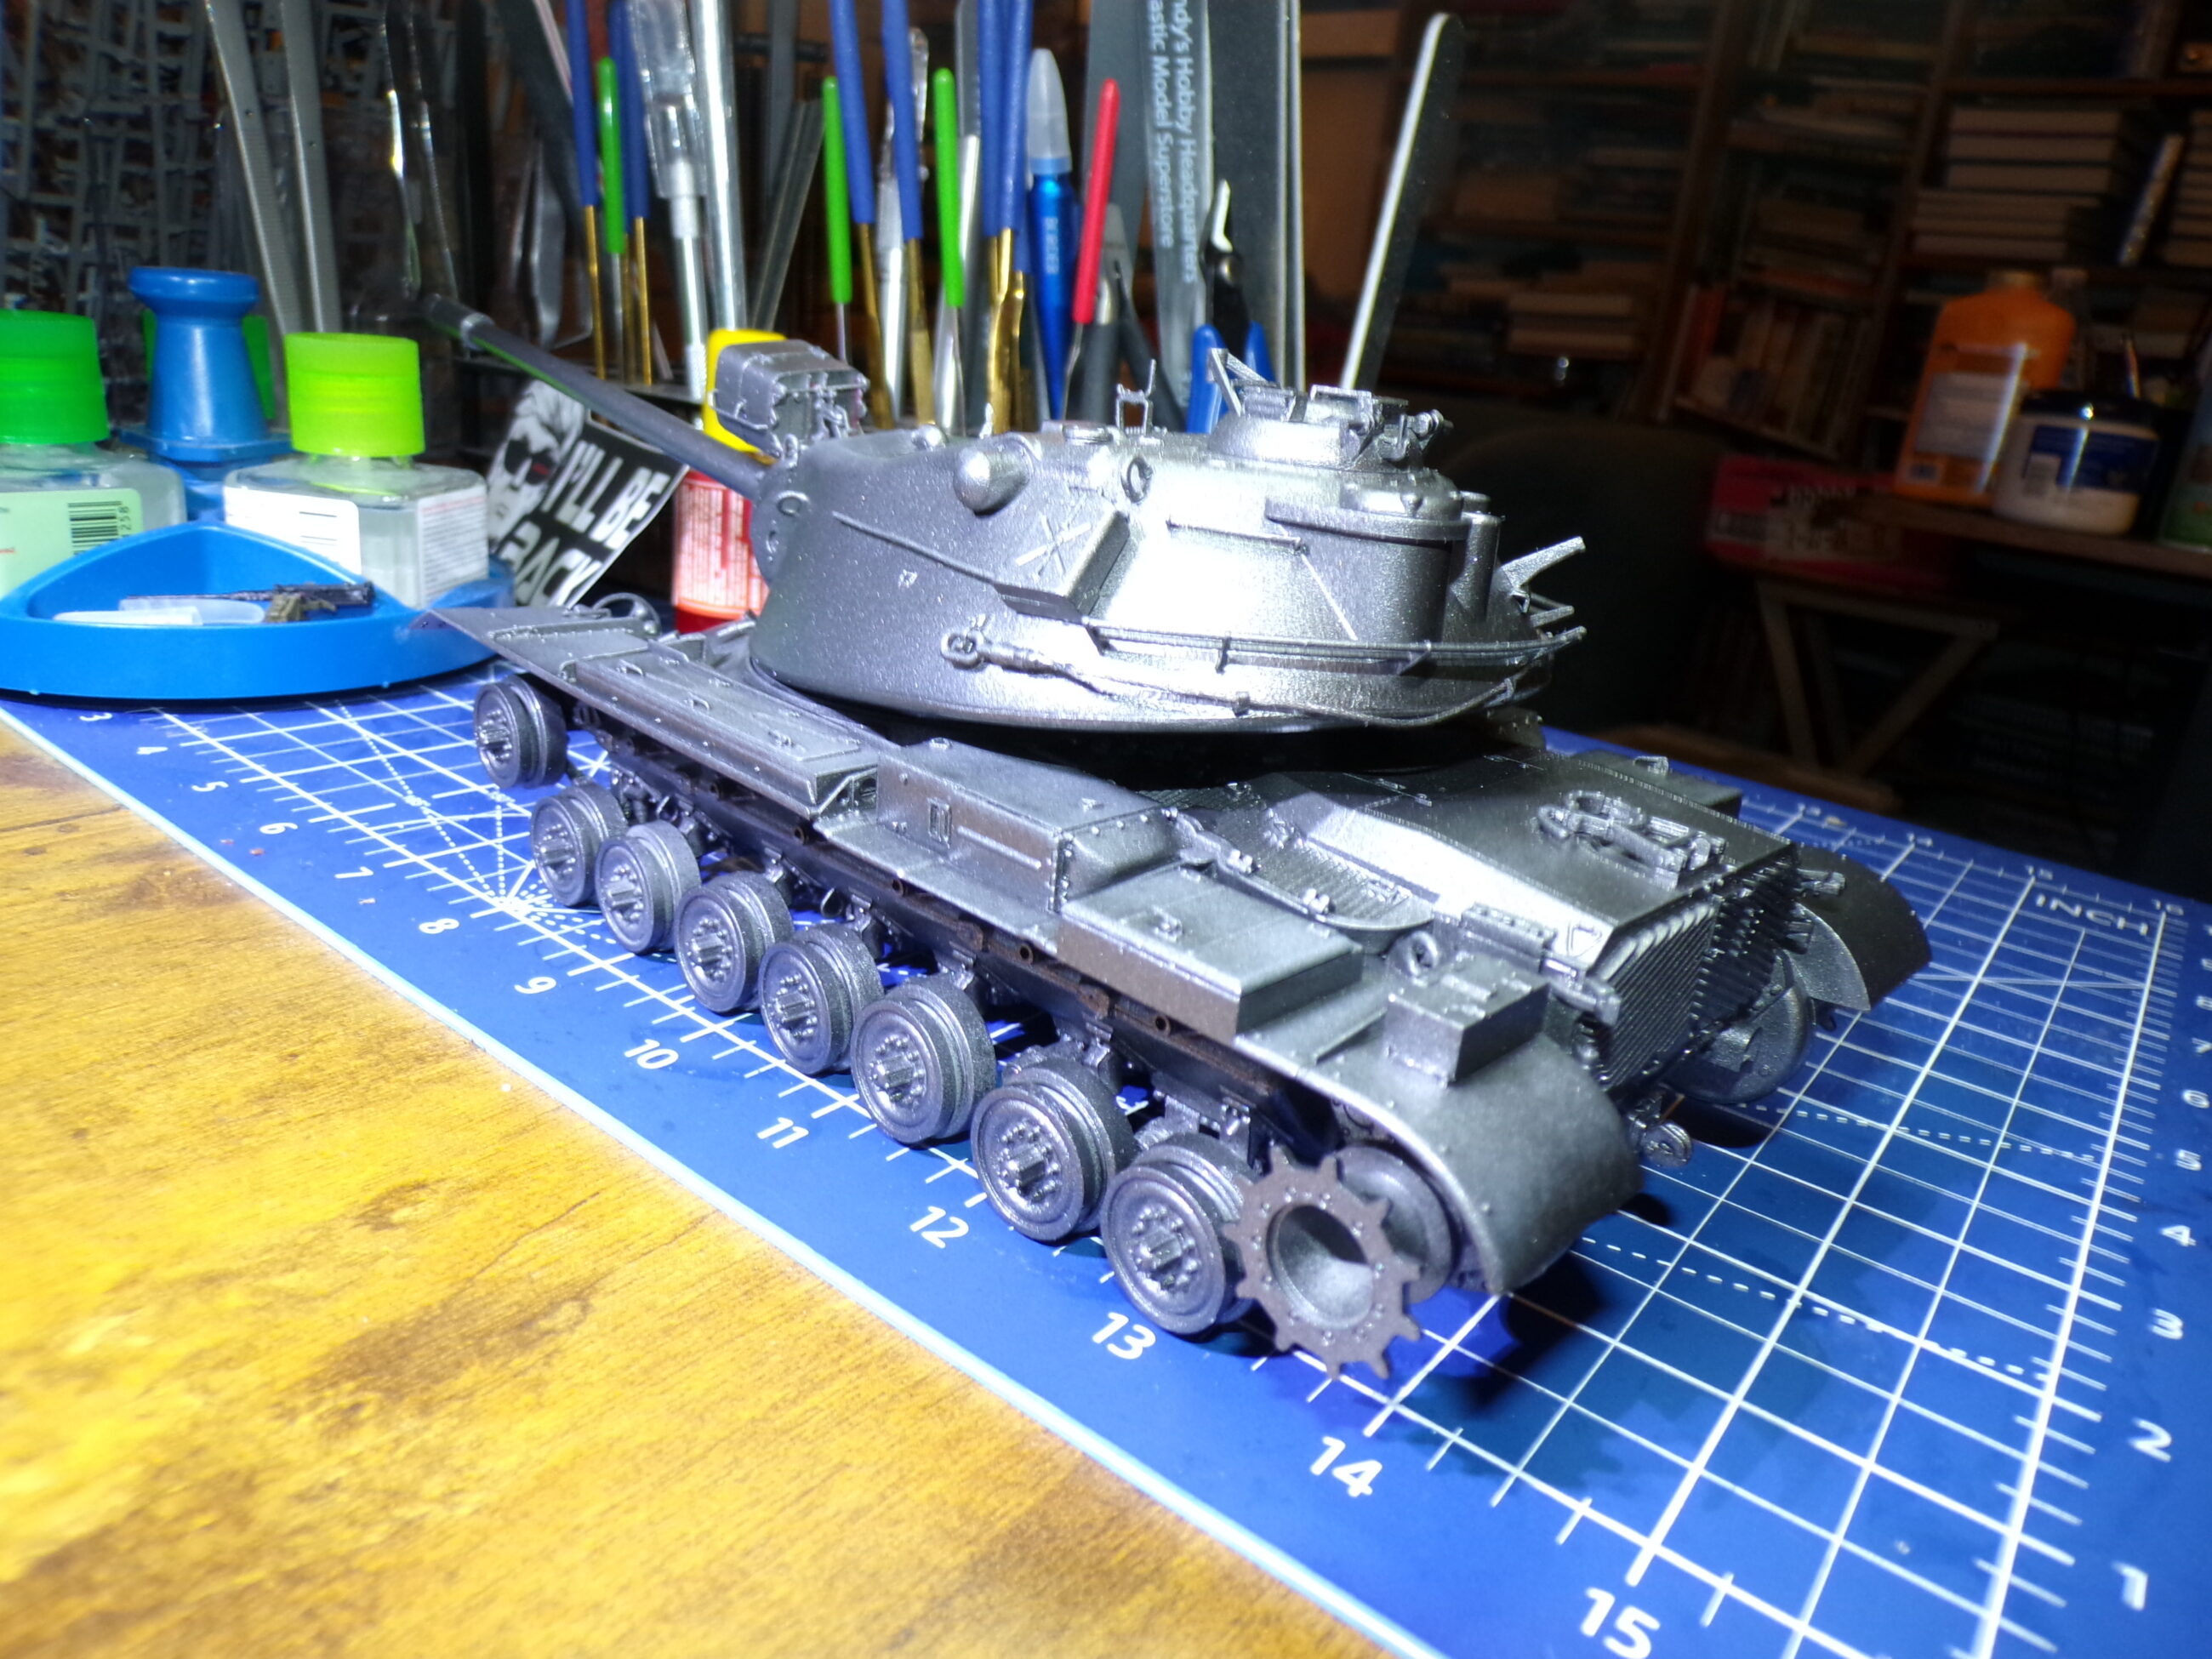
The kit has a fully working torsion bar suspension, including telescoping shocks and working tracks.
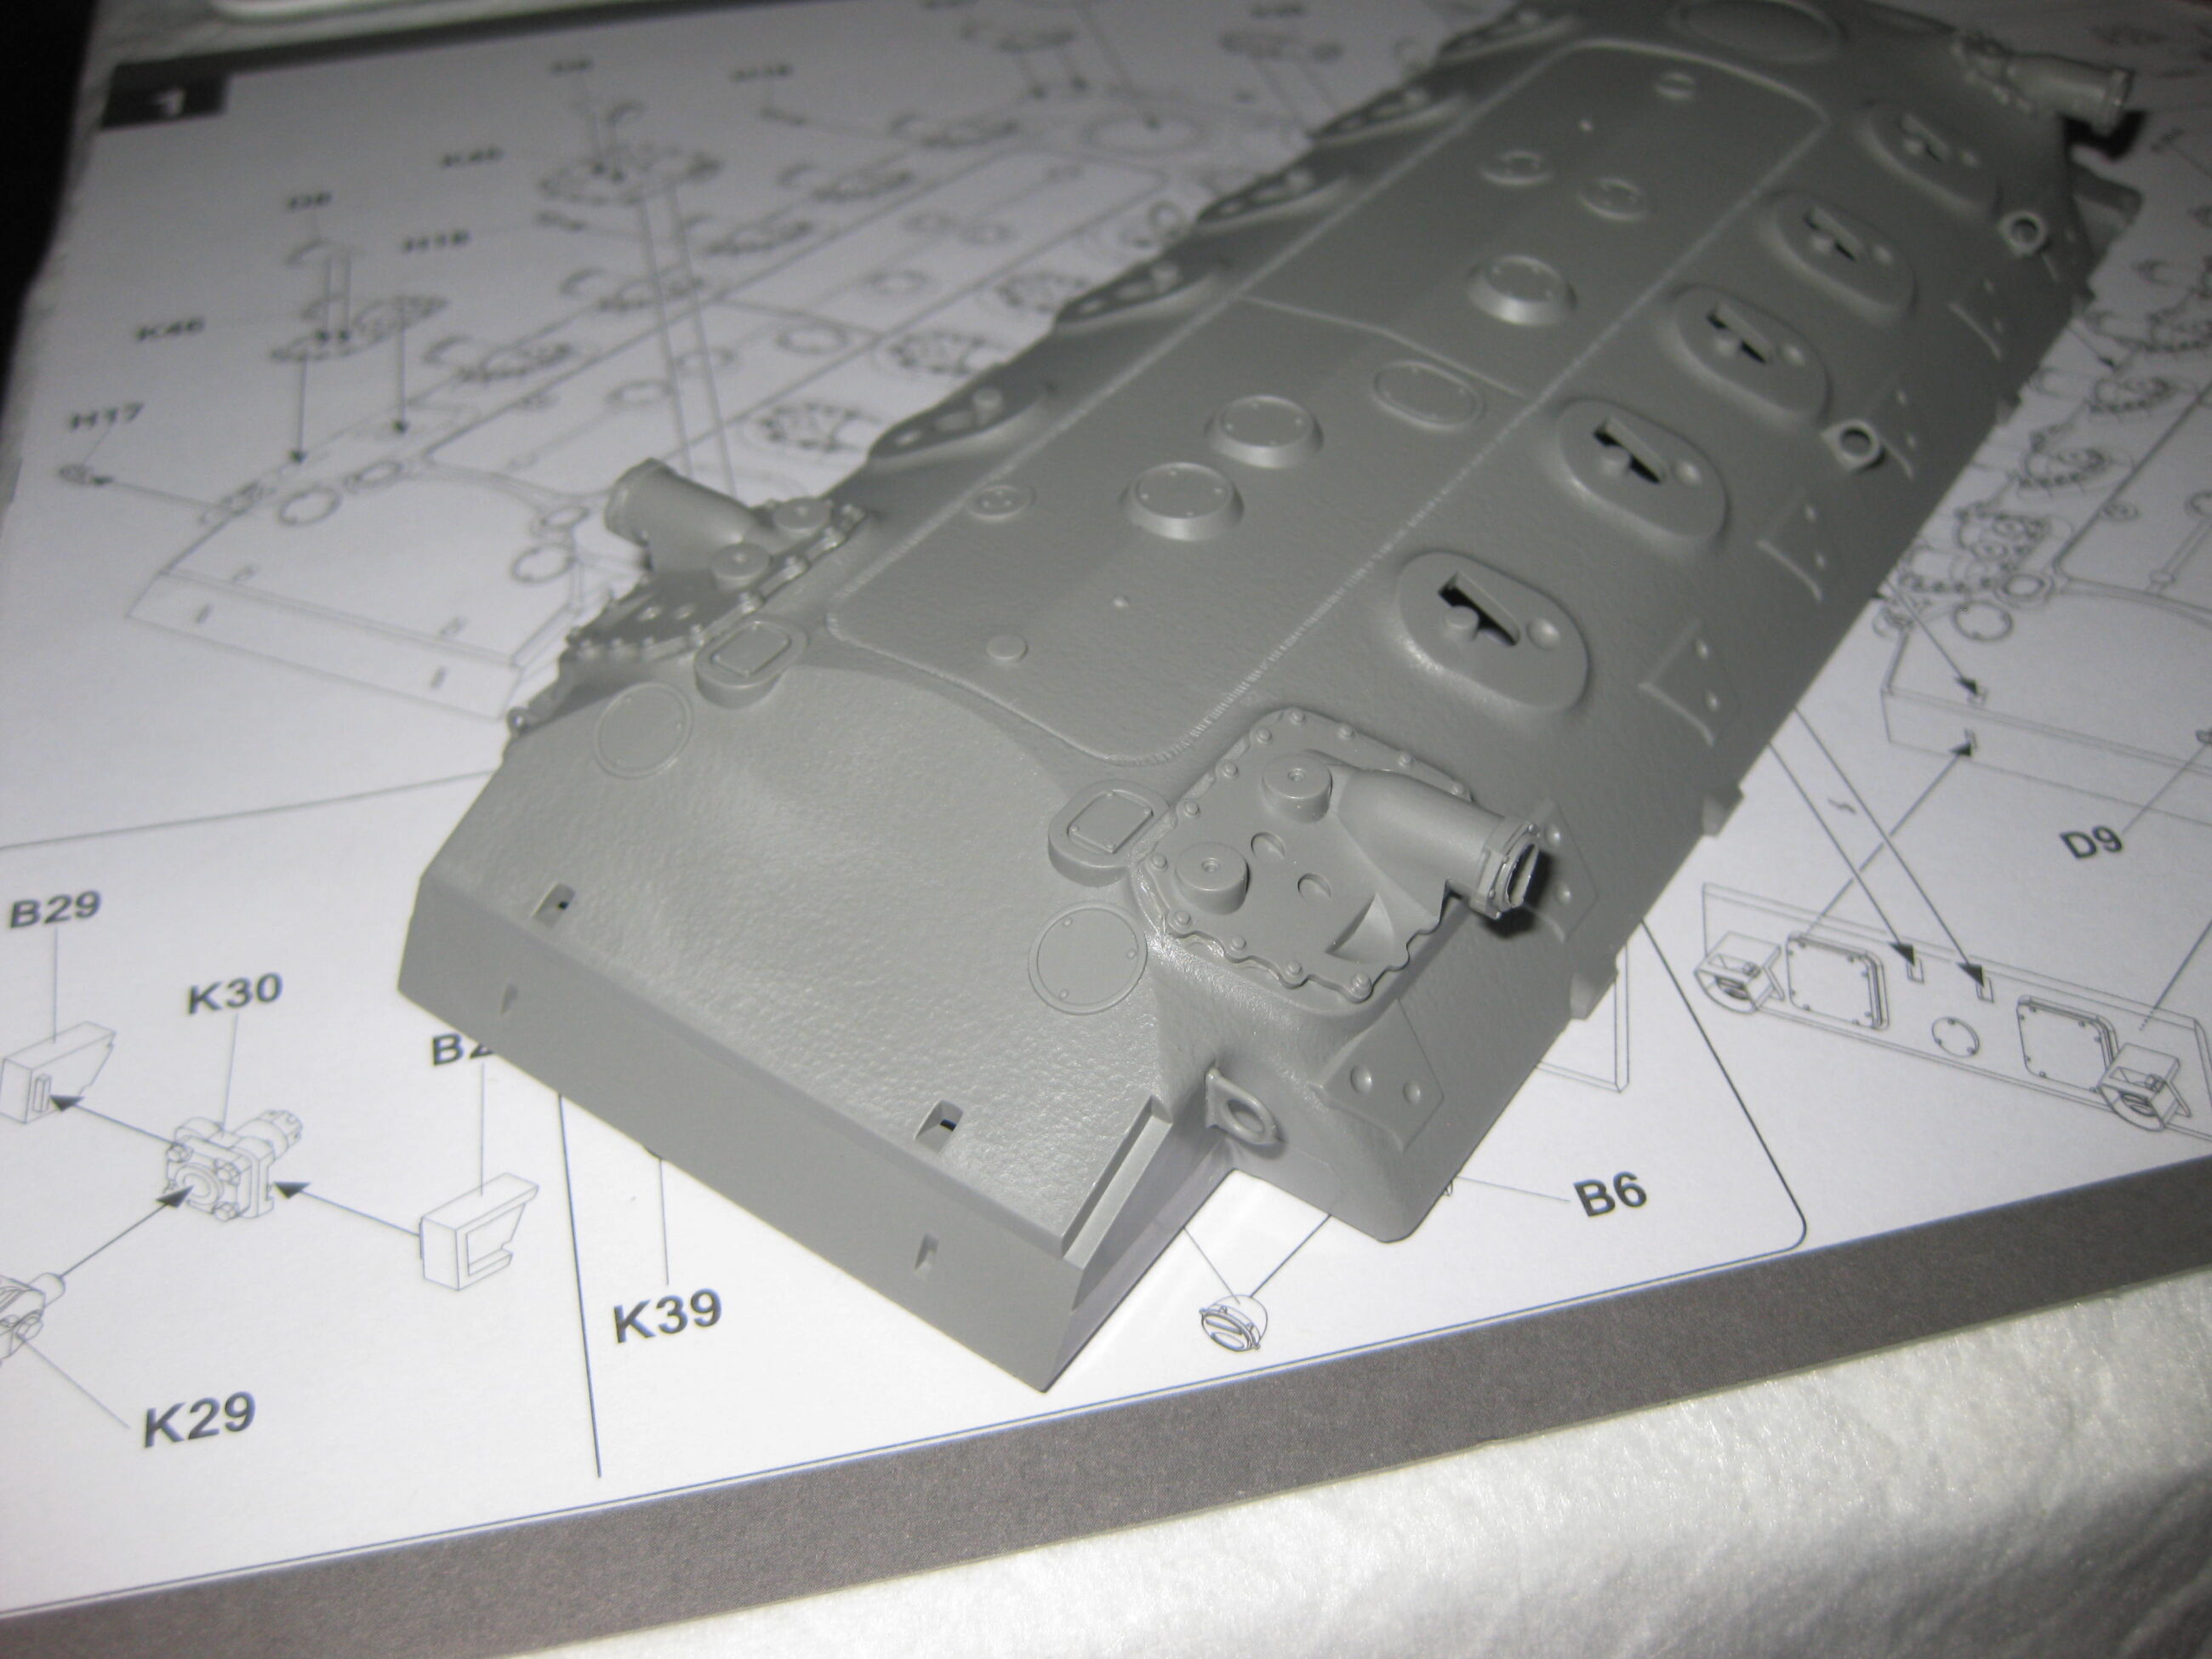
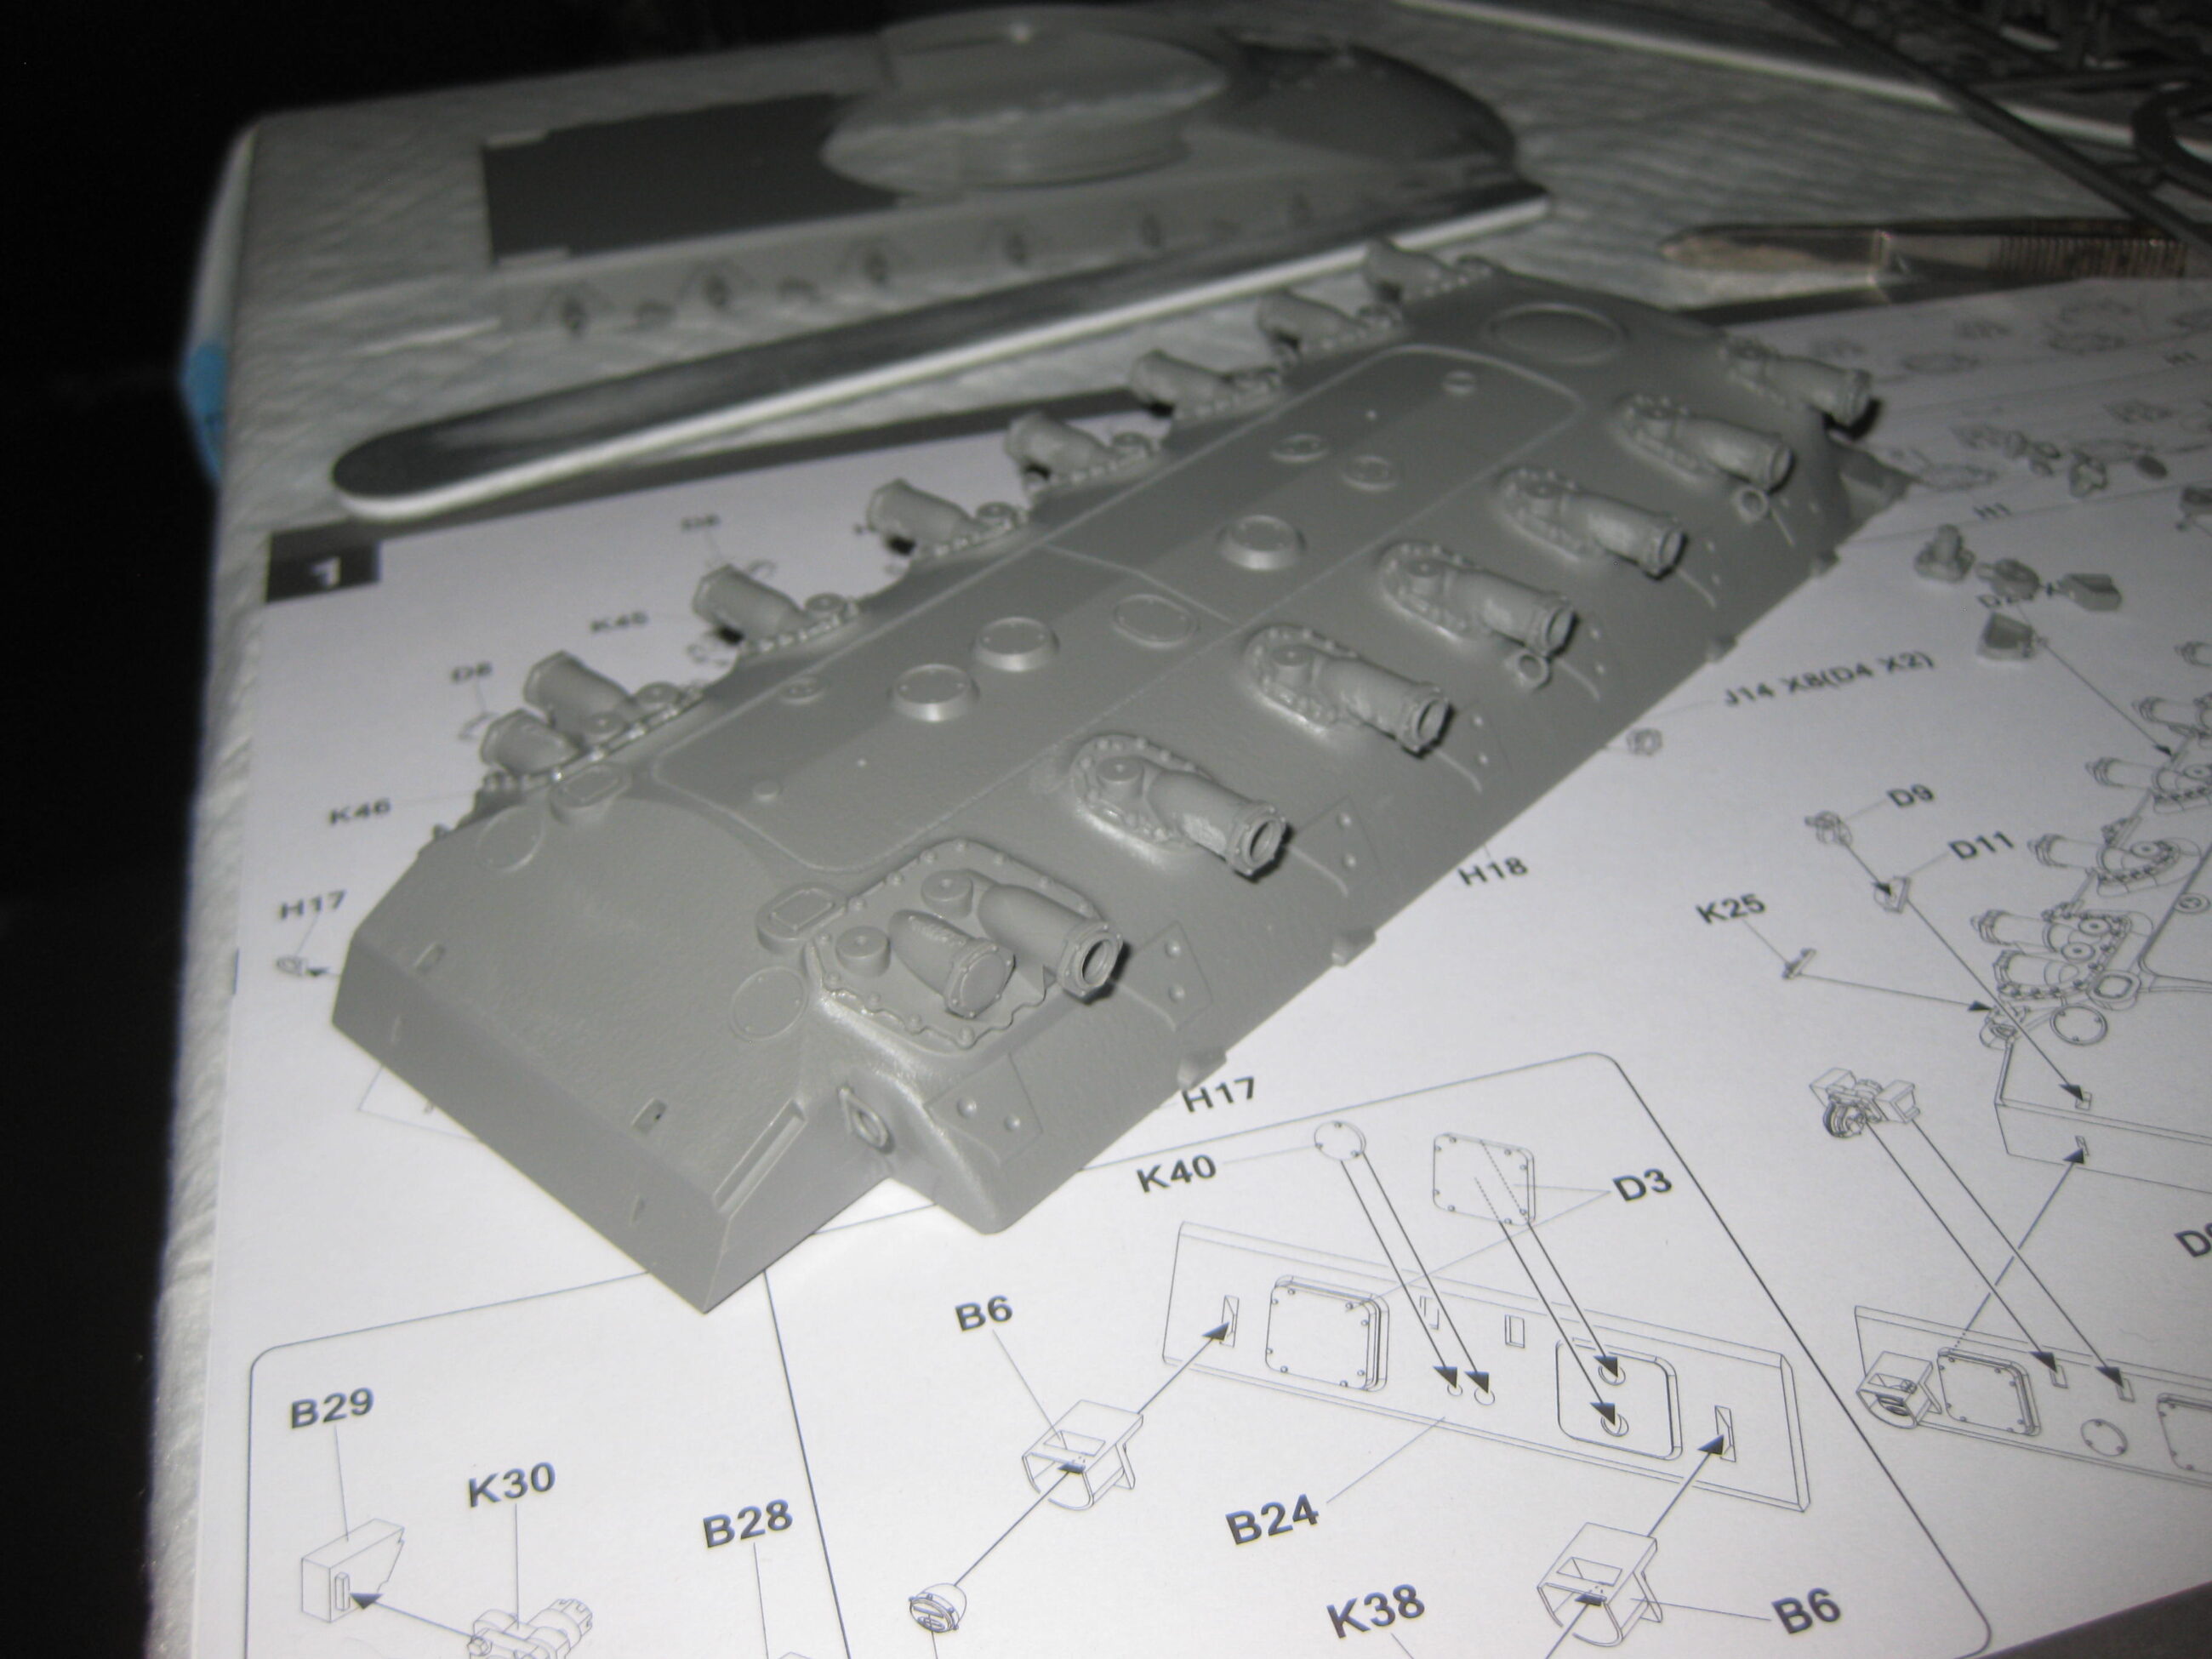
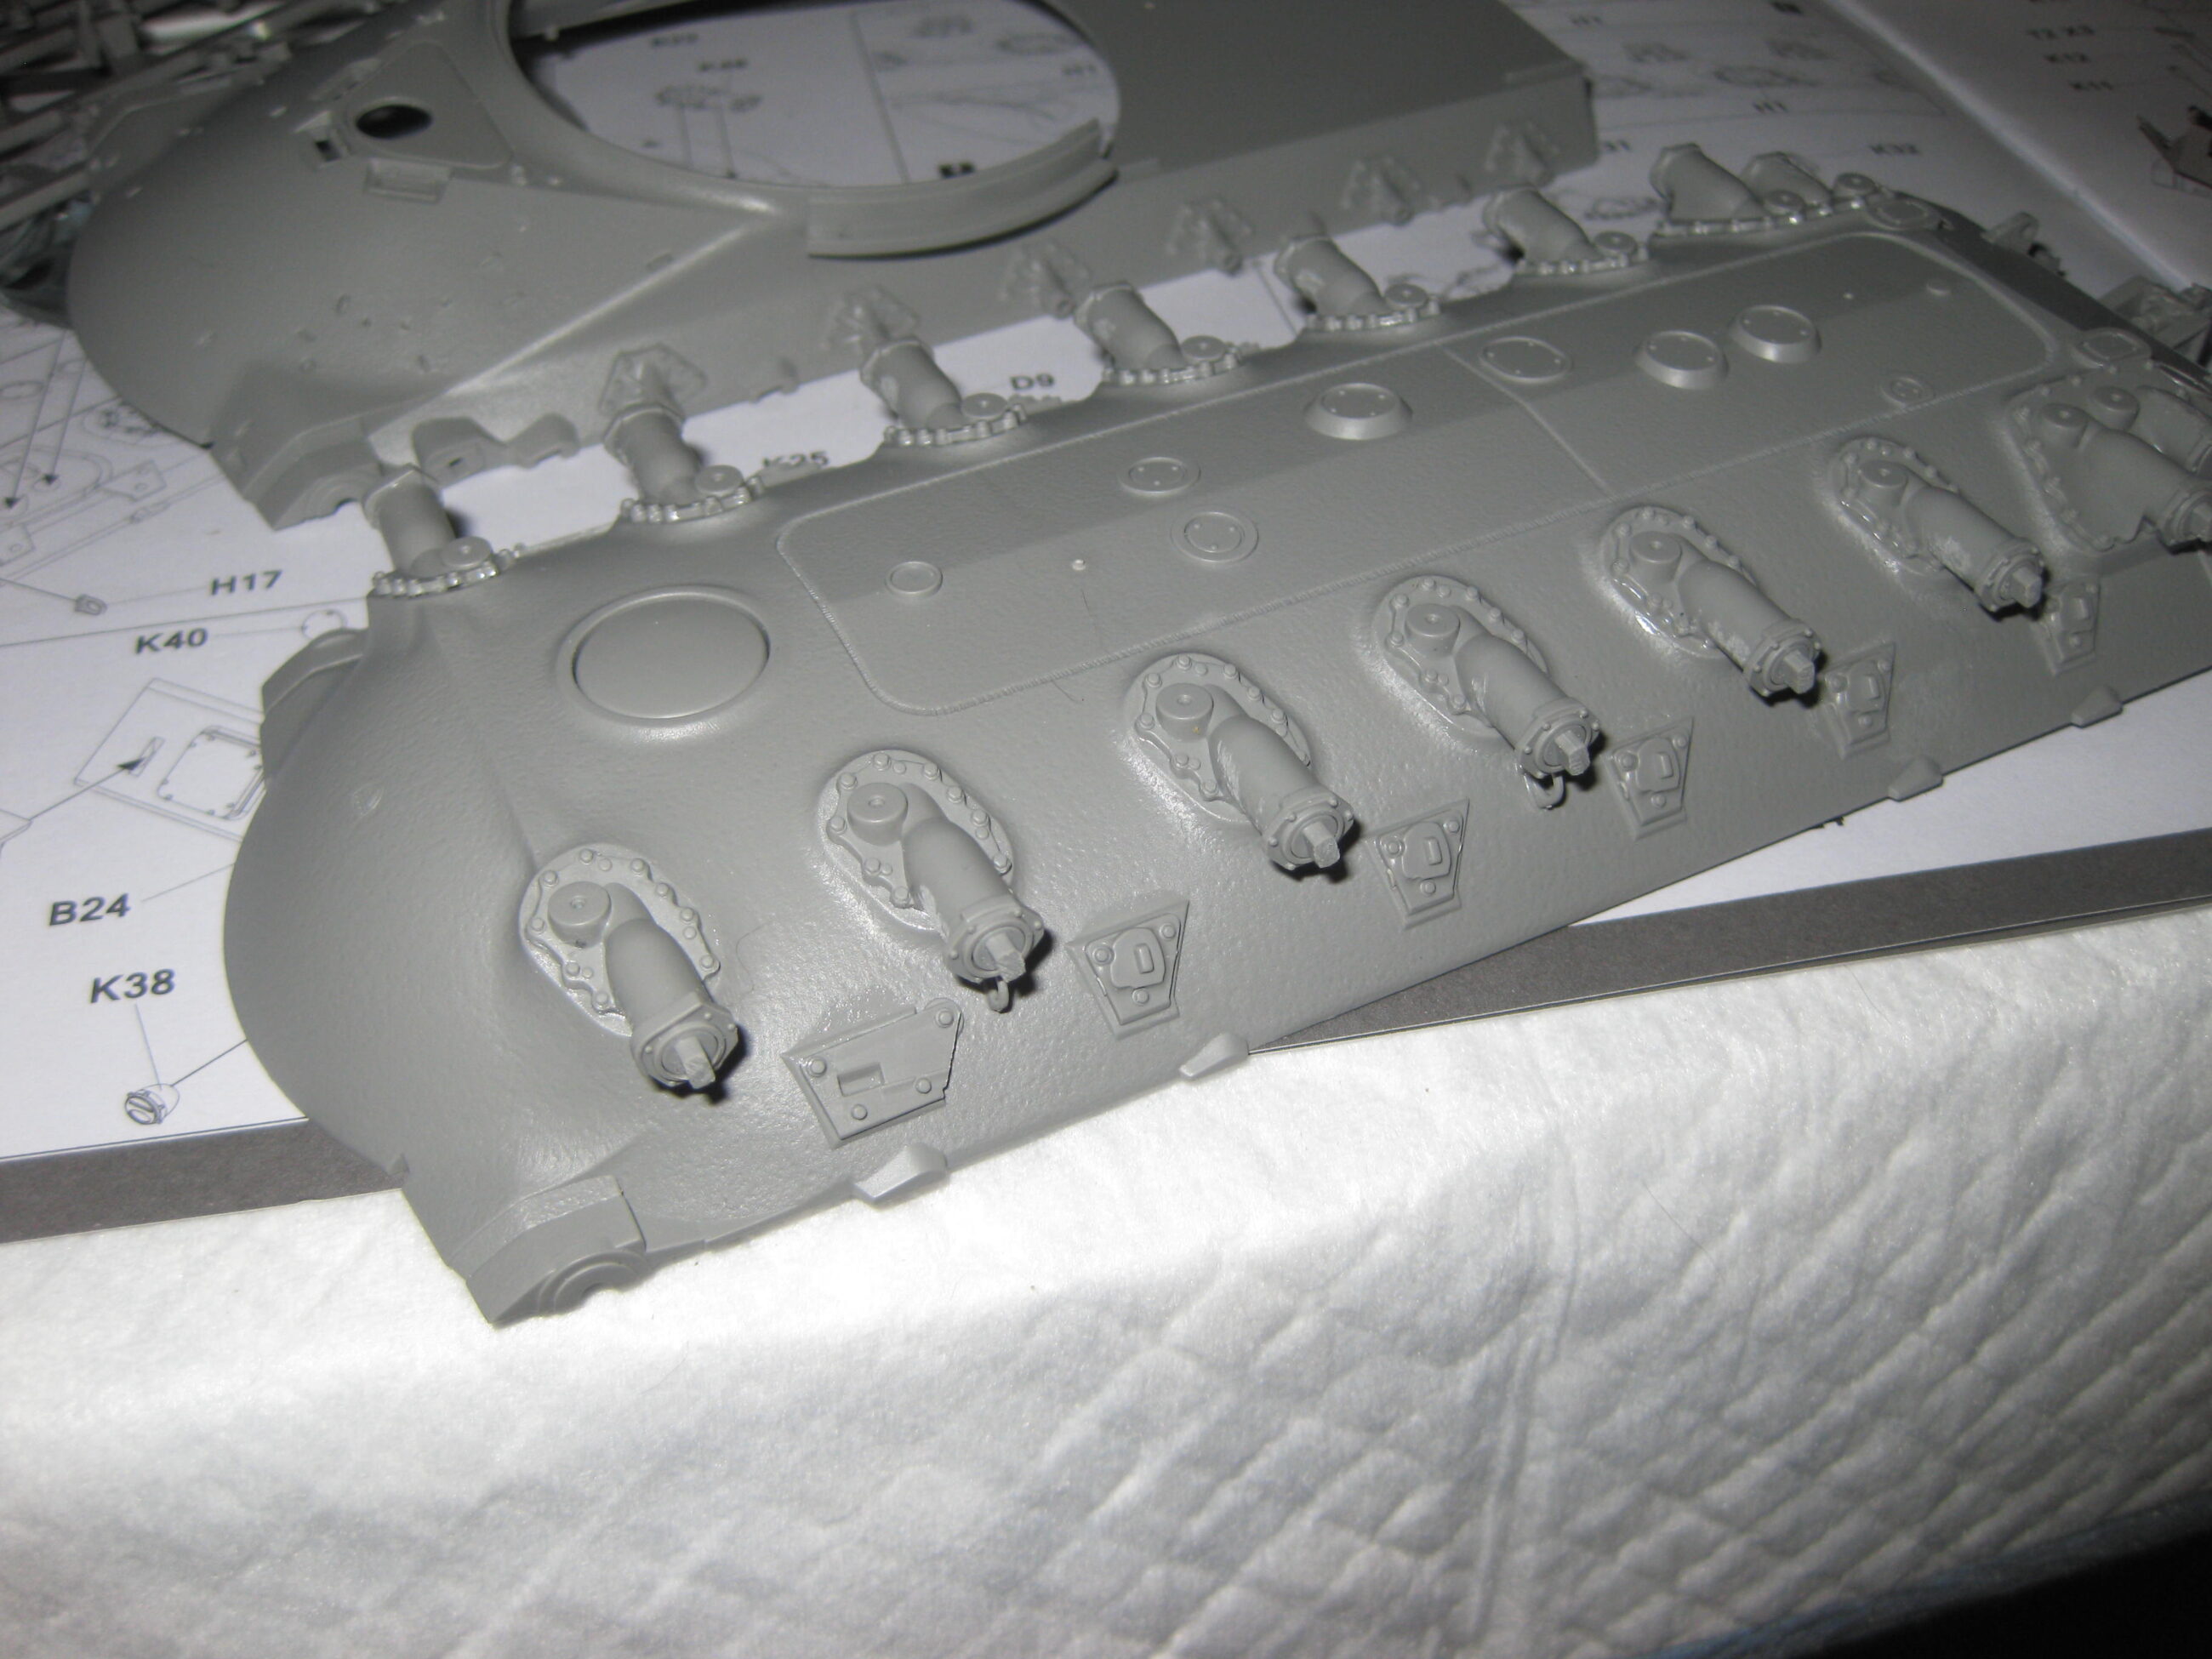
The hull is set up to be built as an M103 or M103A2 easily.
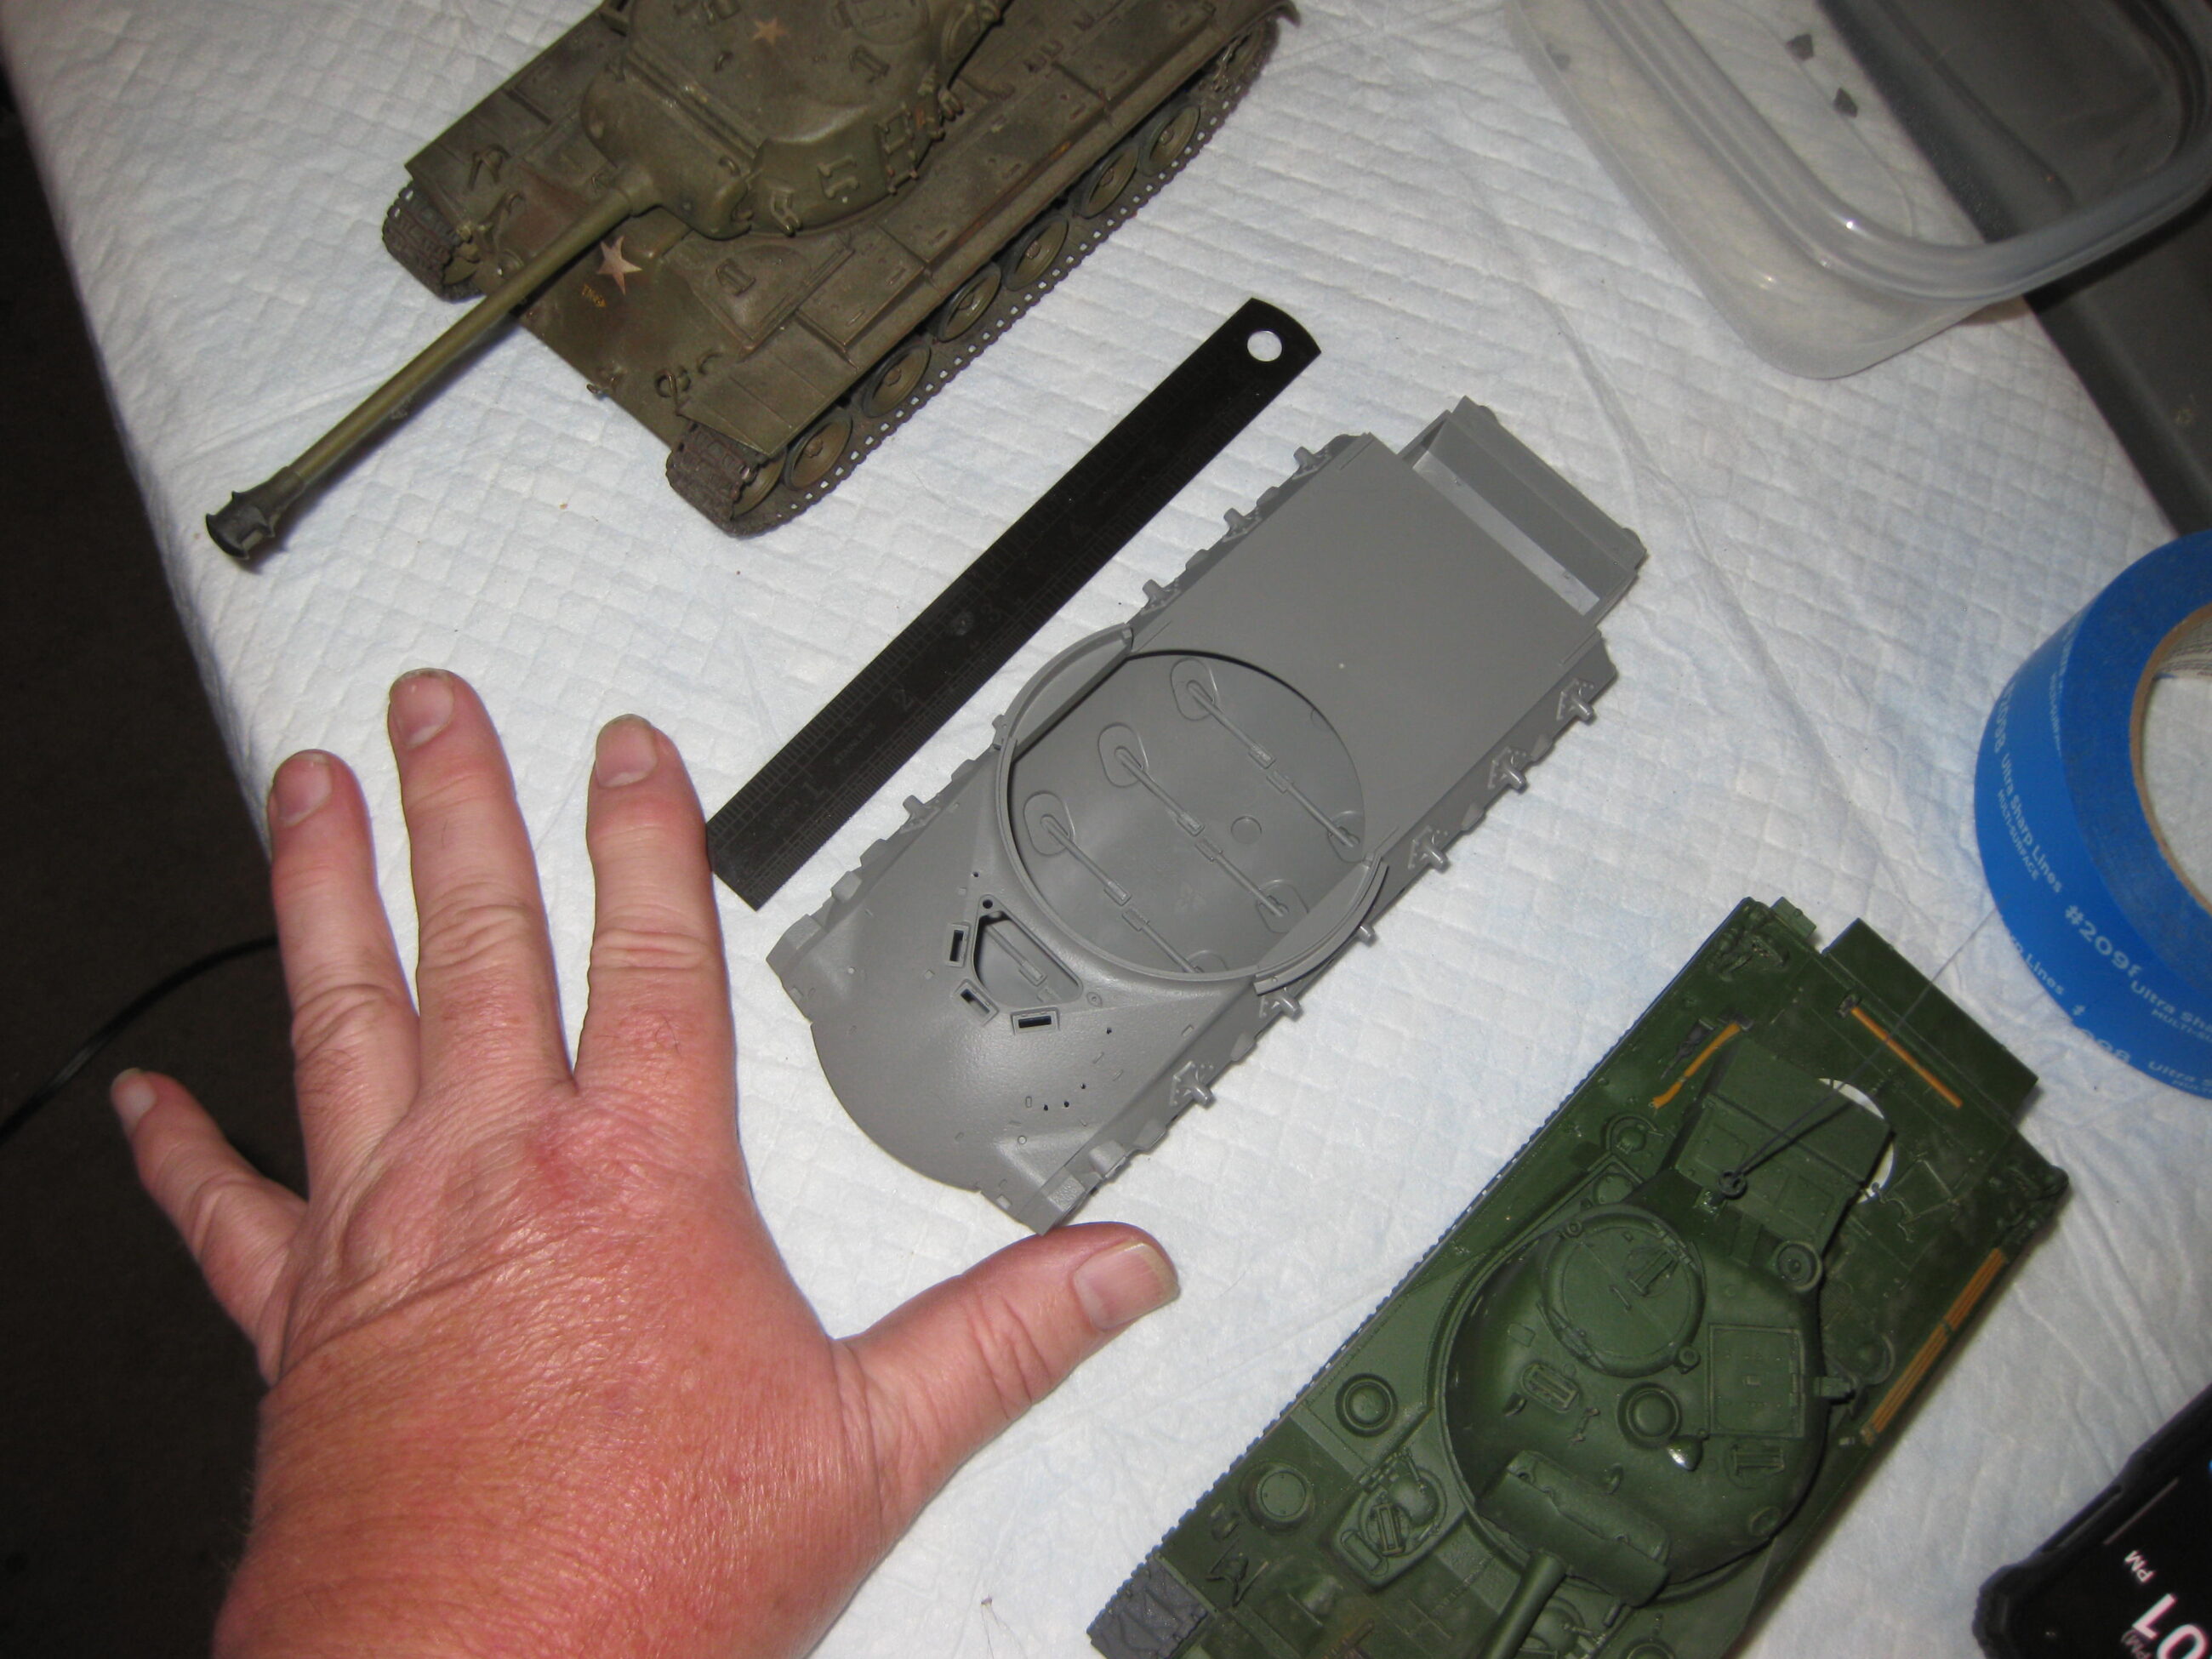

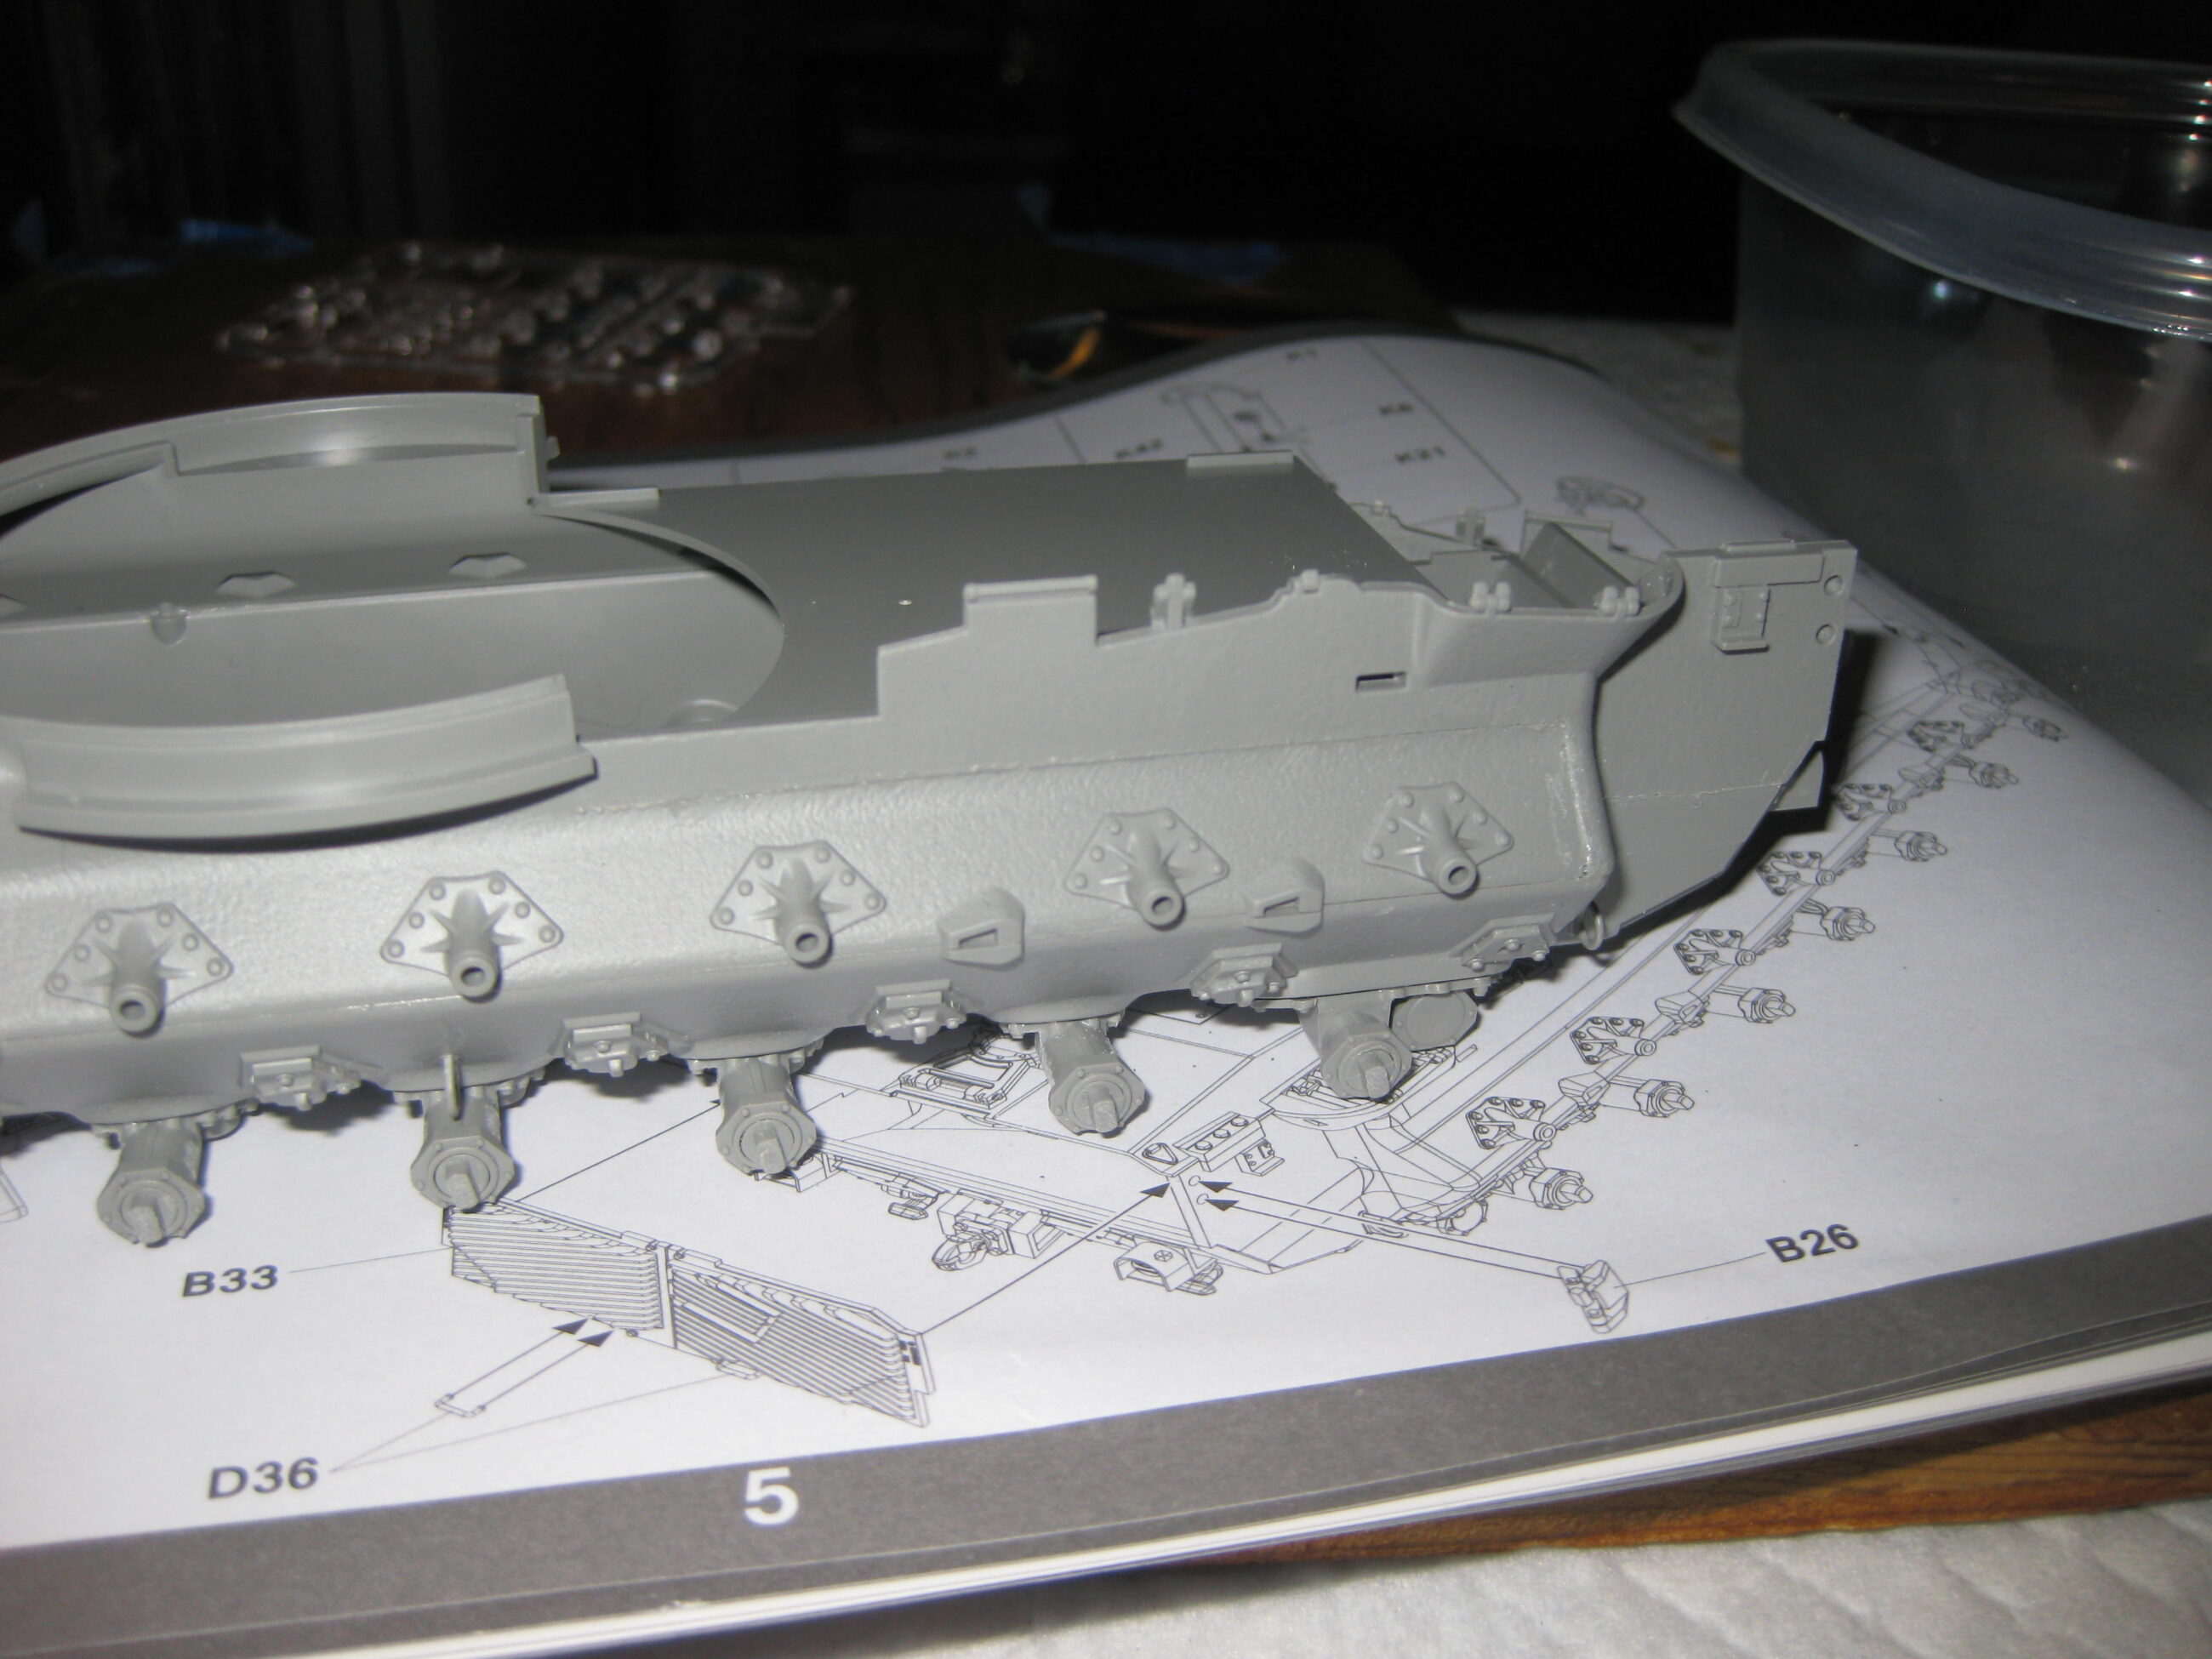

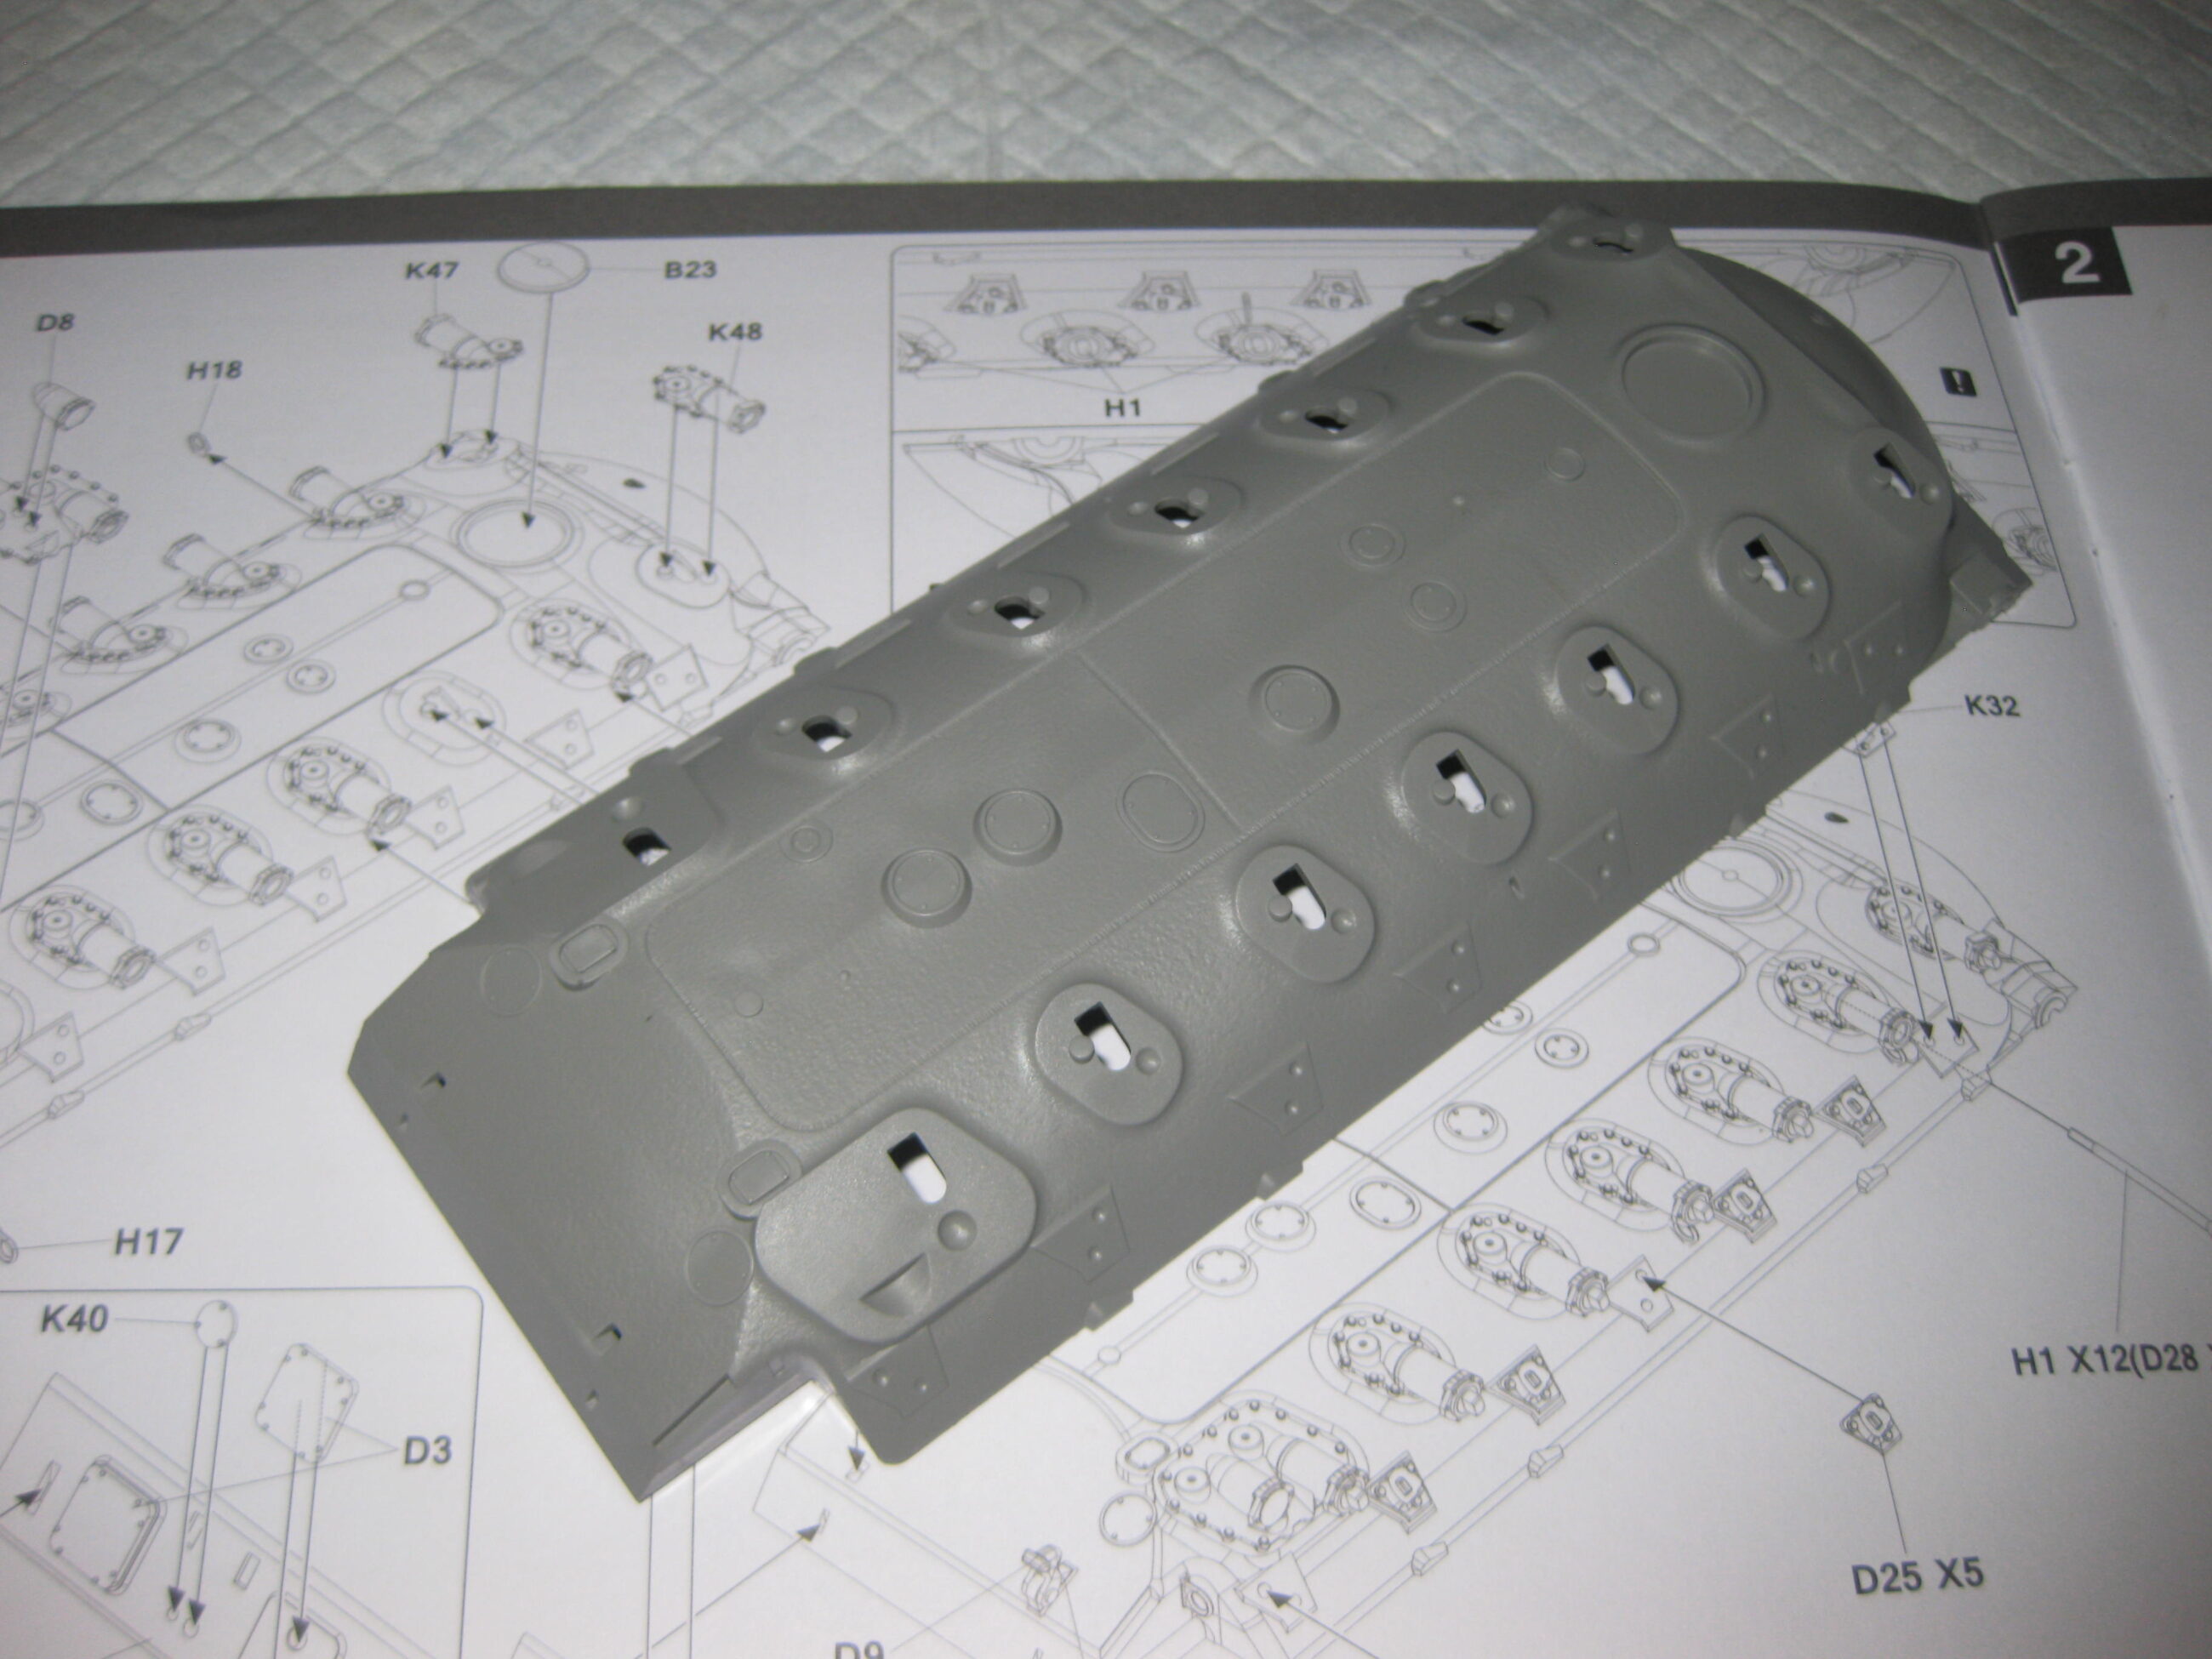
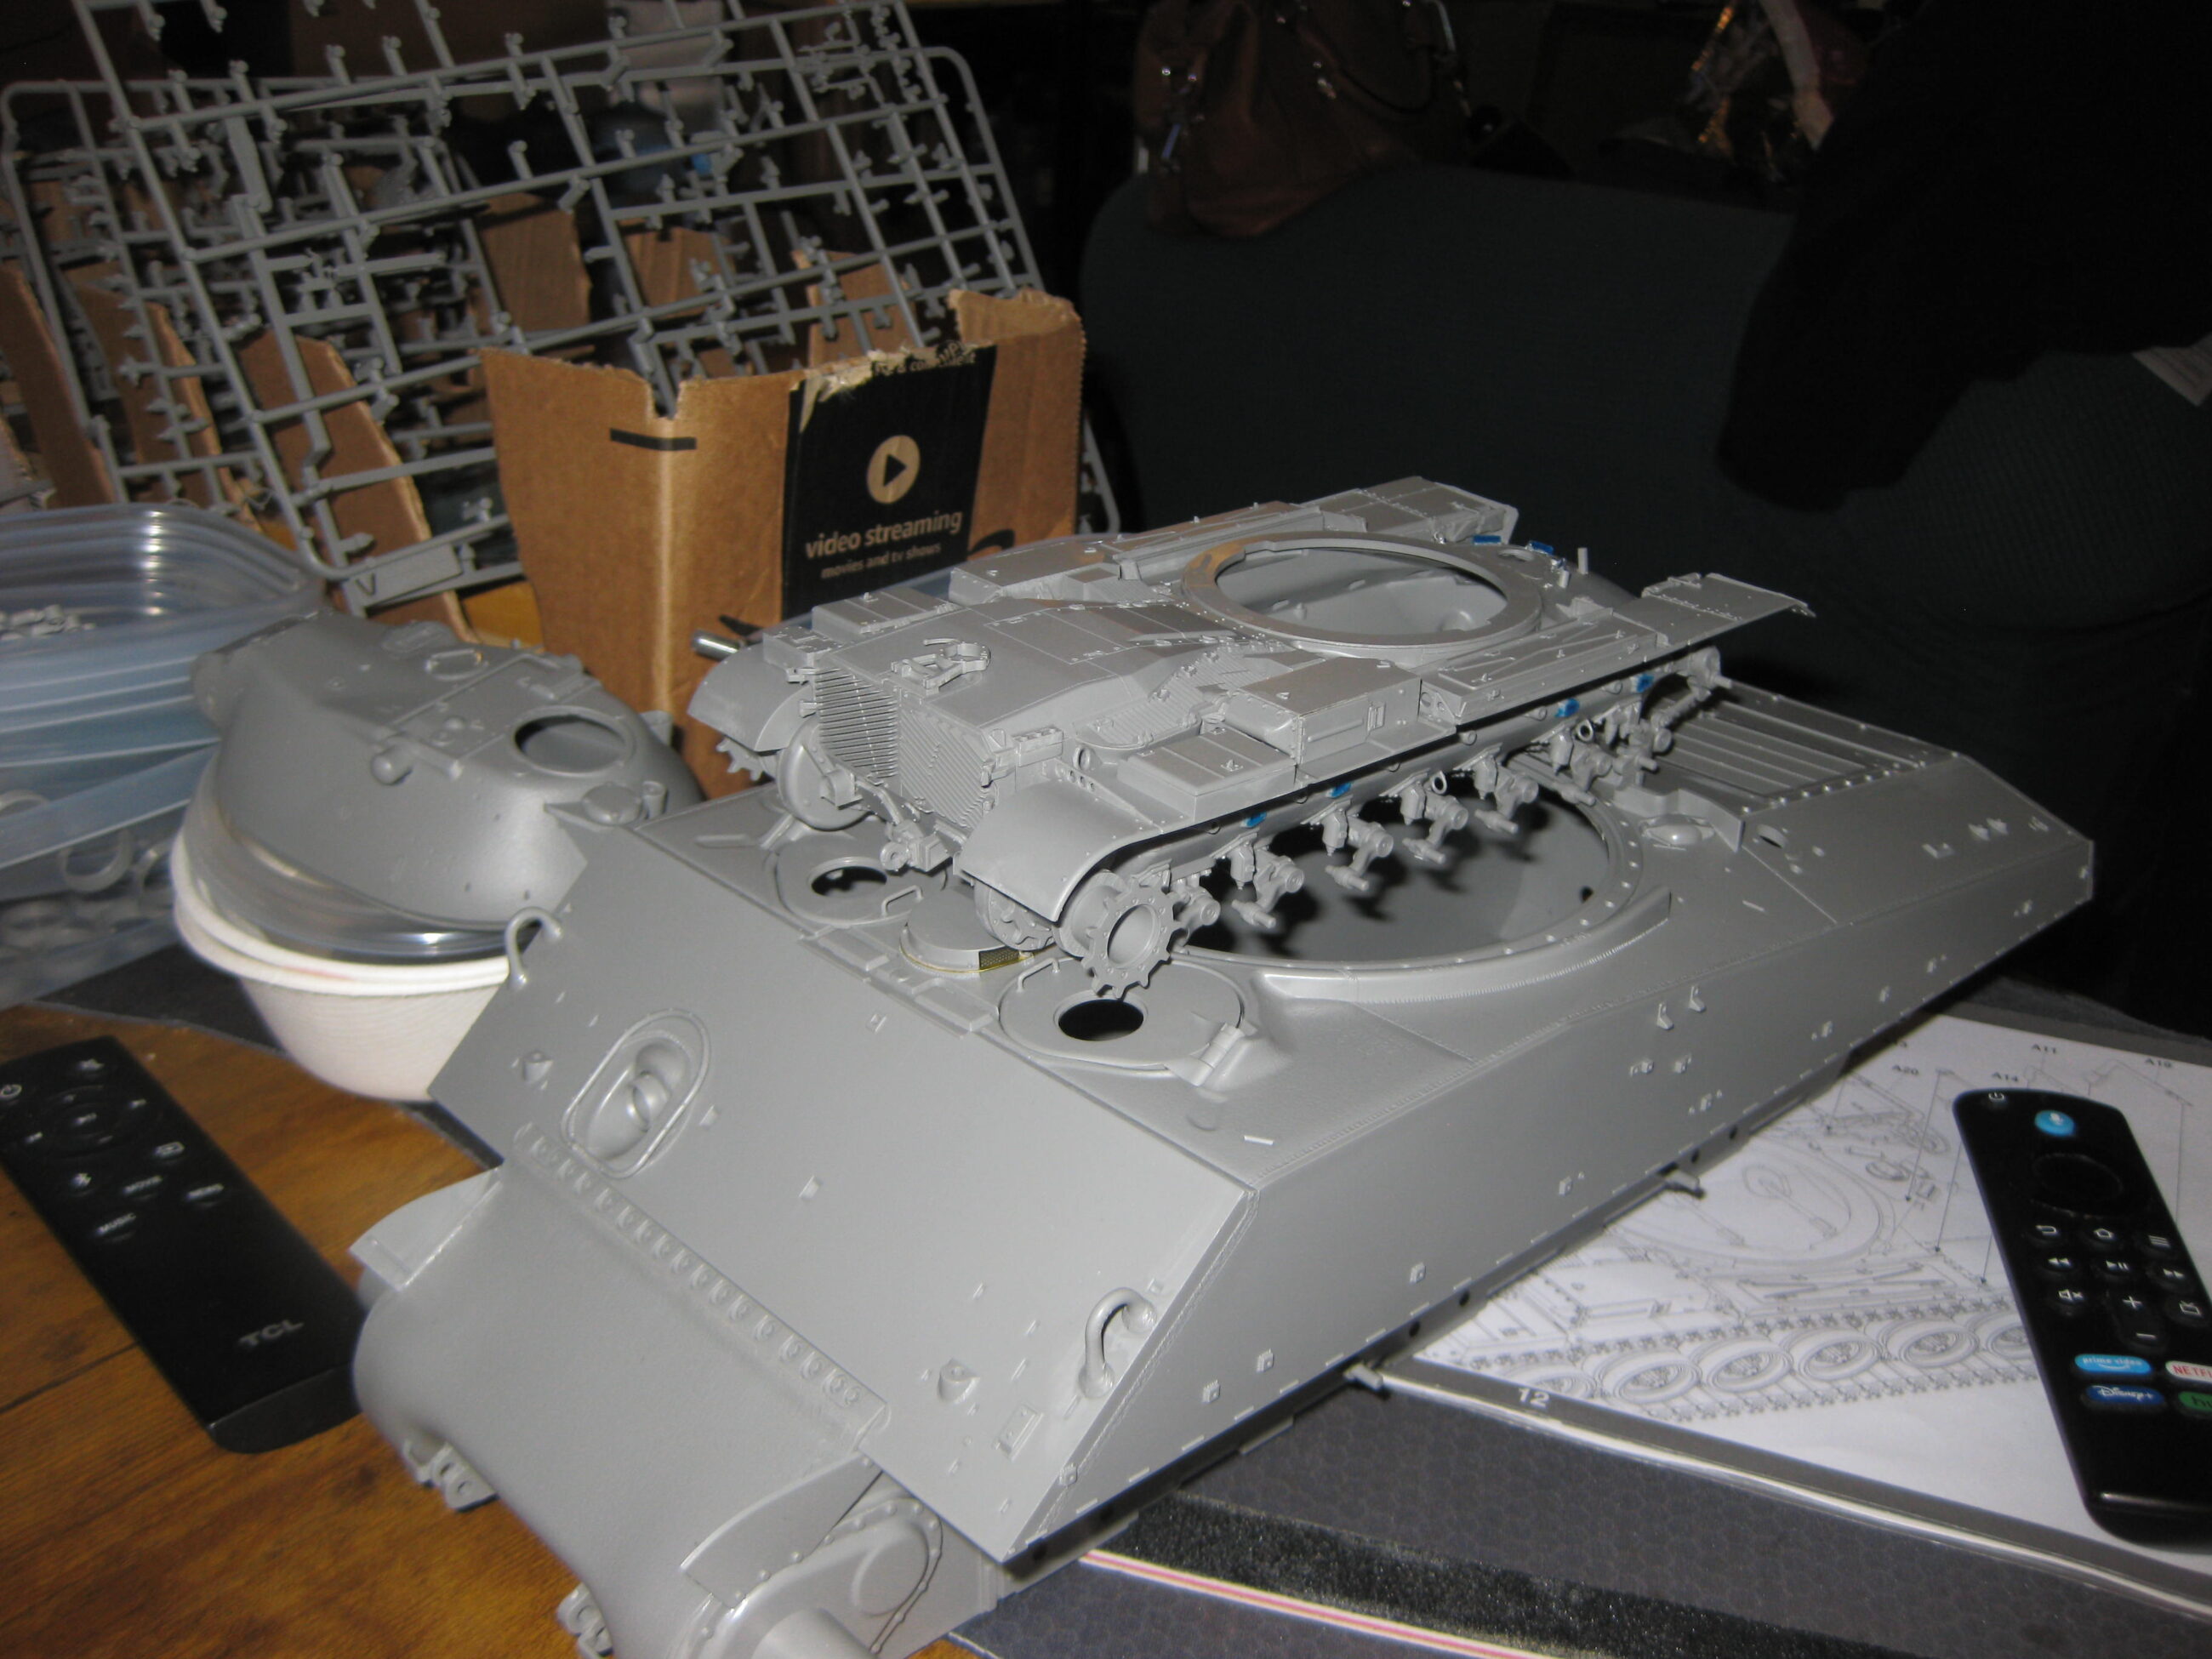
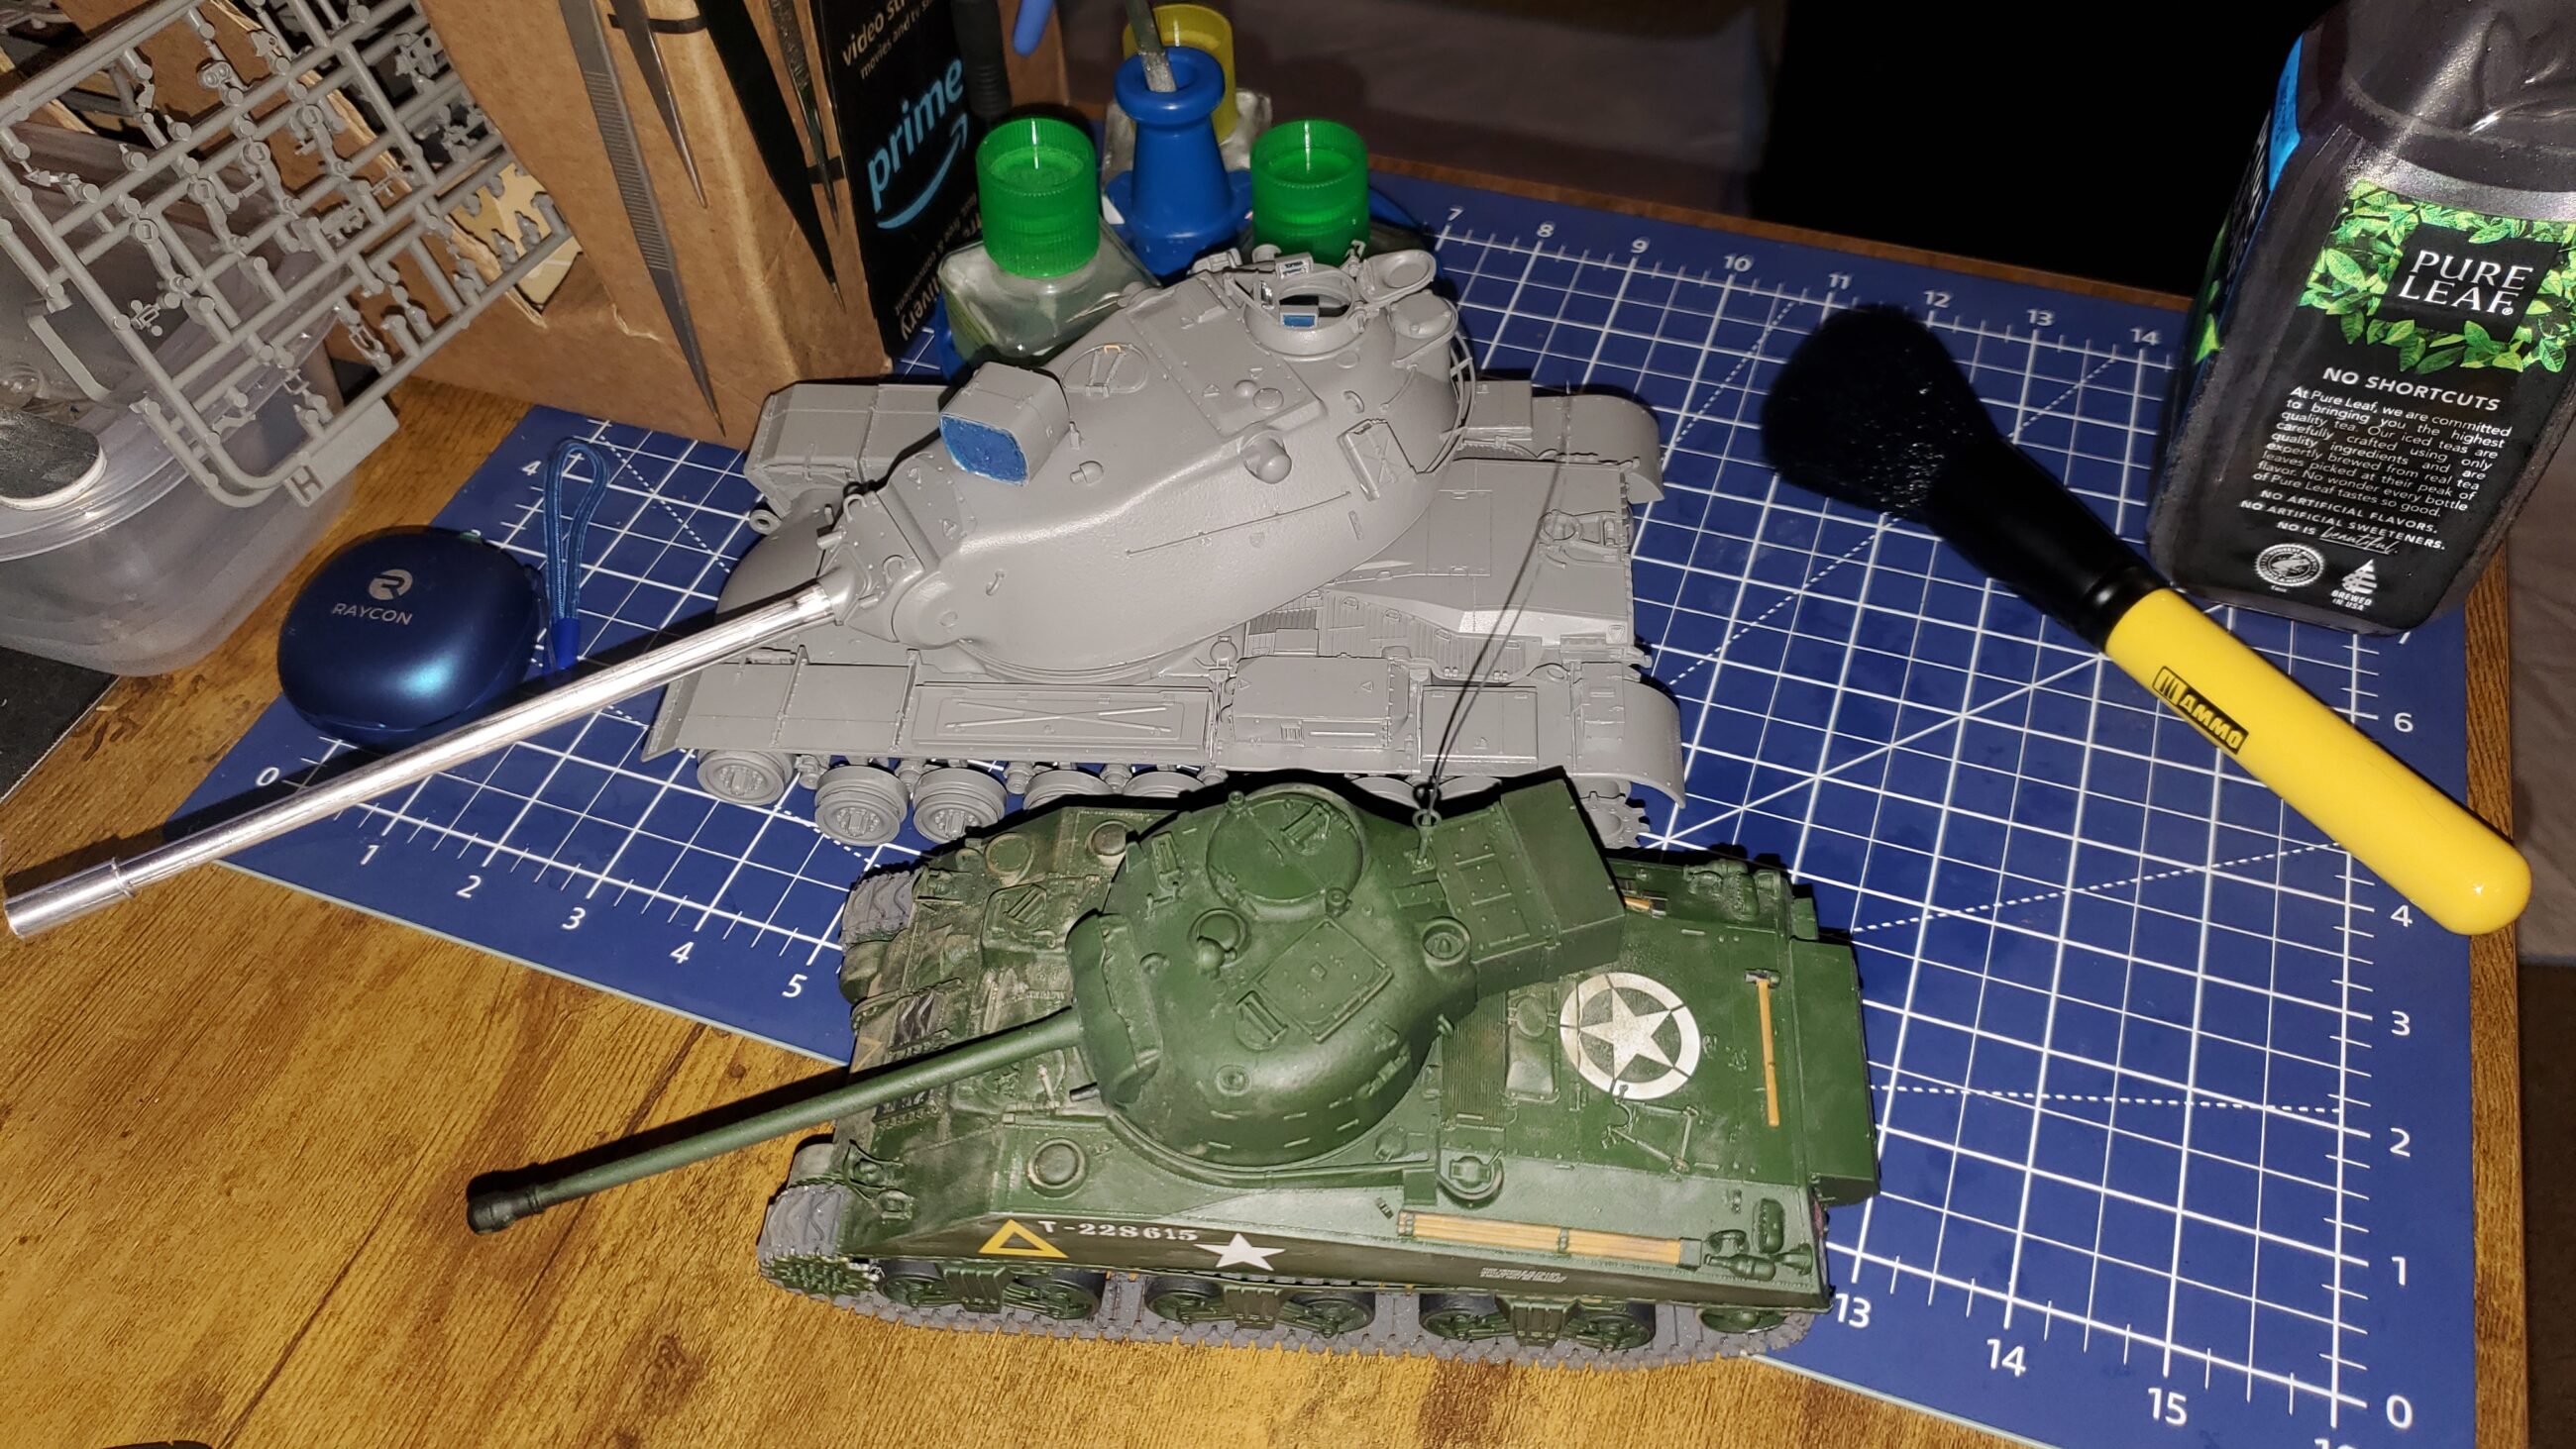
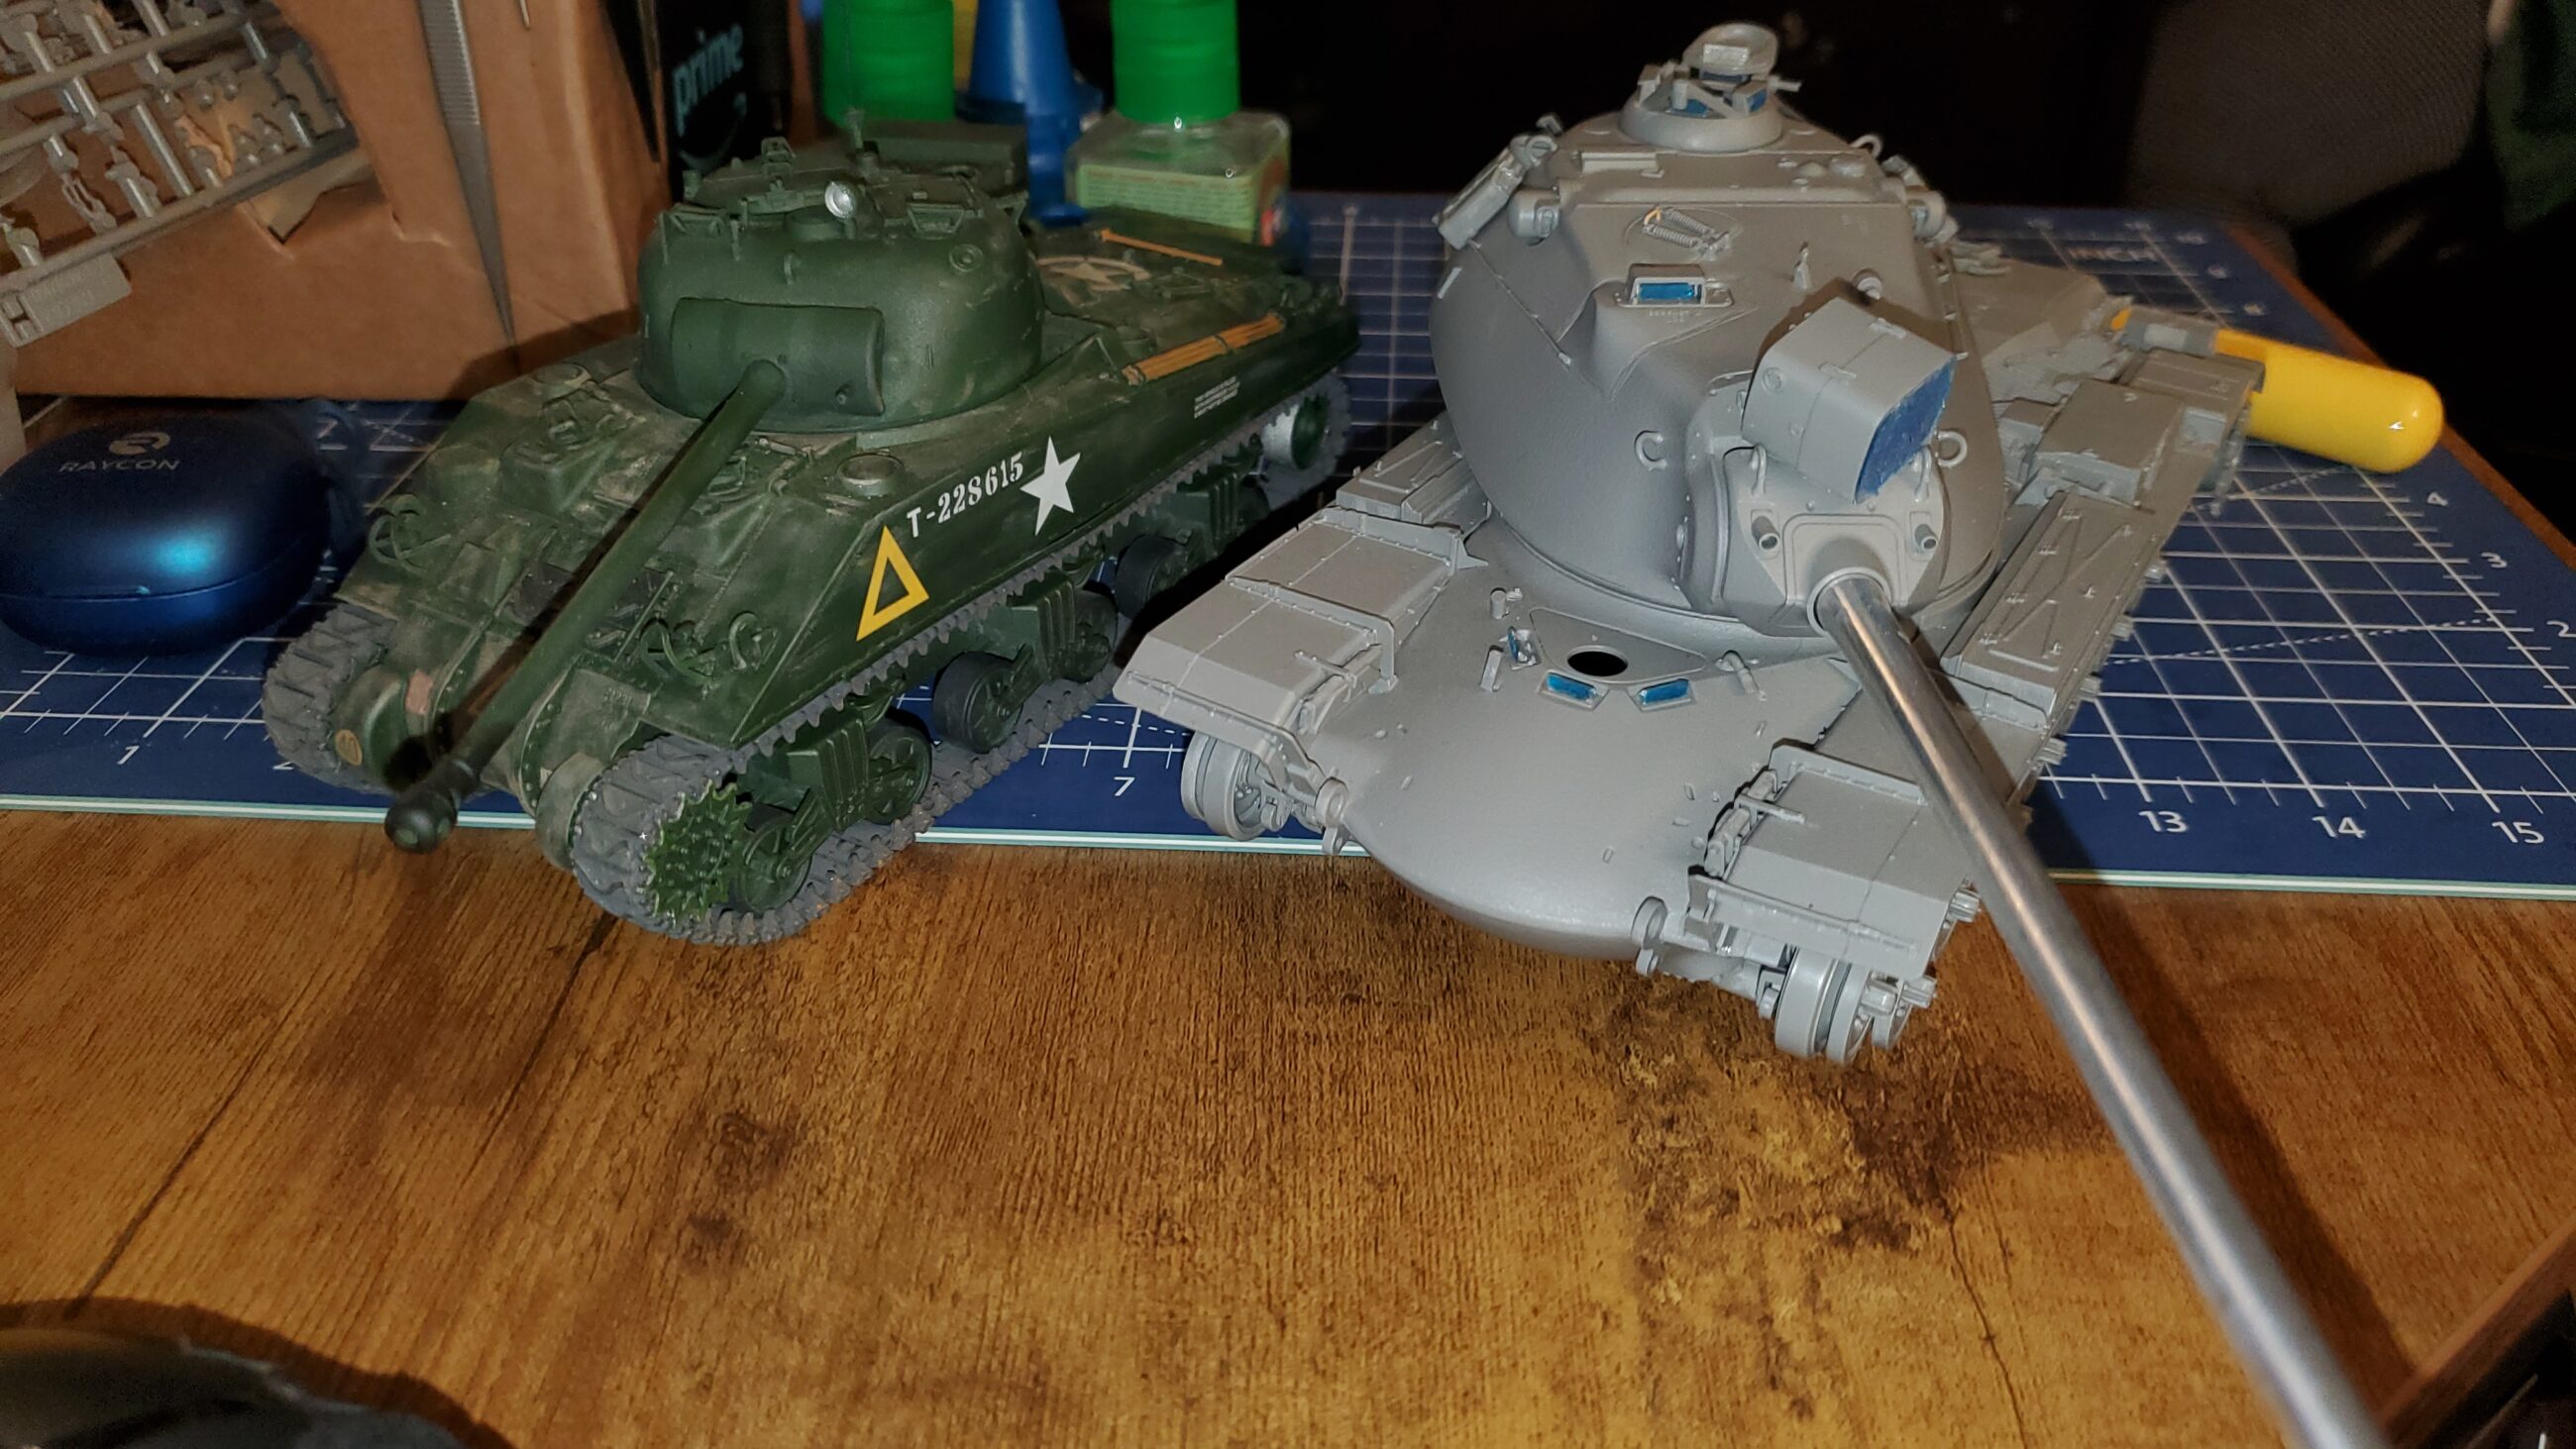
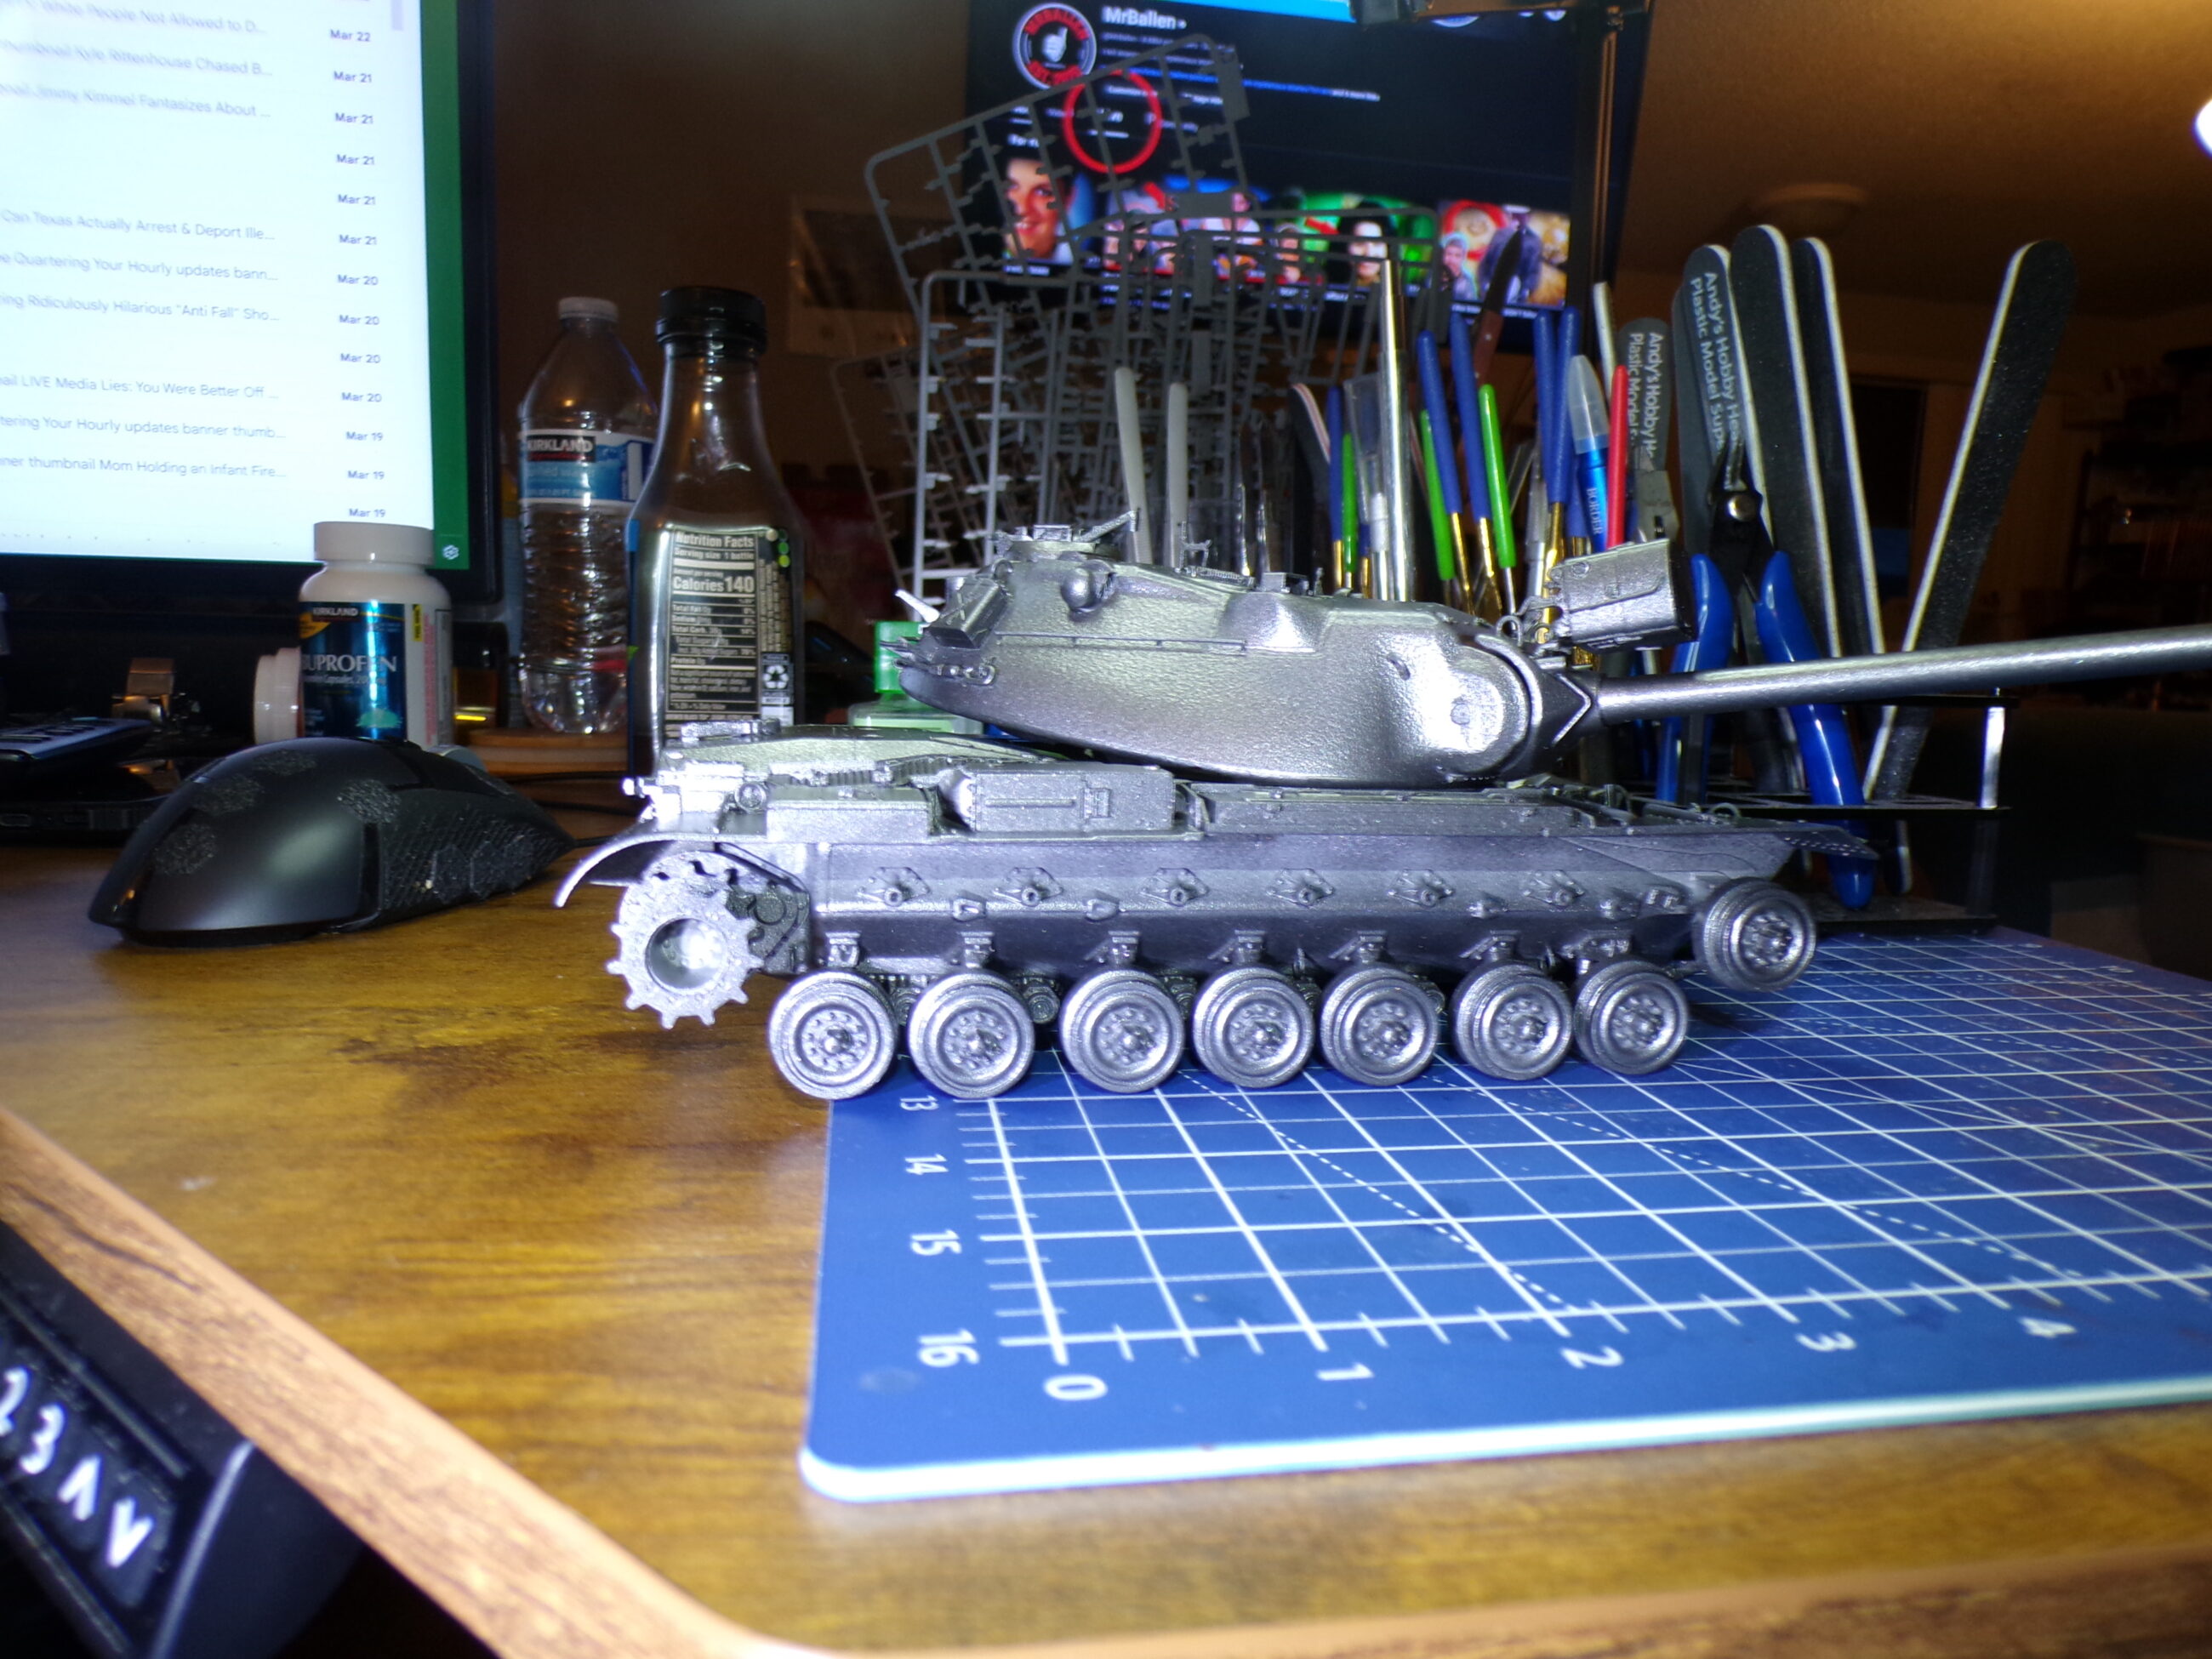
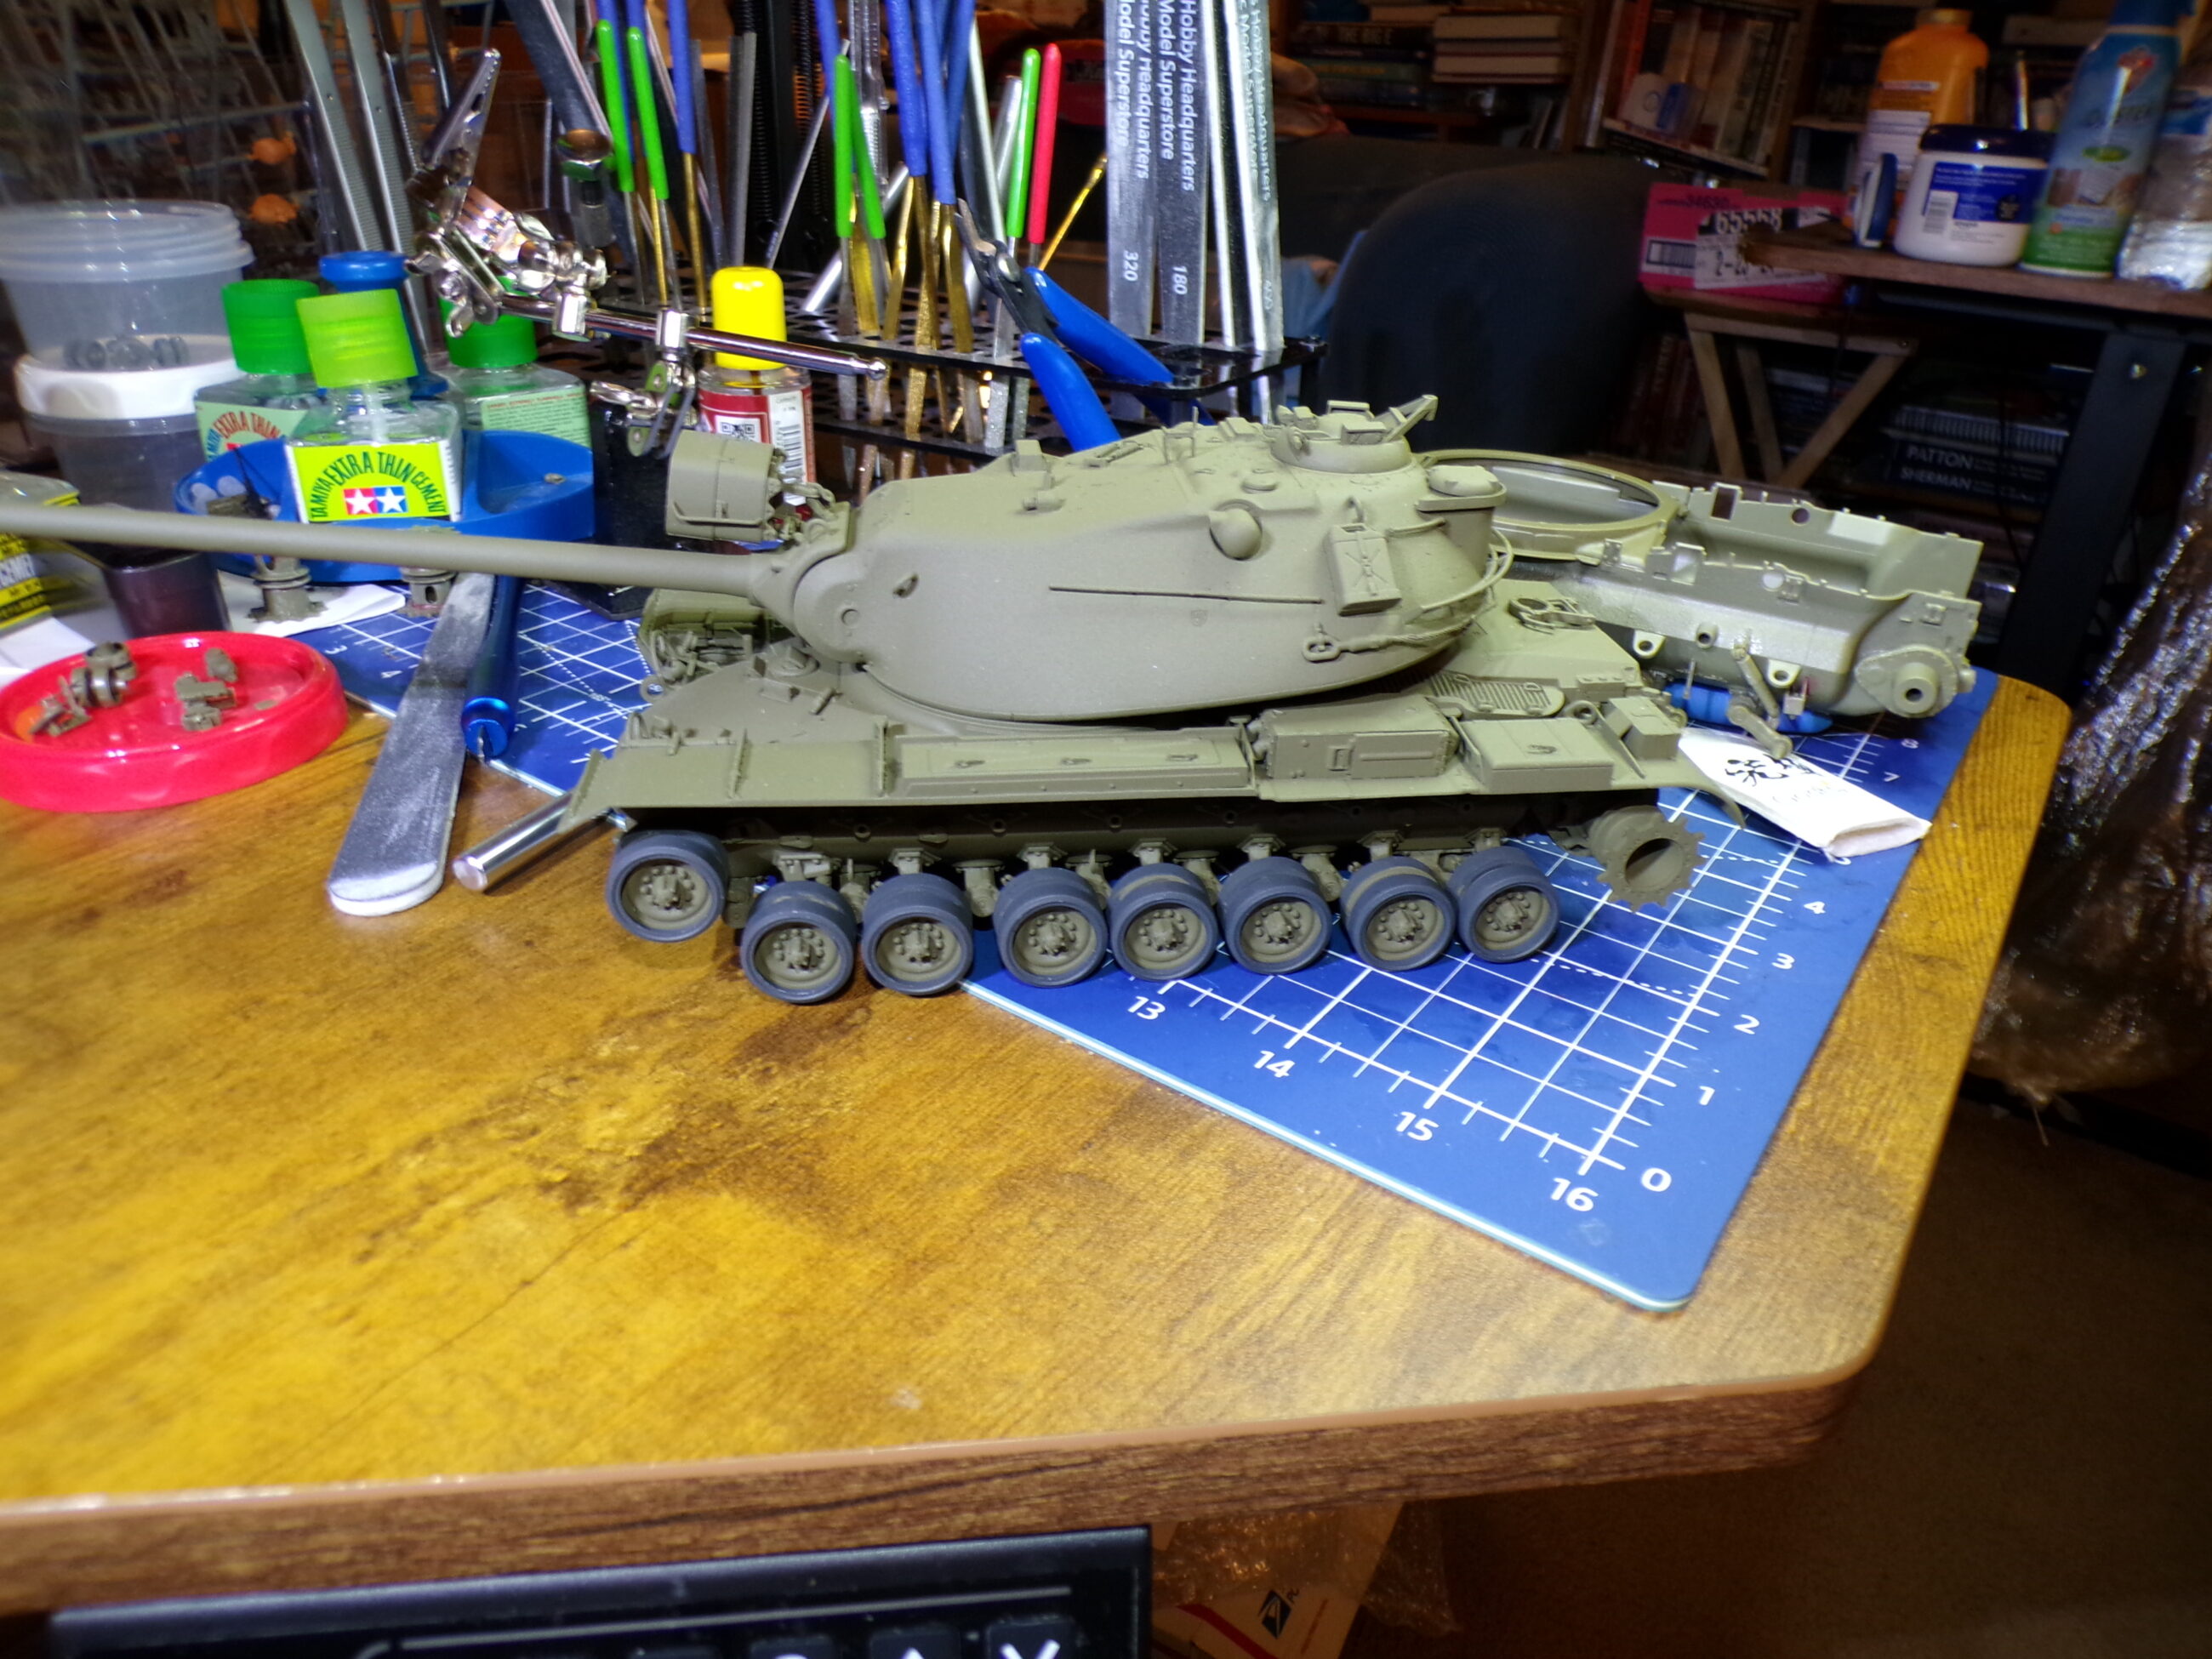
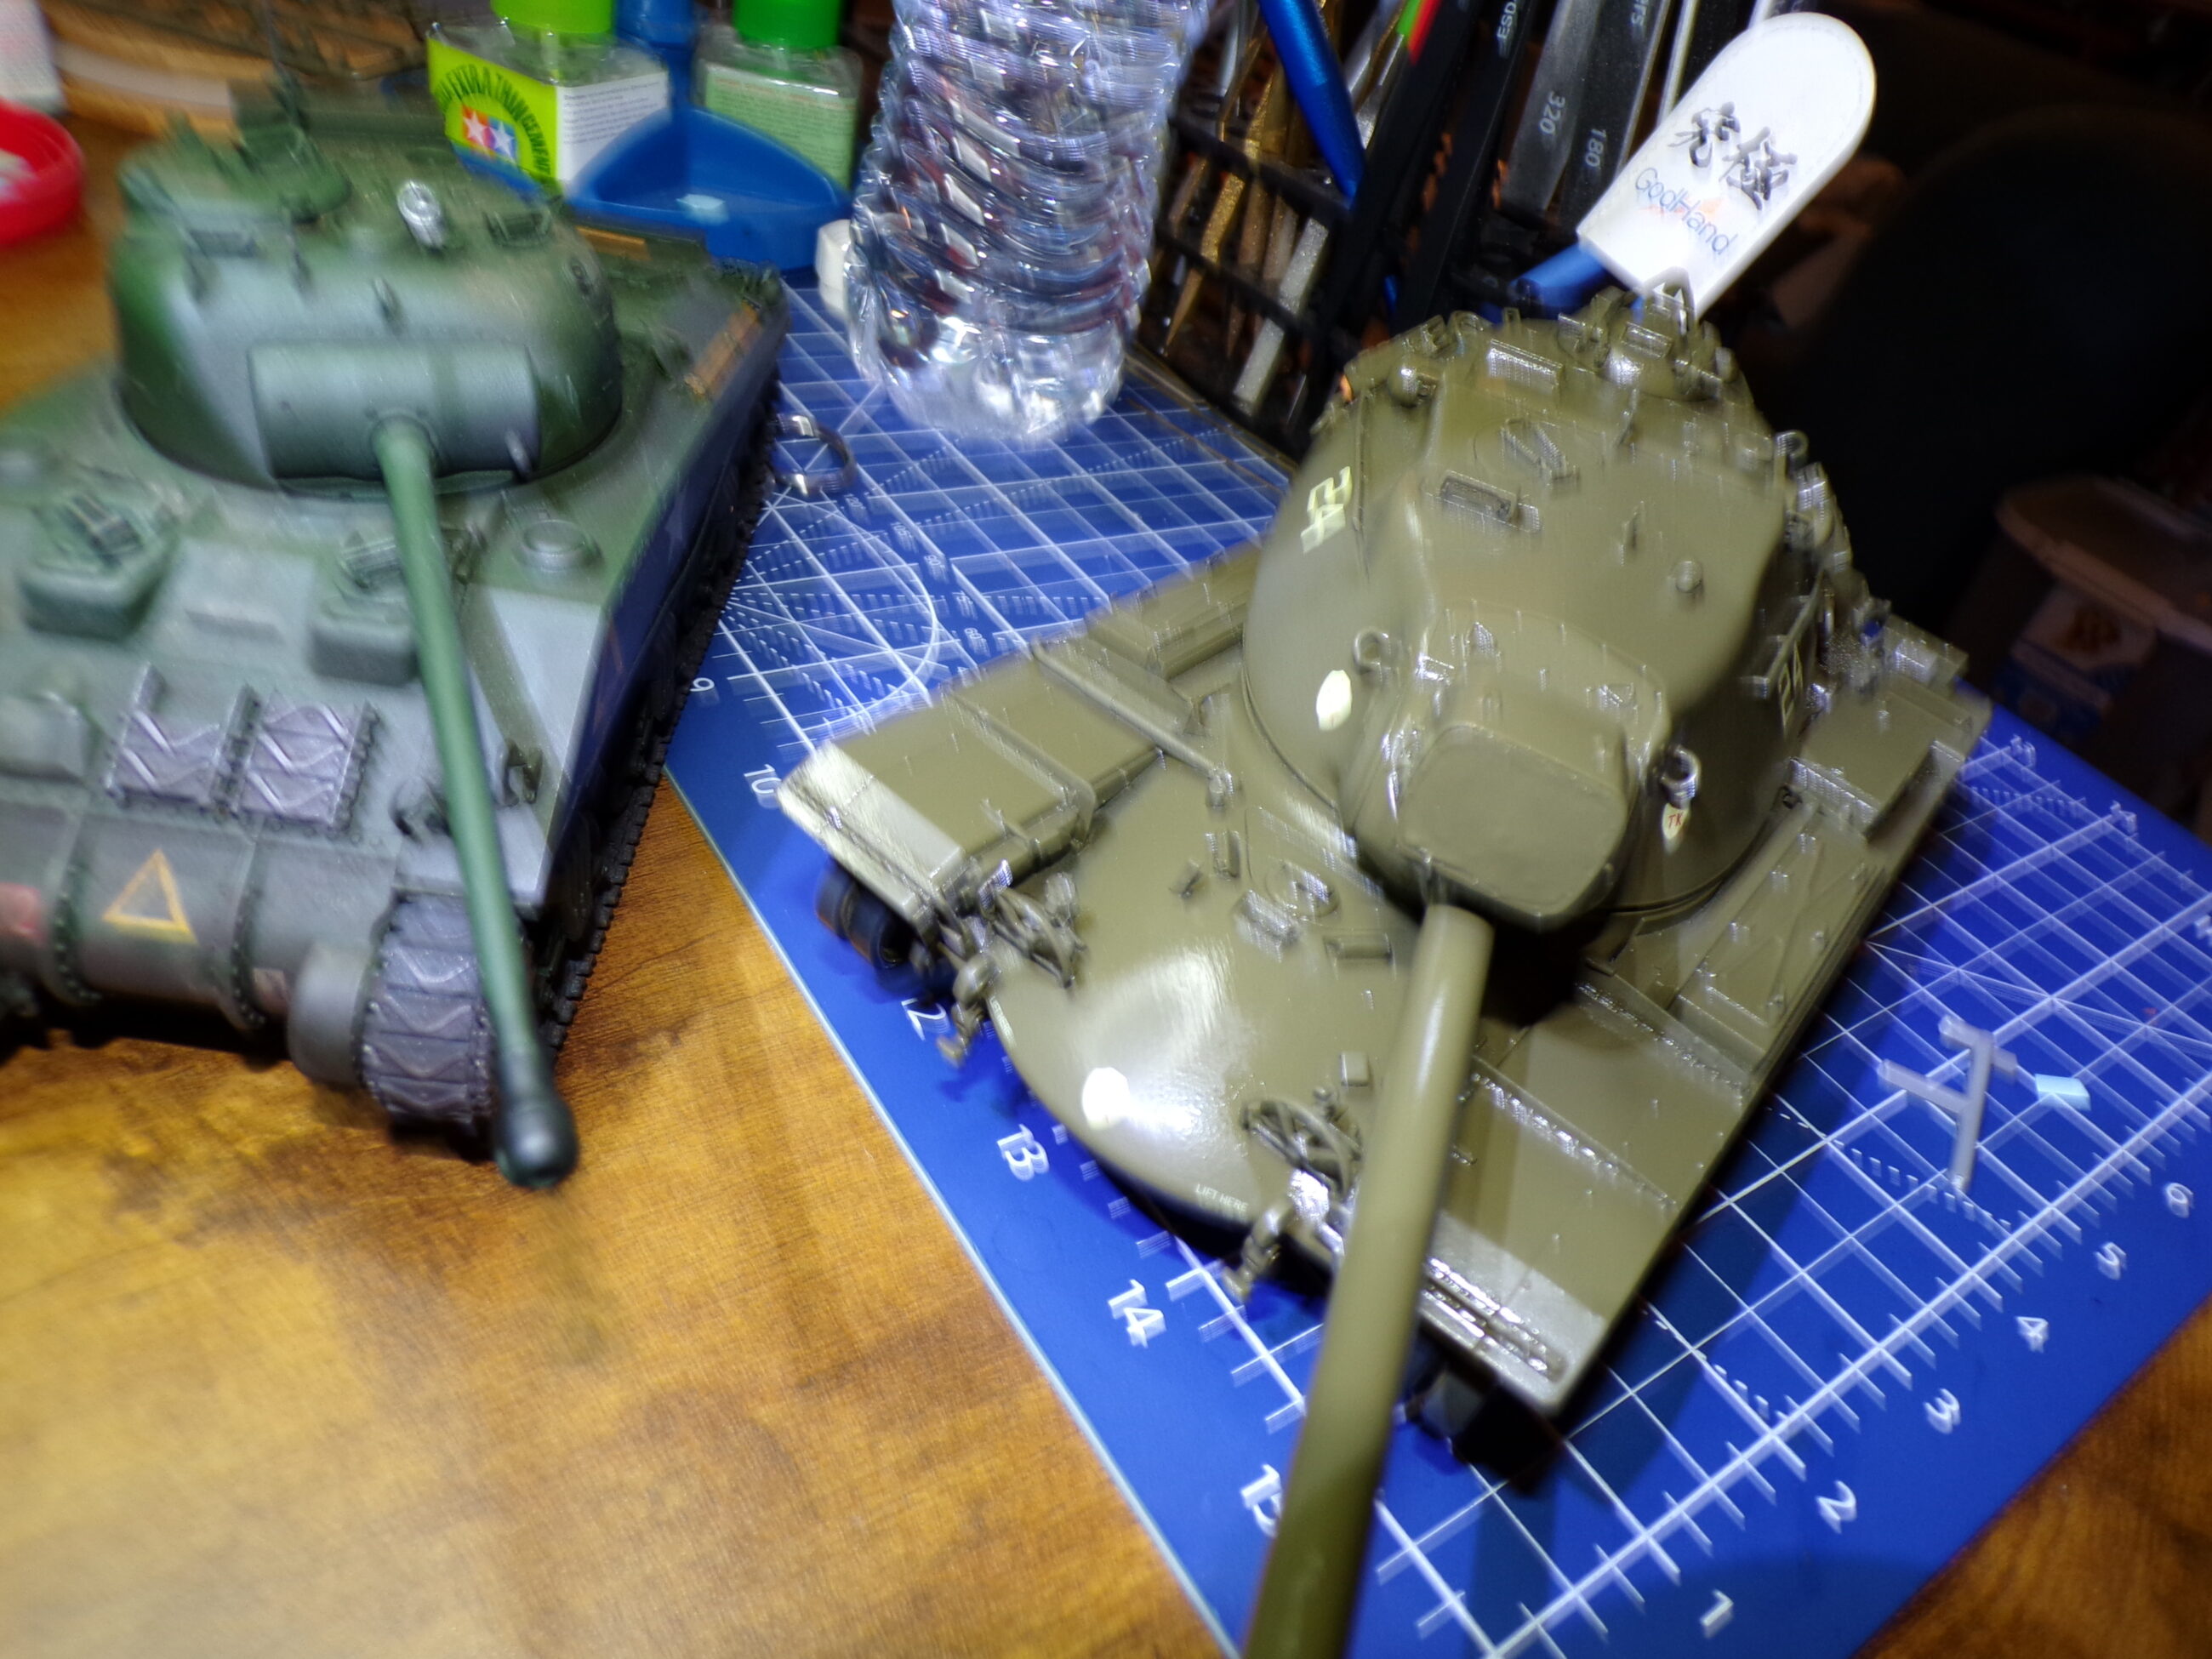
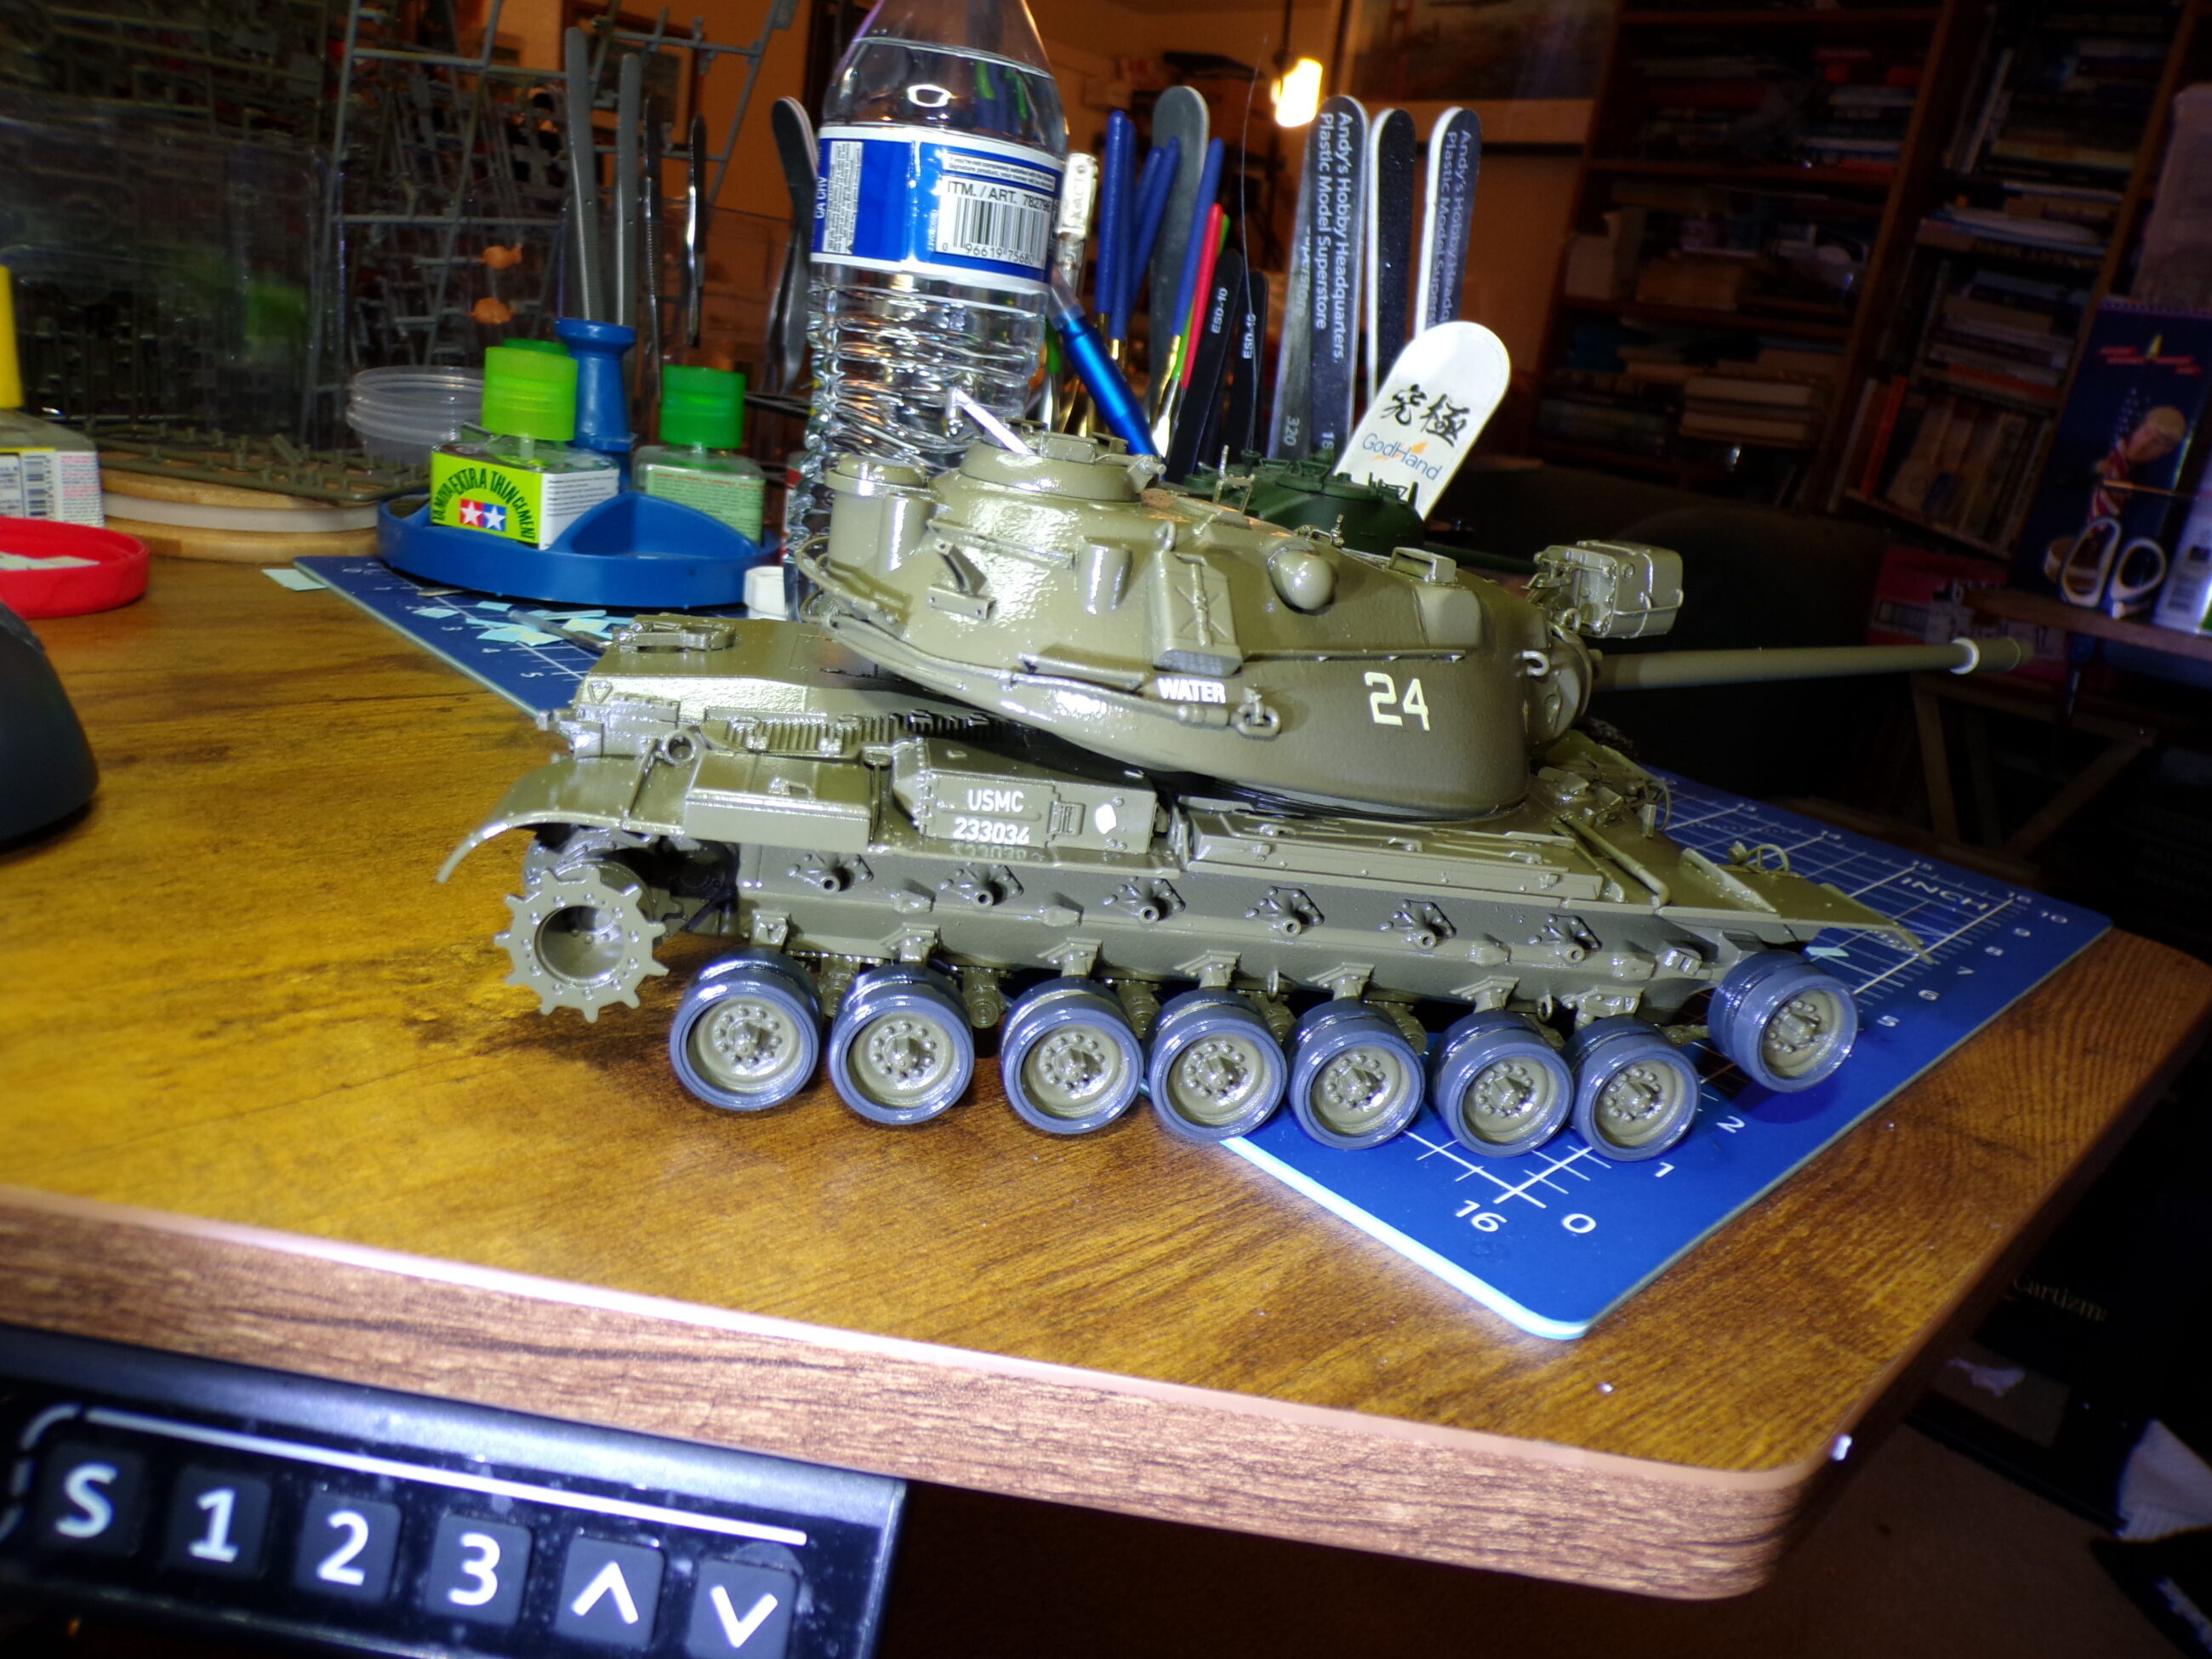
You can see the size of the hull compared to my hand and the same scale as Pershing and a Sherman. You can see how the rear hull is built up to take the A2 upper hull plate.
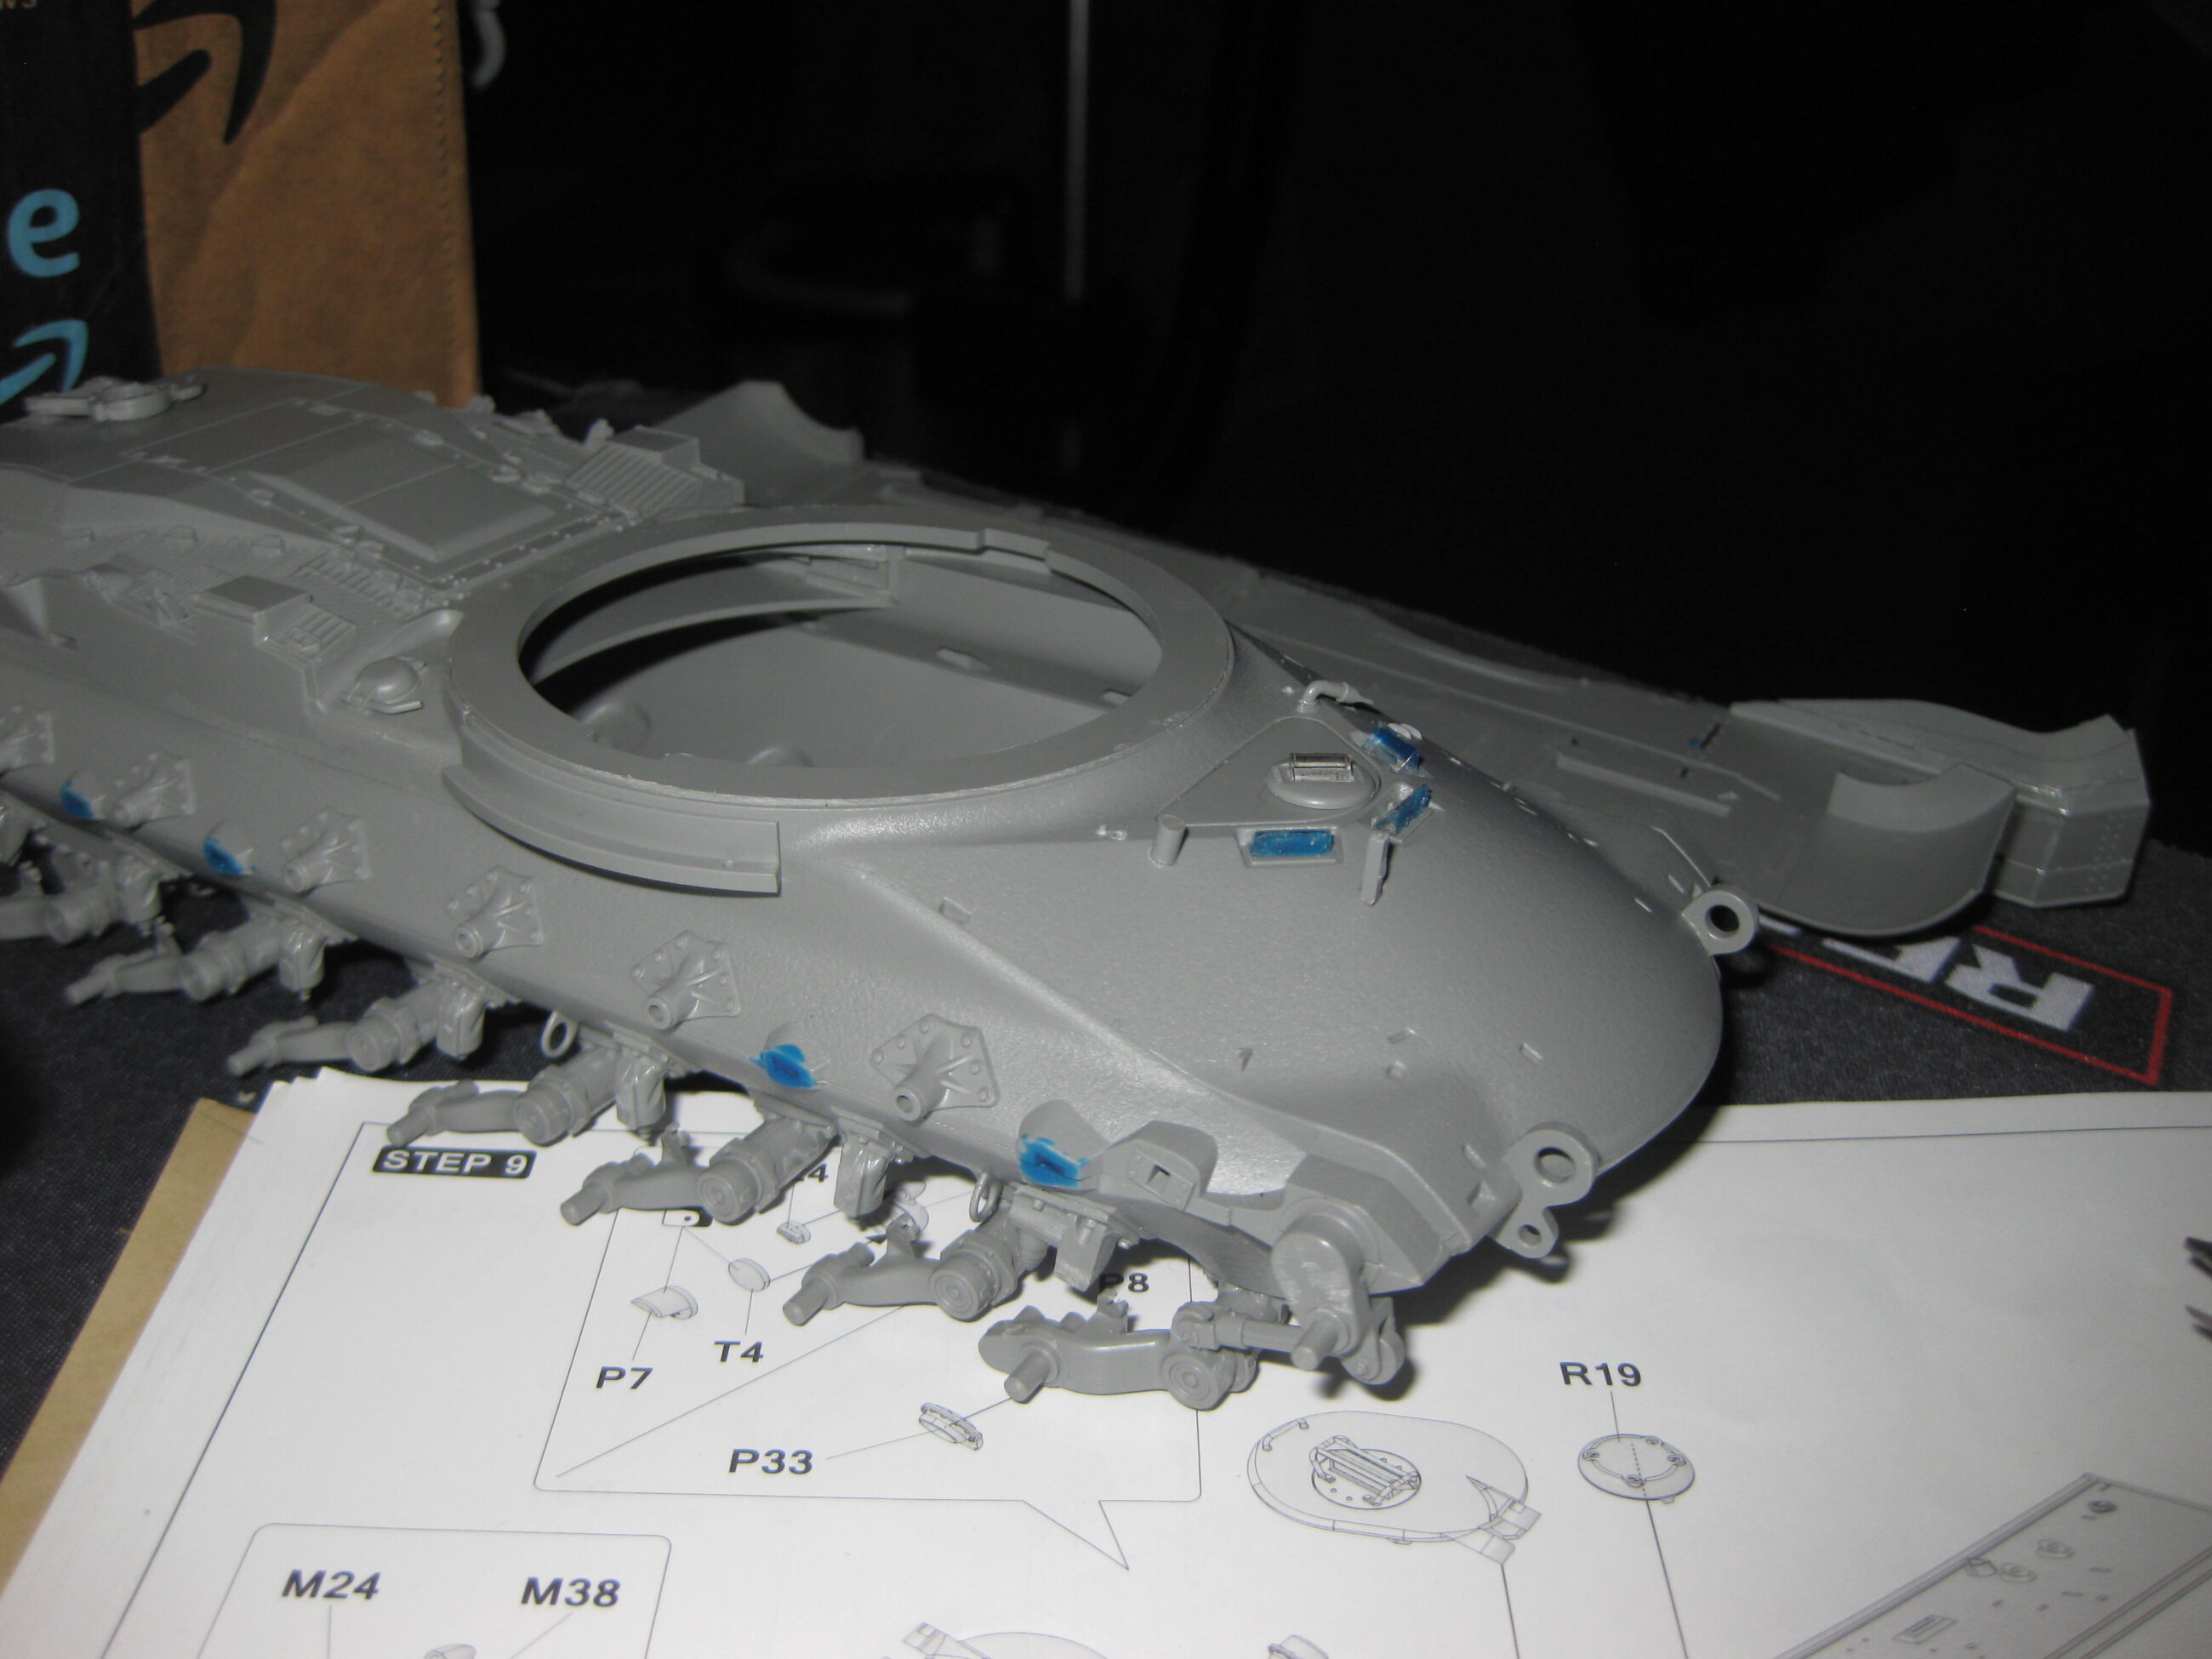
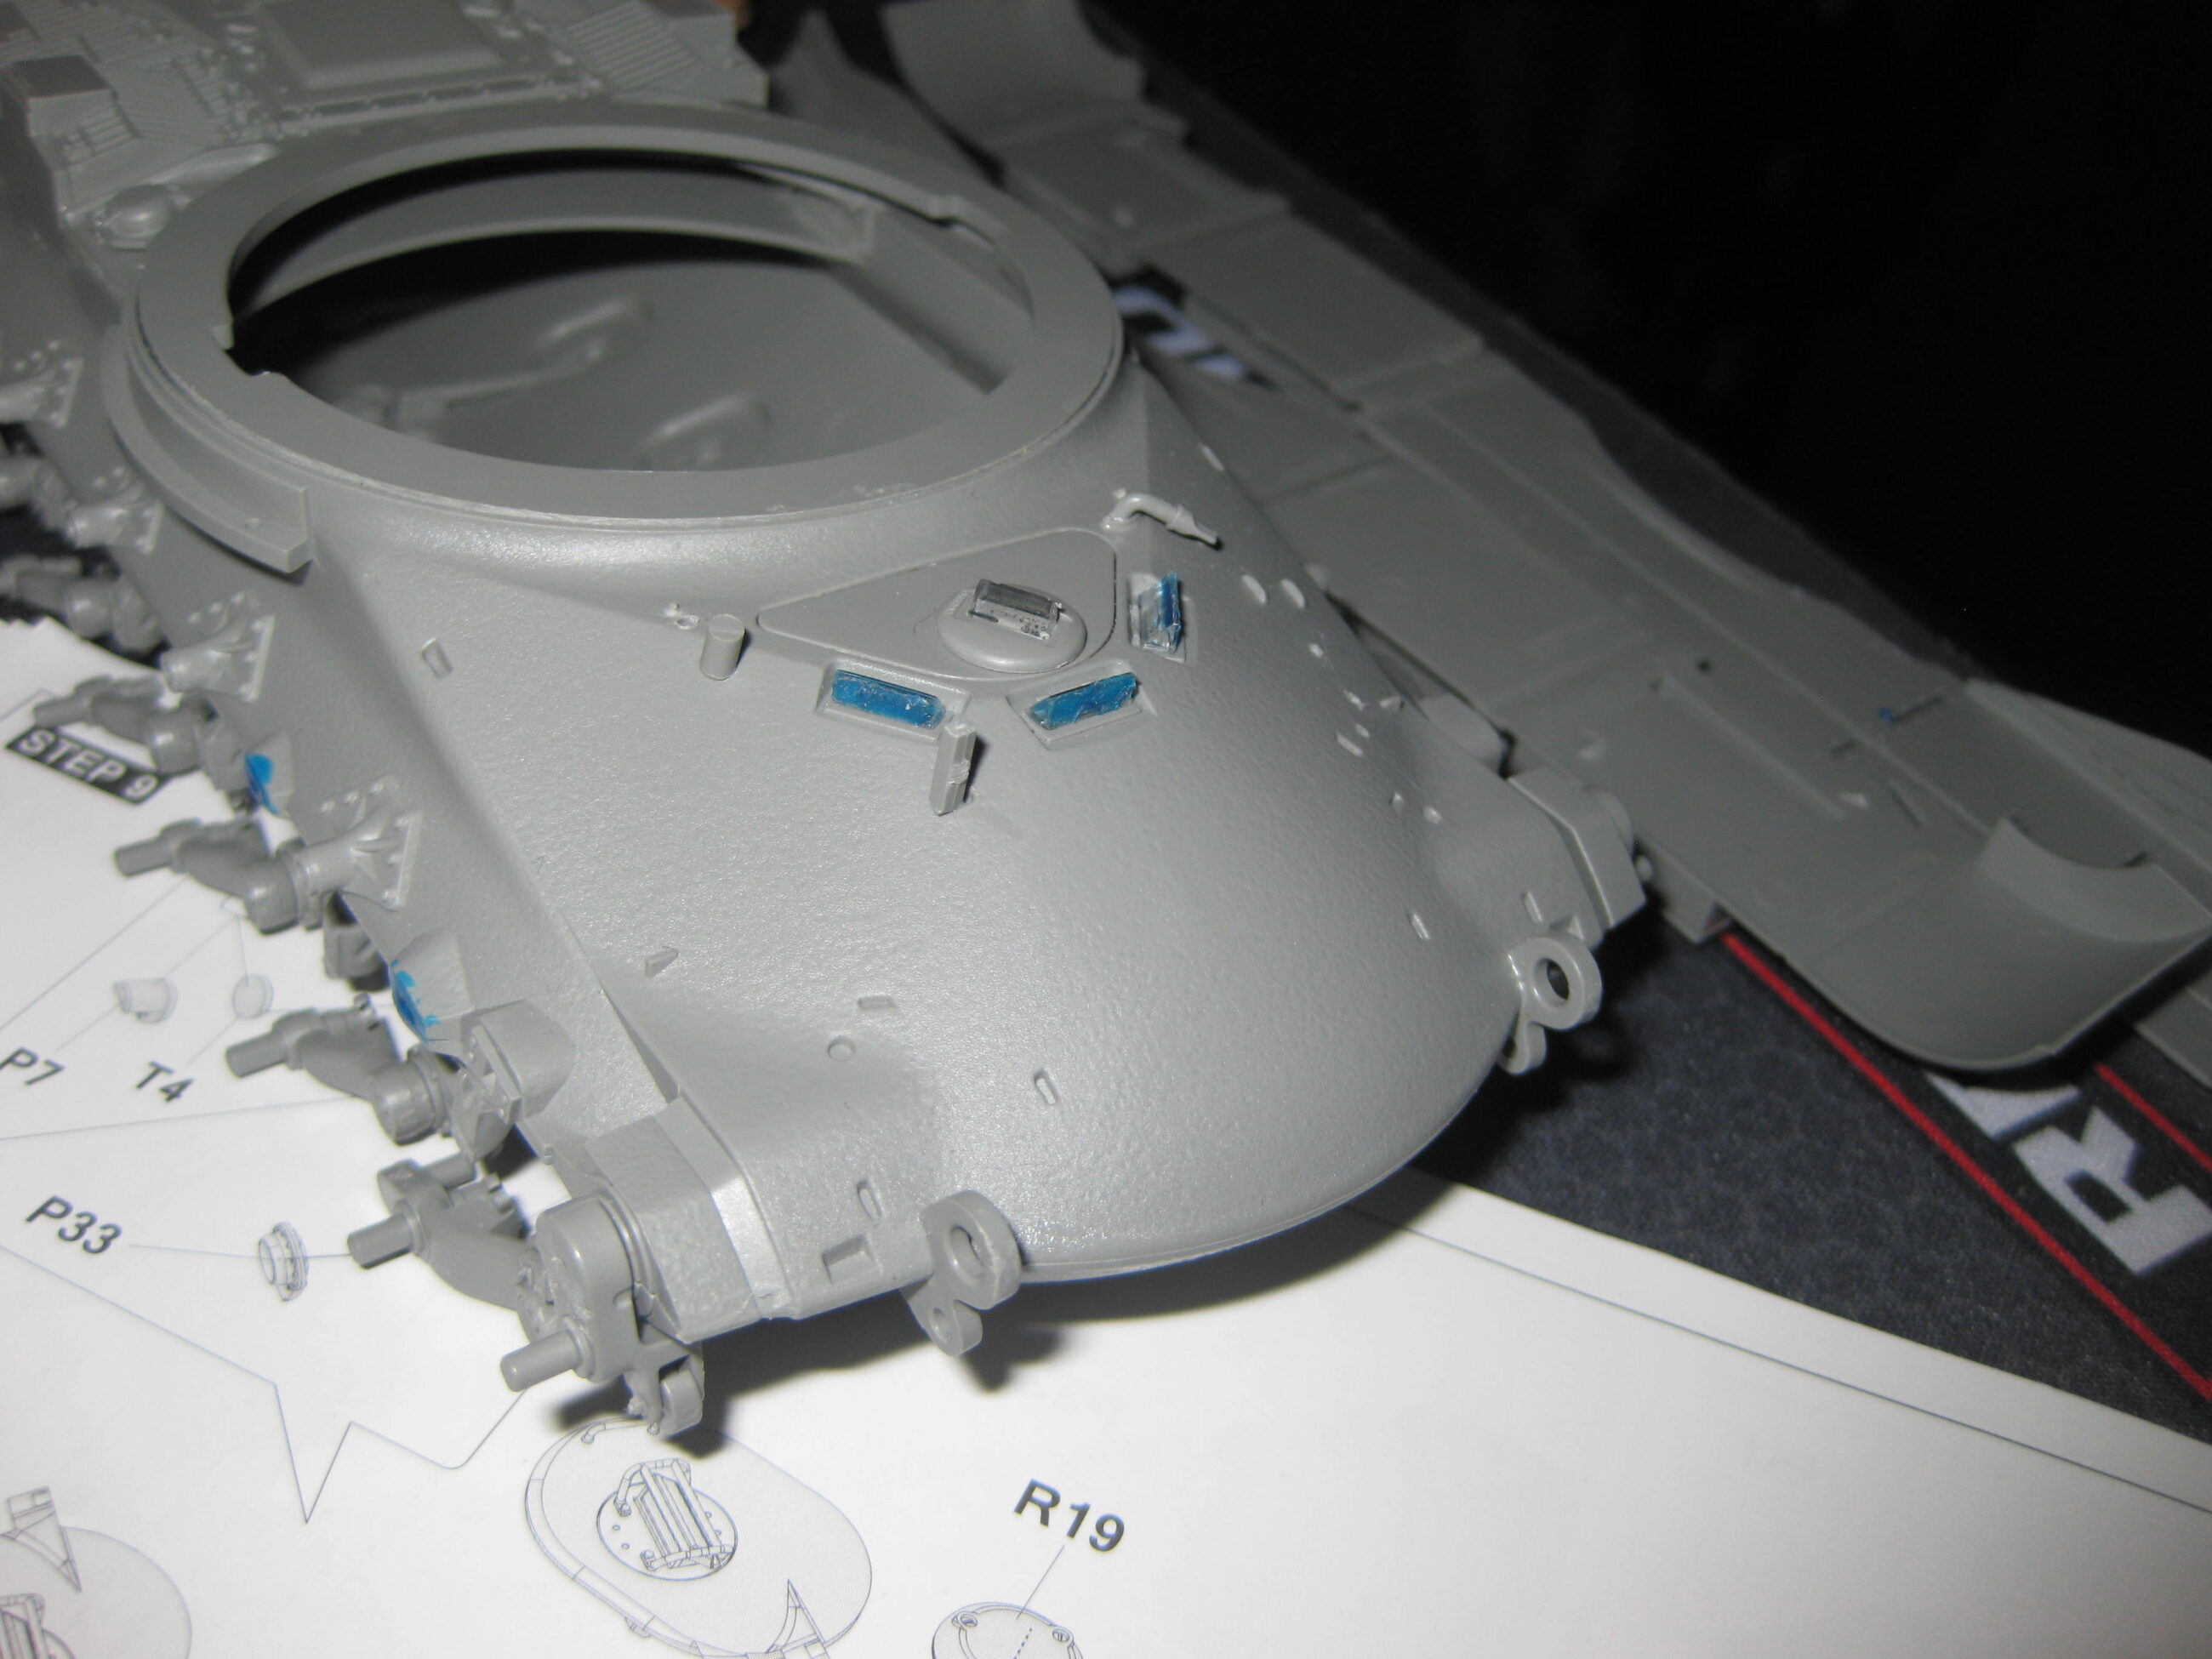
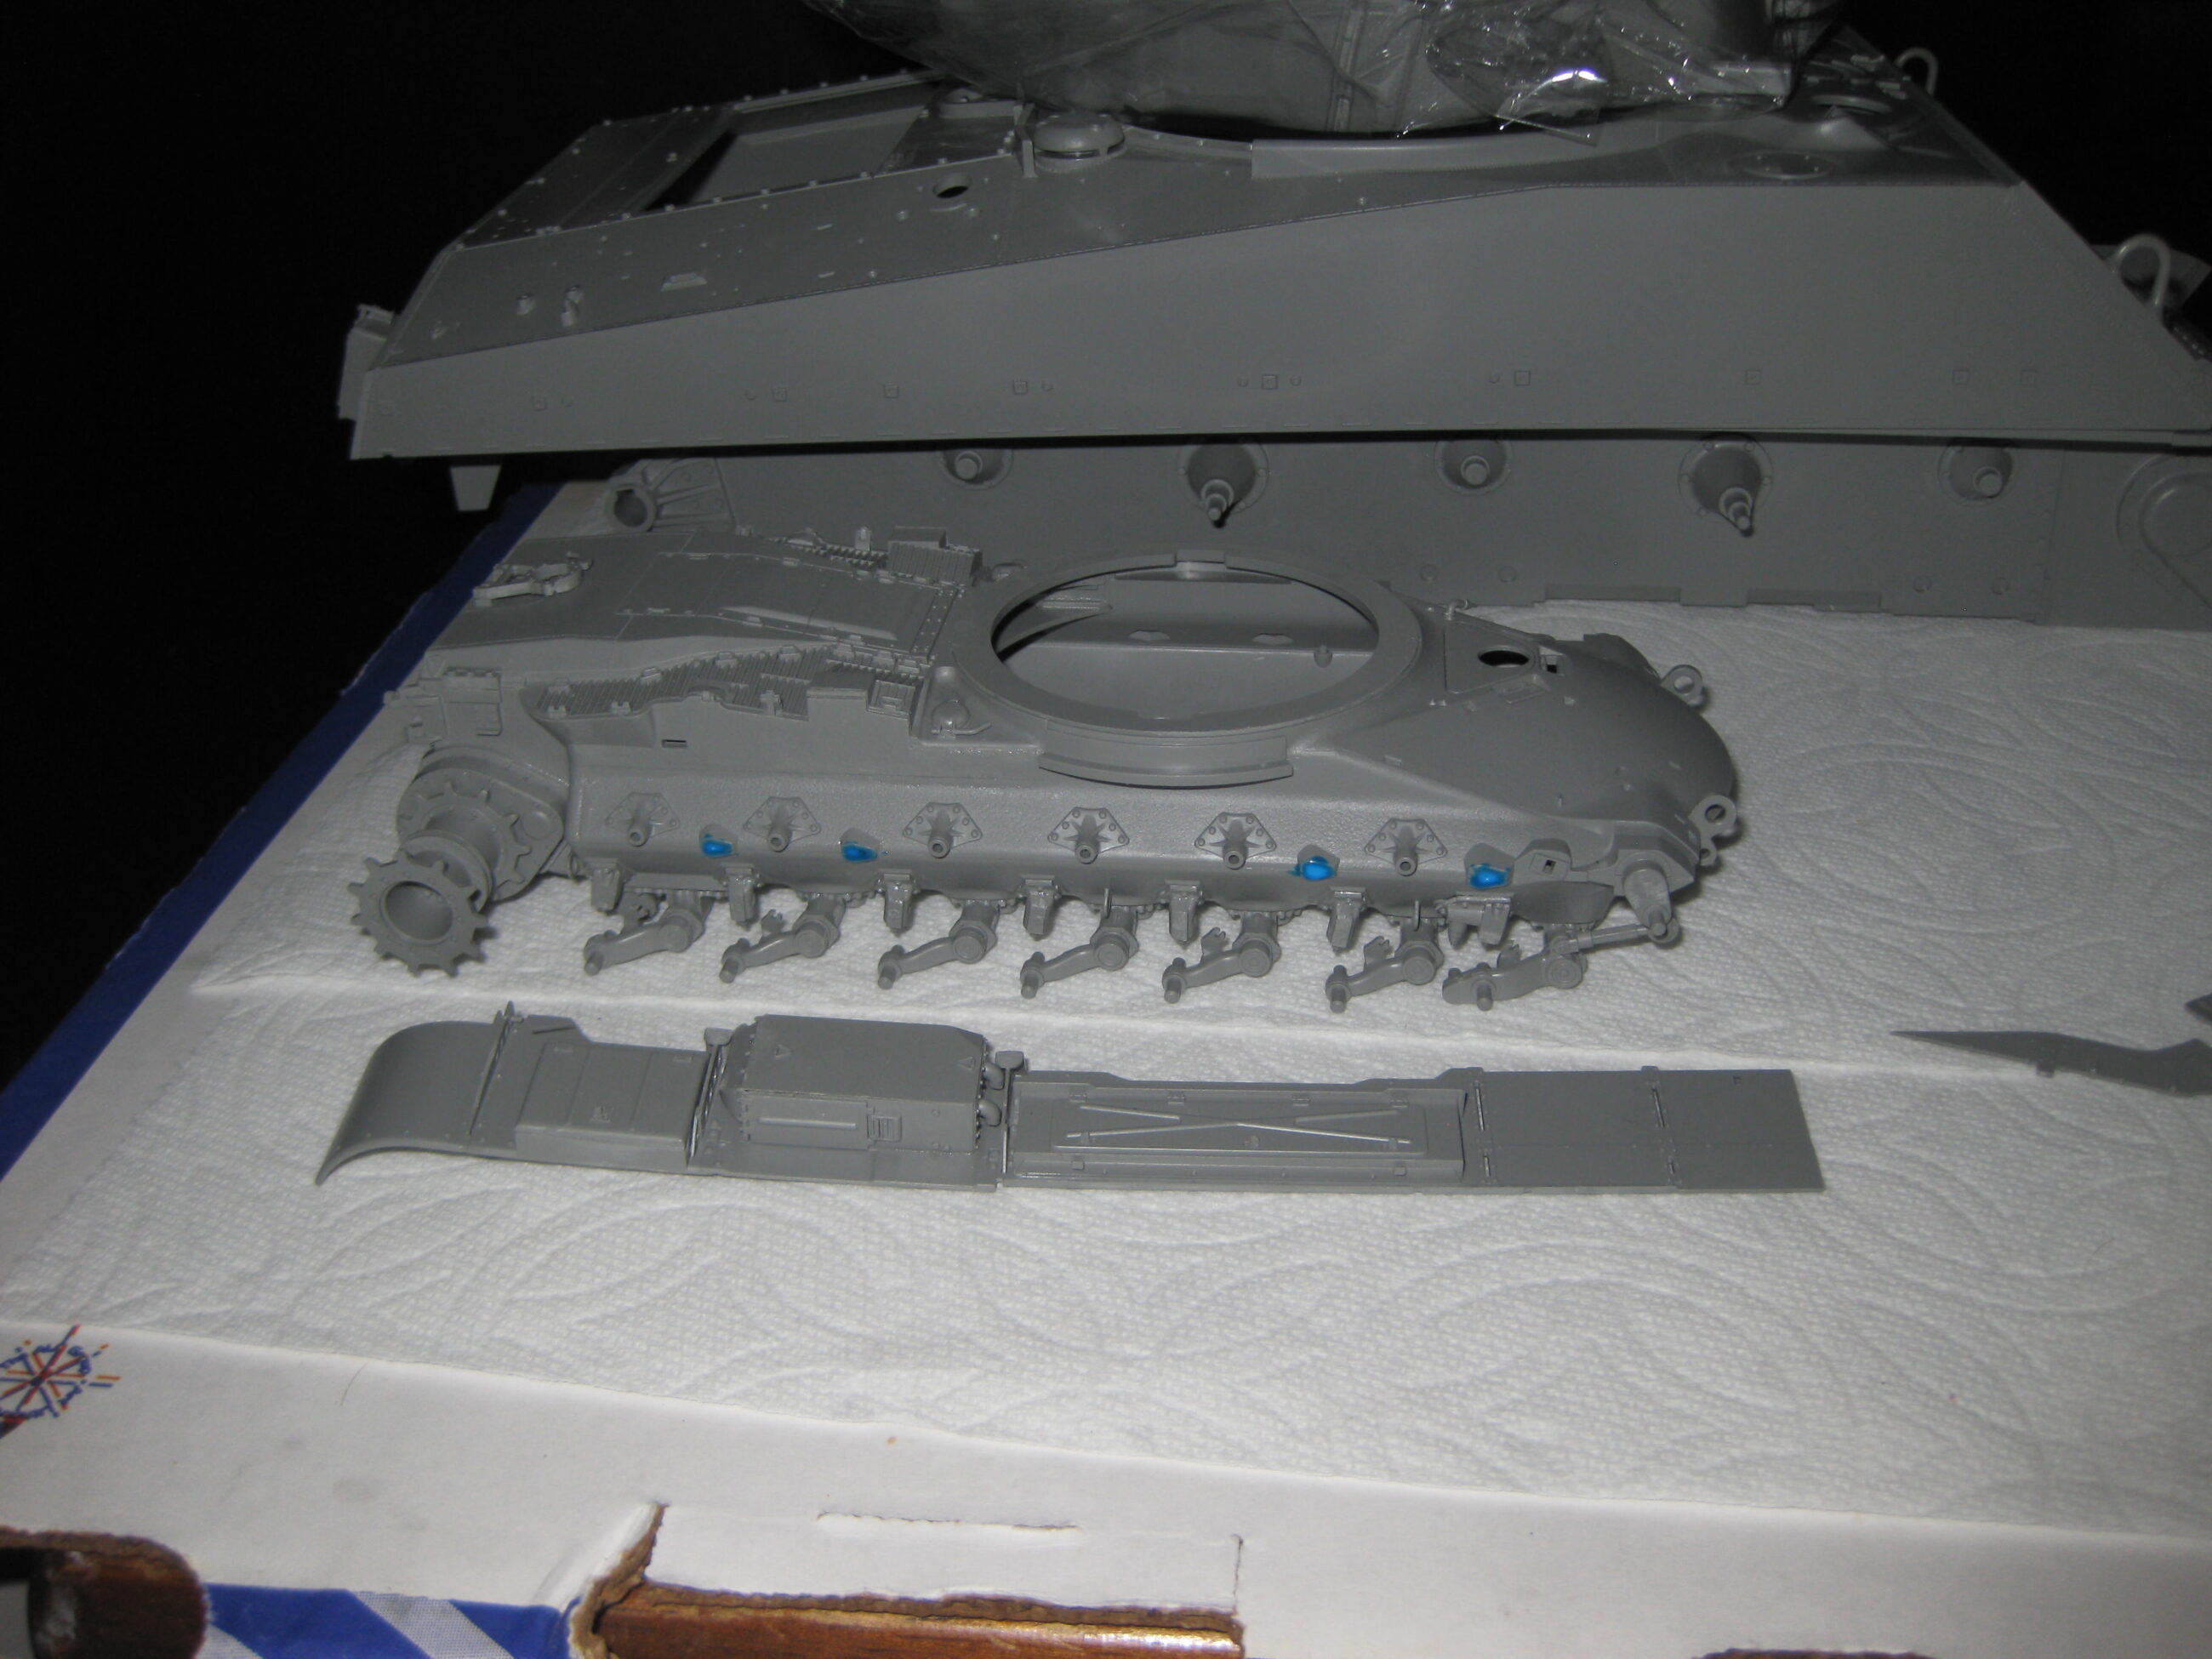
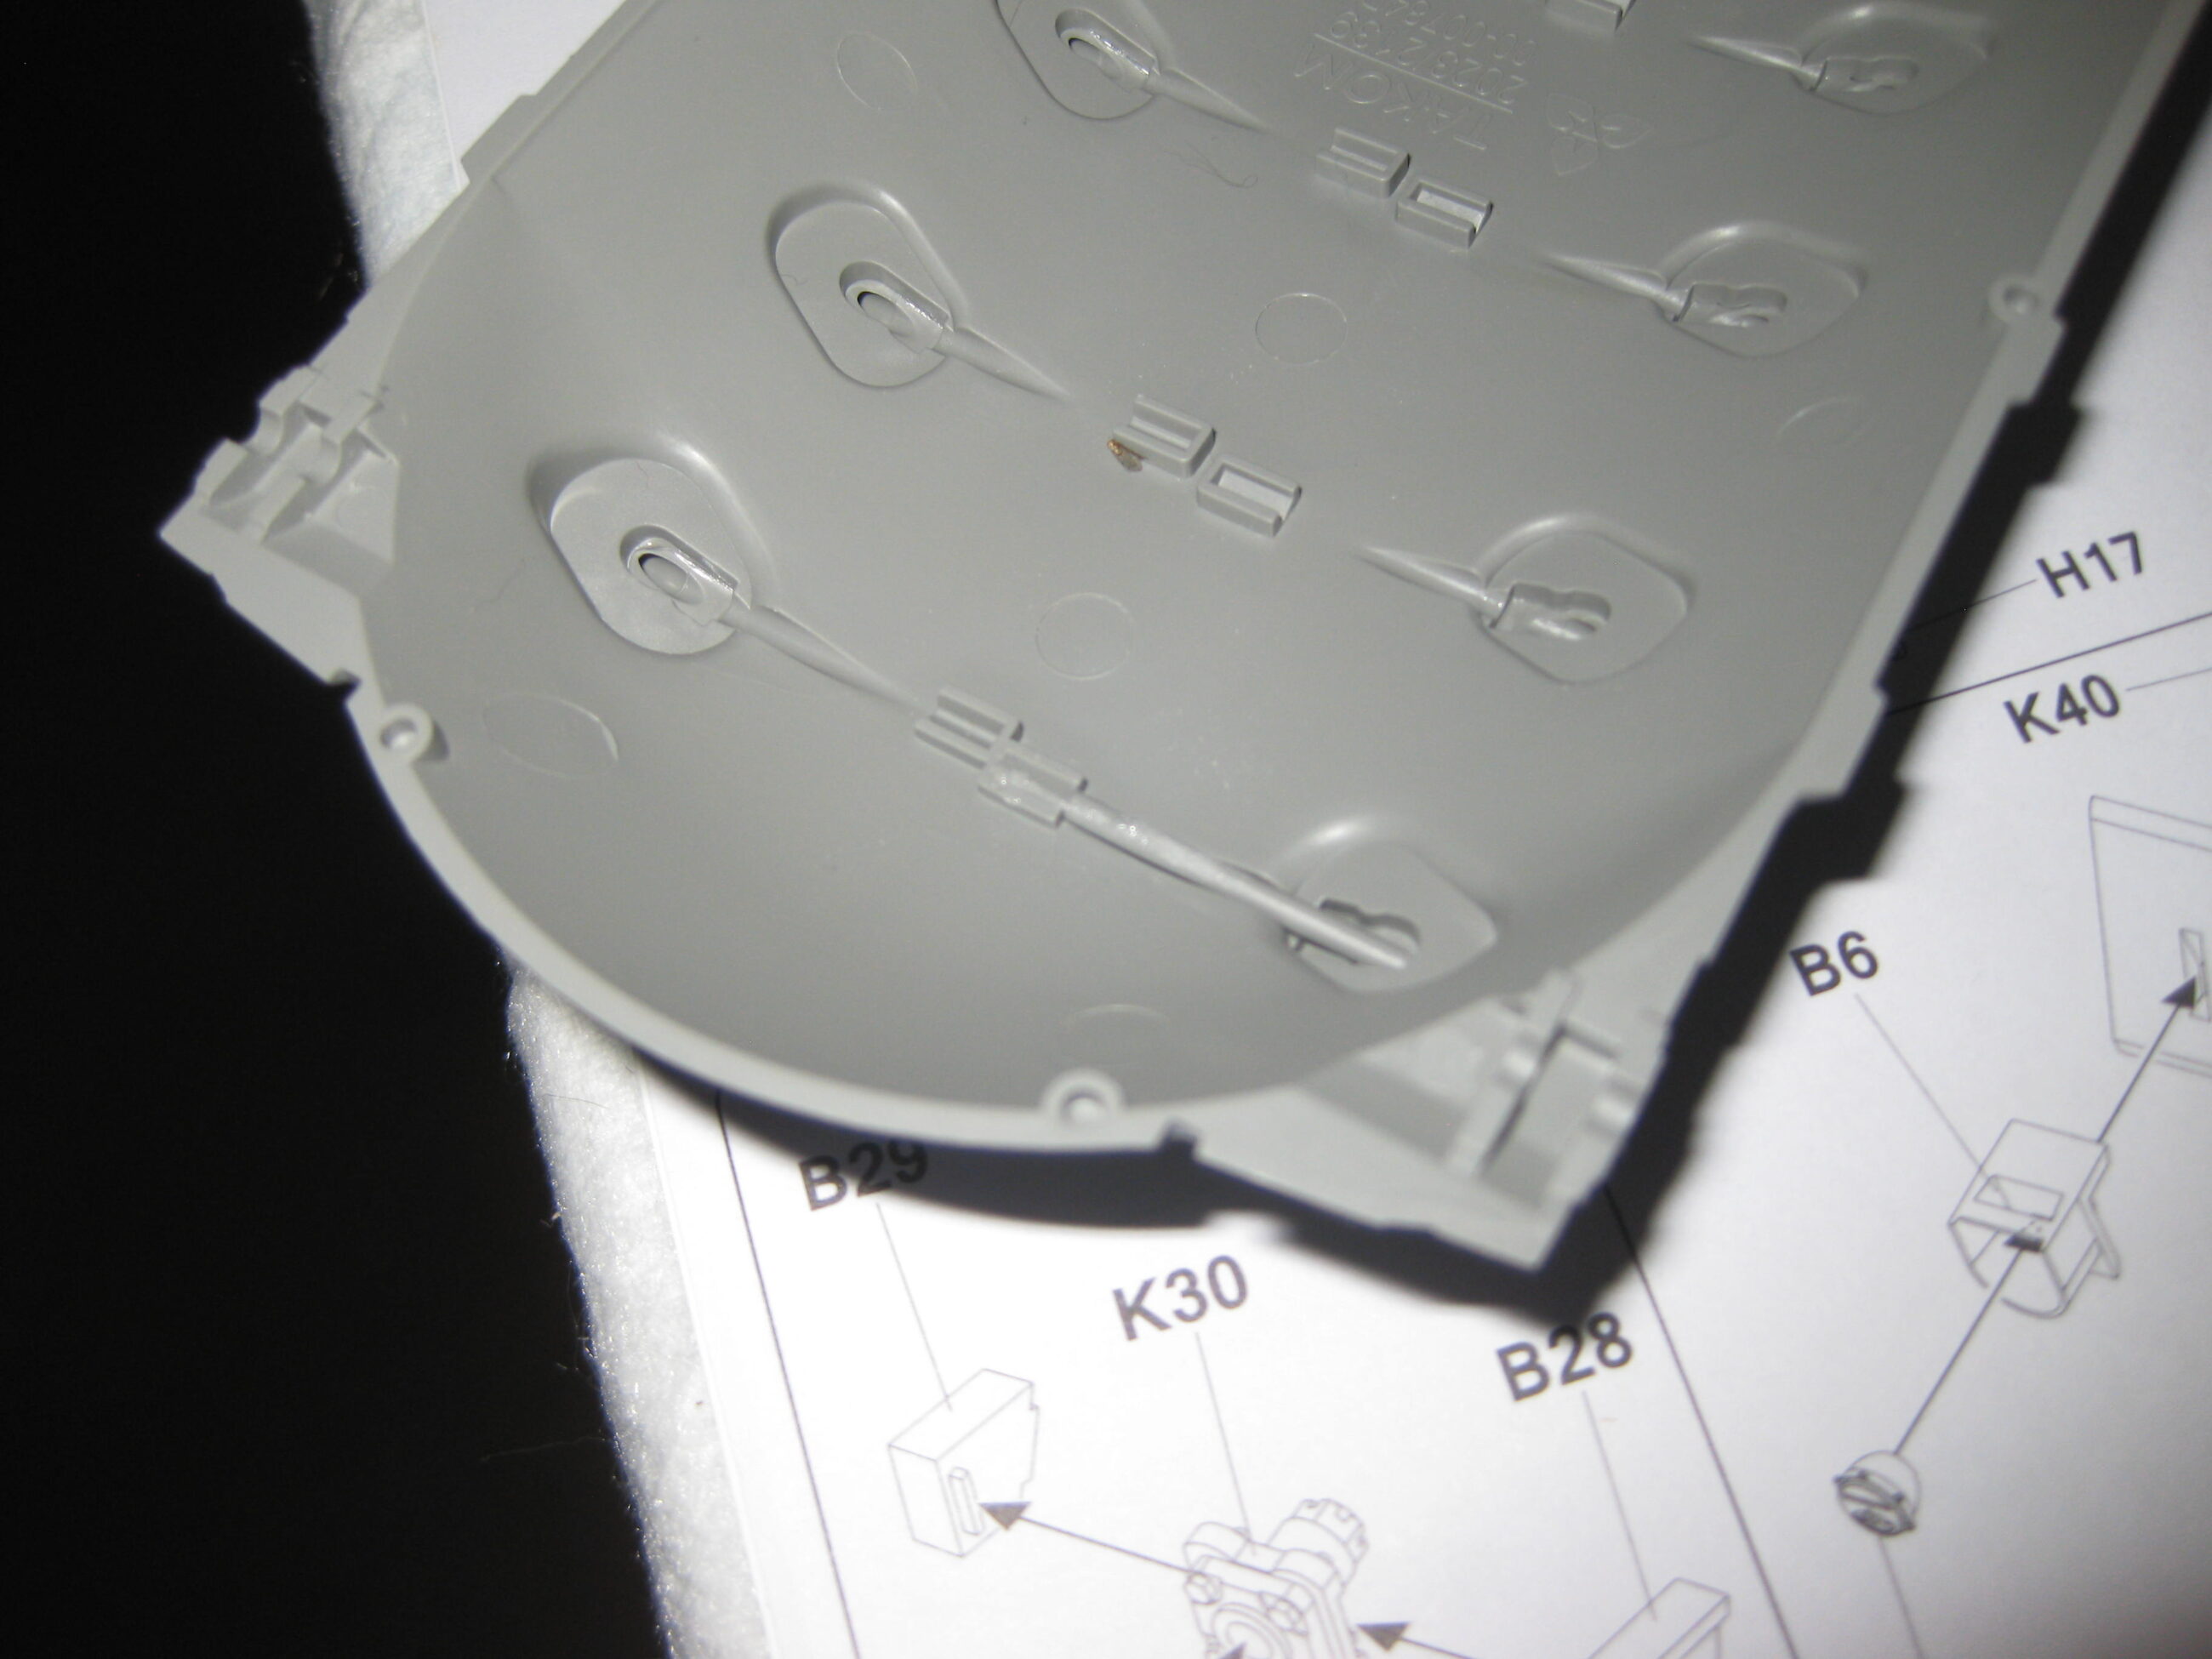
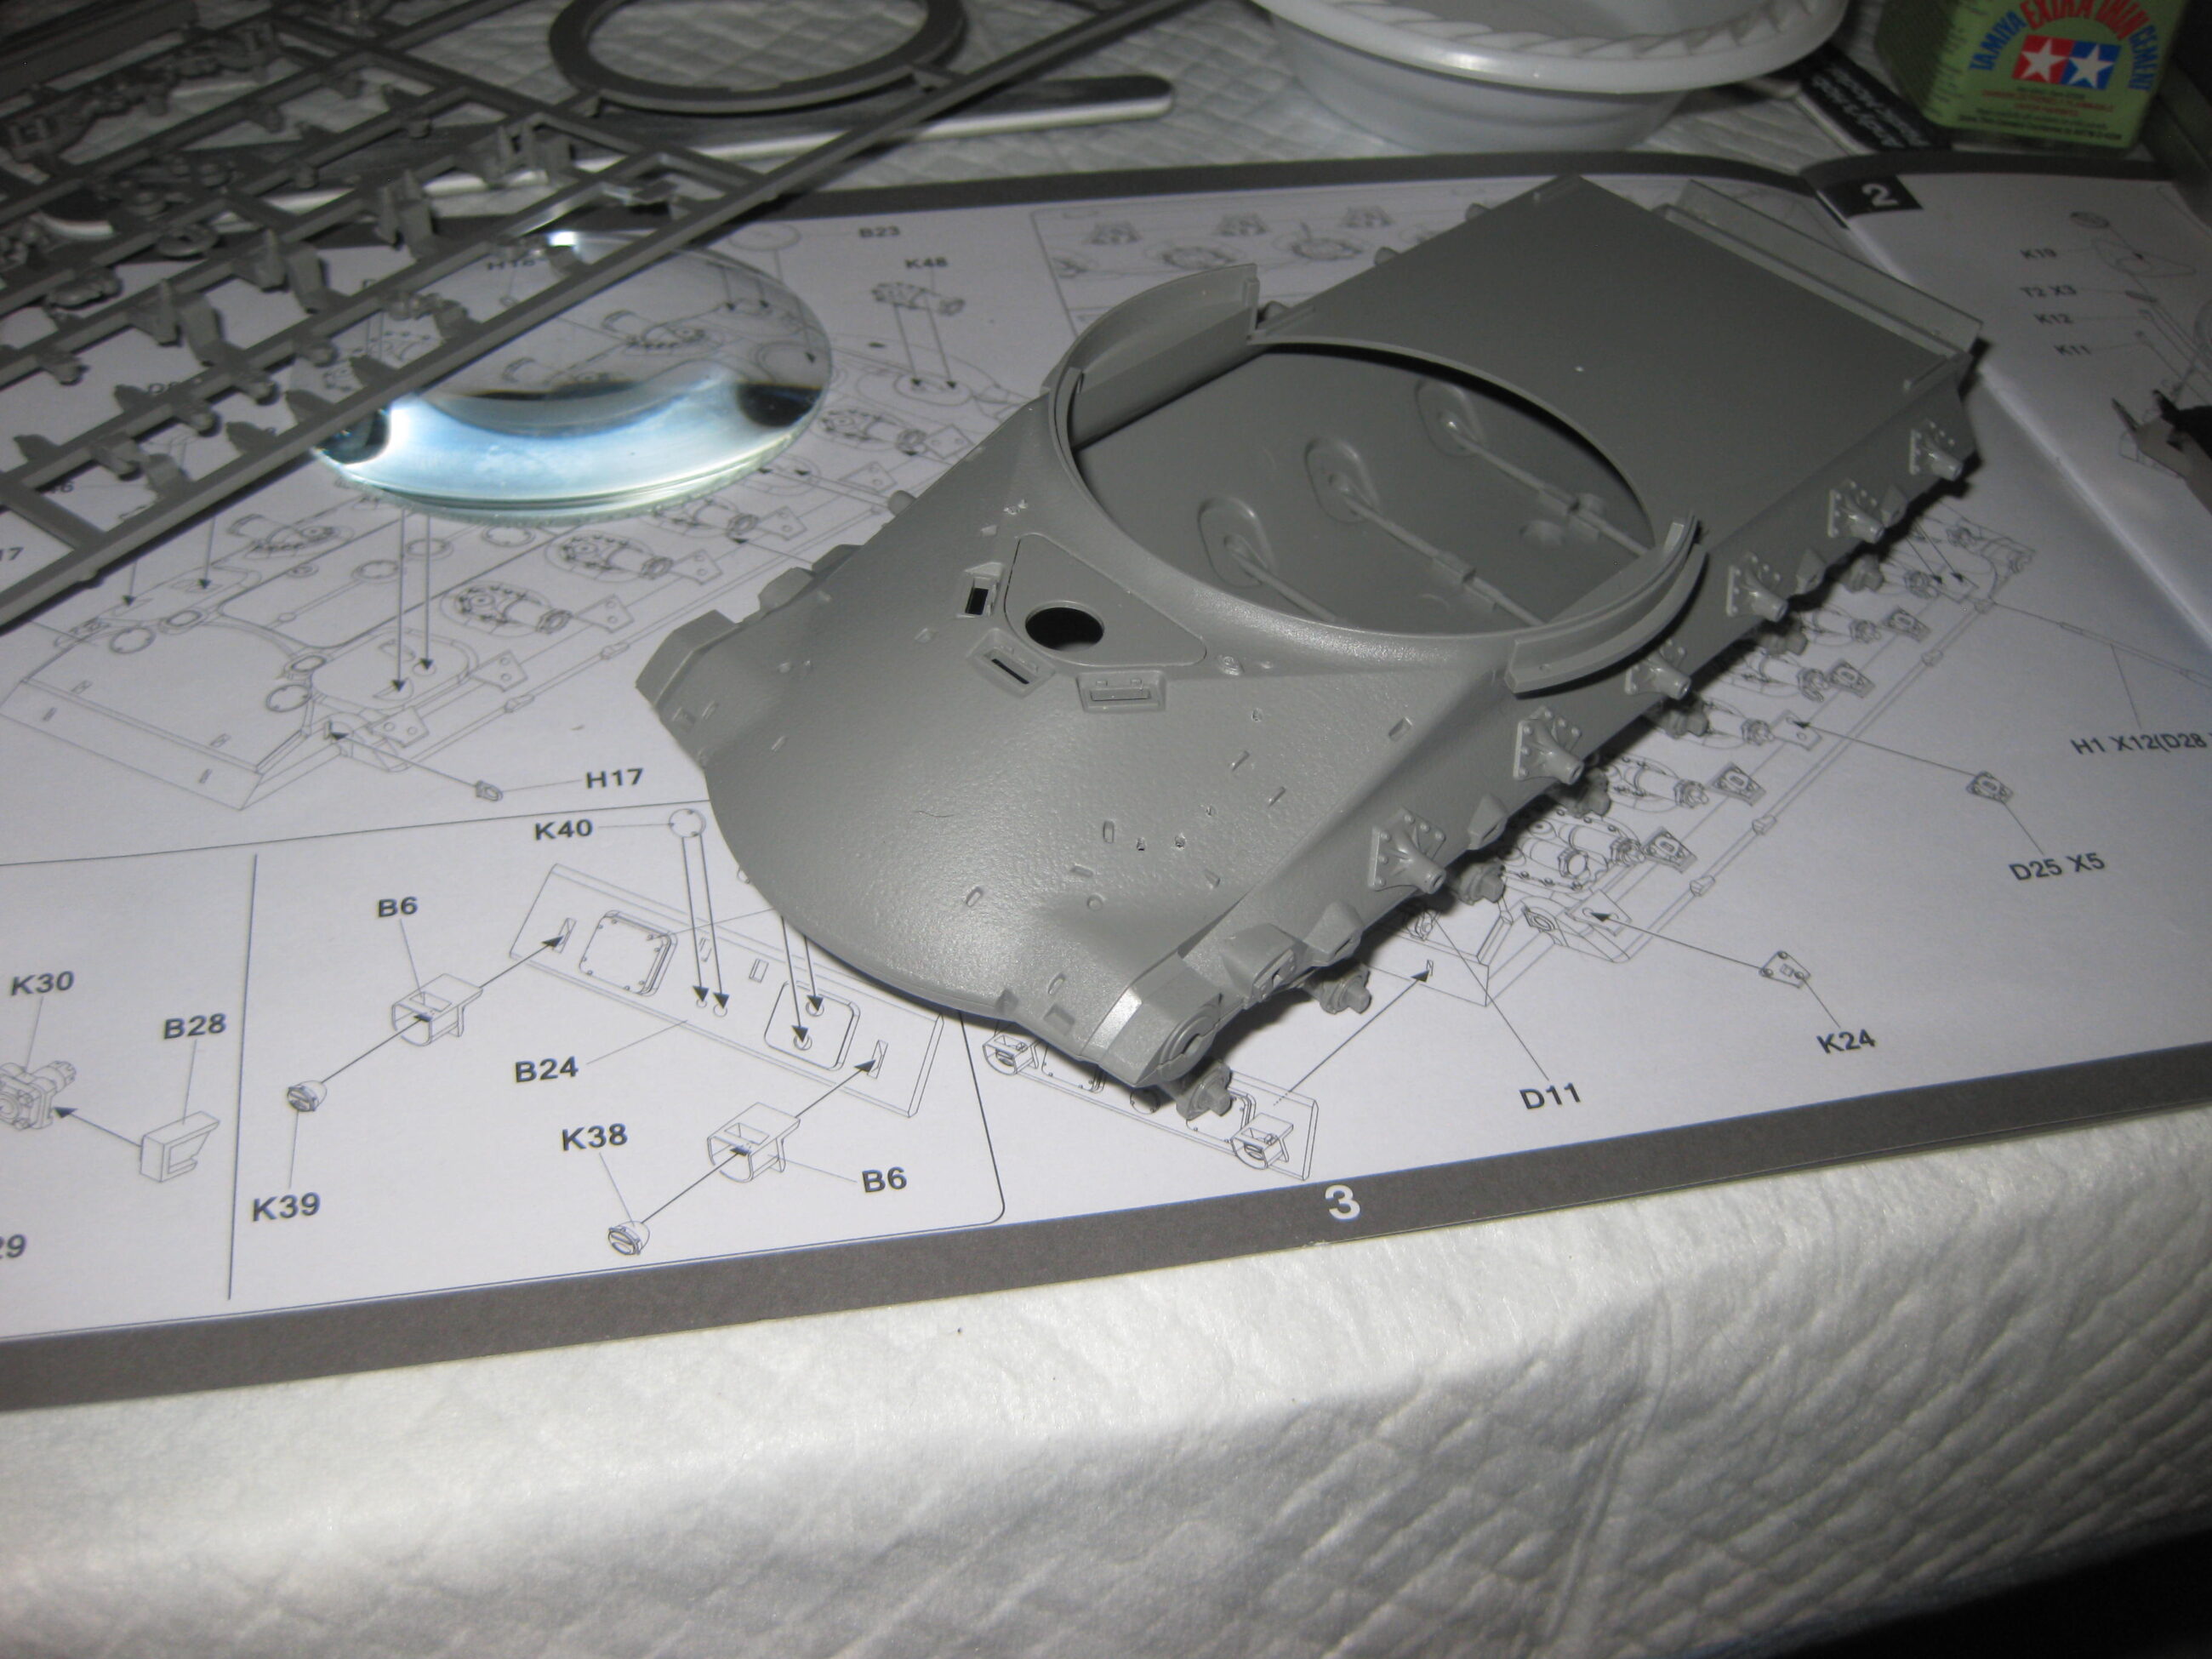
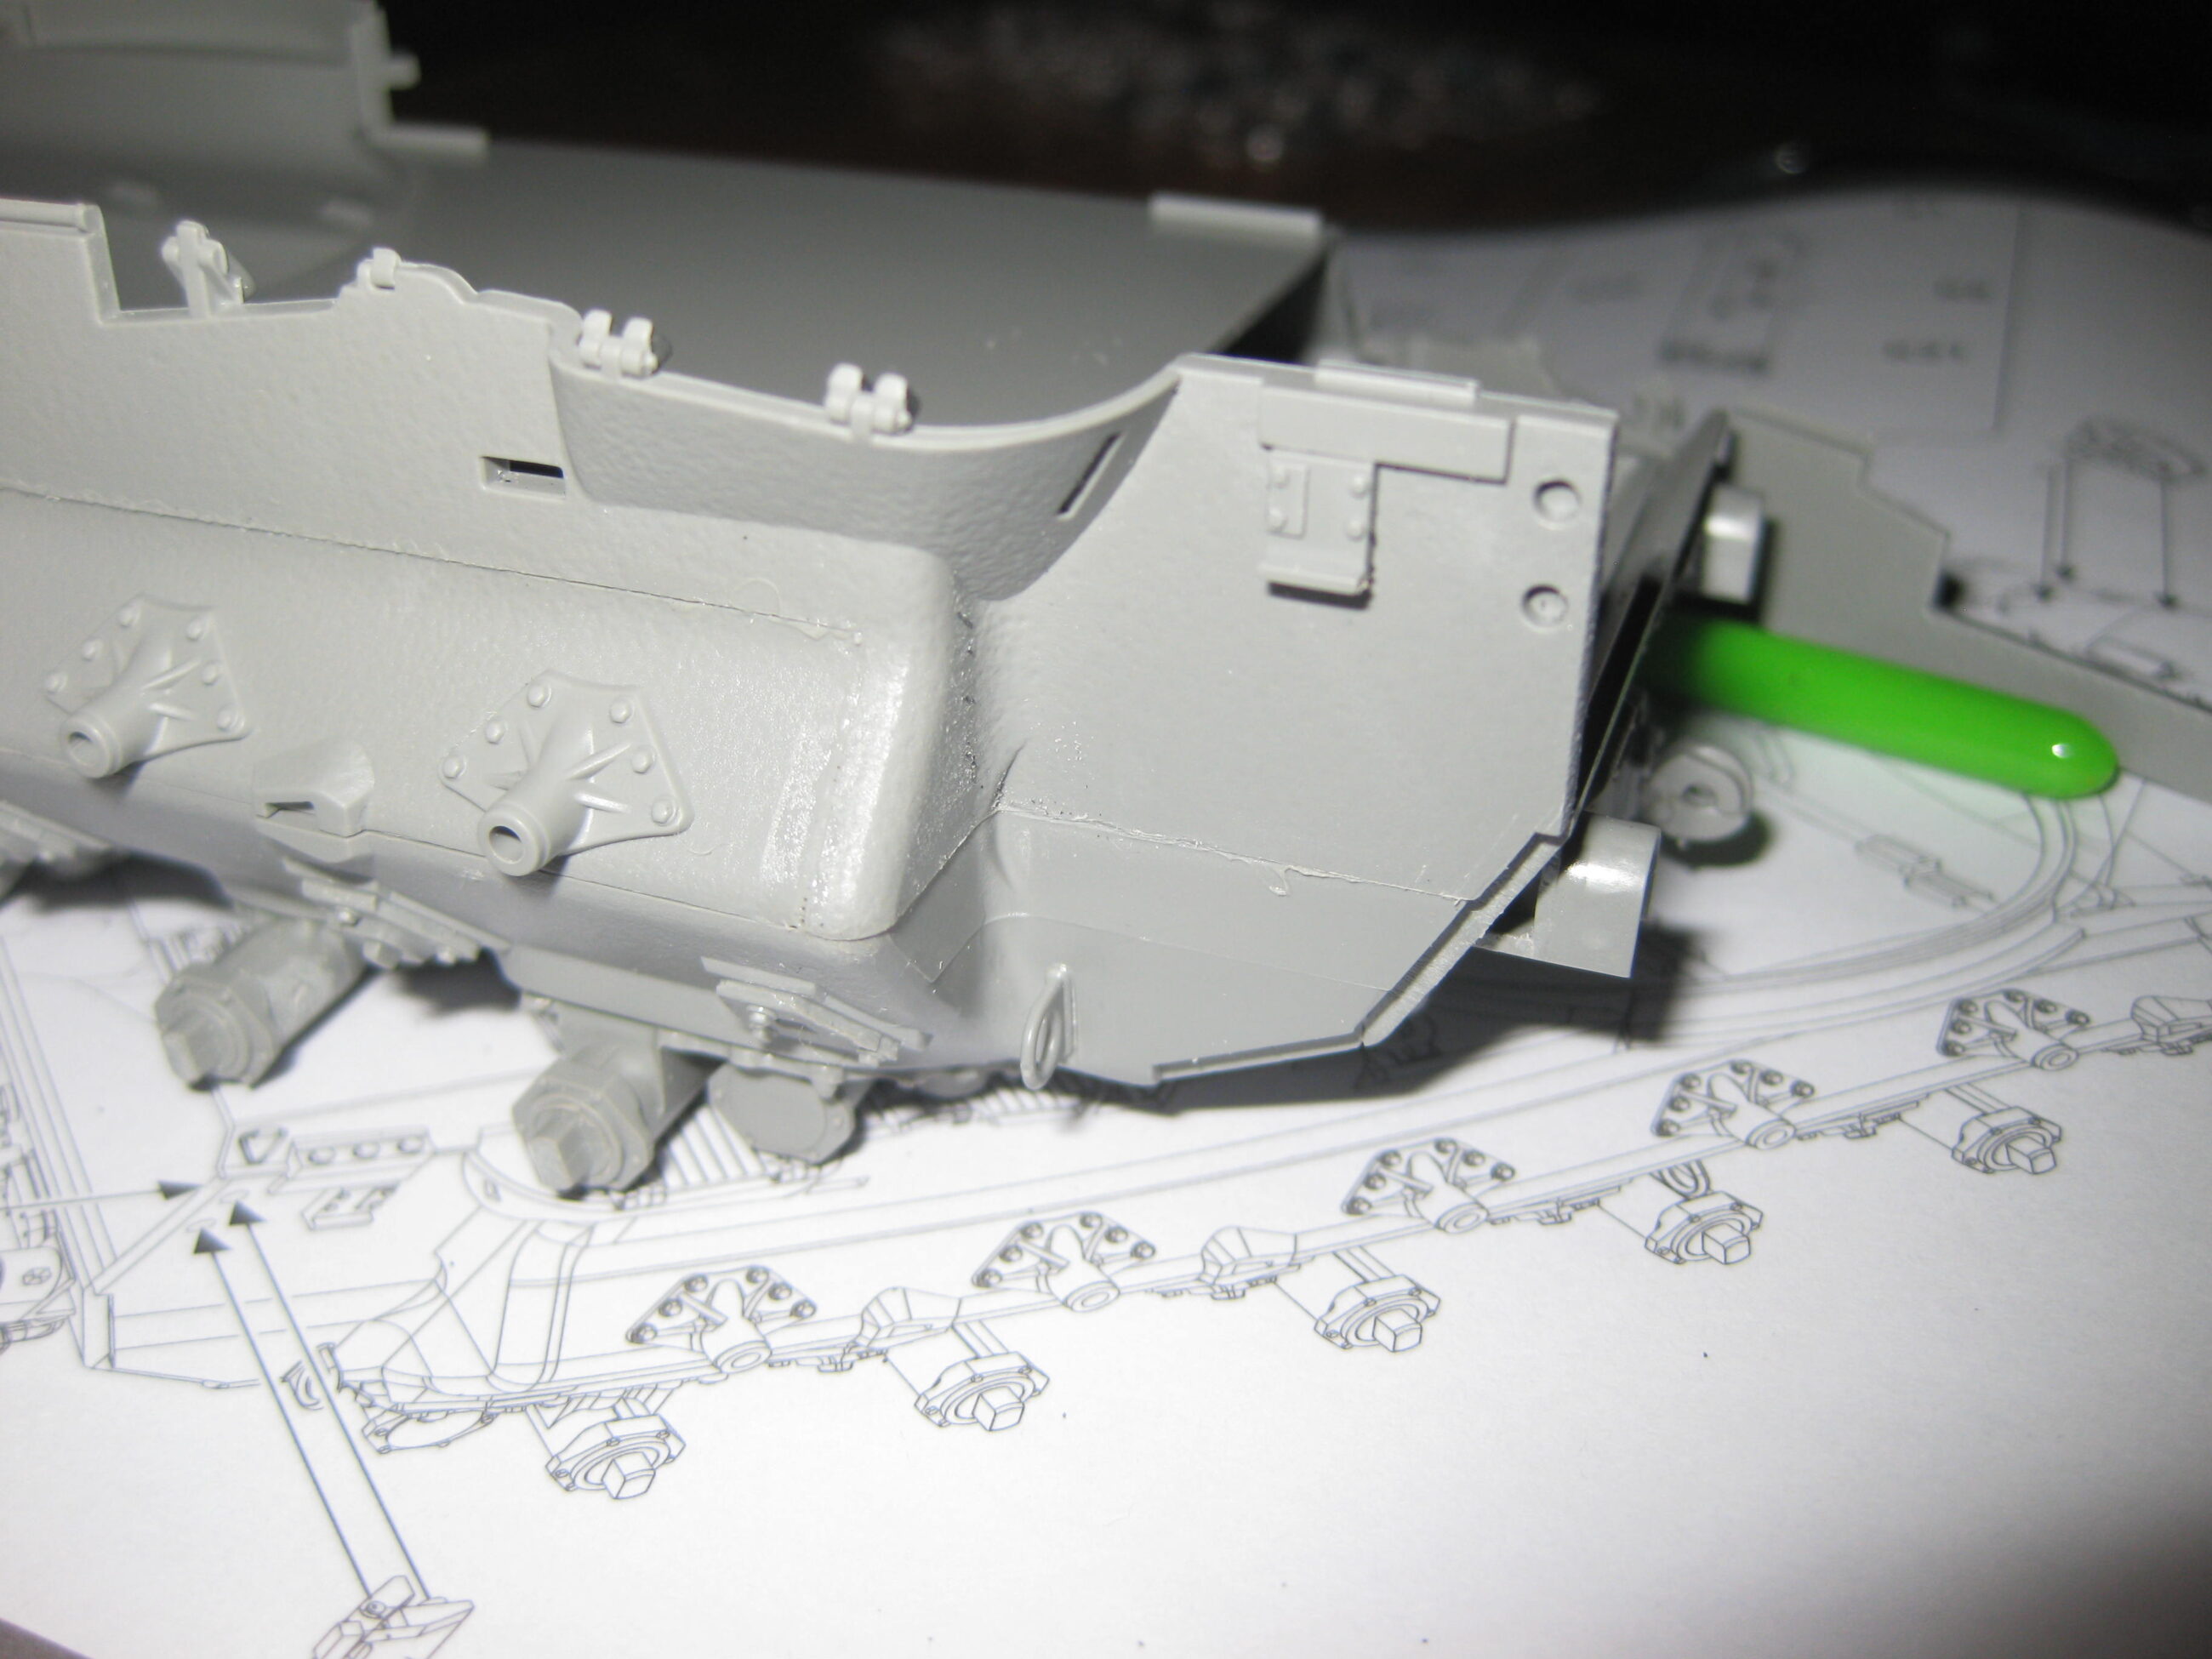
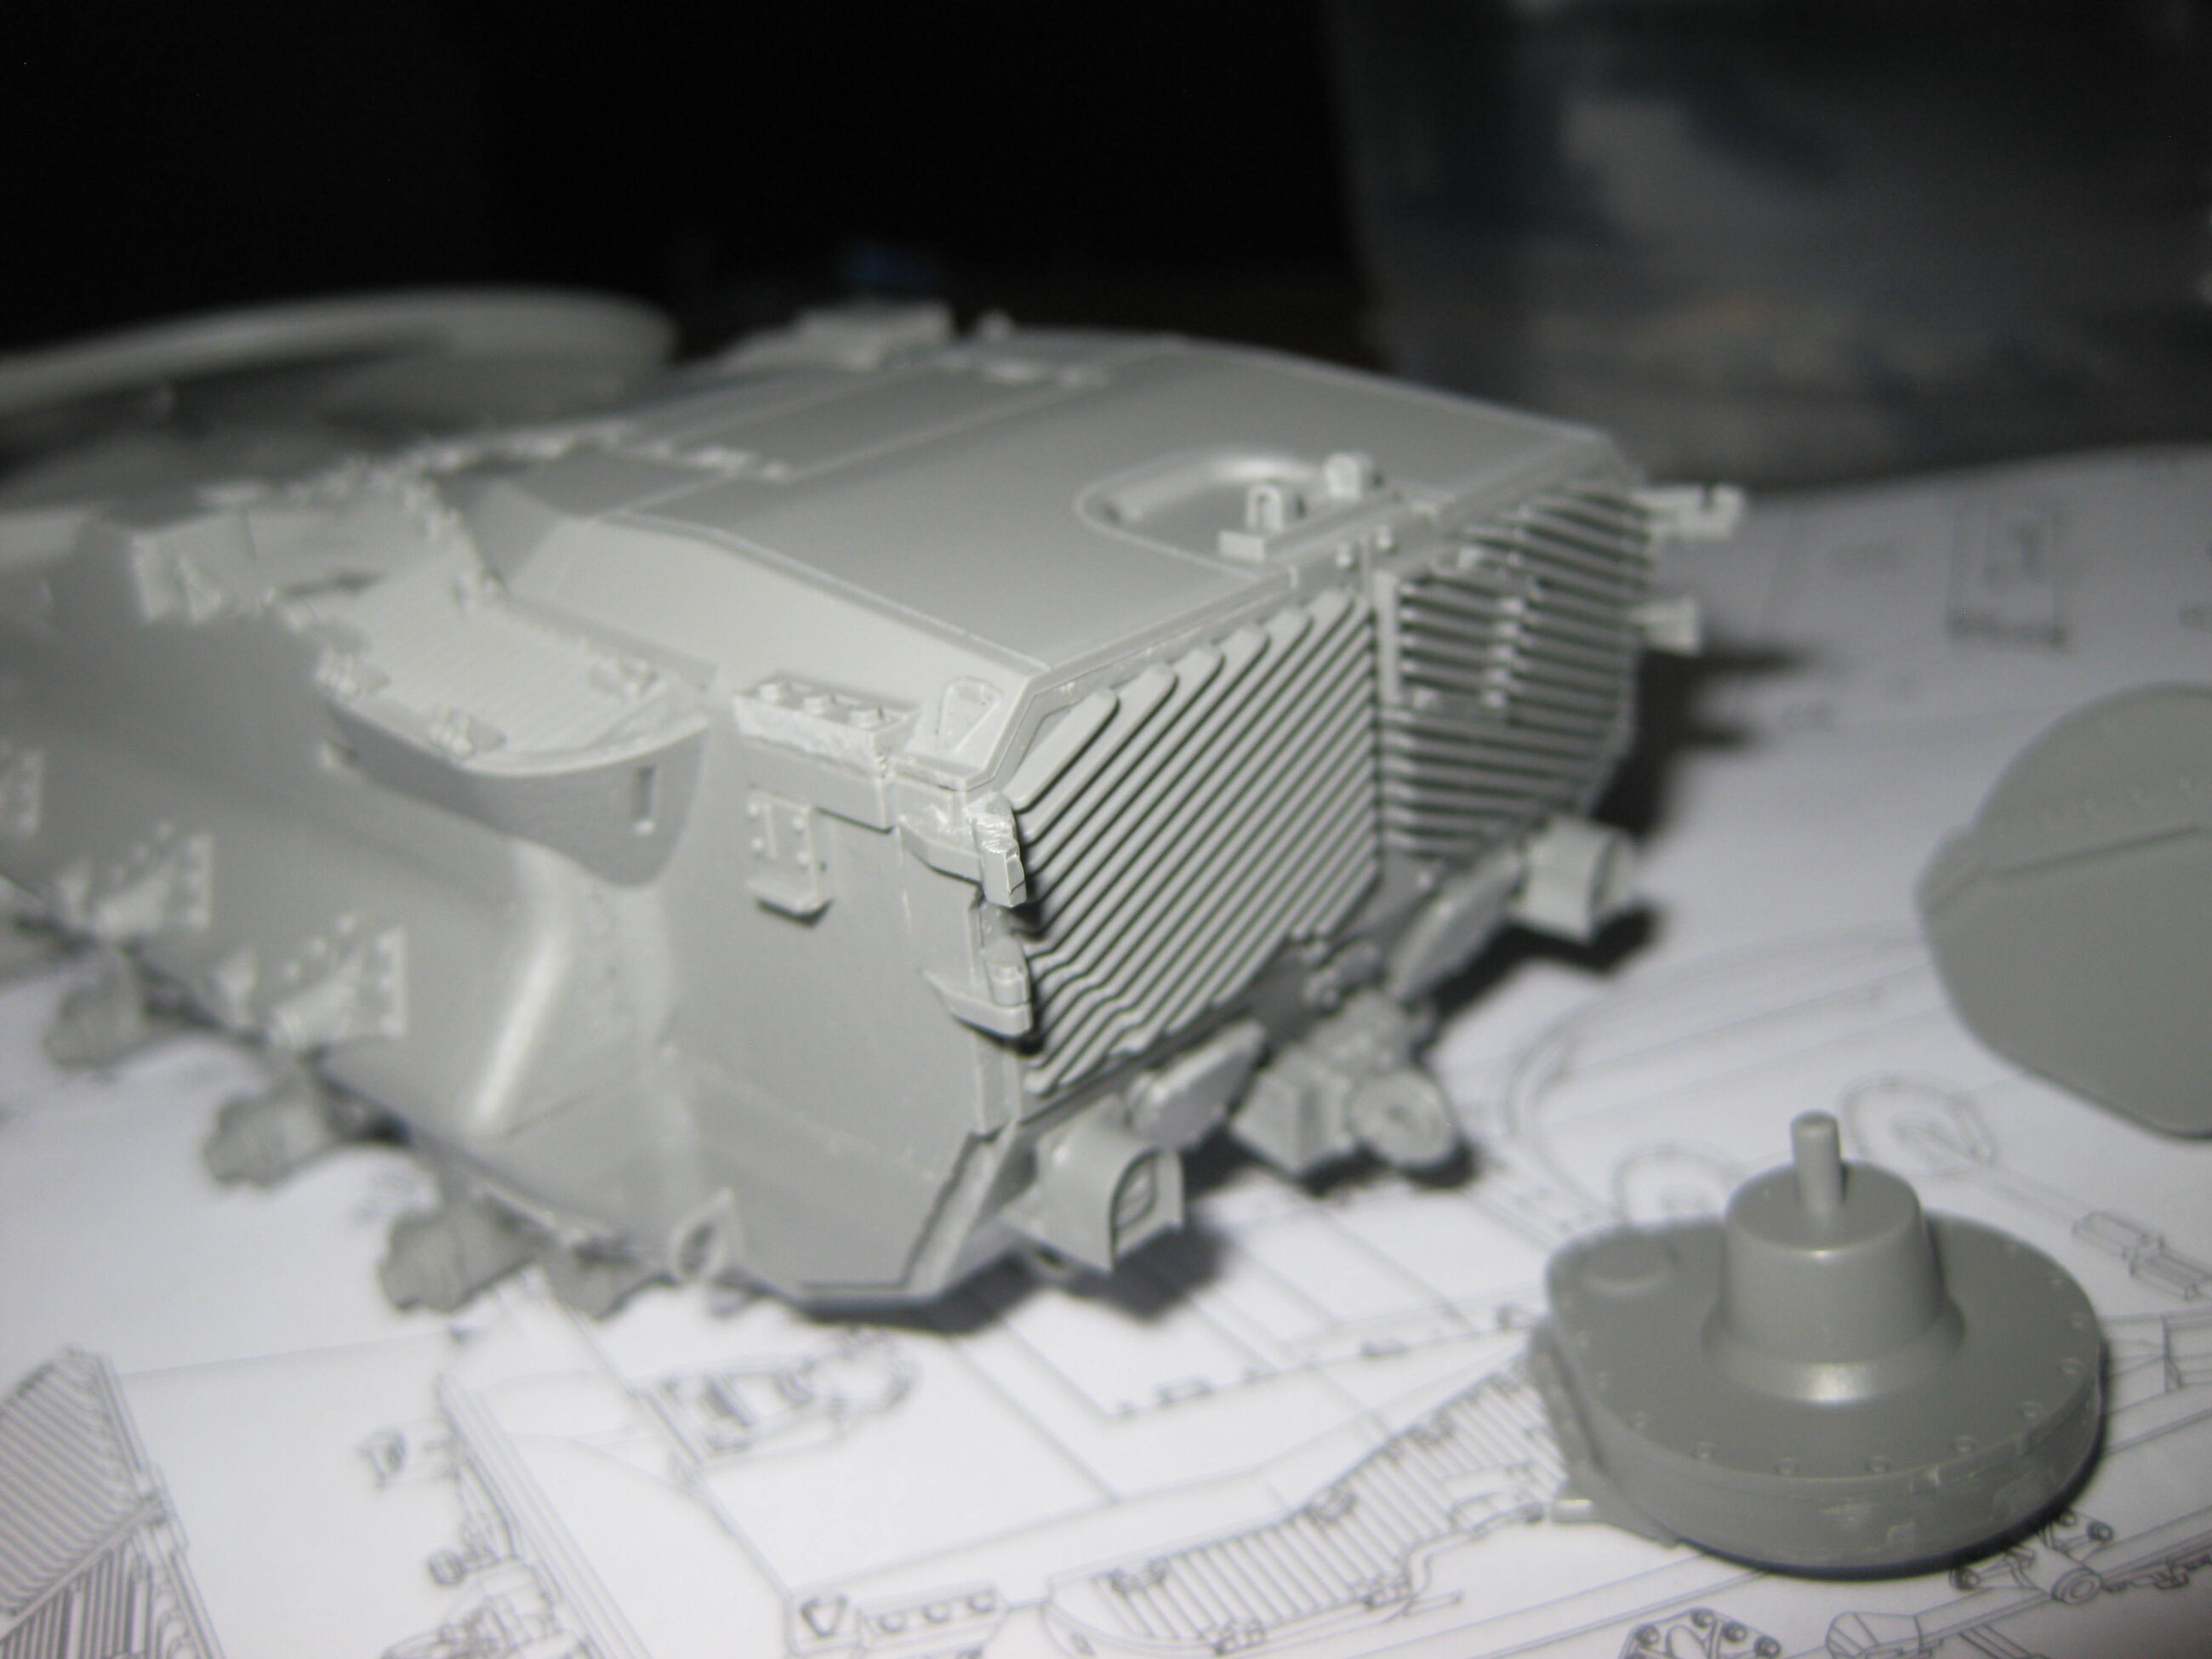
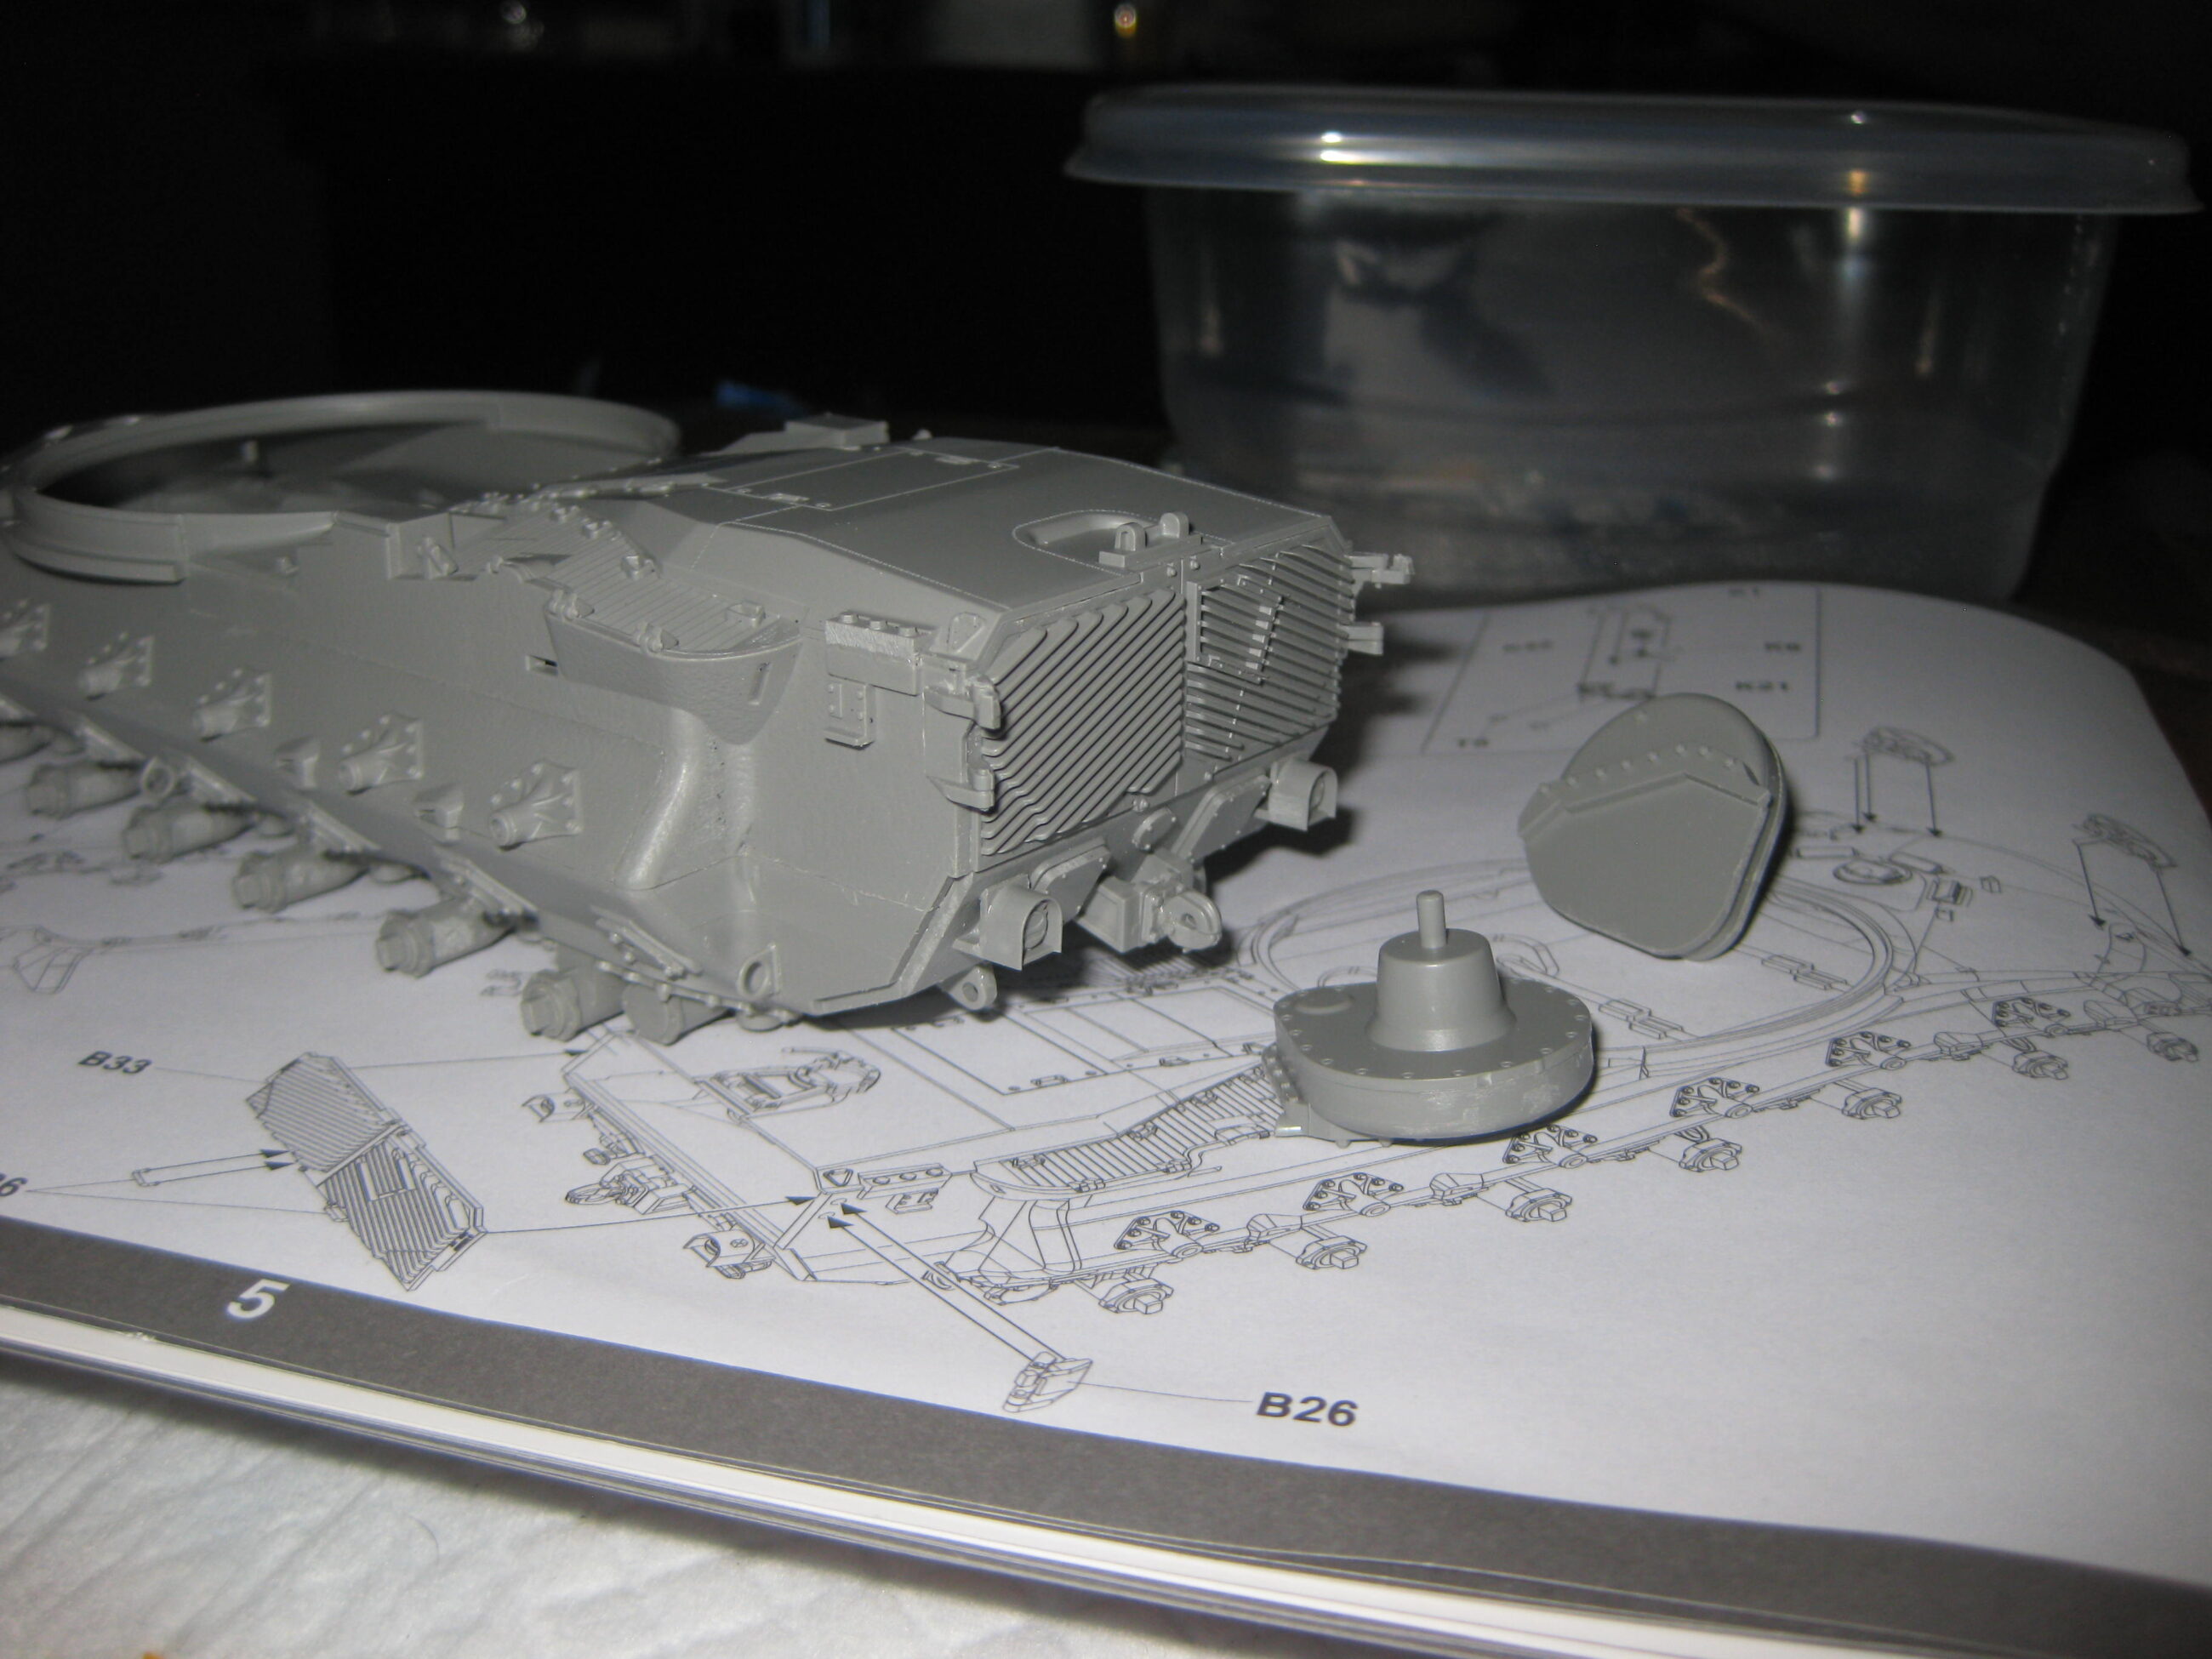
You can see the hull coming together here. For as complicated as the parts are, they fit well. The few fit issues were probably mine. This is by far the most challenging 1/35 kit I have done, and only the second one since I restarted plastic kits. 1/16th spoils you.
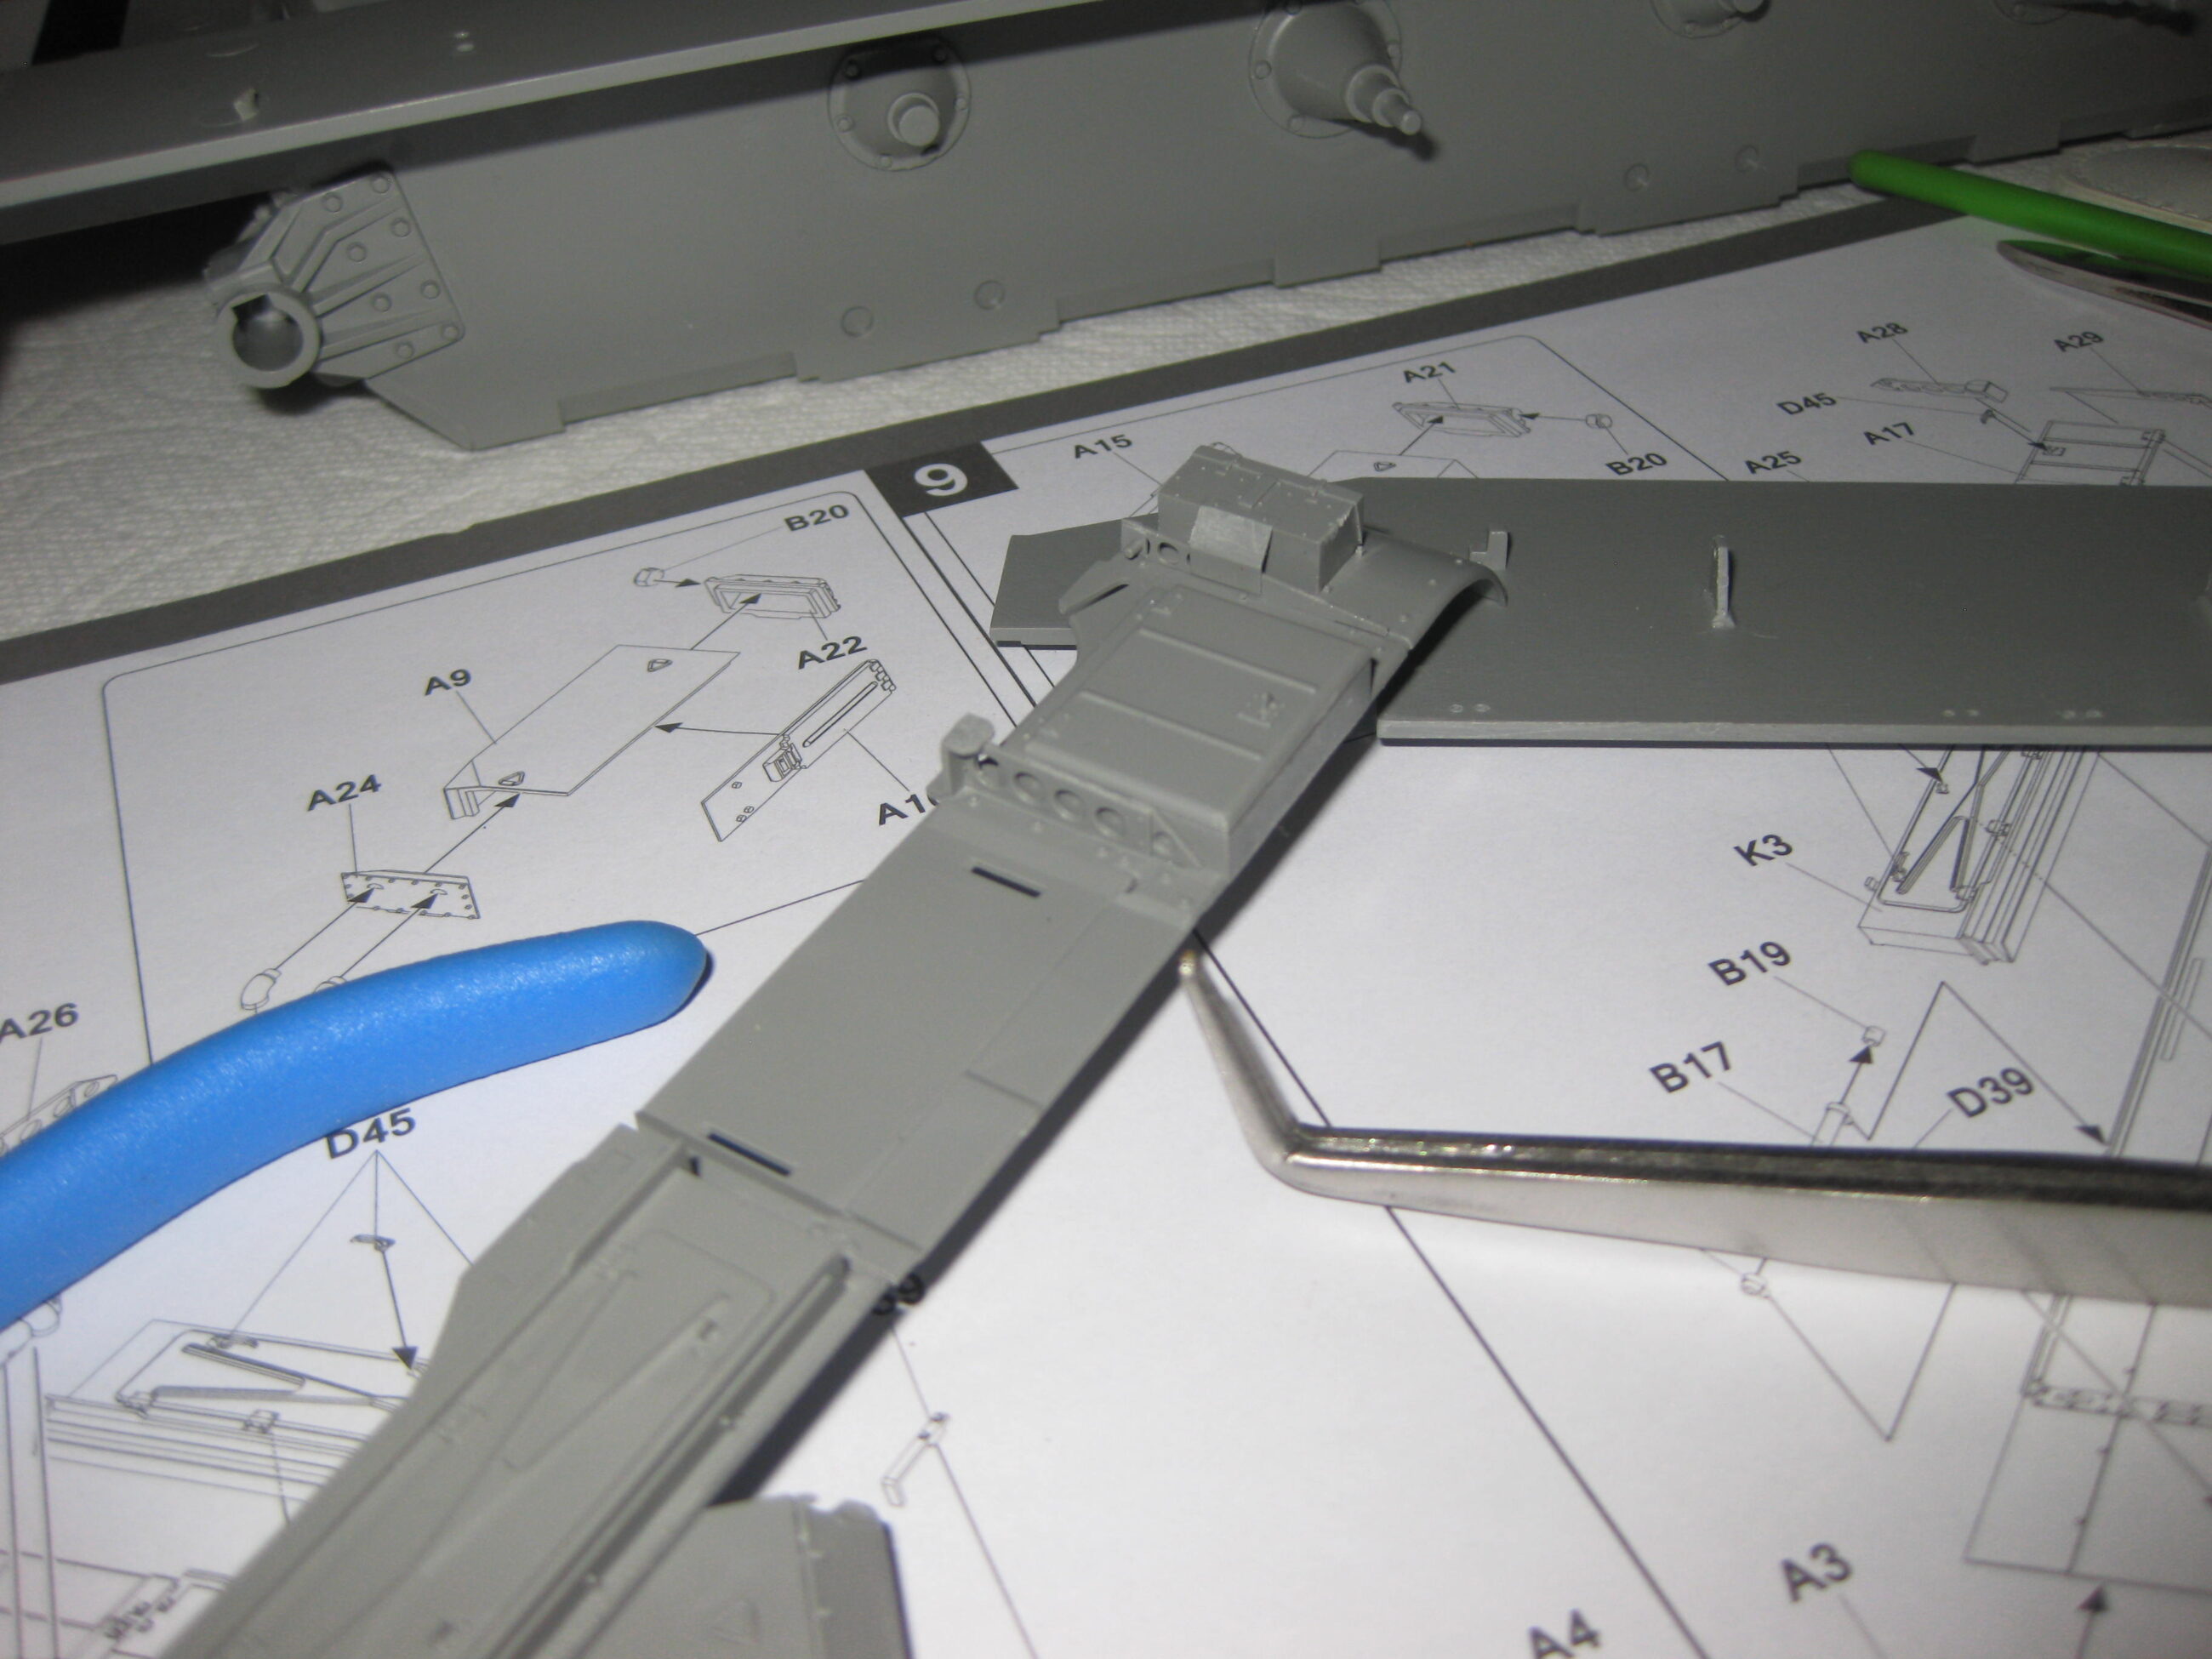
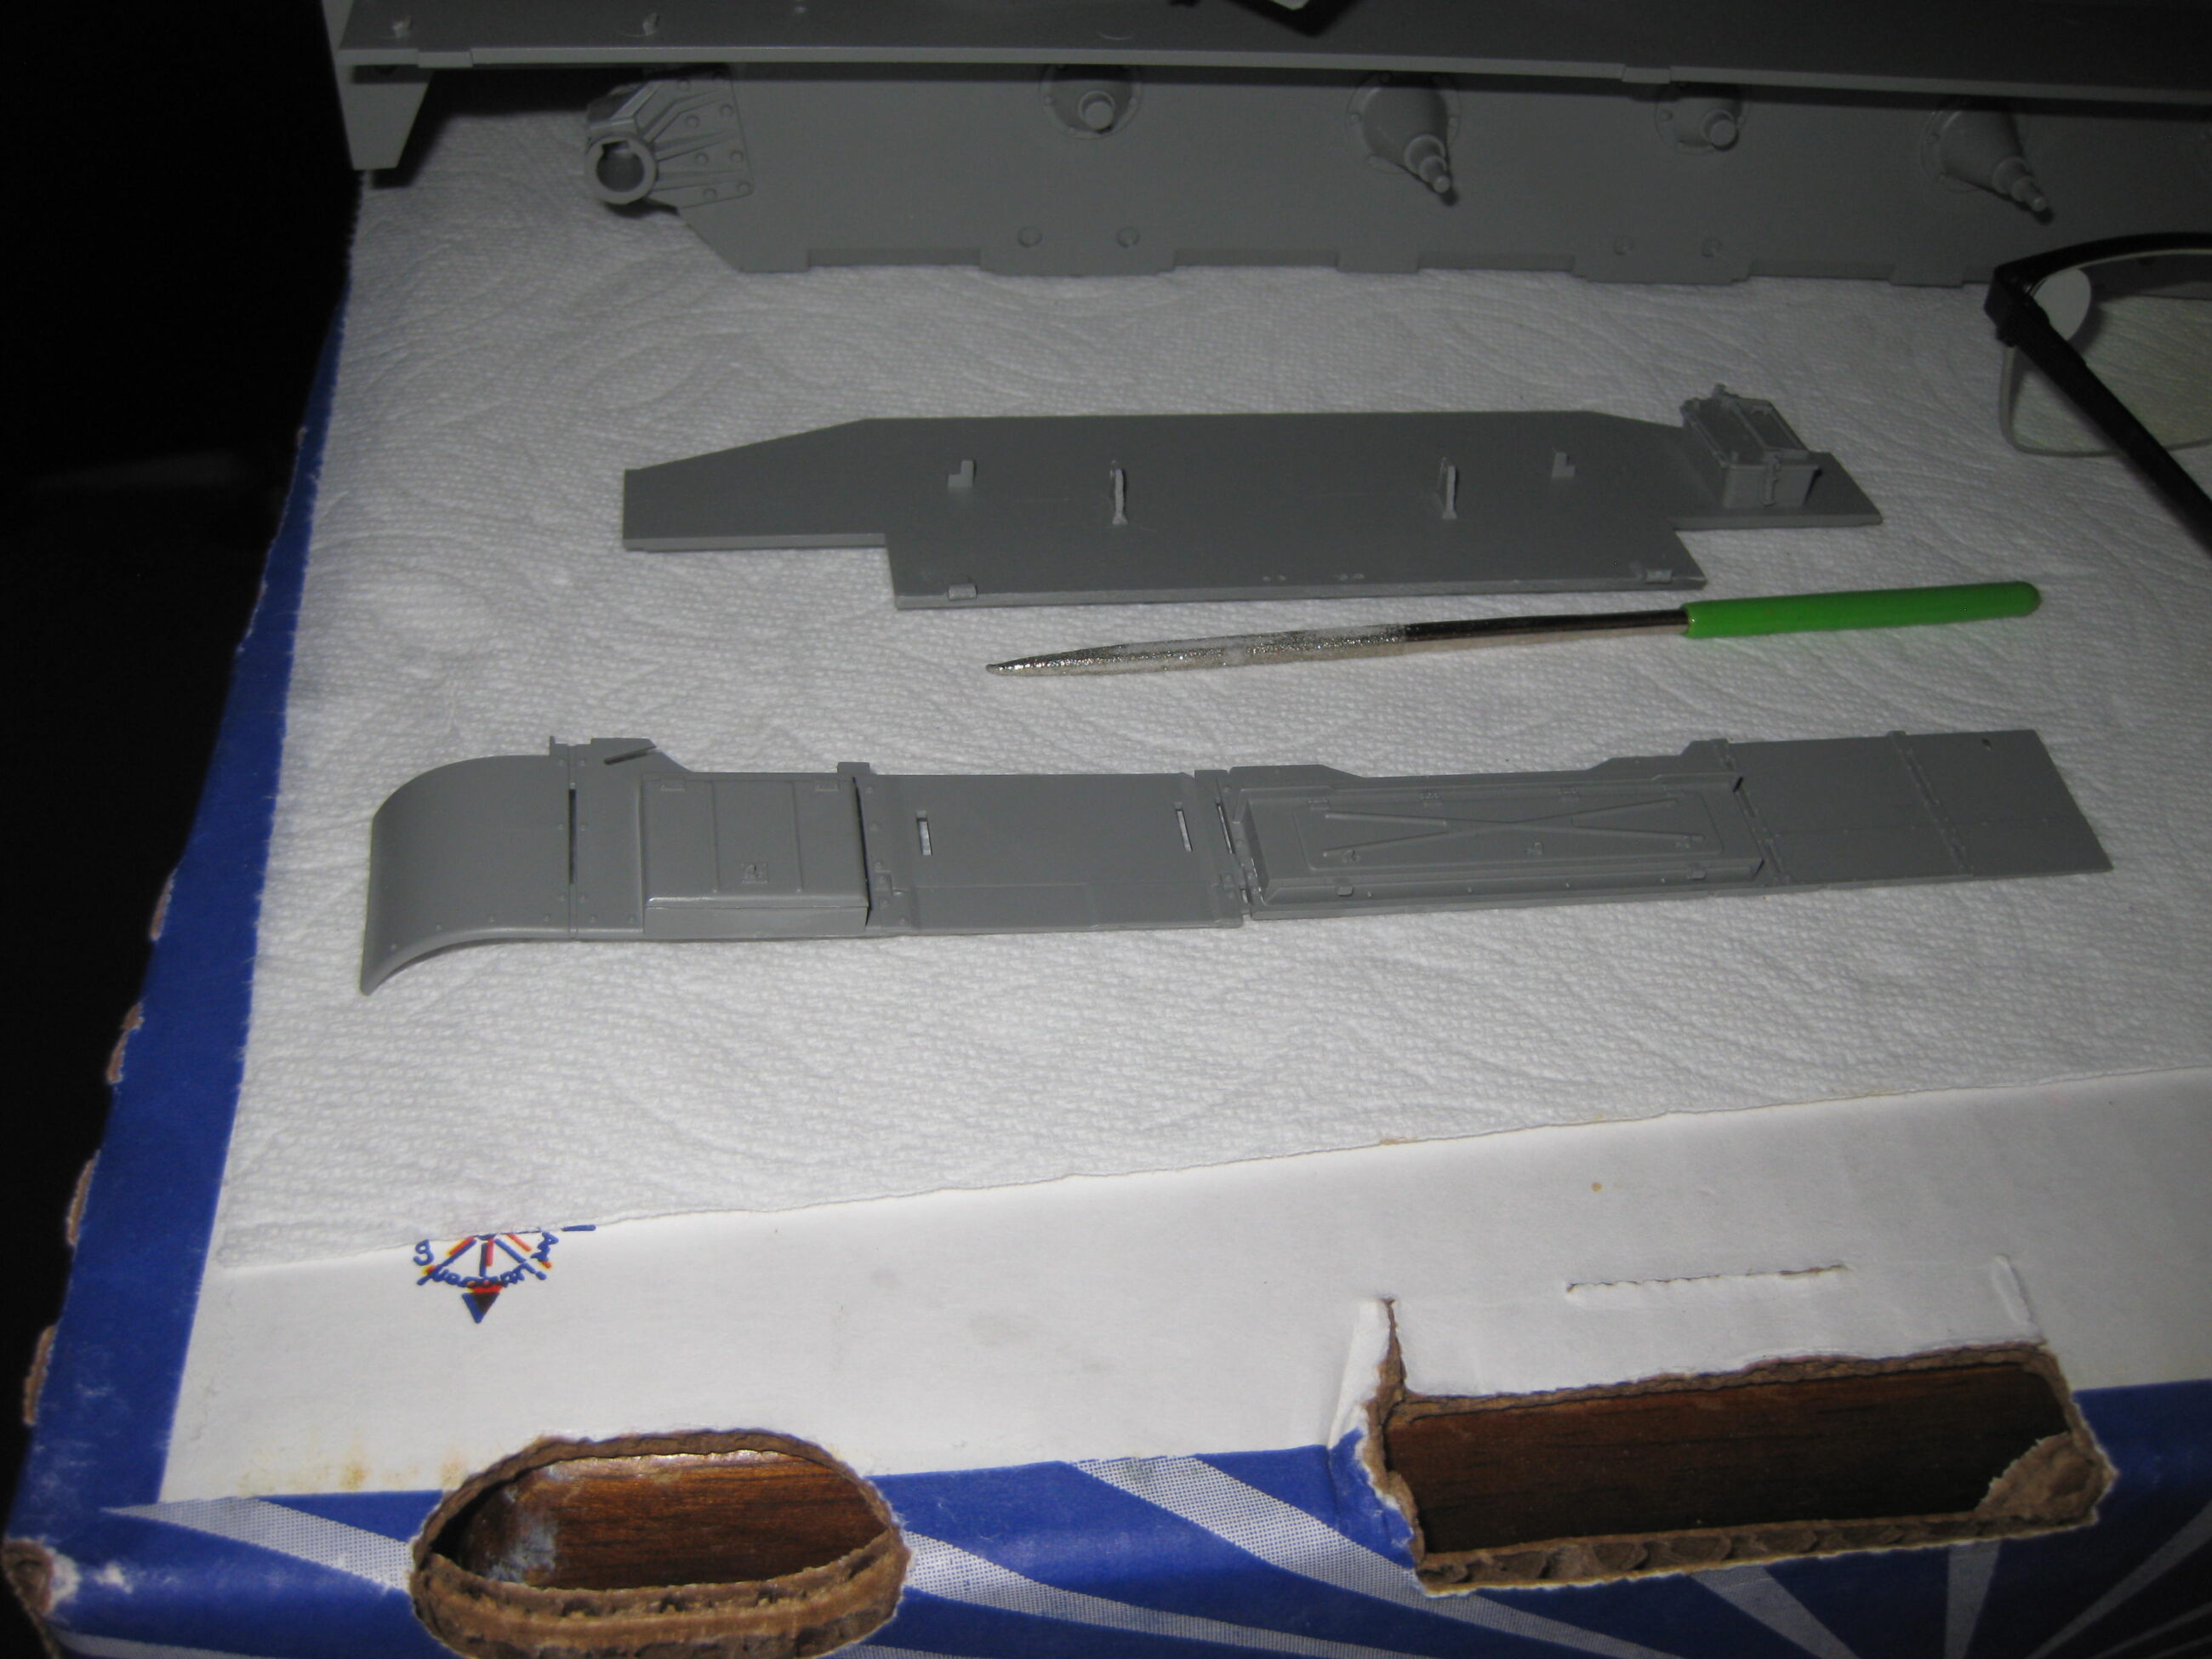
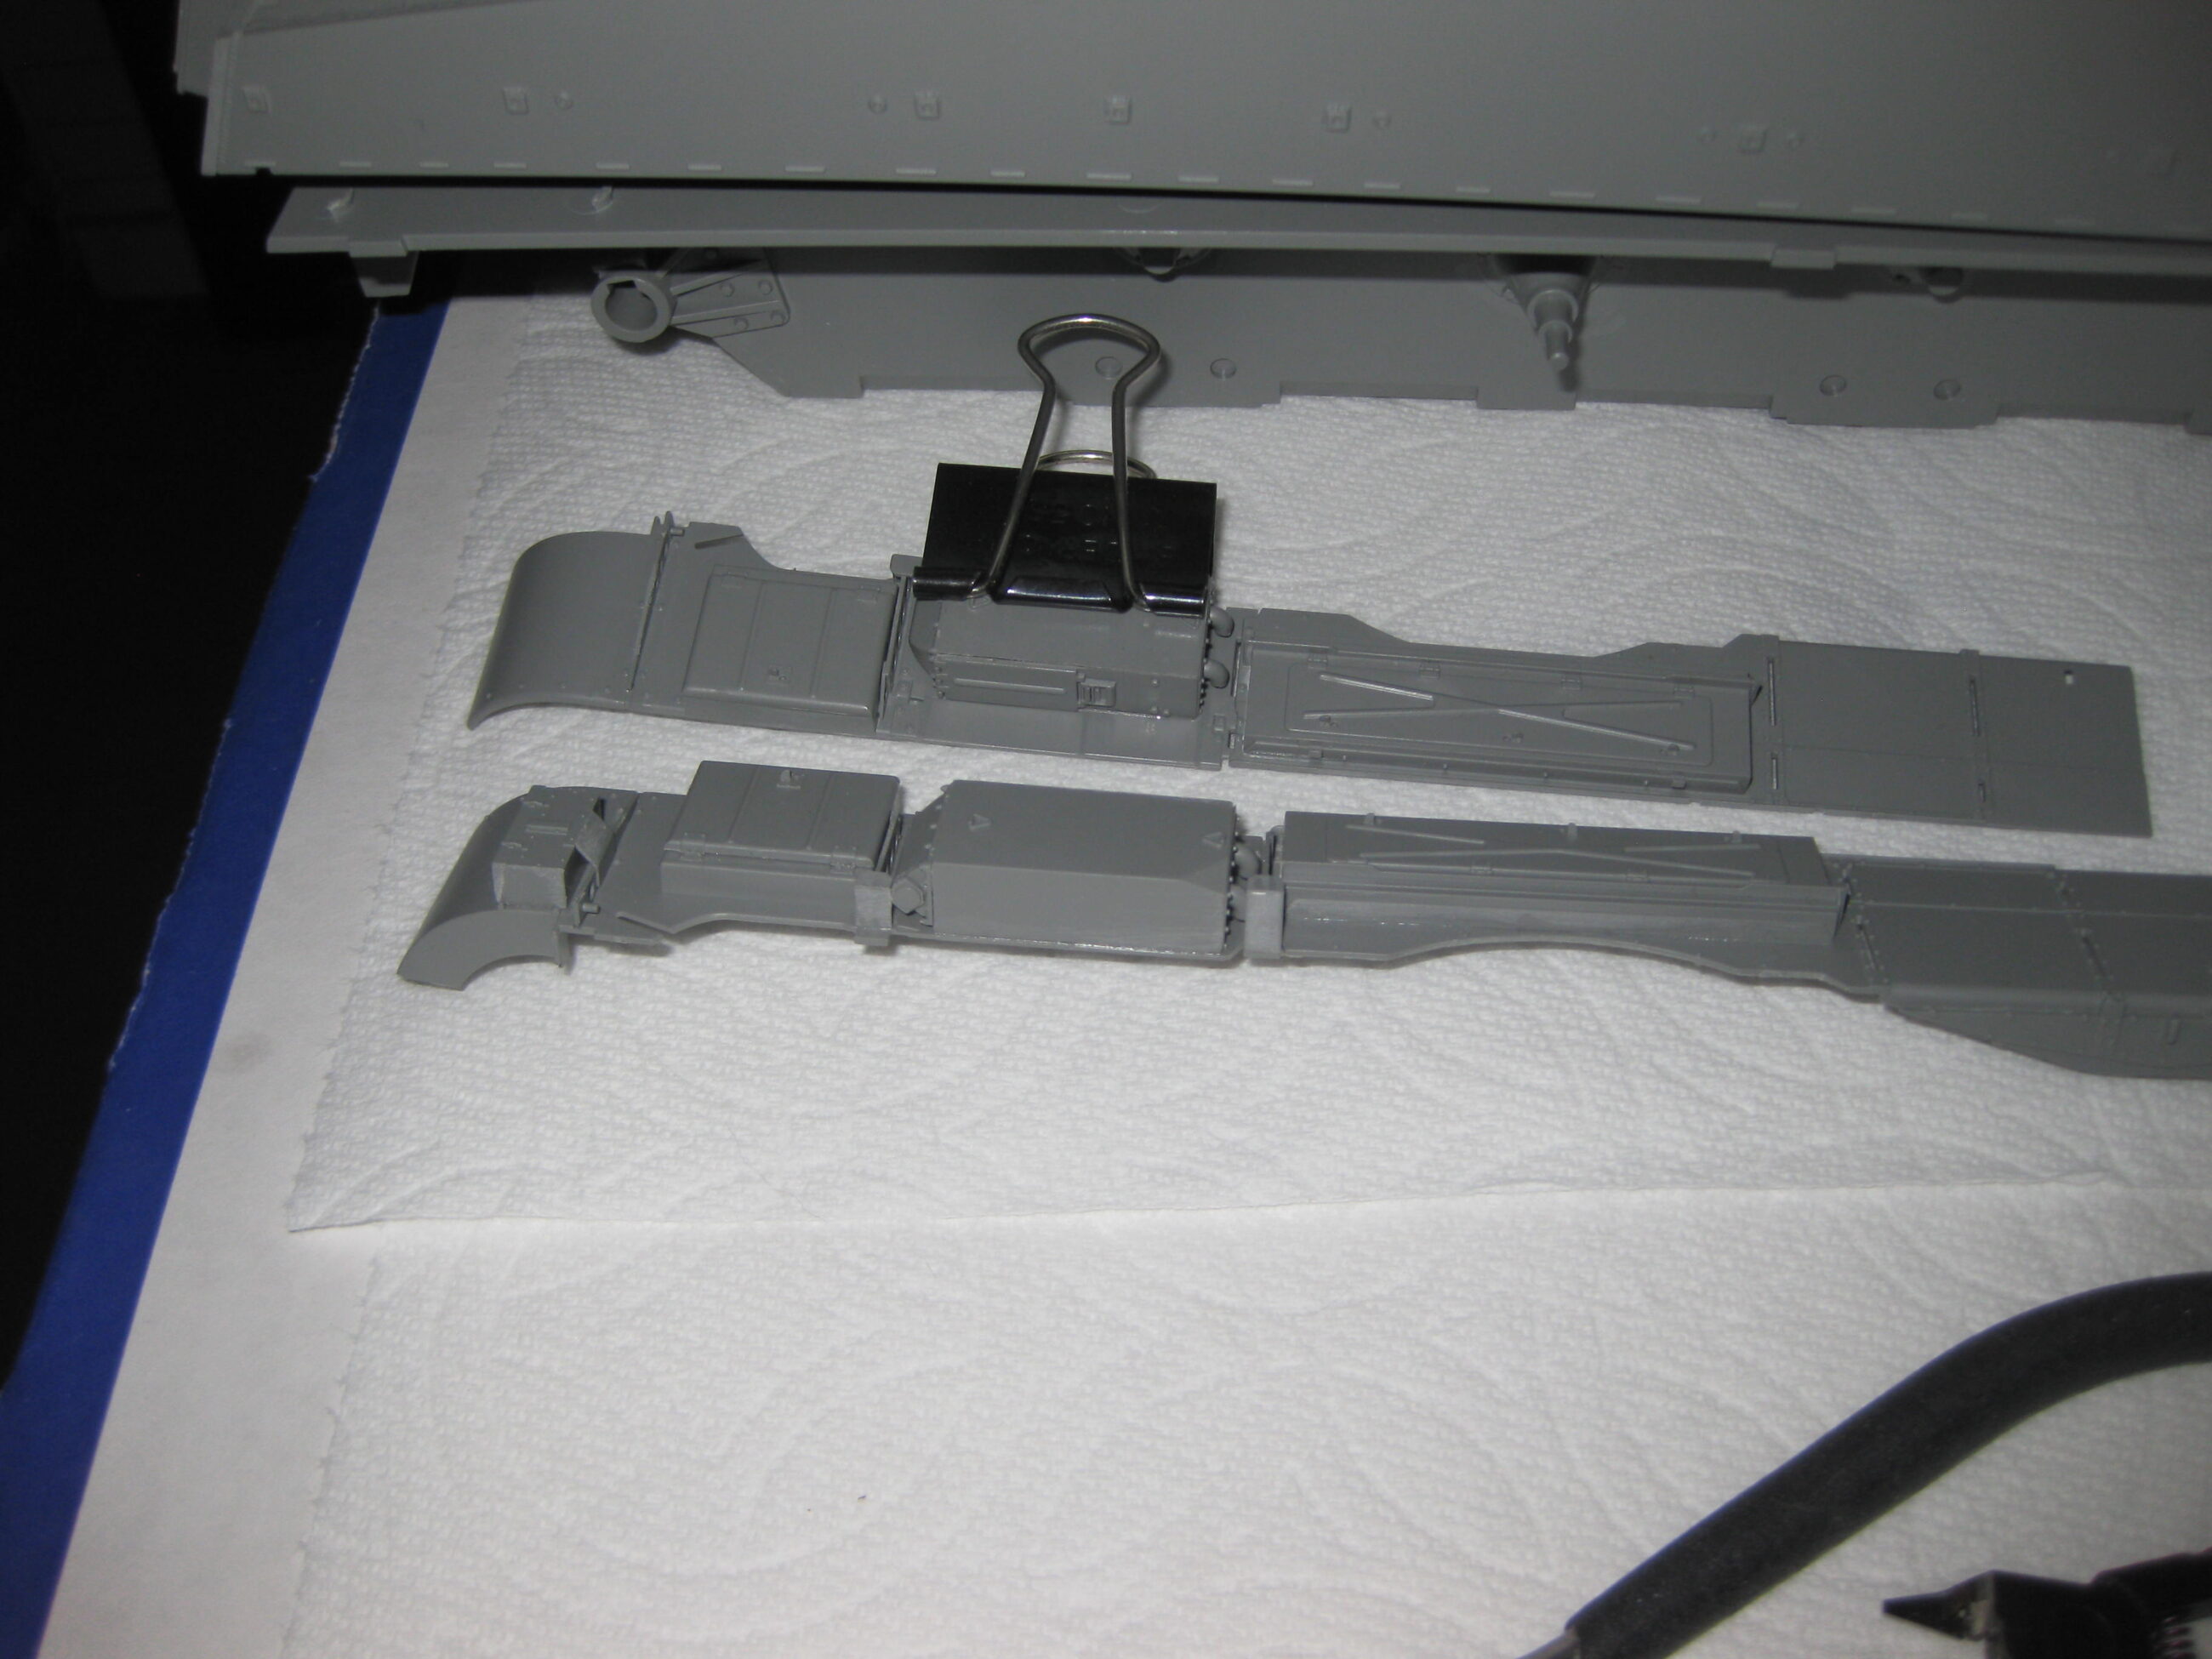
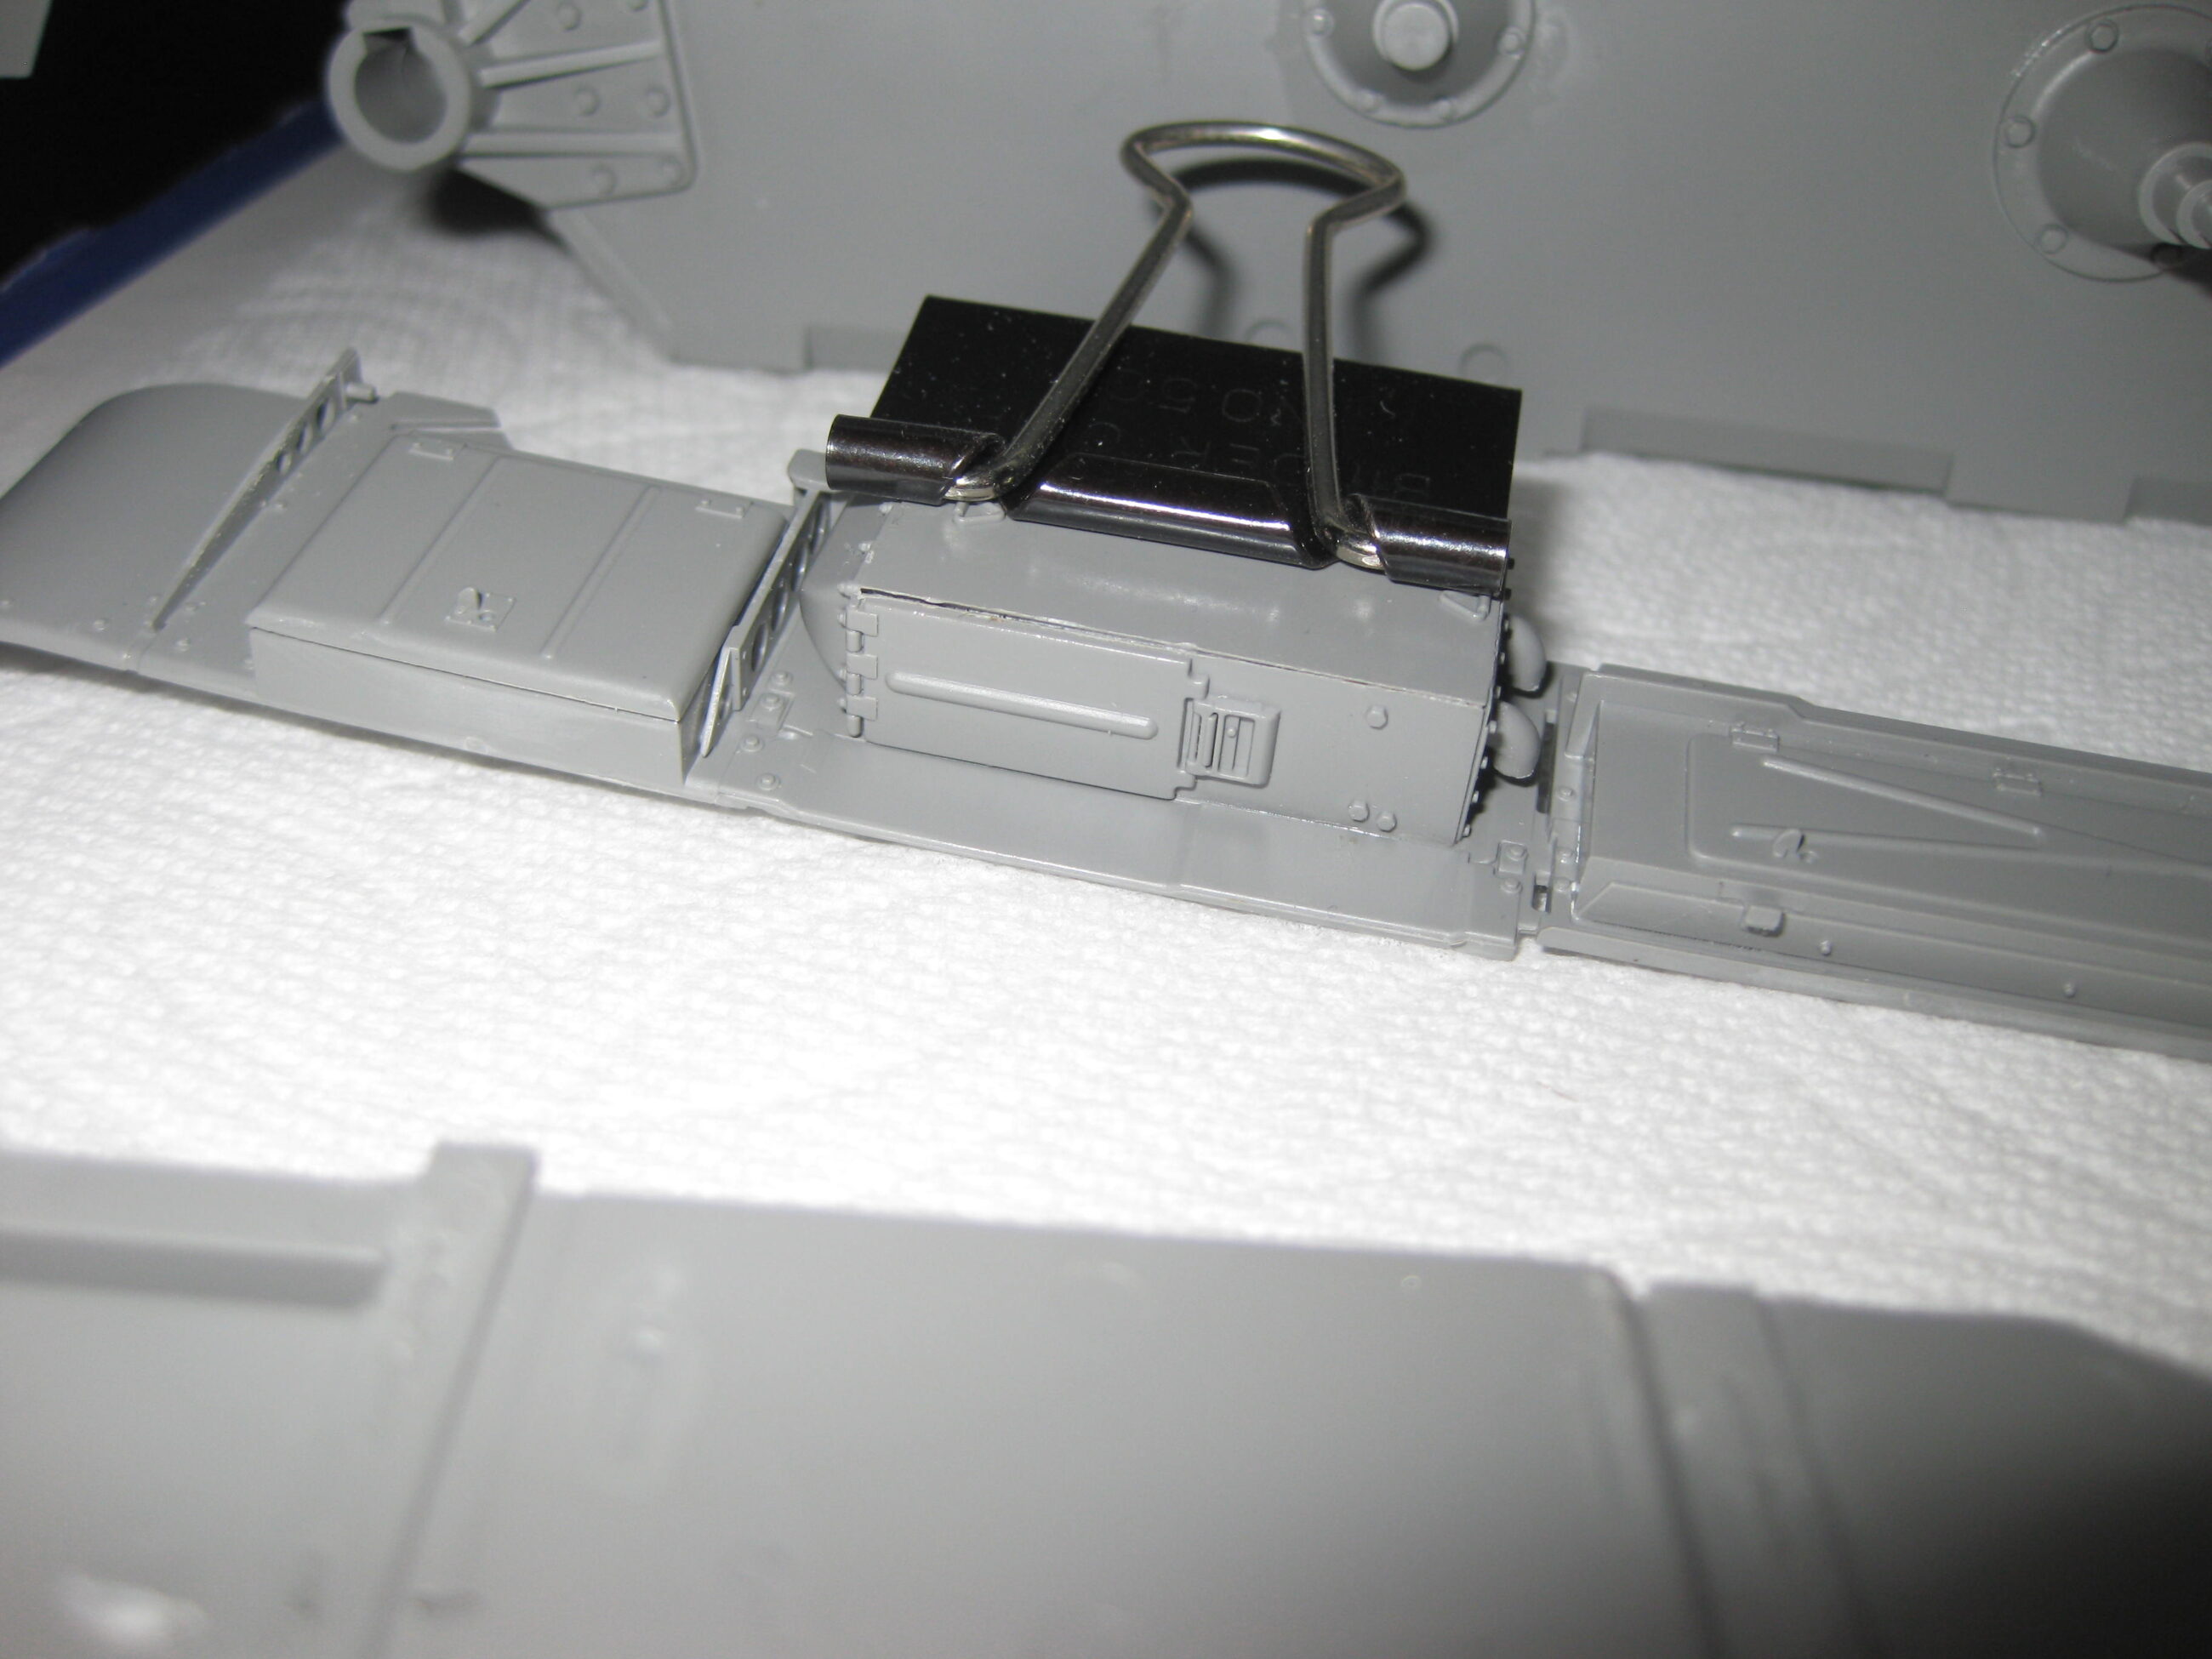
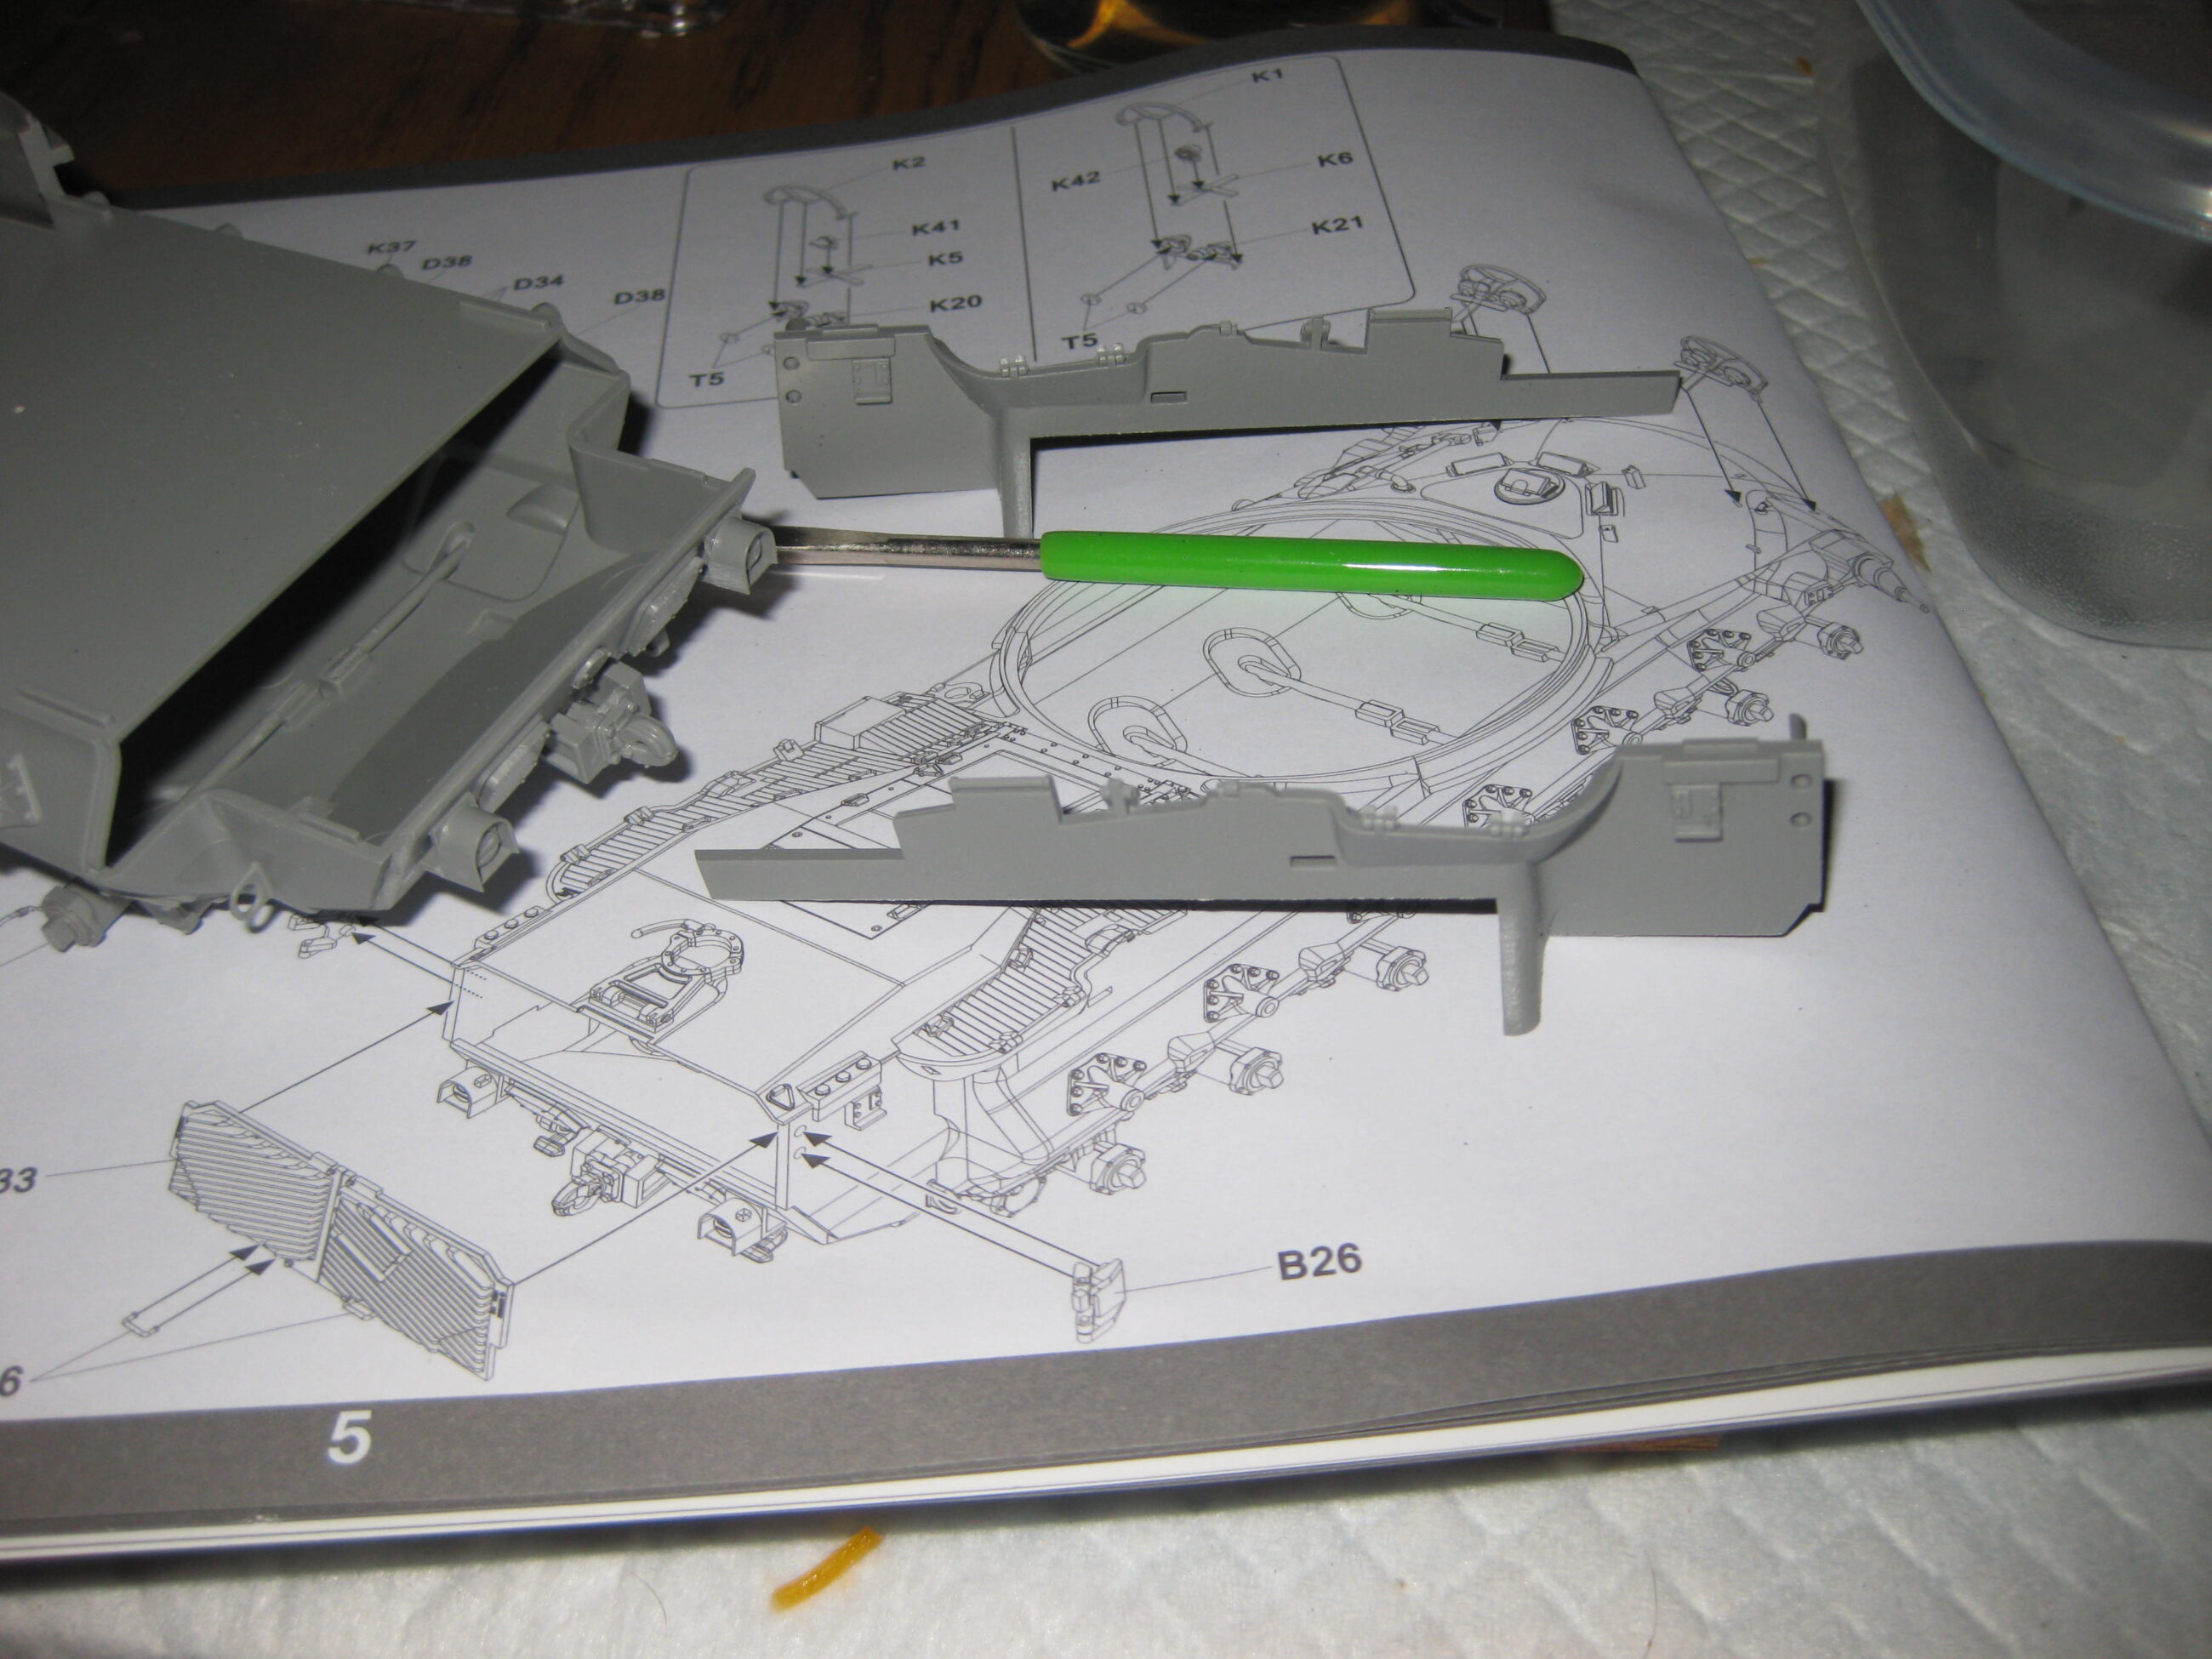
The Fenders build up easily and fit well. The actual supports support them. I left off all the bin handles; they, along with things like the antenna, won’t be put on until right before painting. You can see this massive 1/35 tank pales in size compared to a 1/16th Andy’s Sherman.
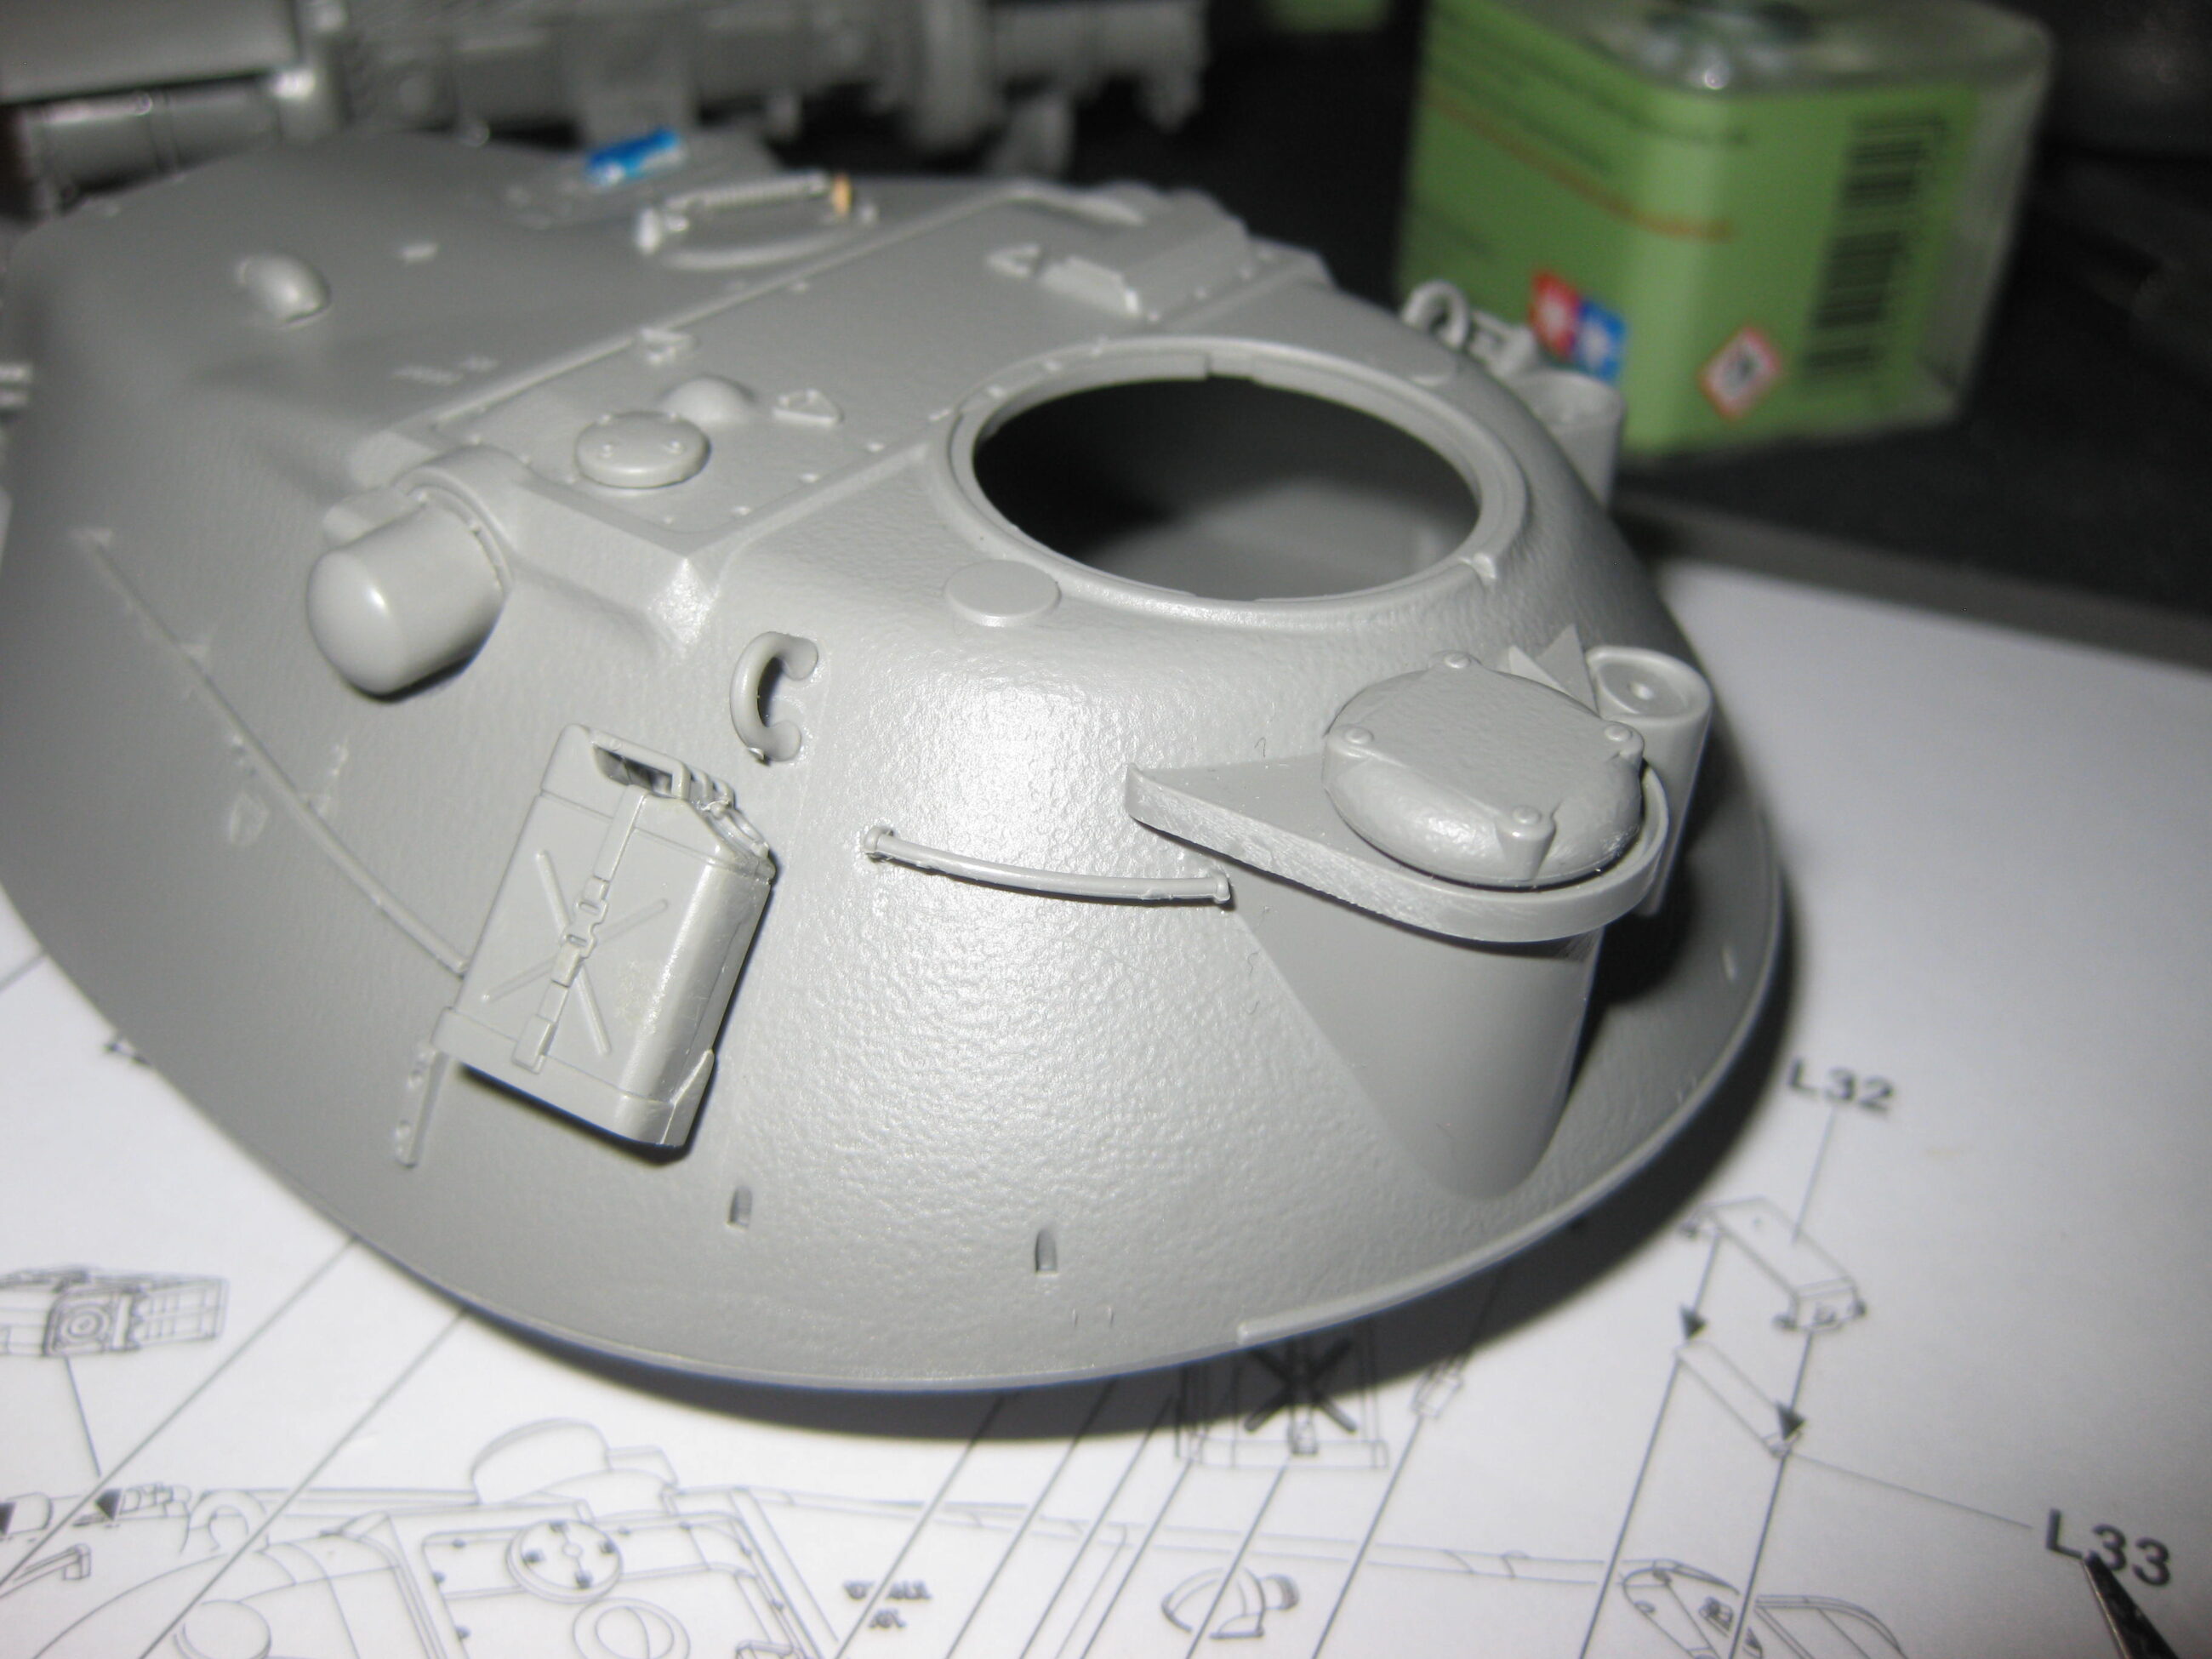
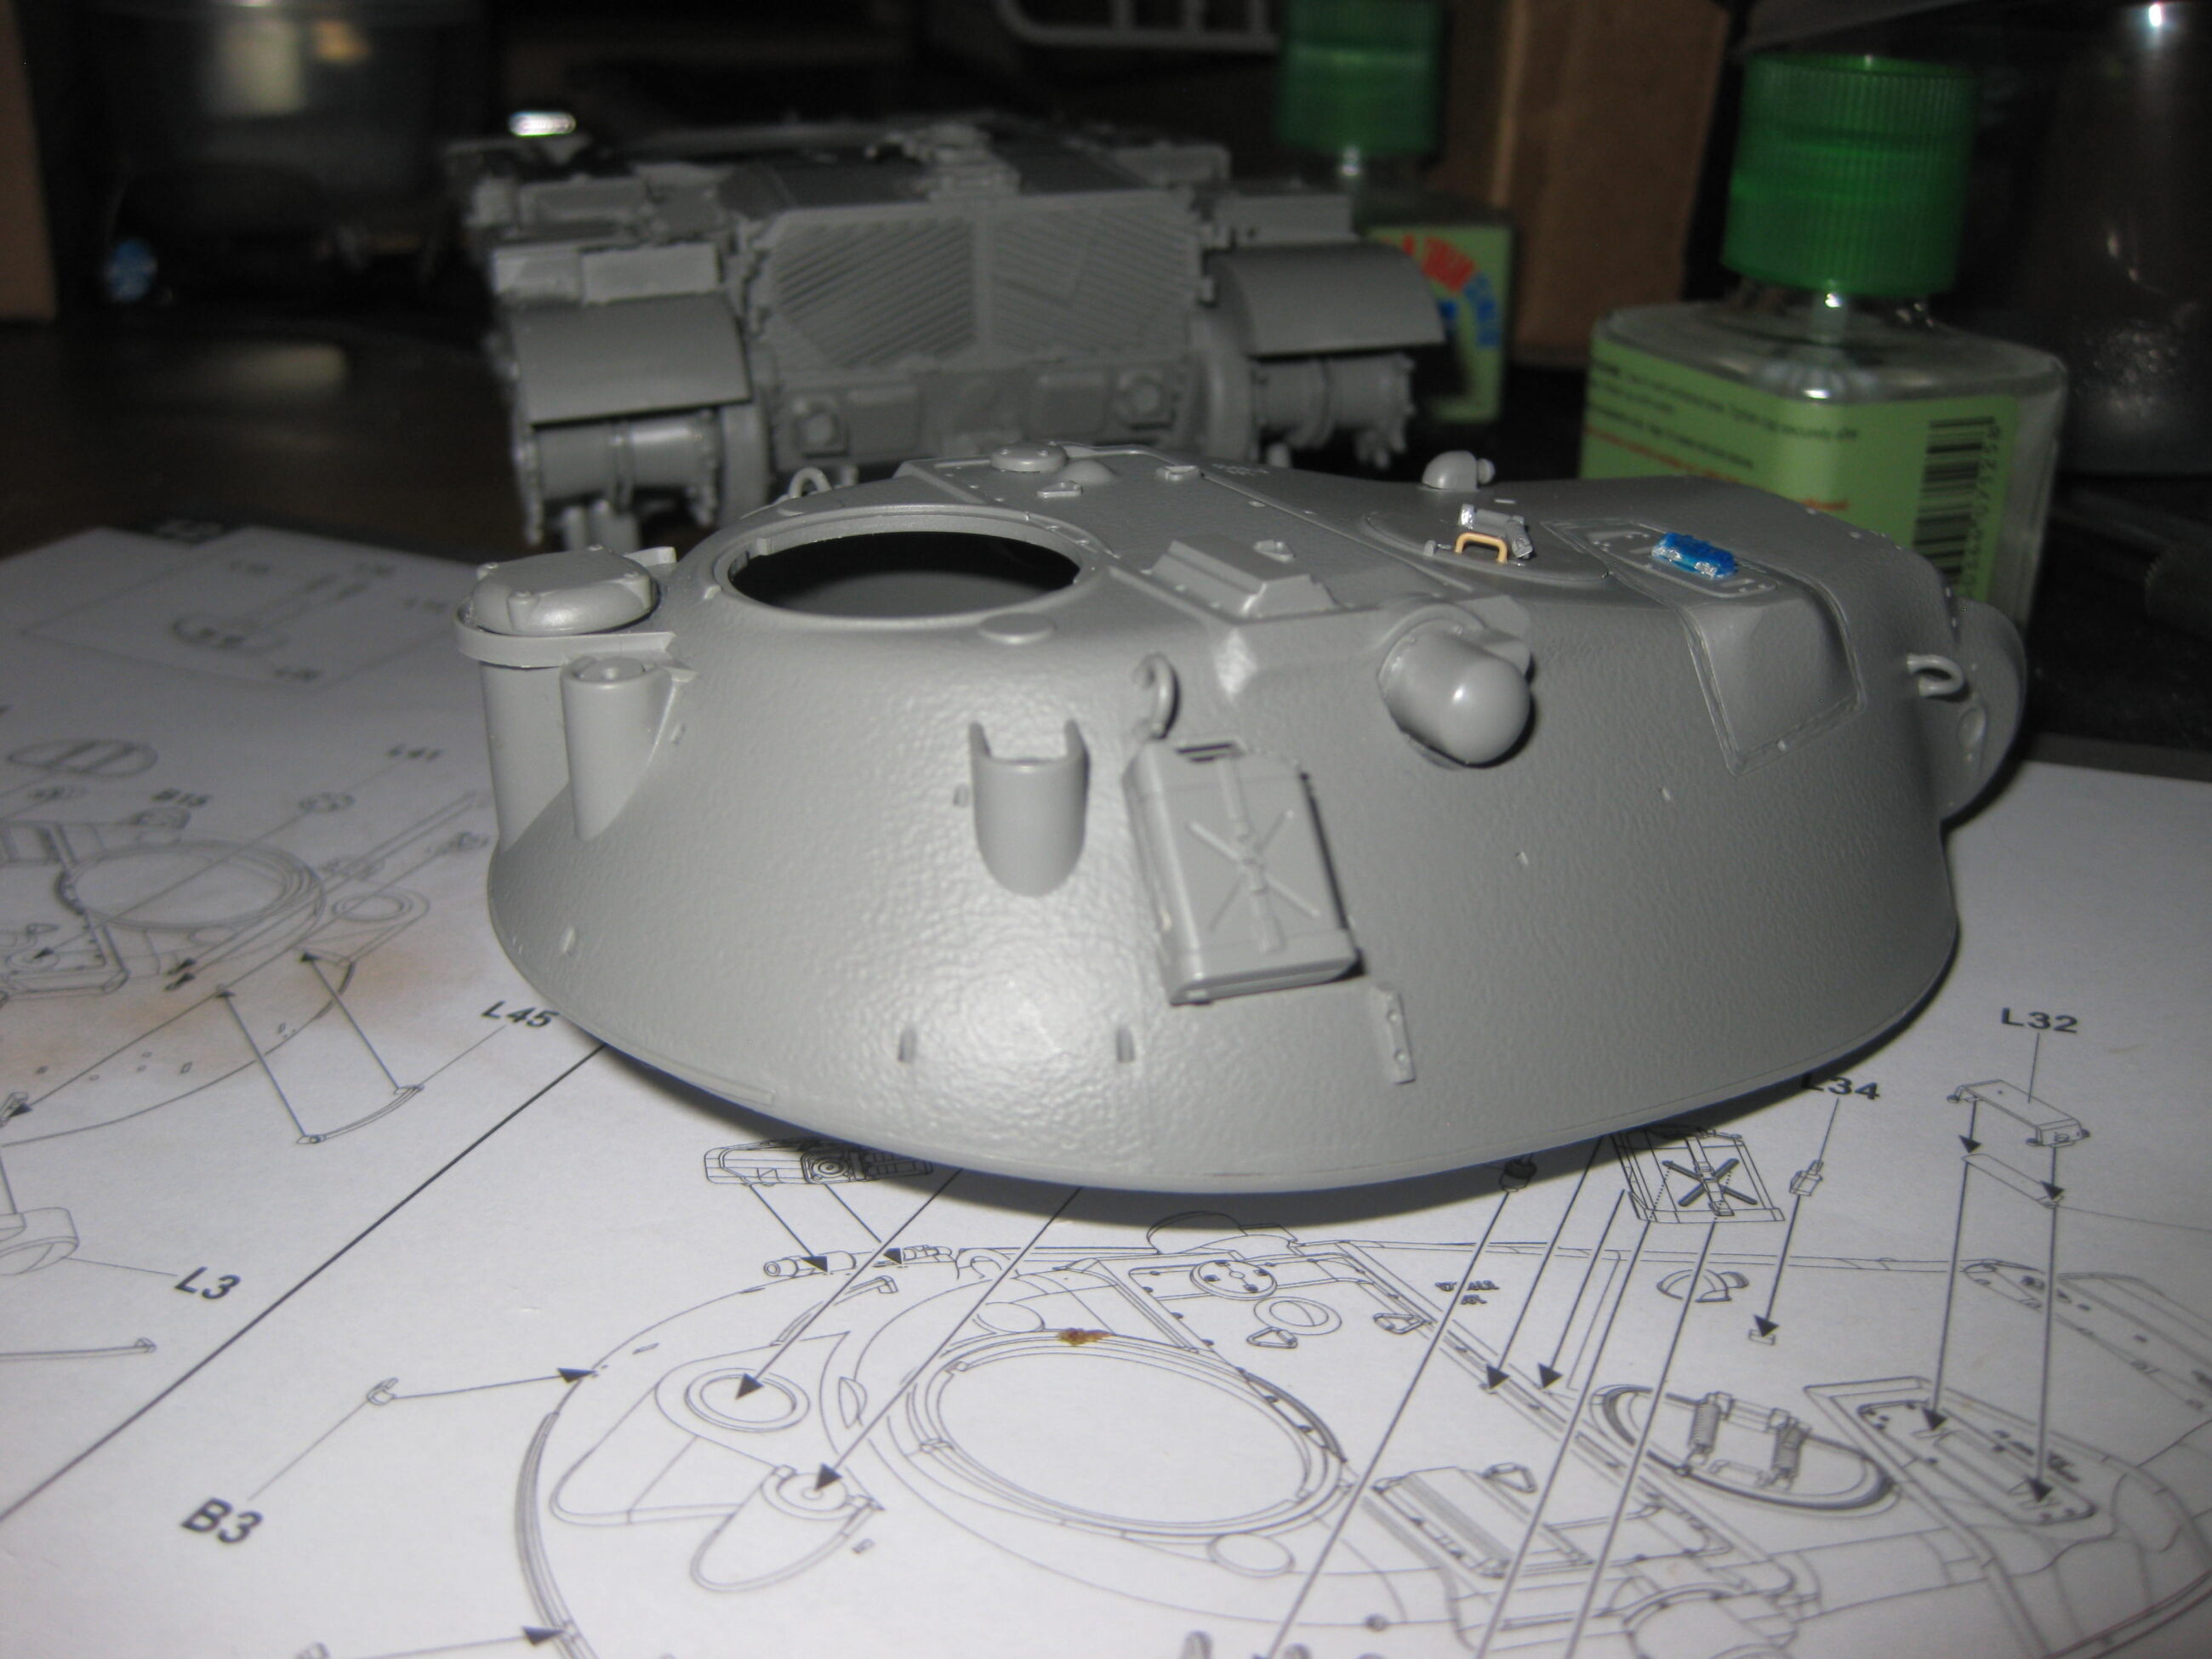
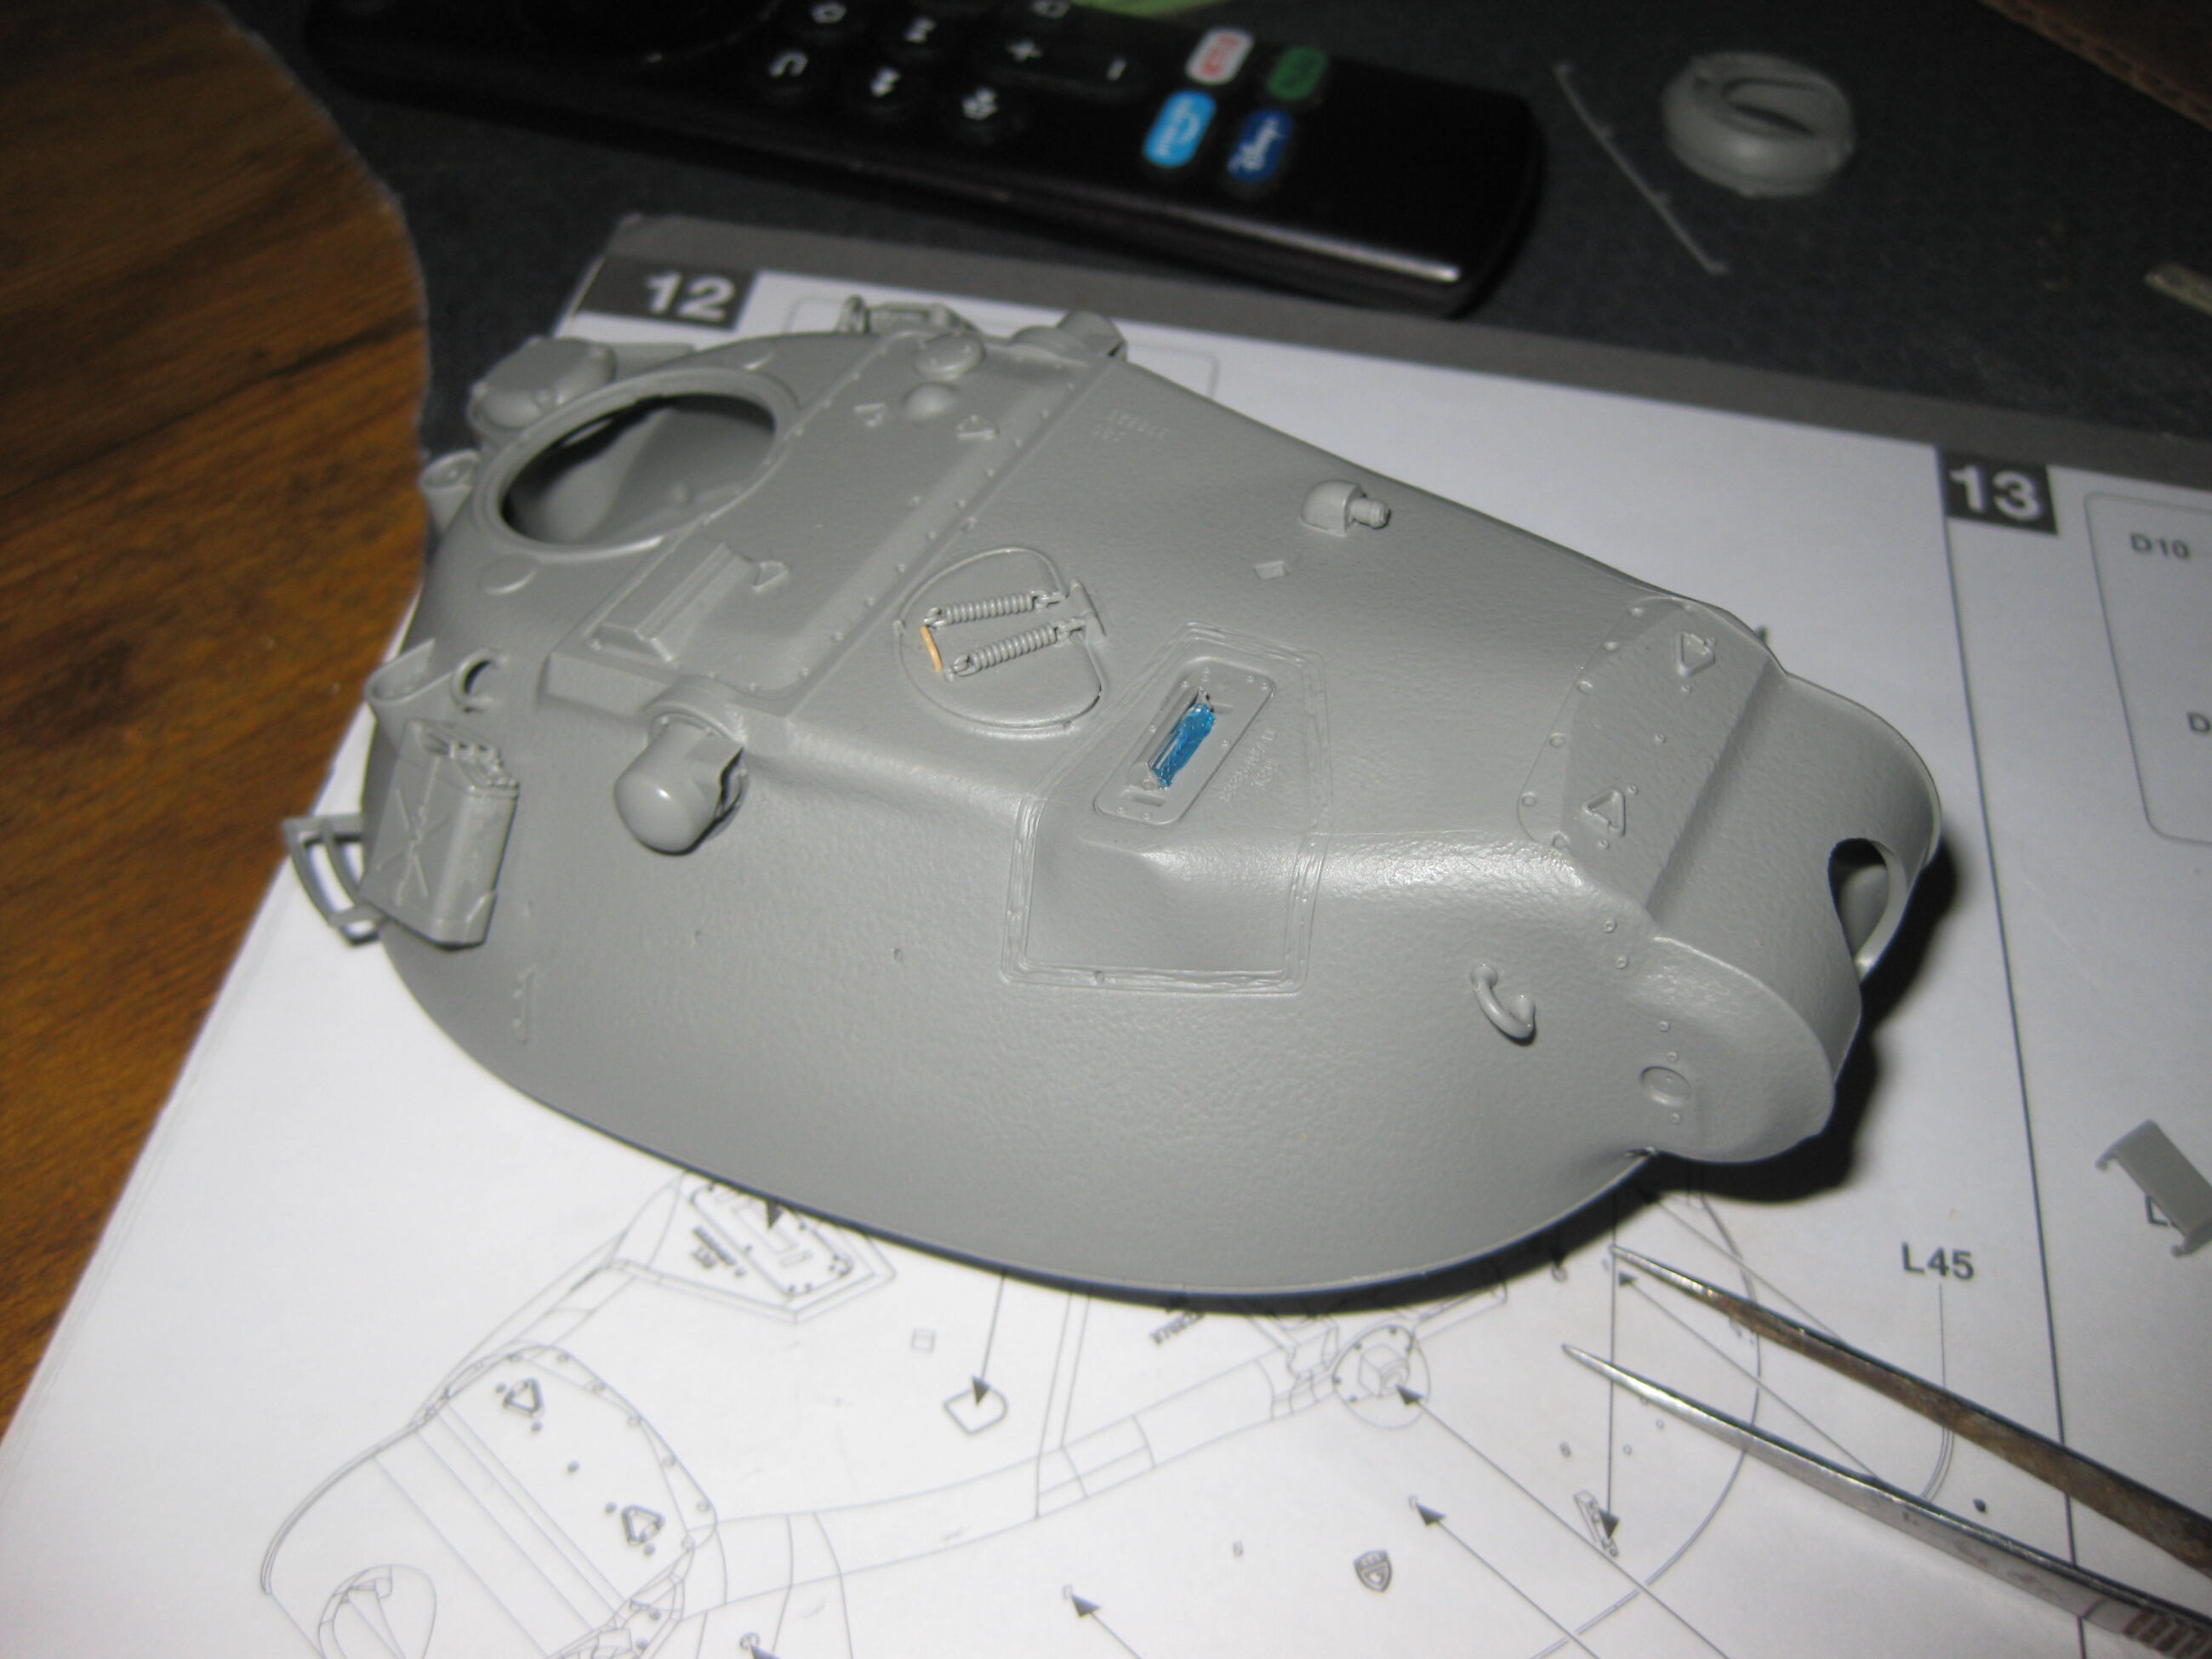
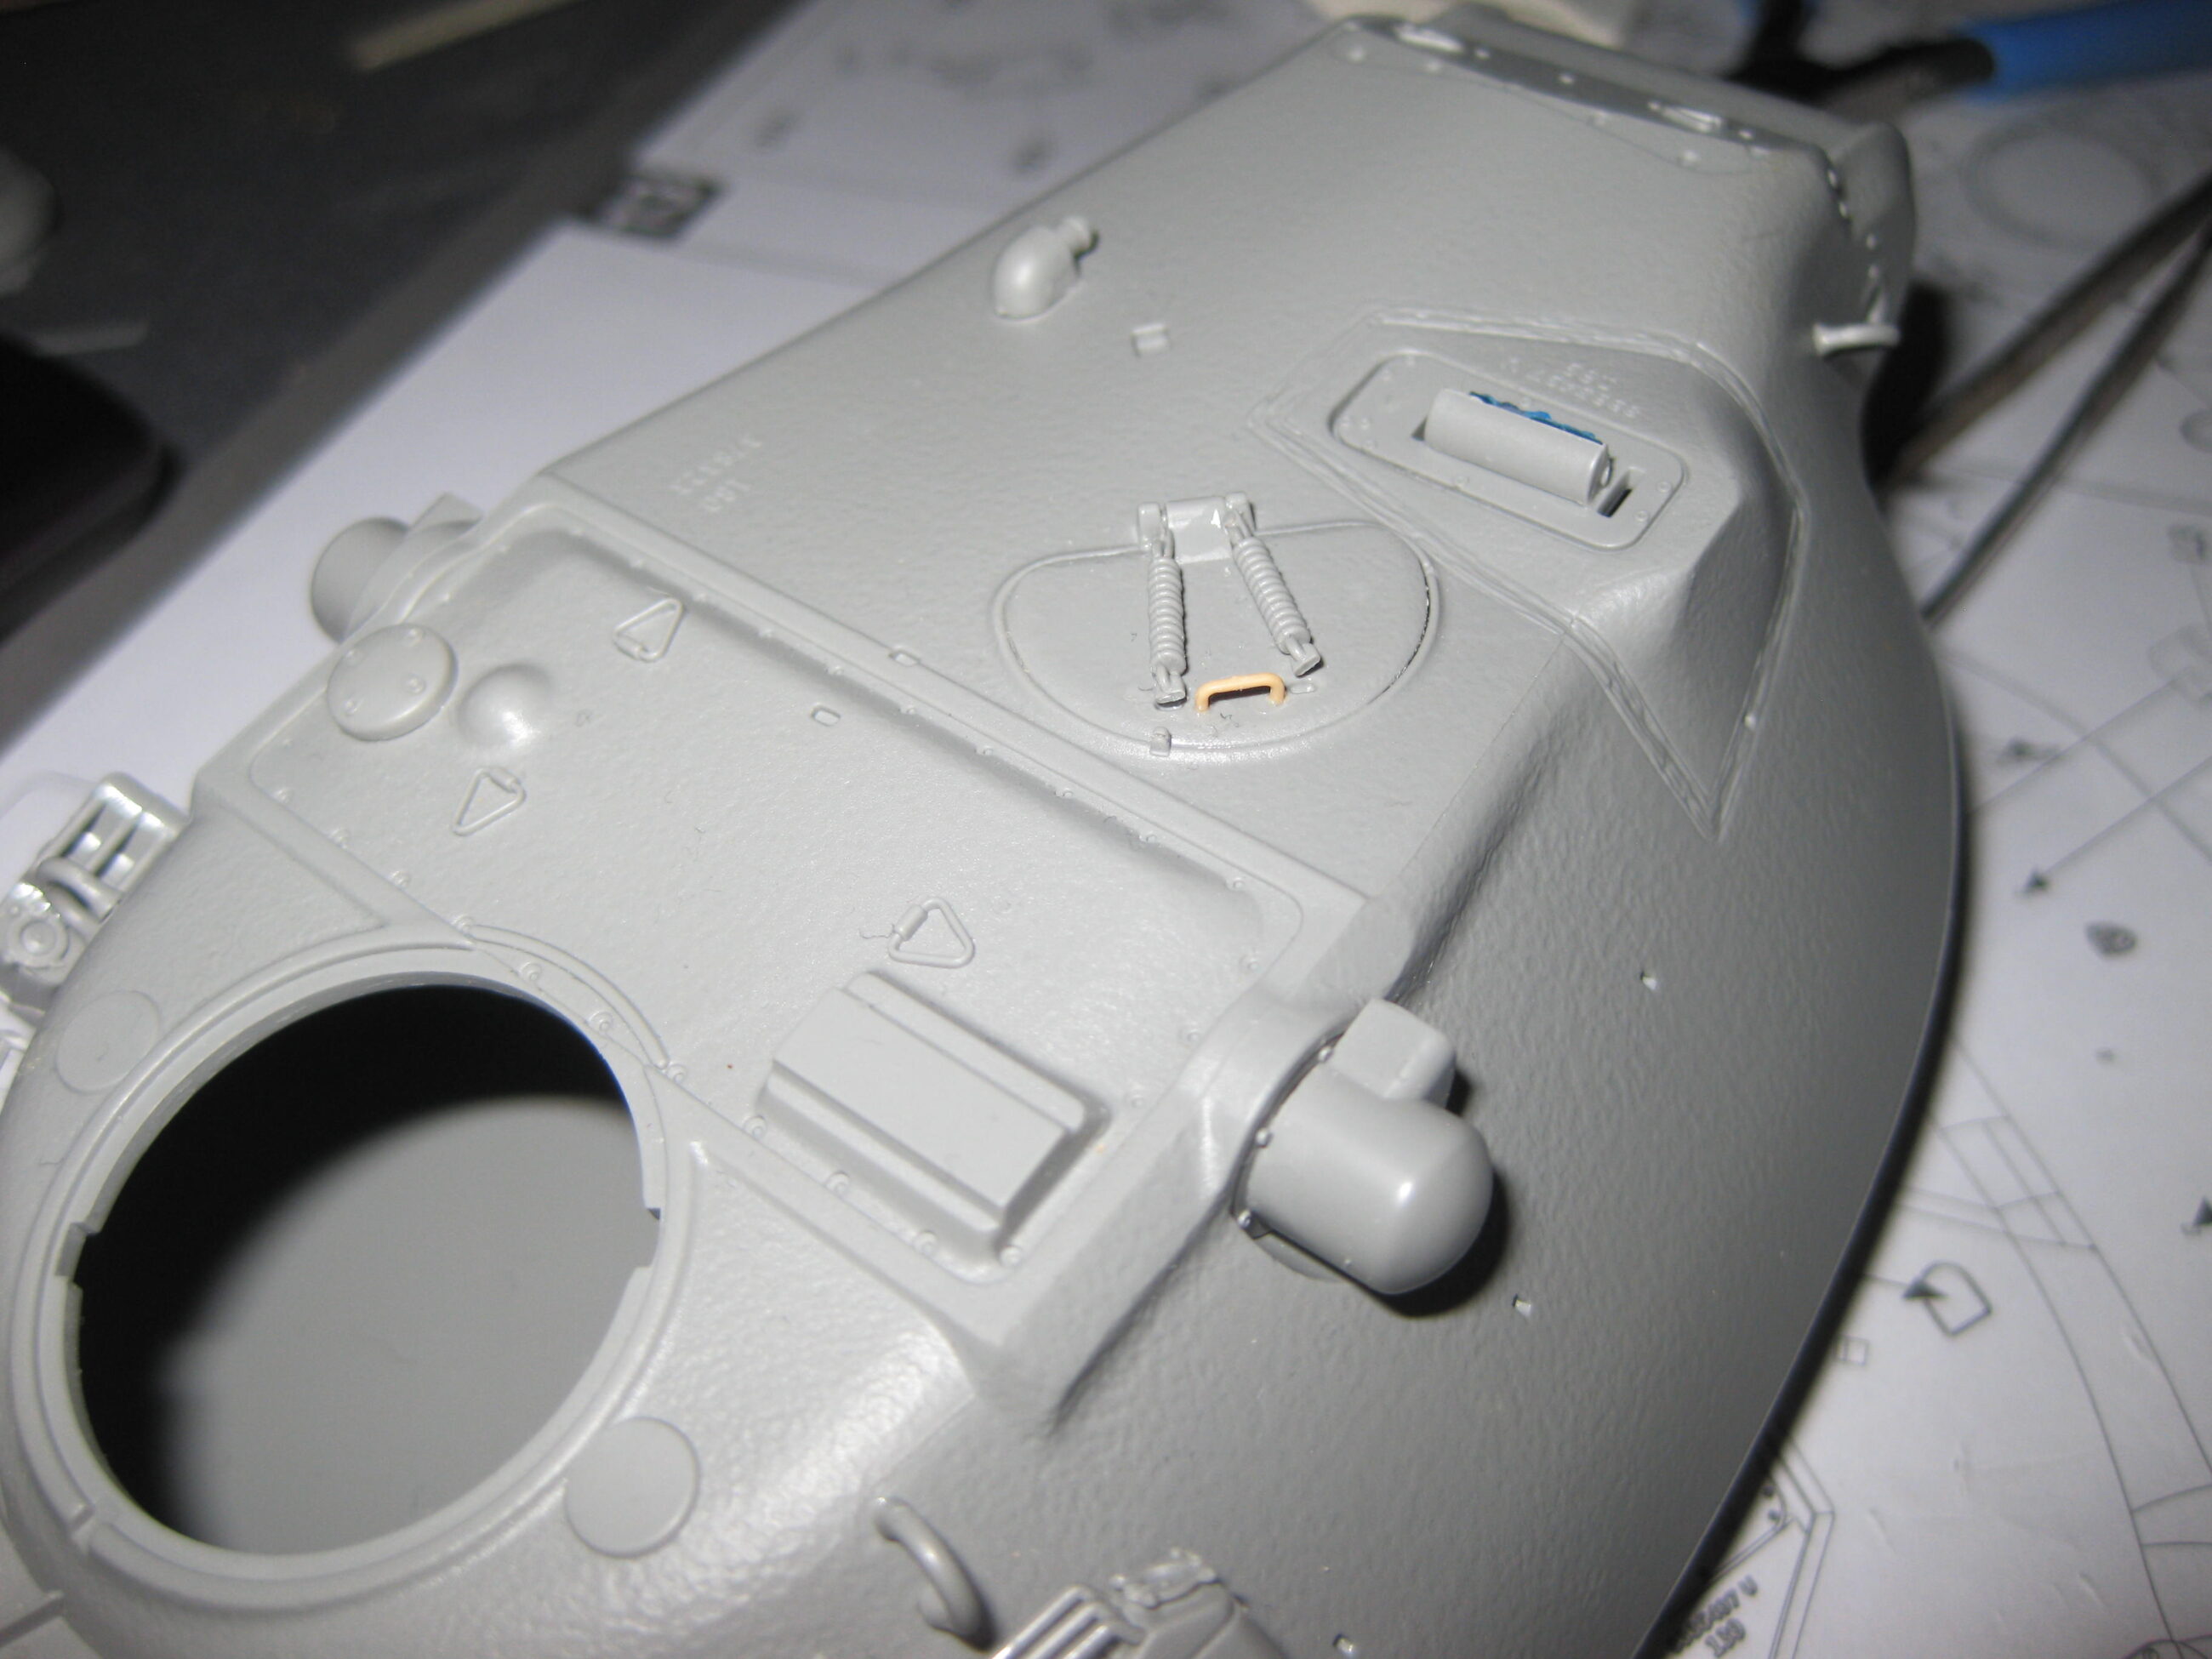
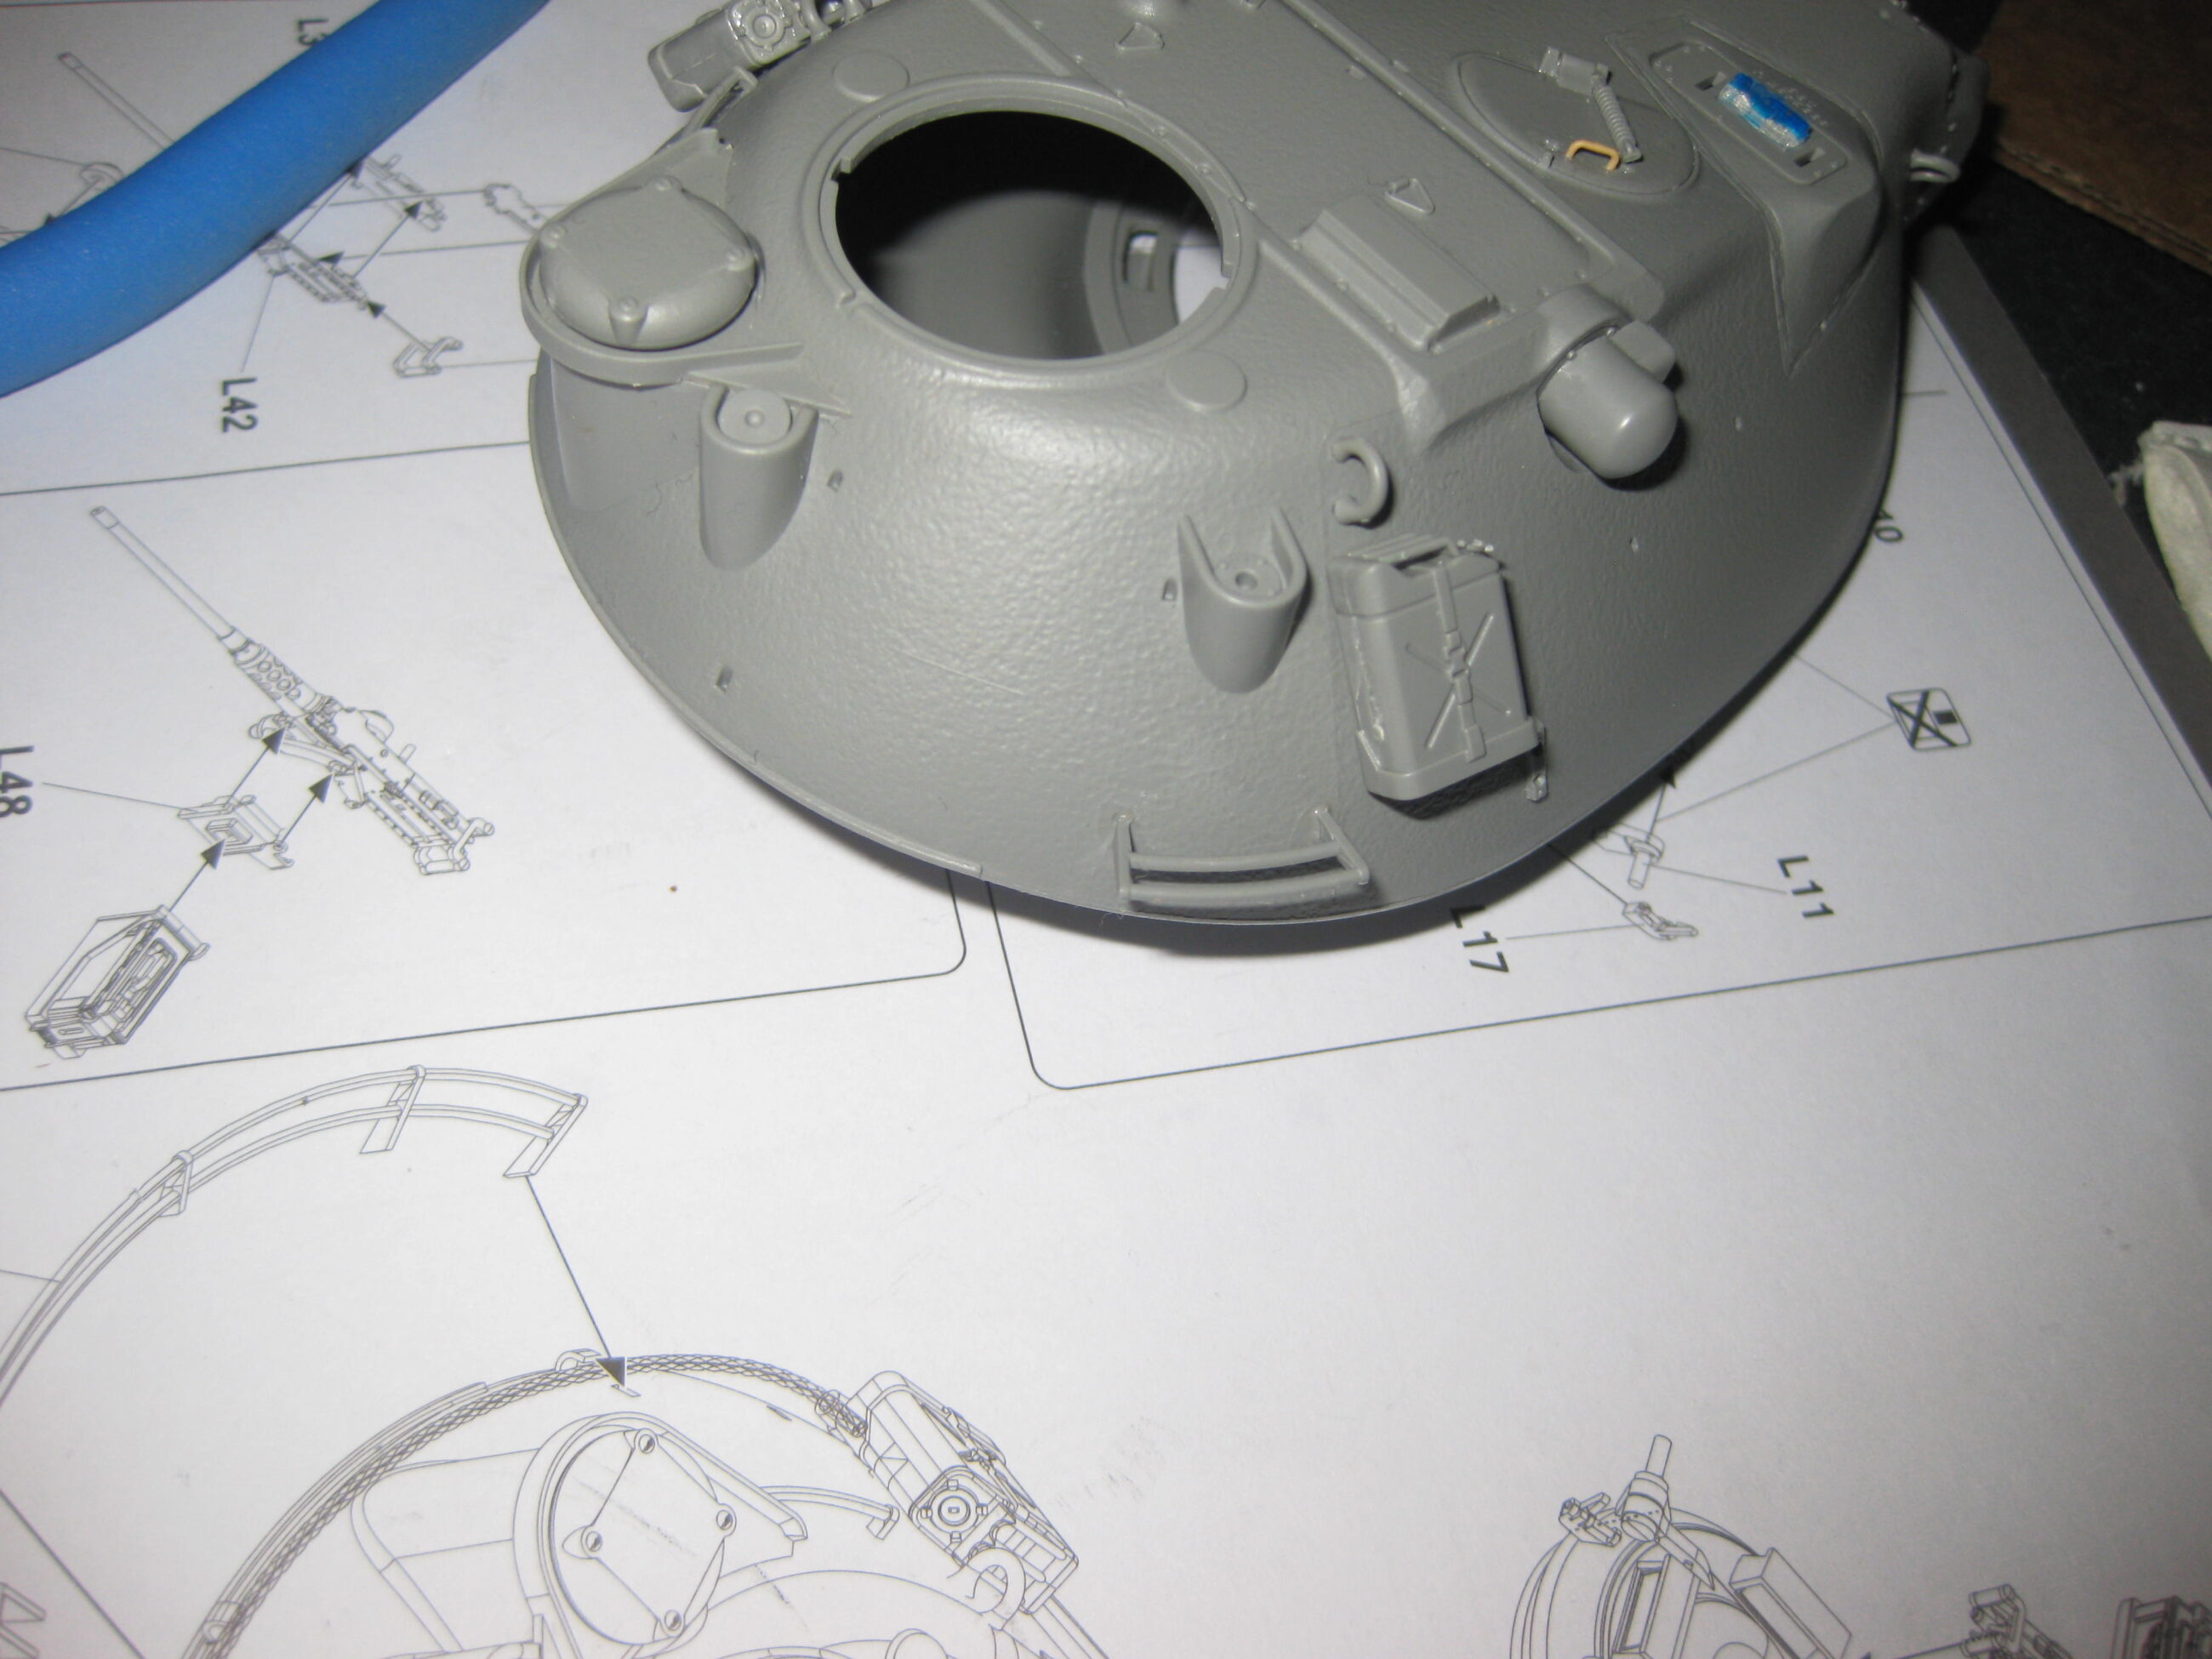
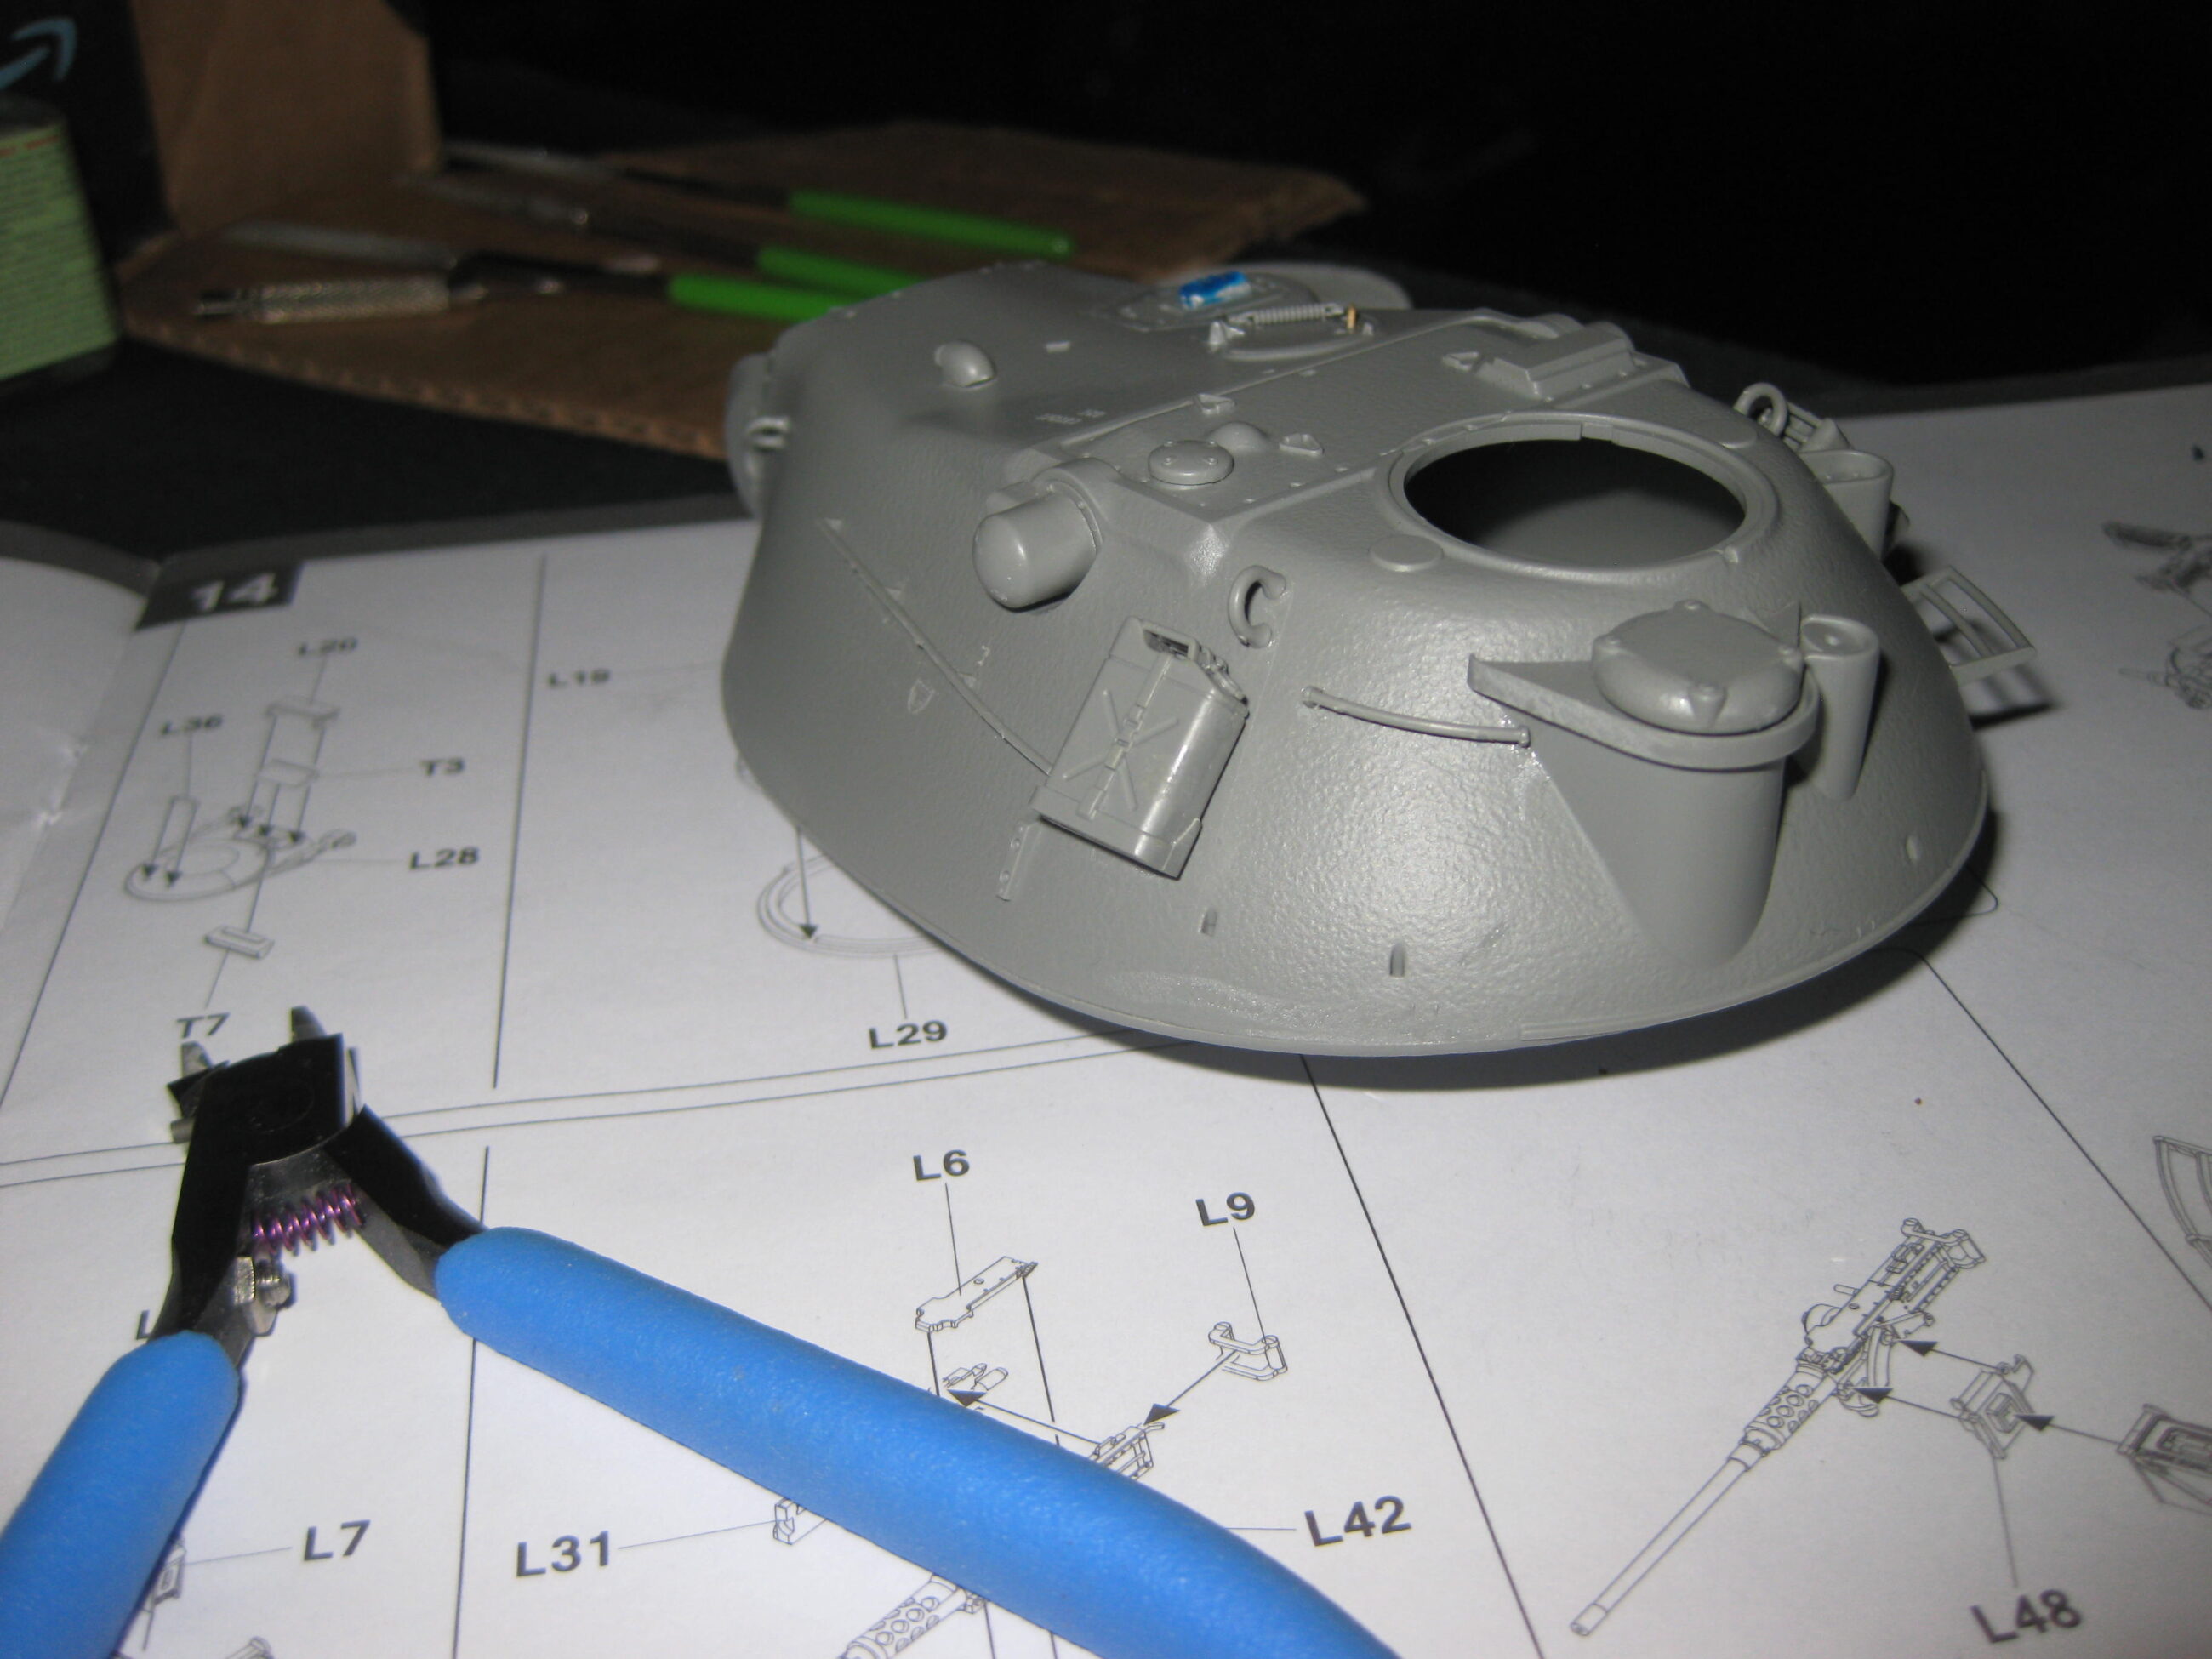
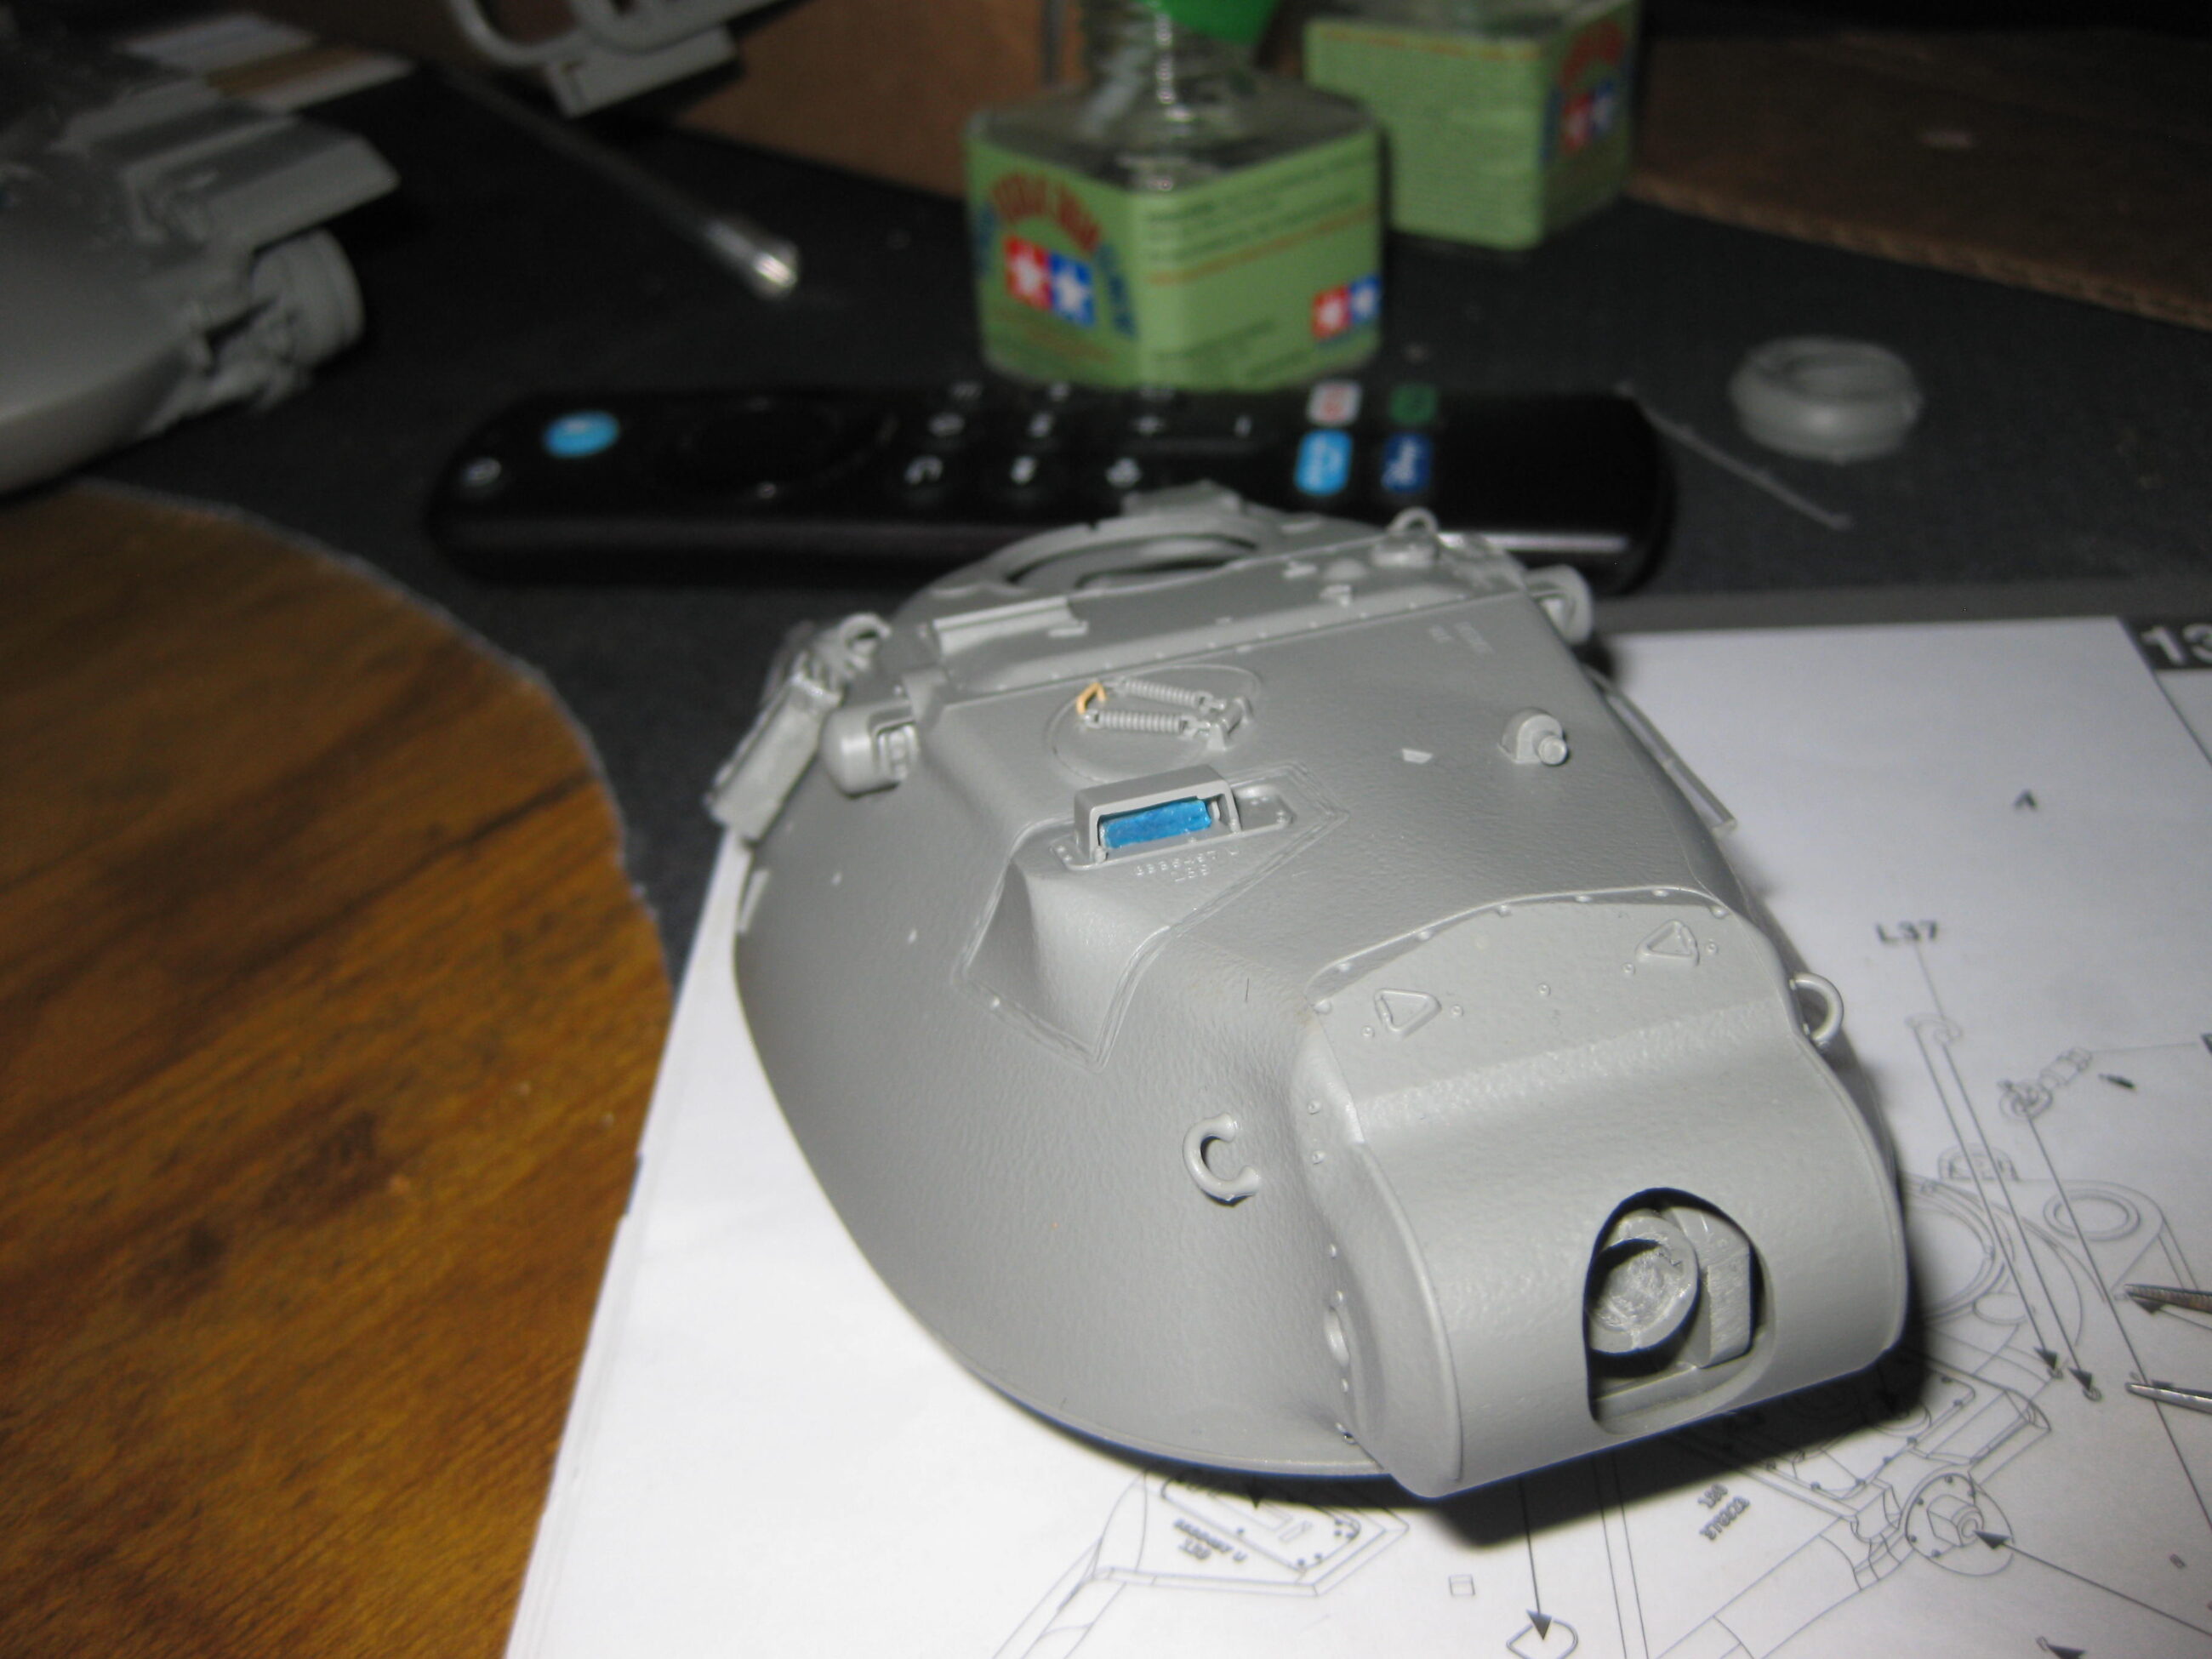
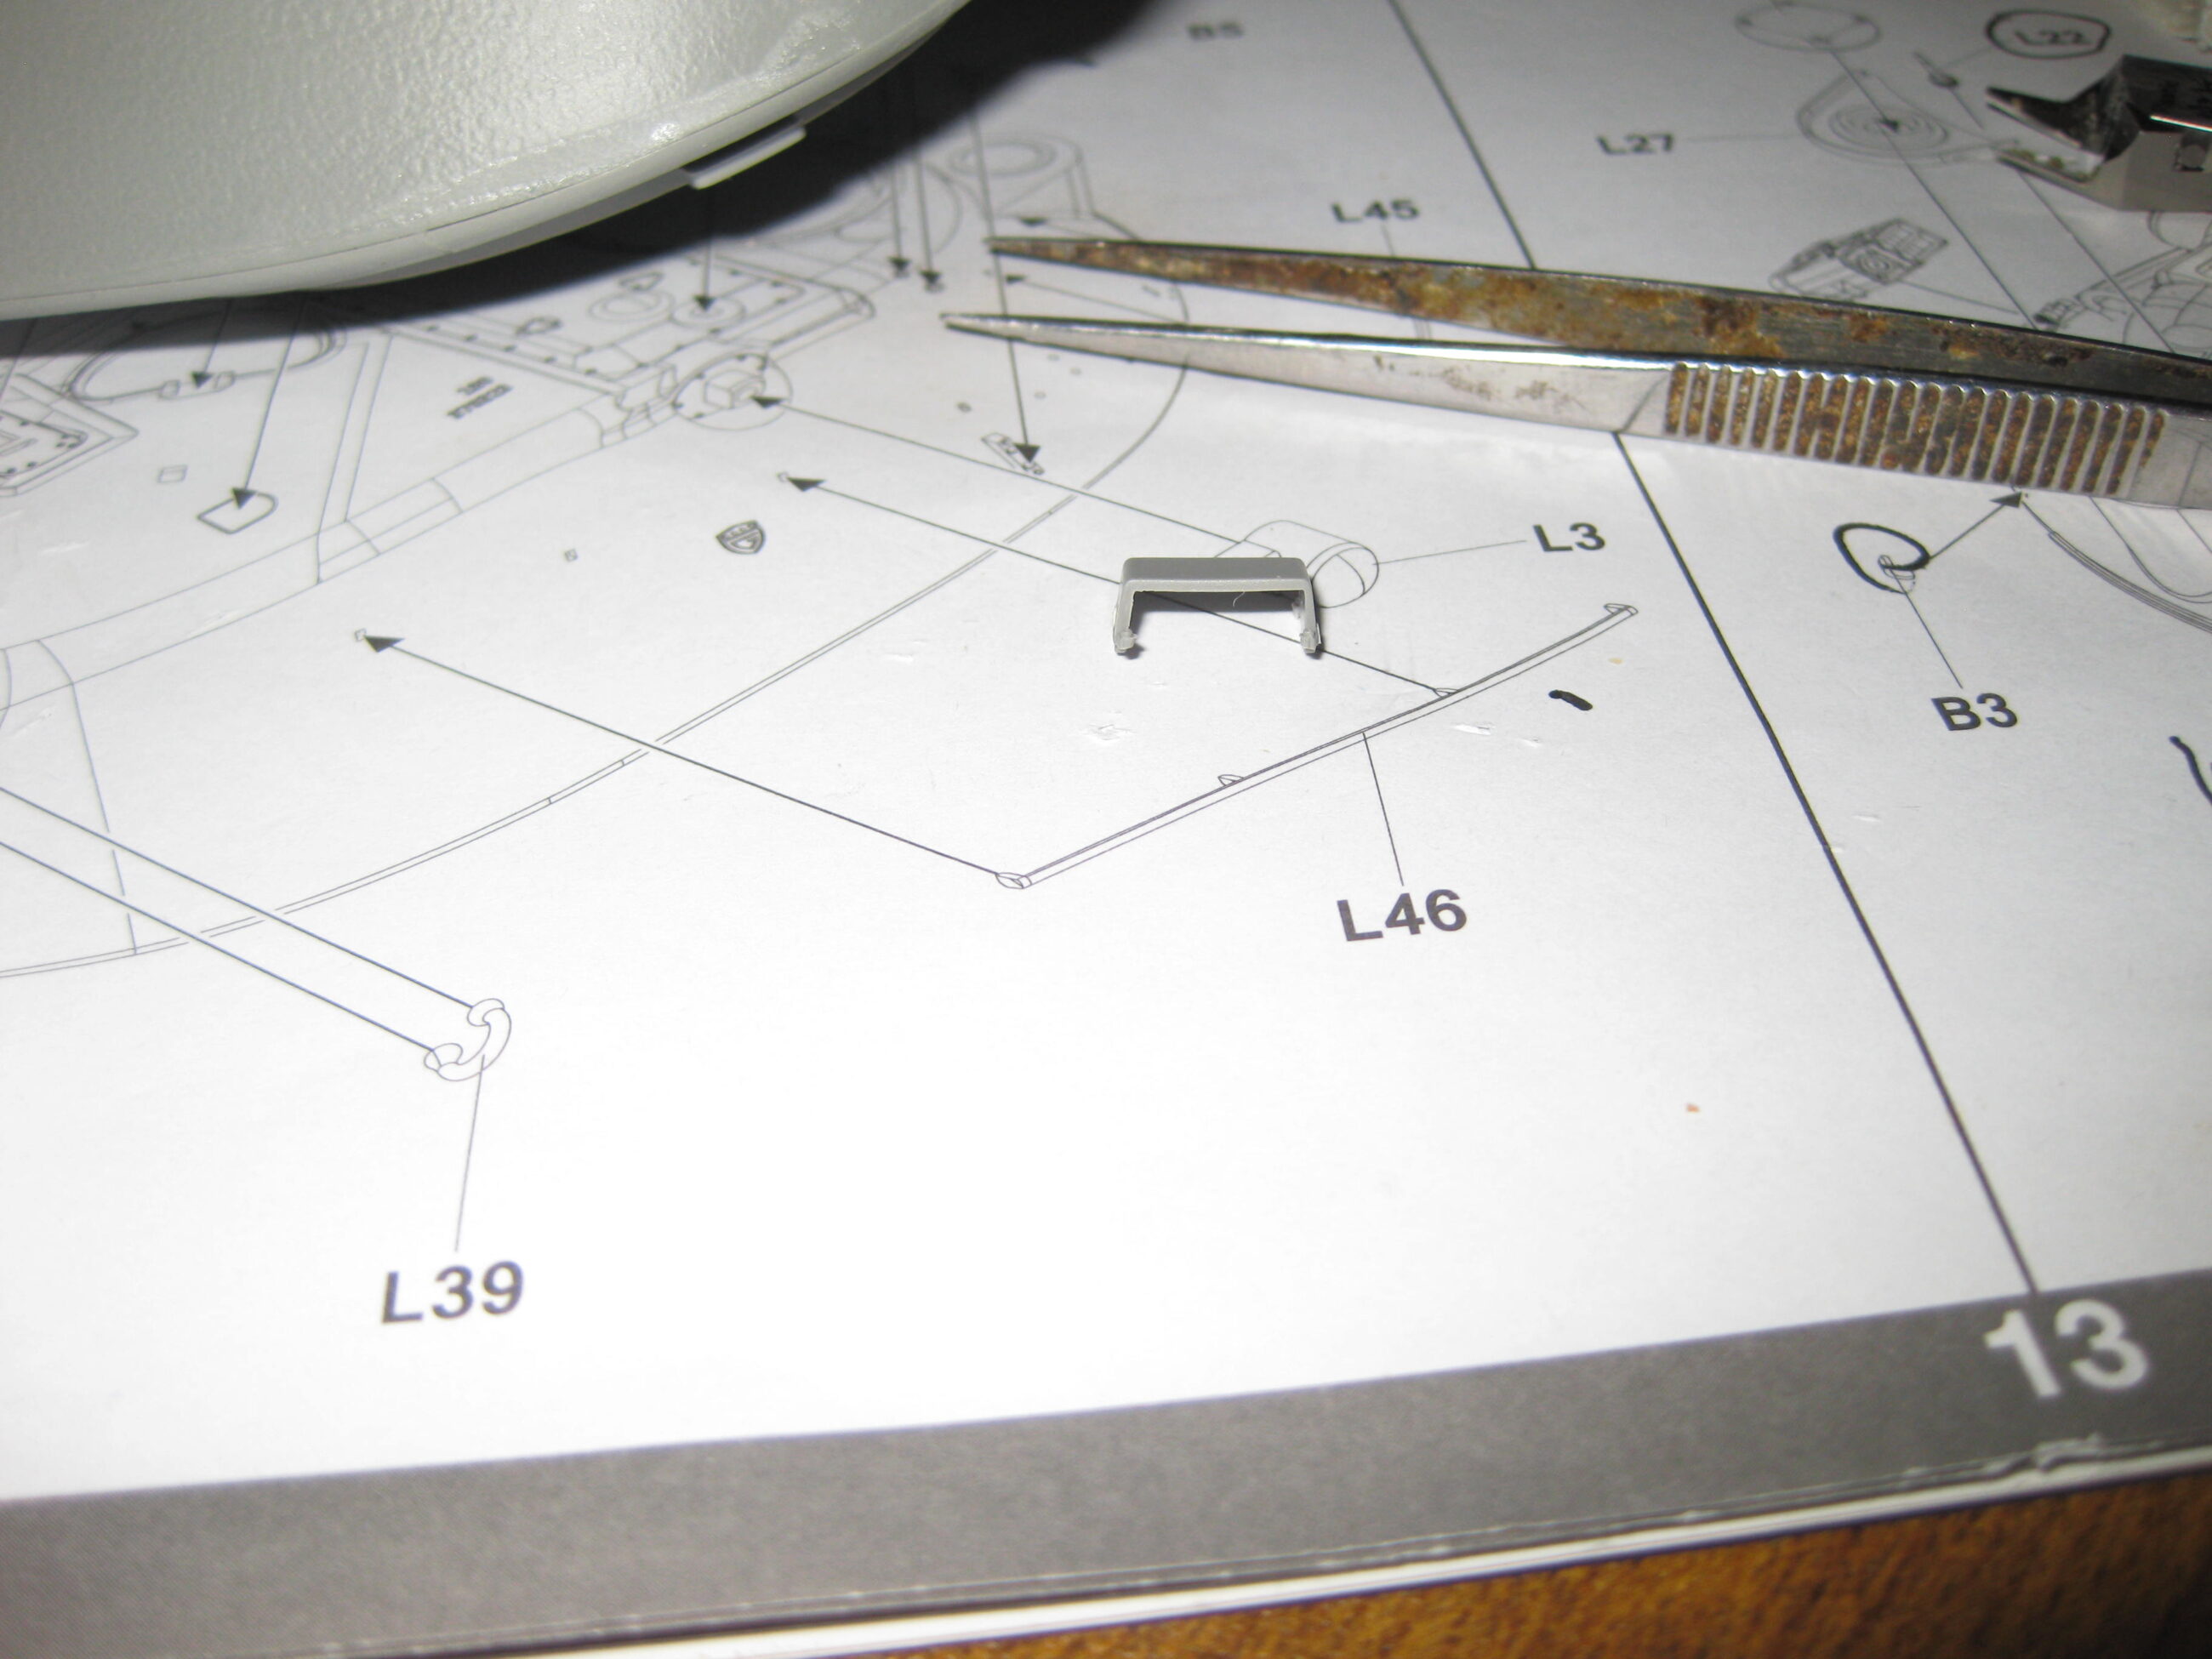
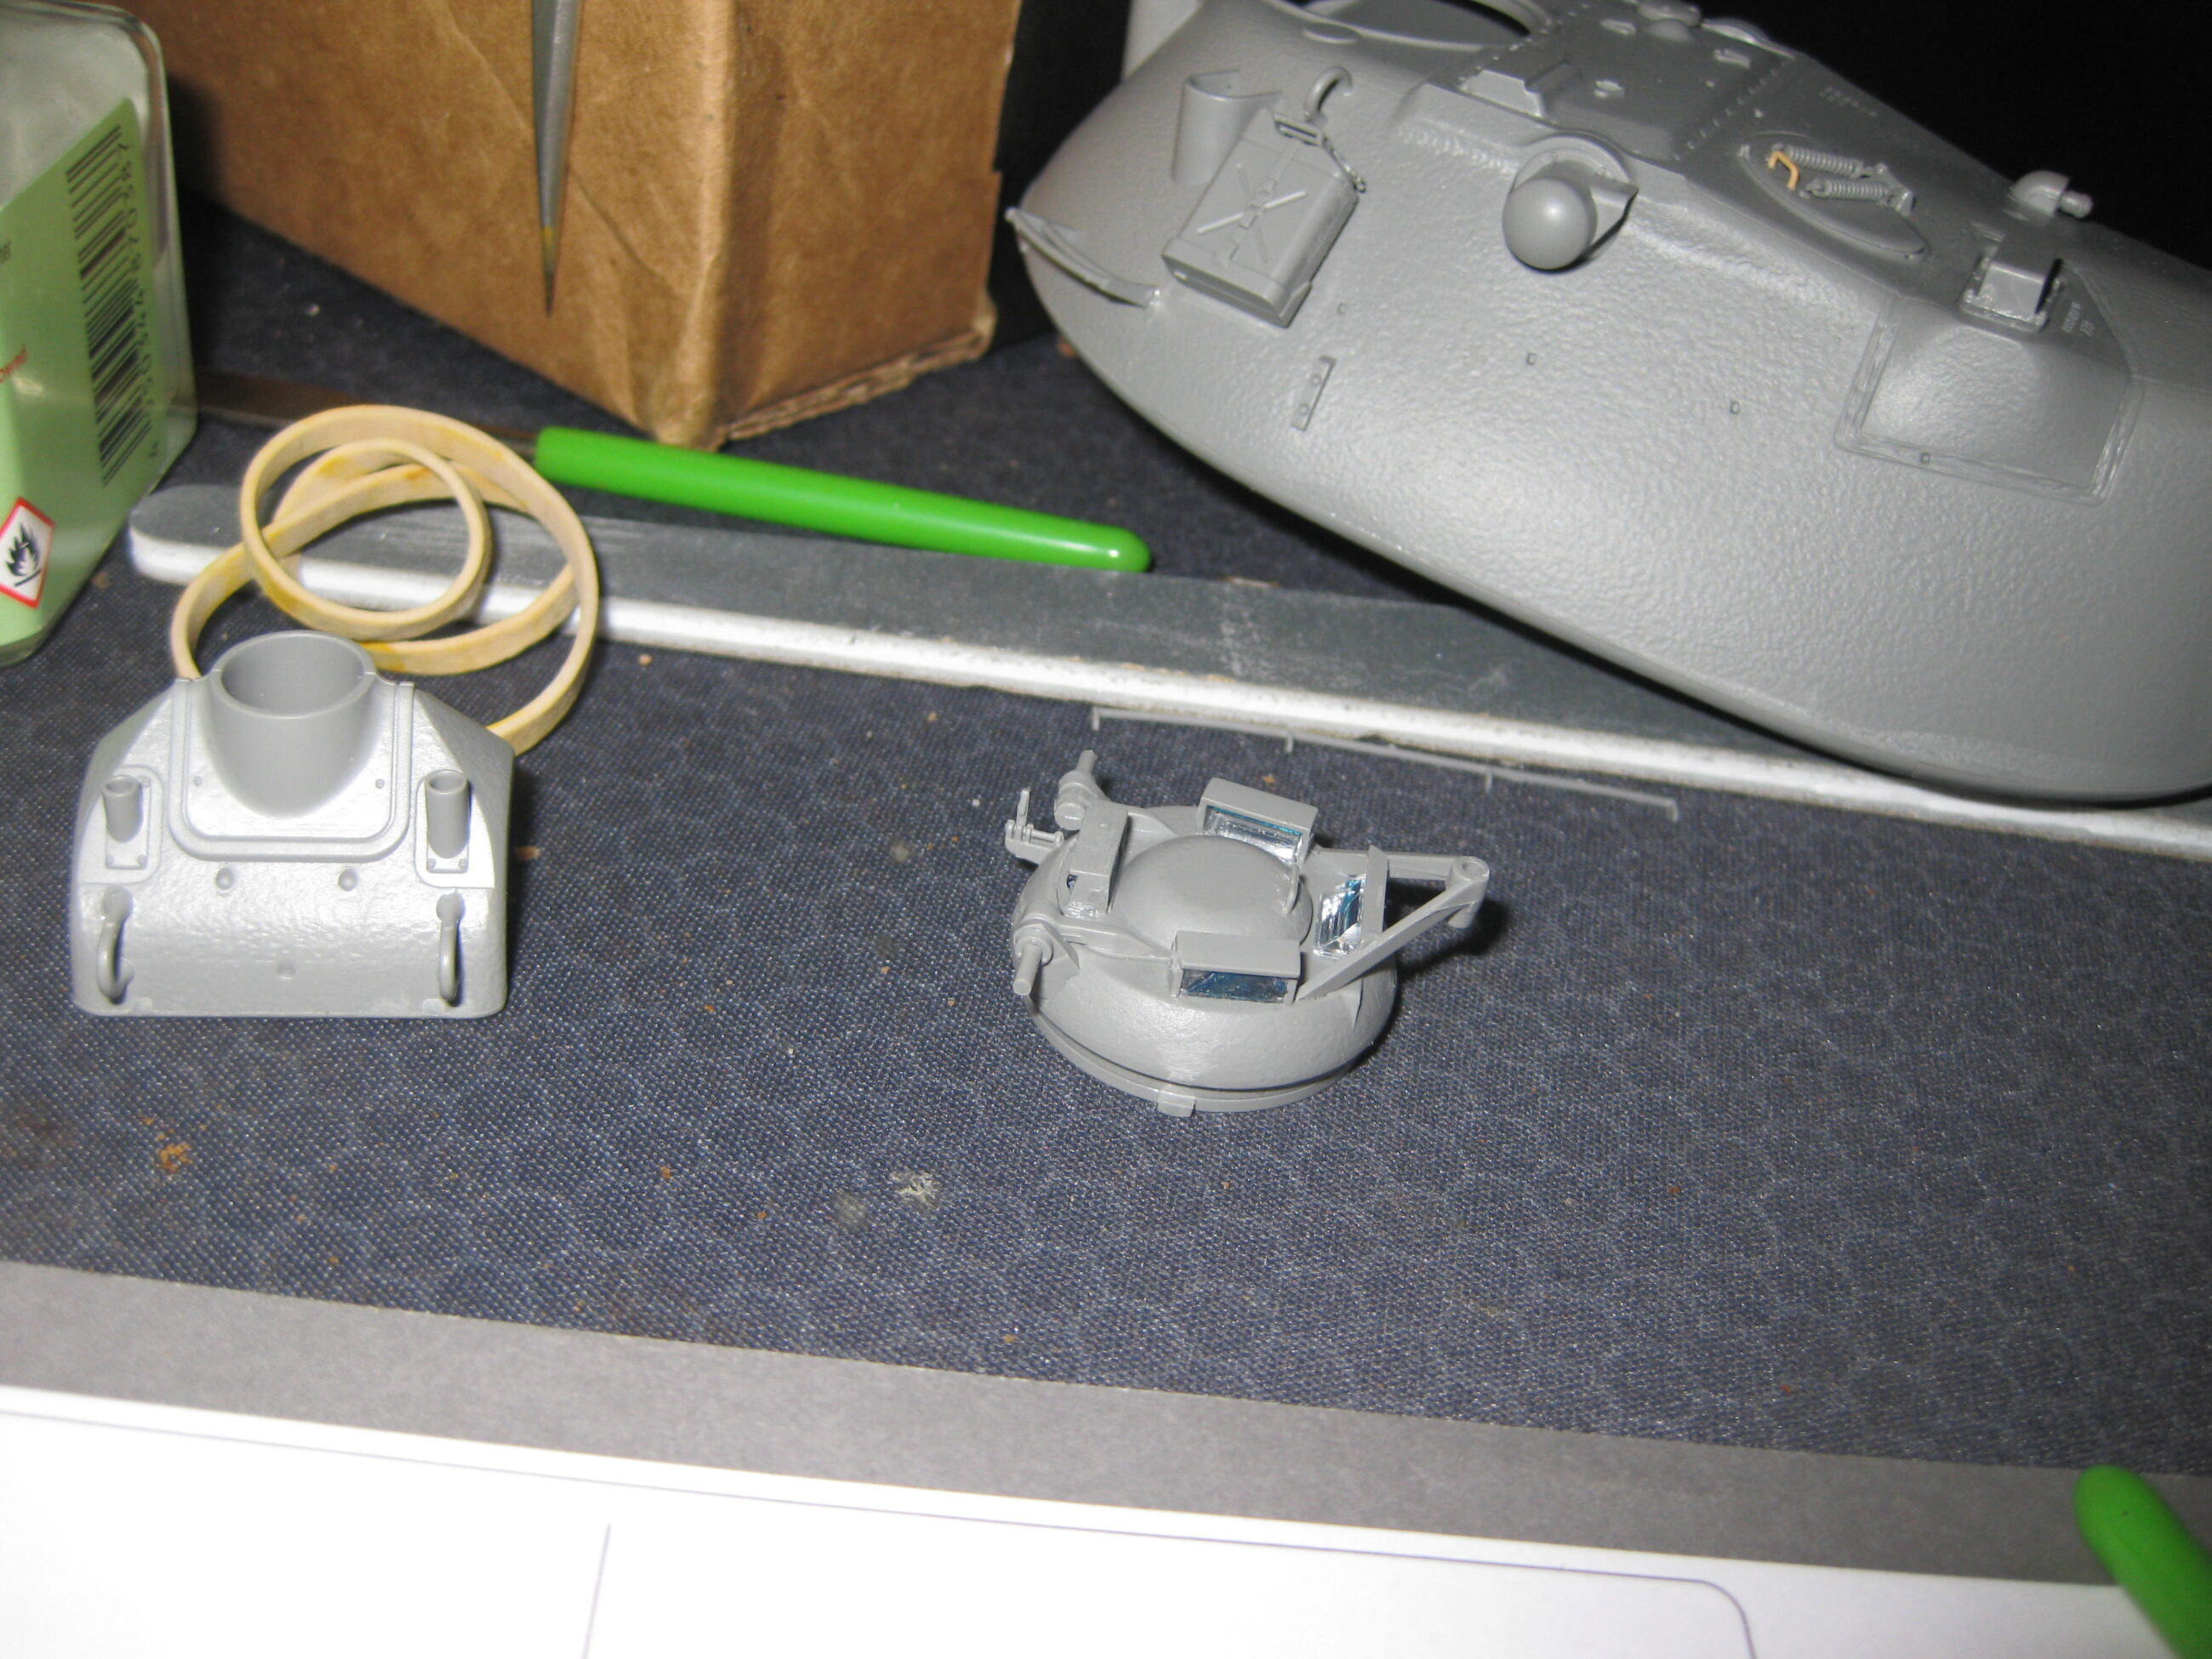
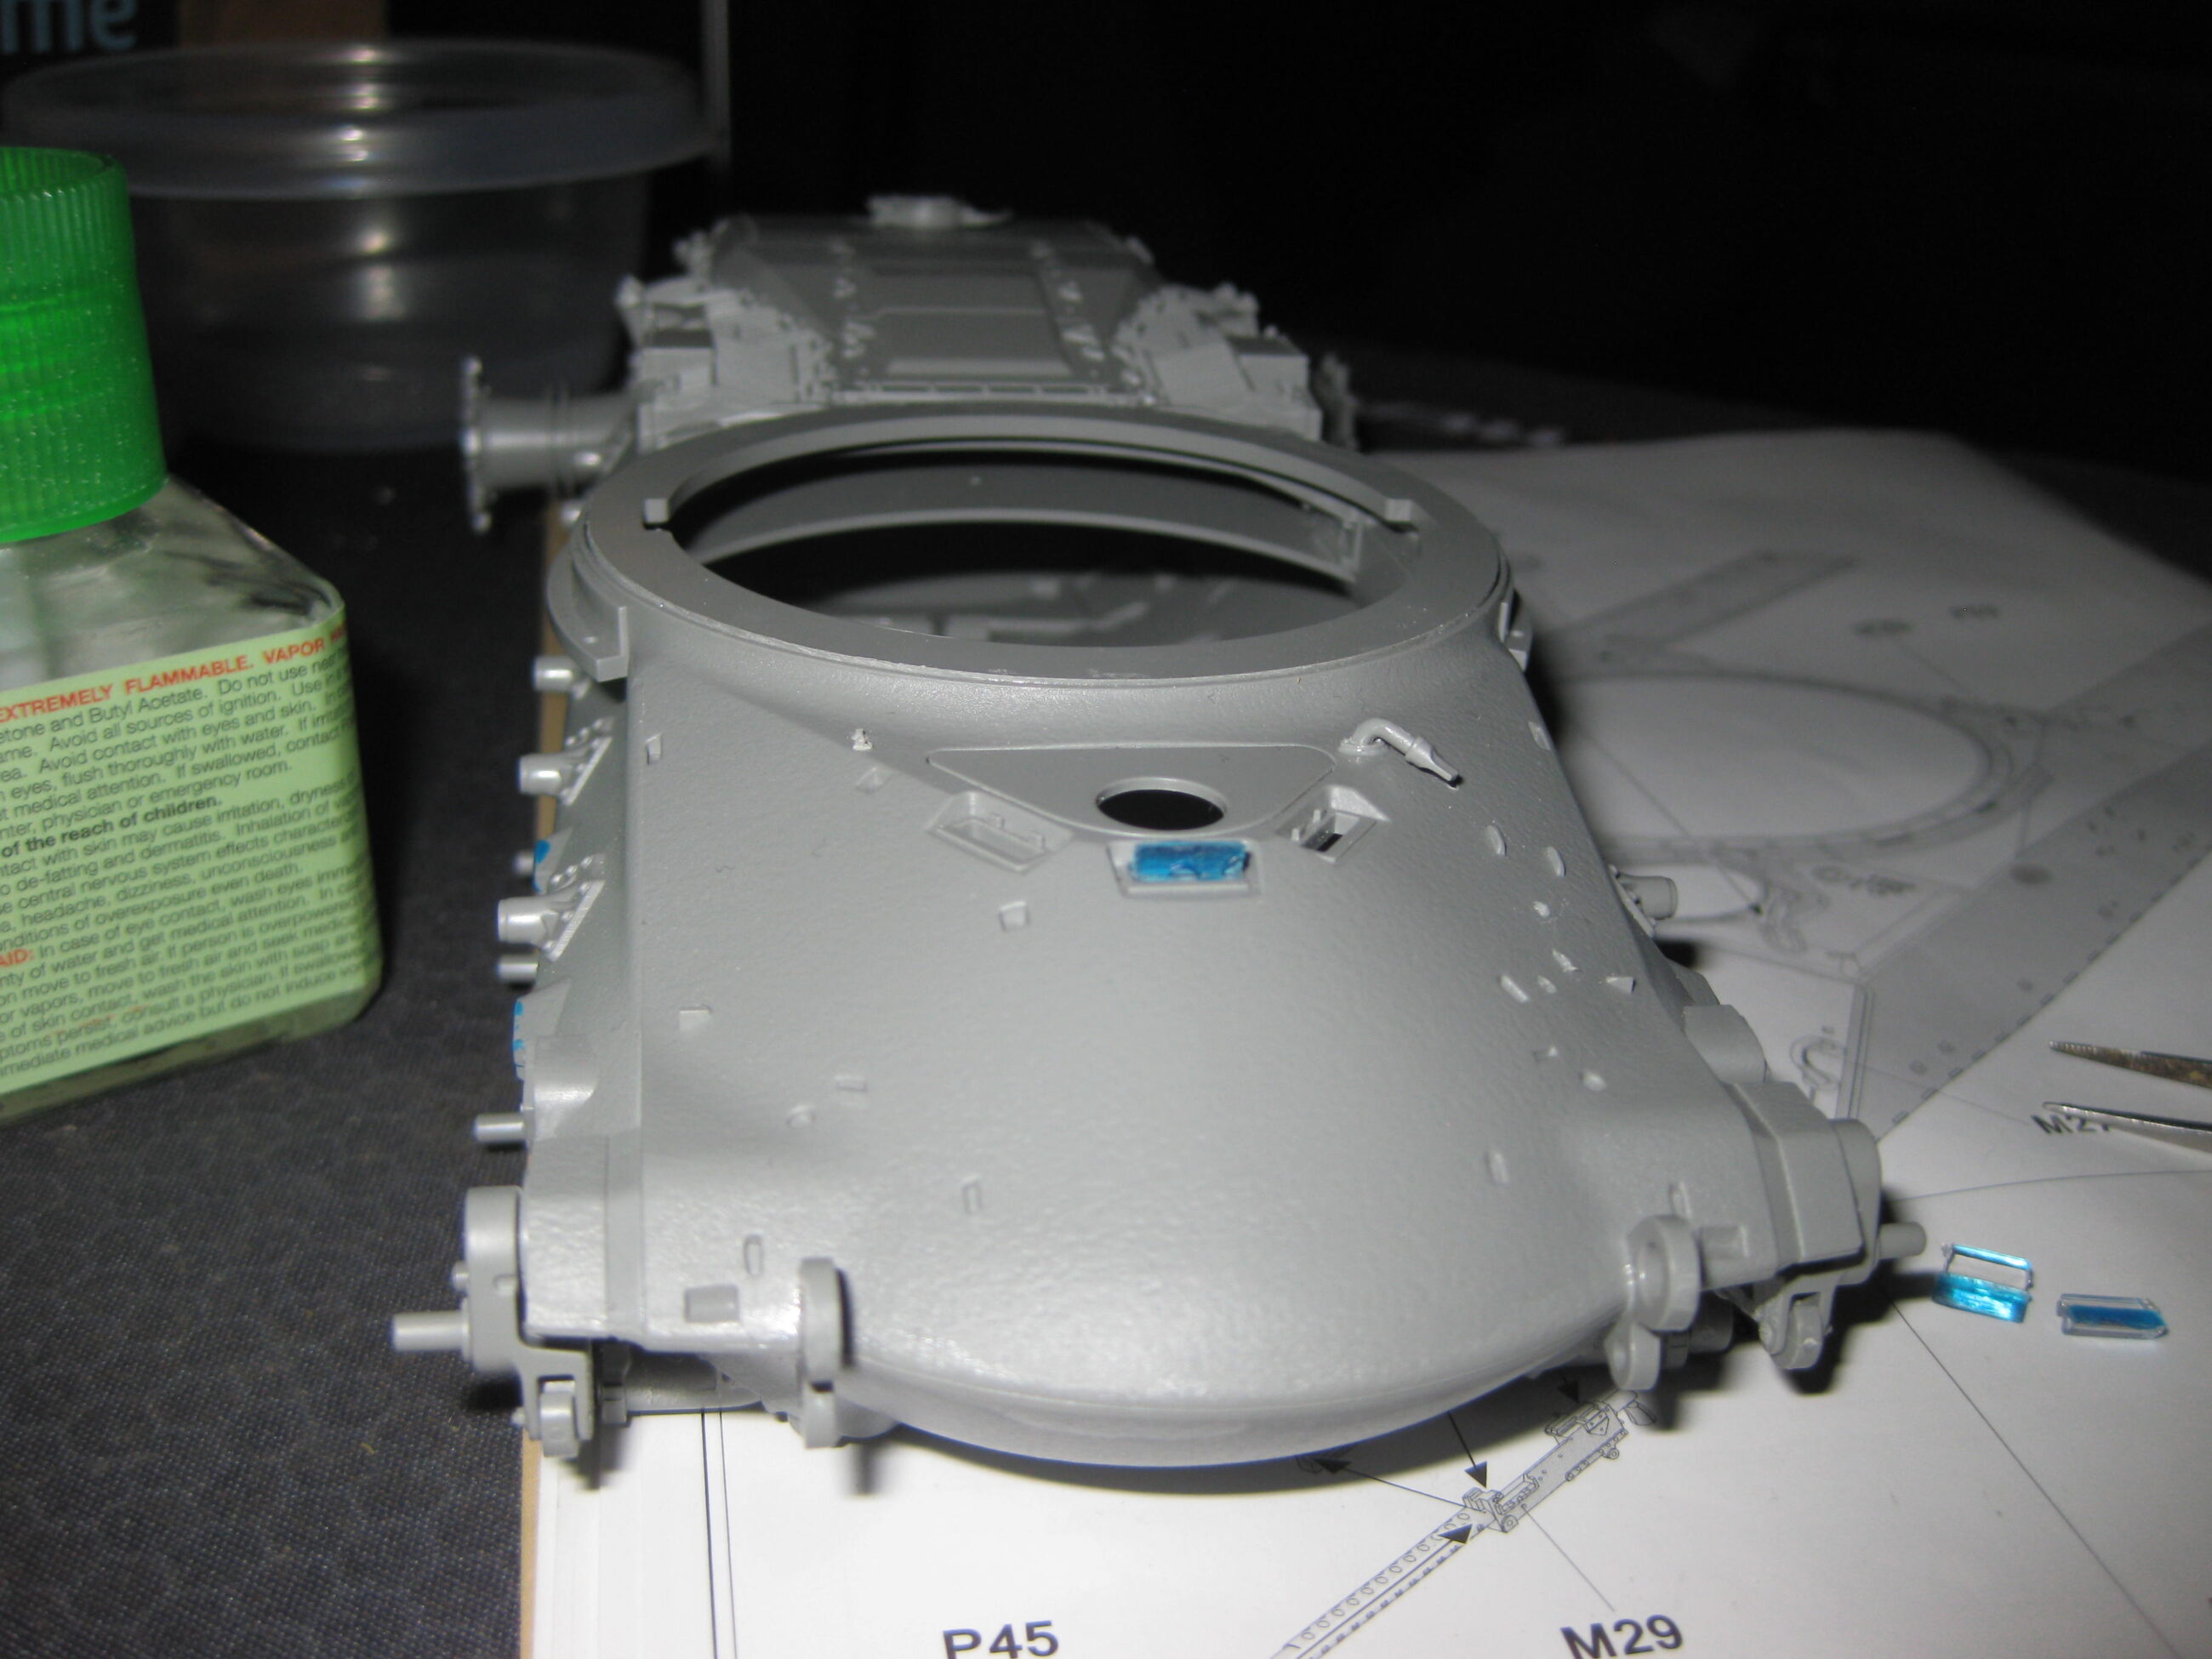
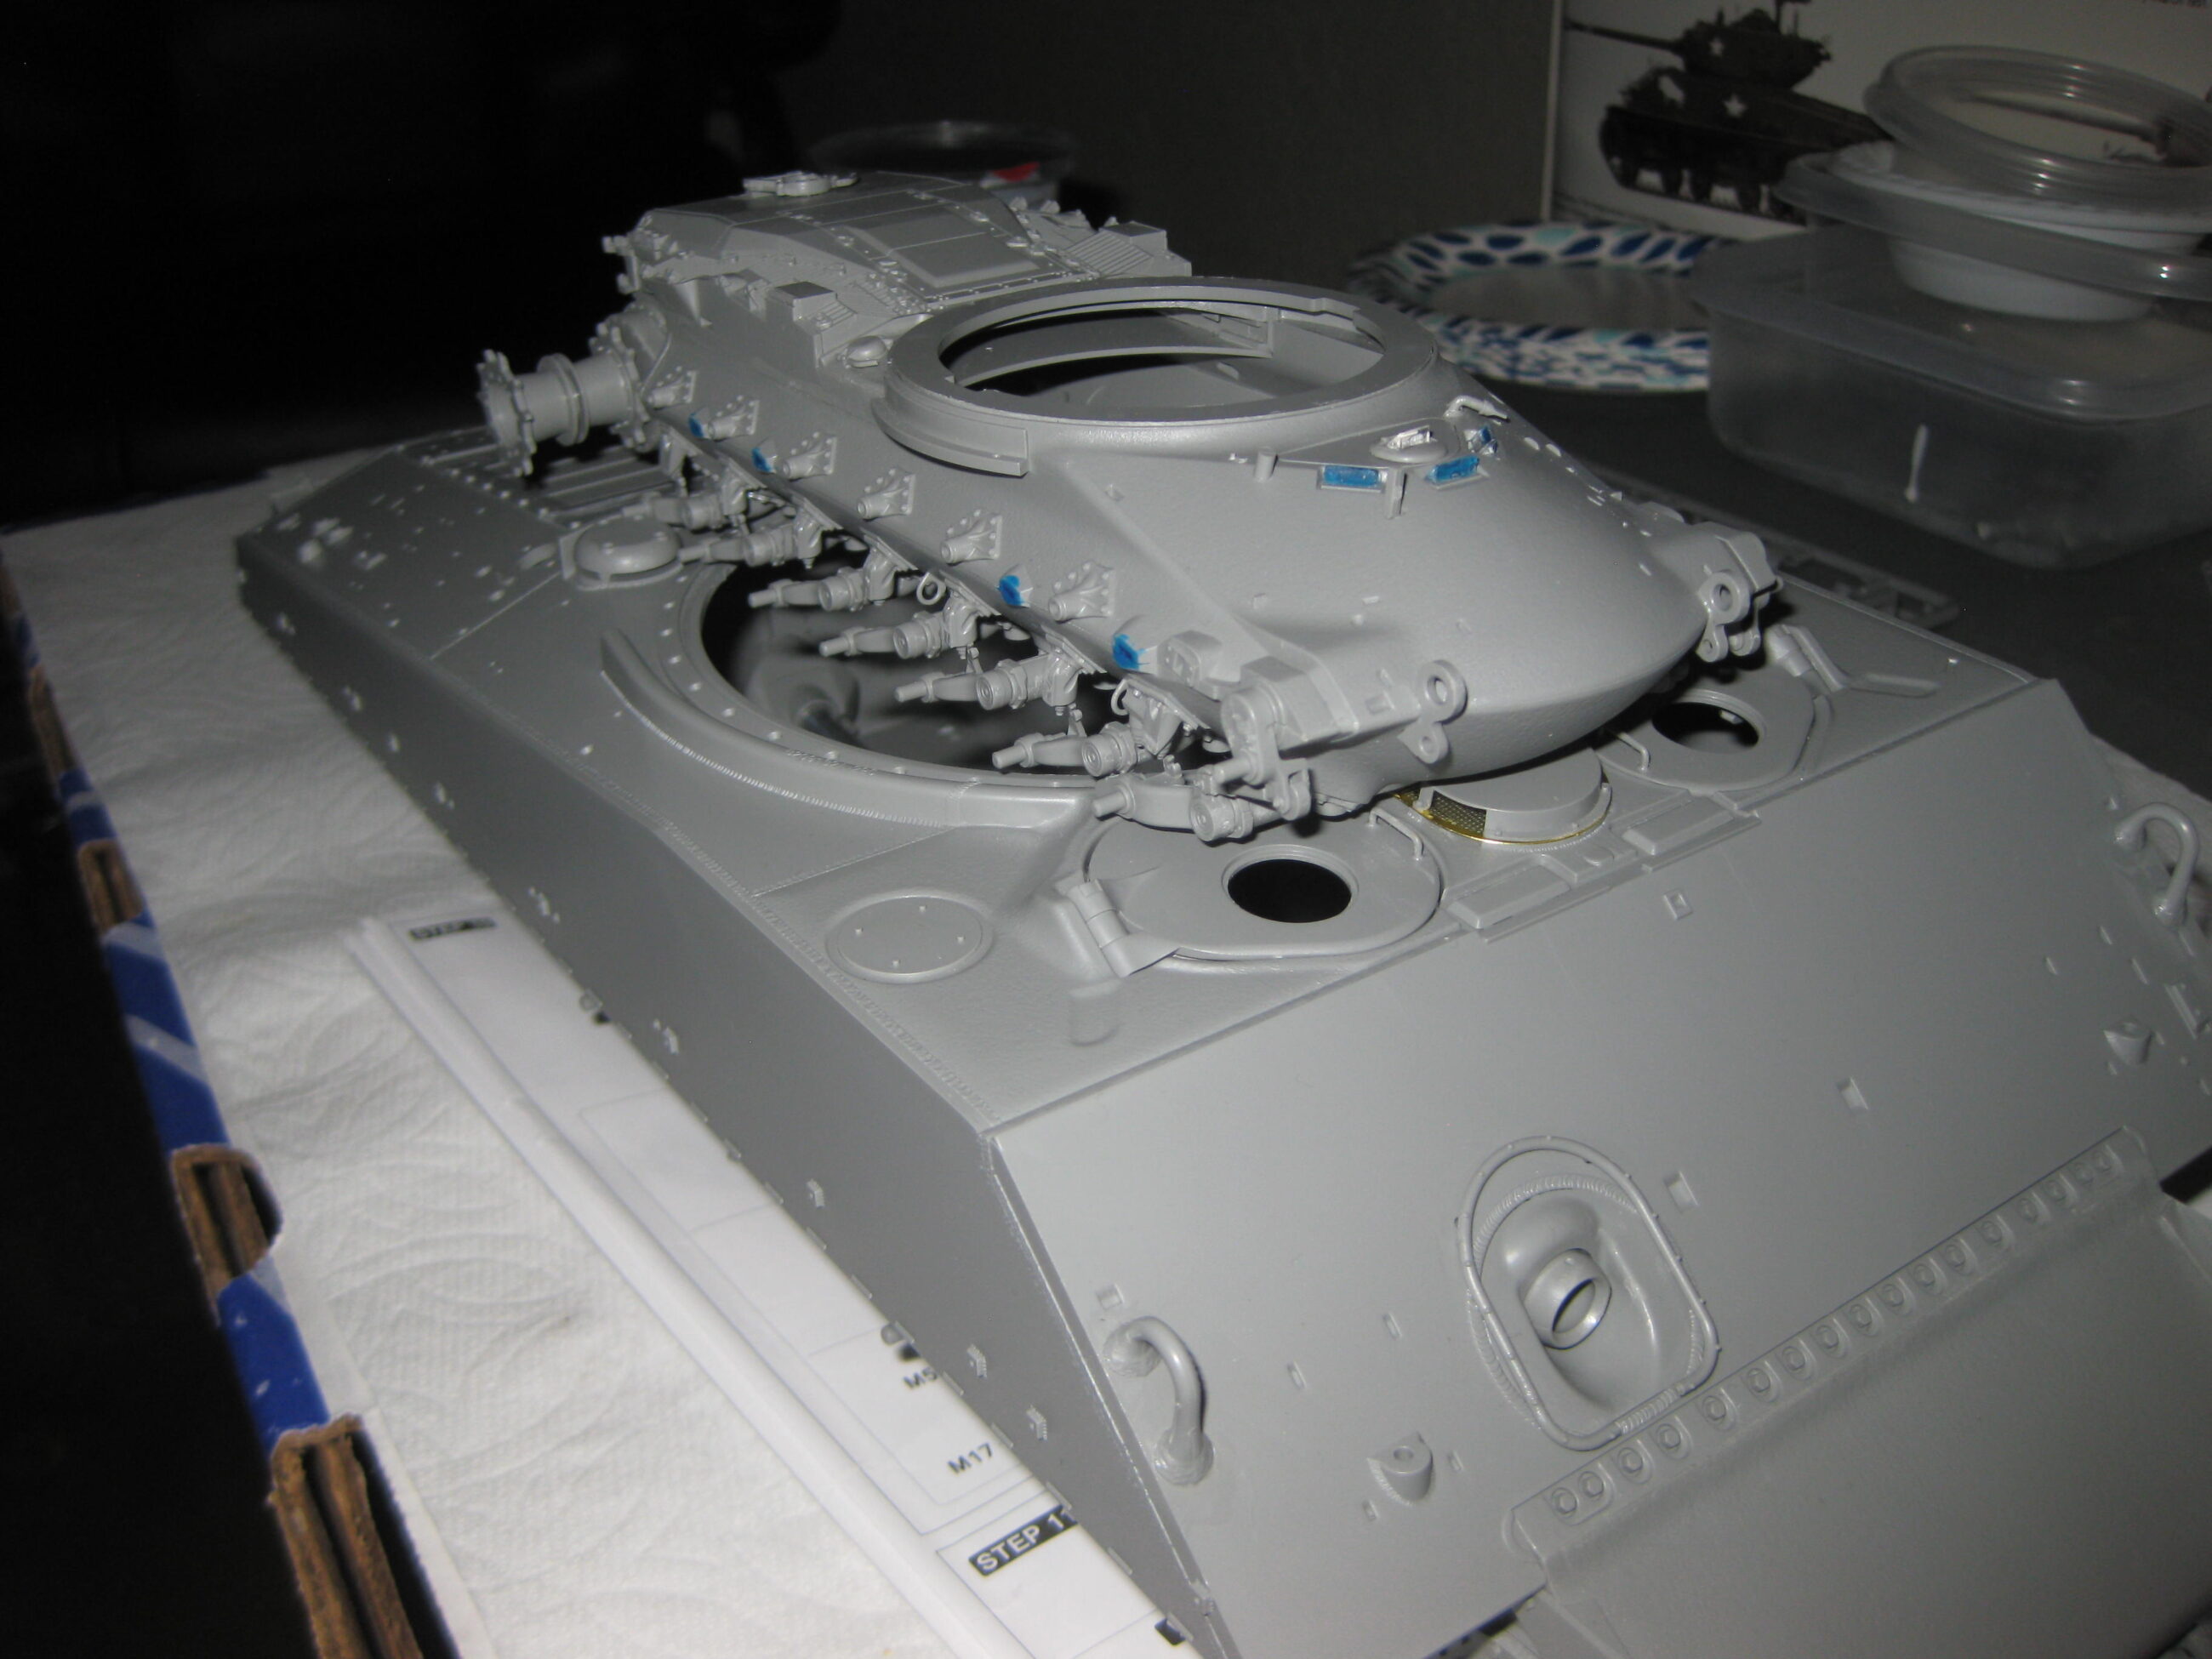
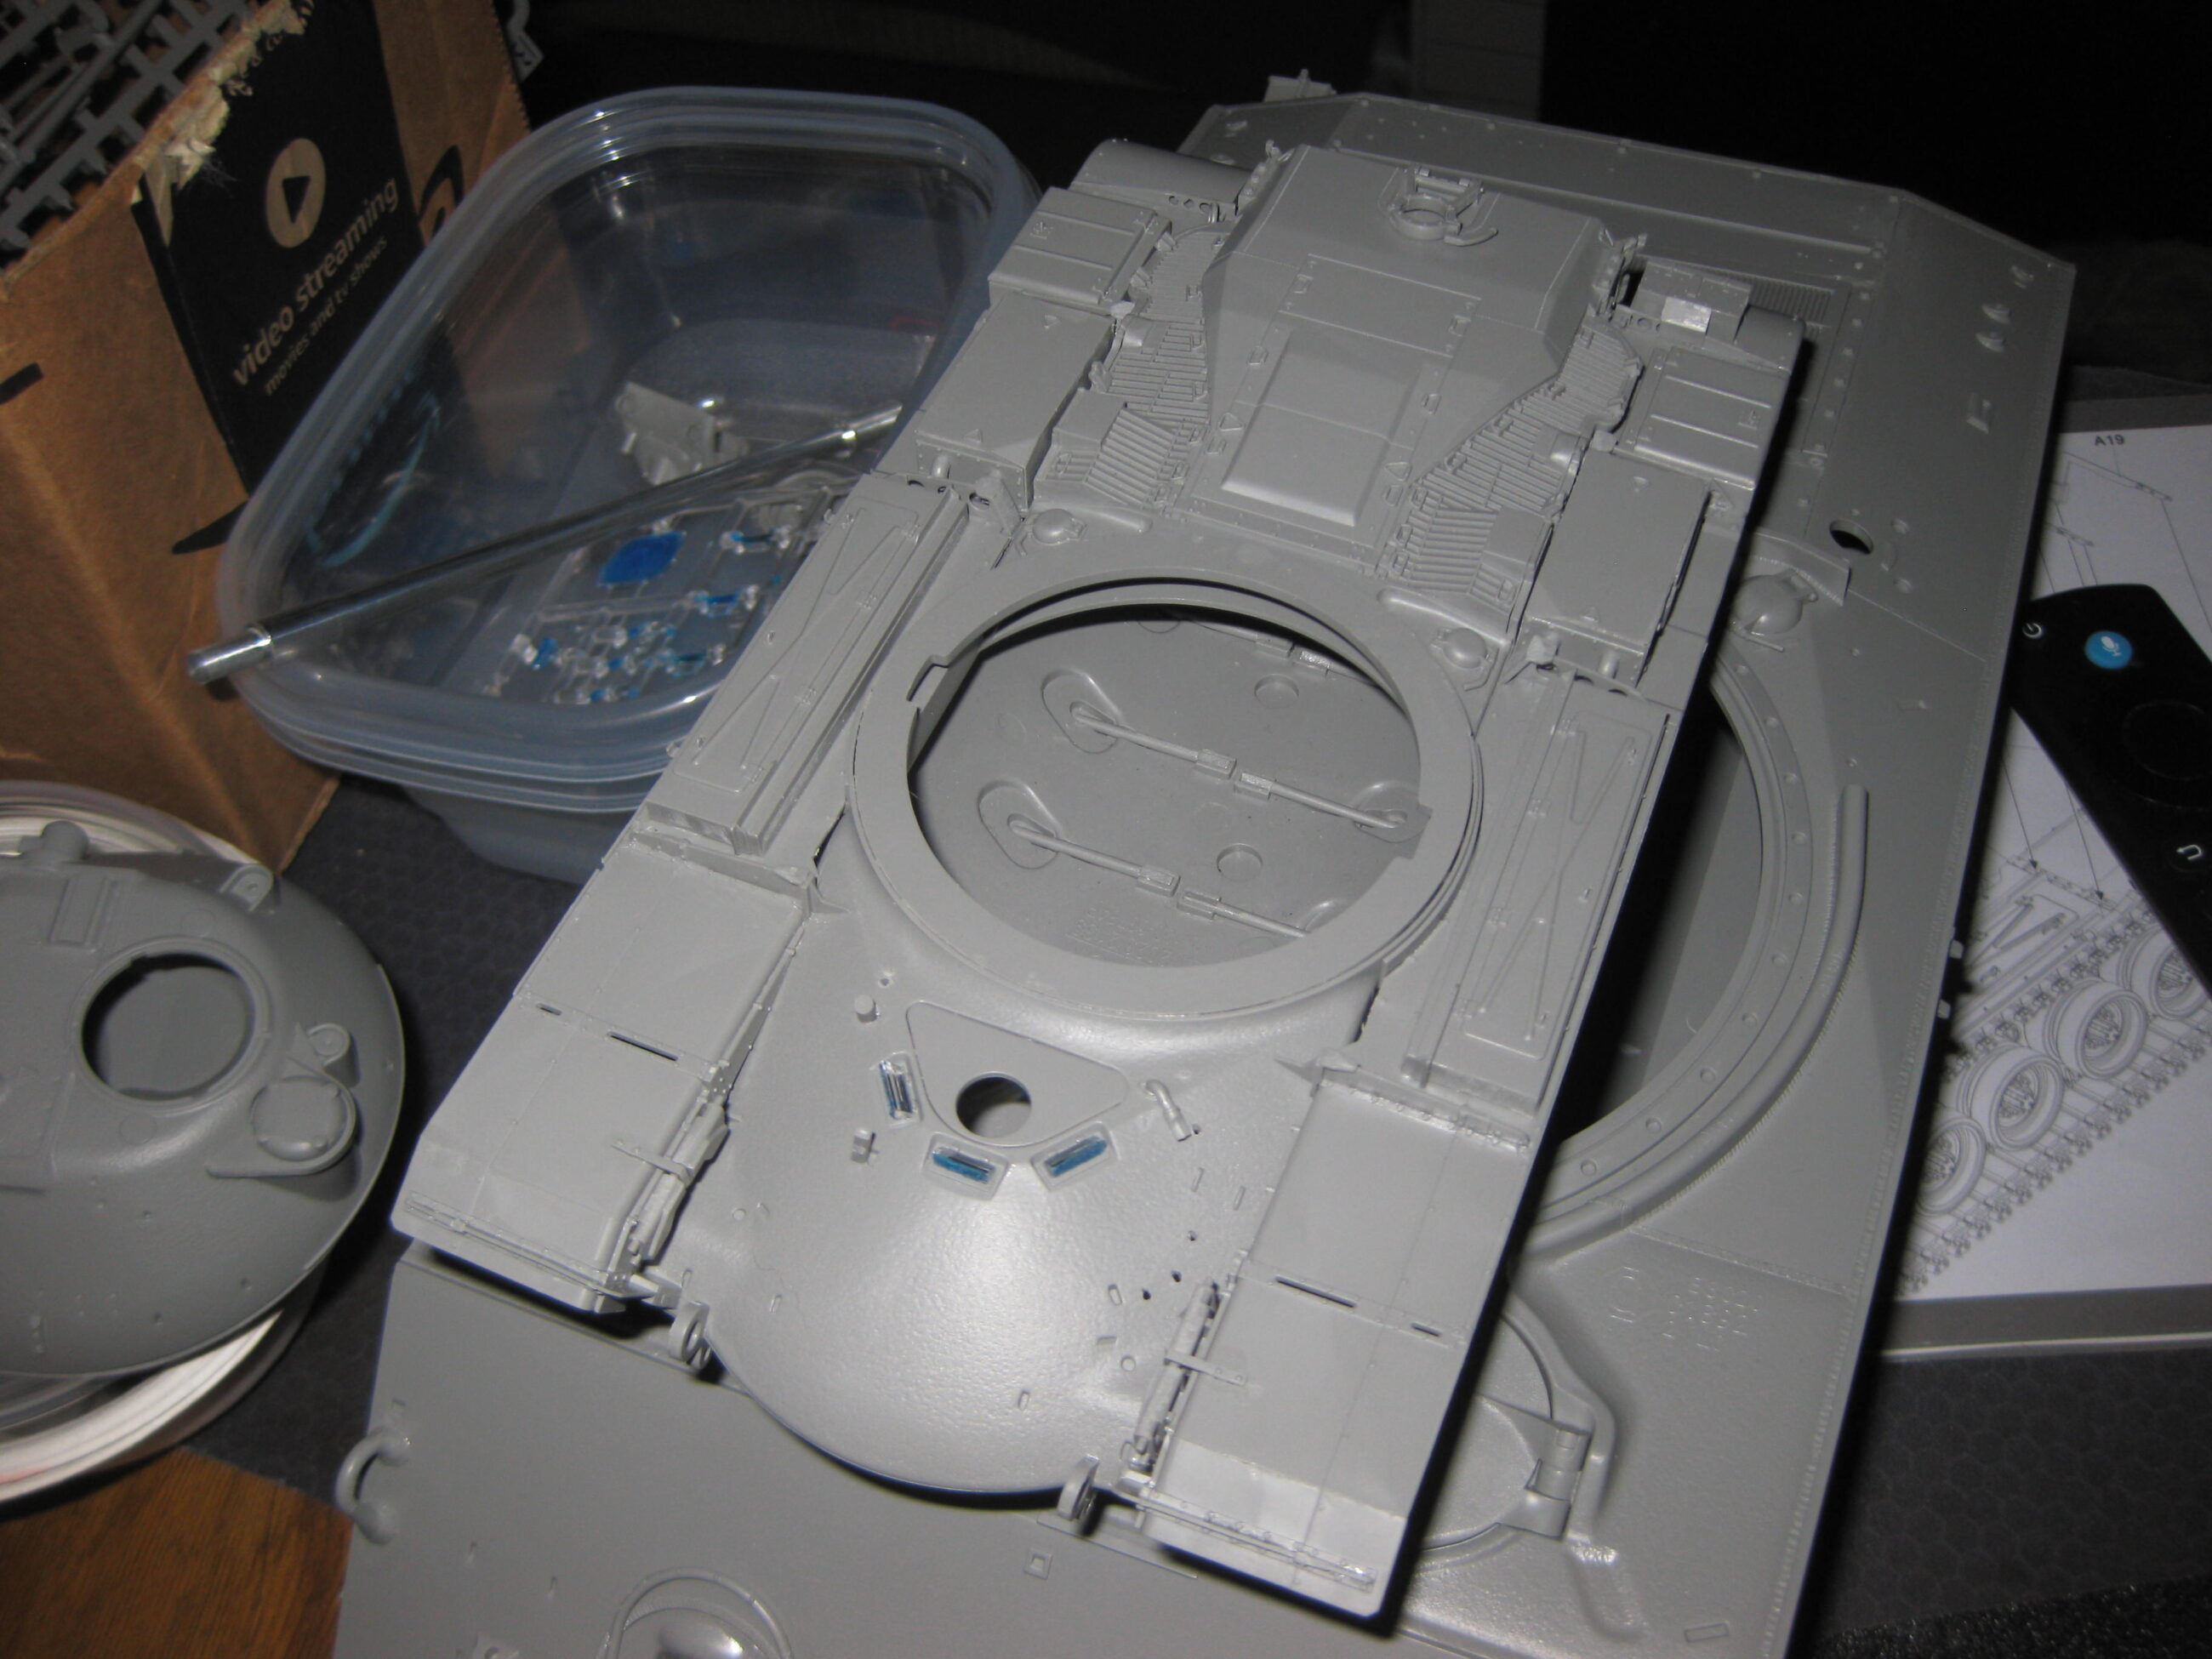
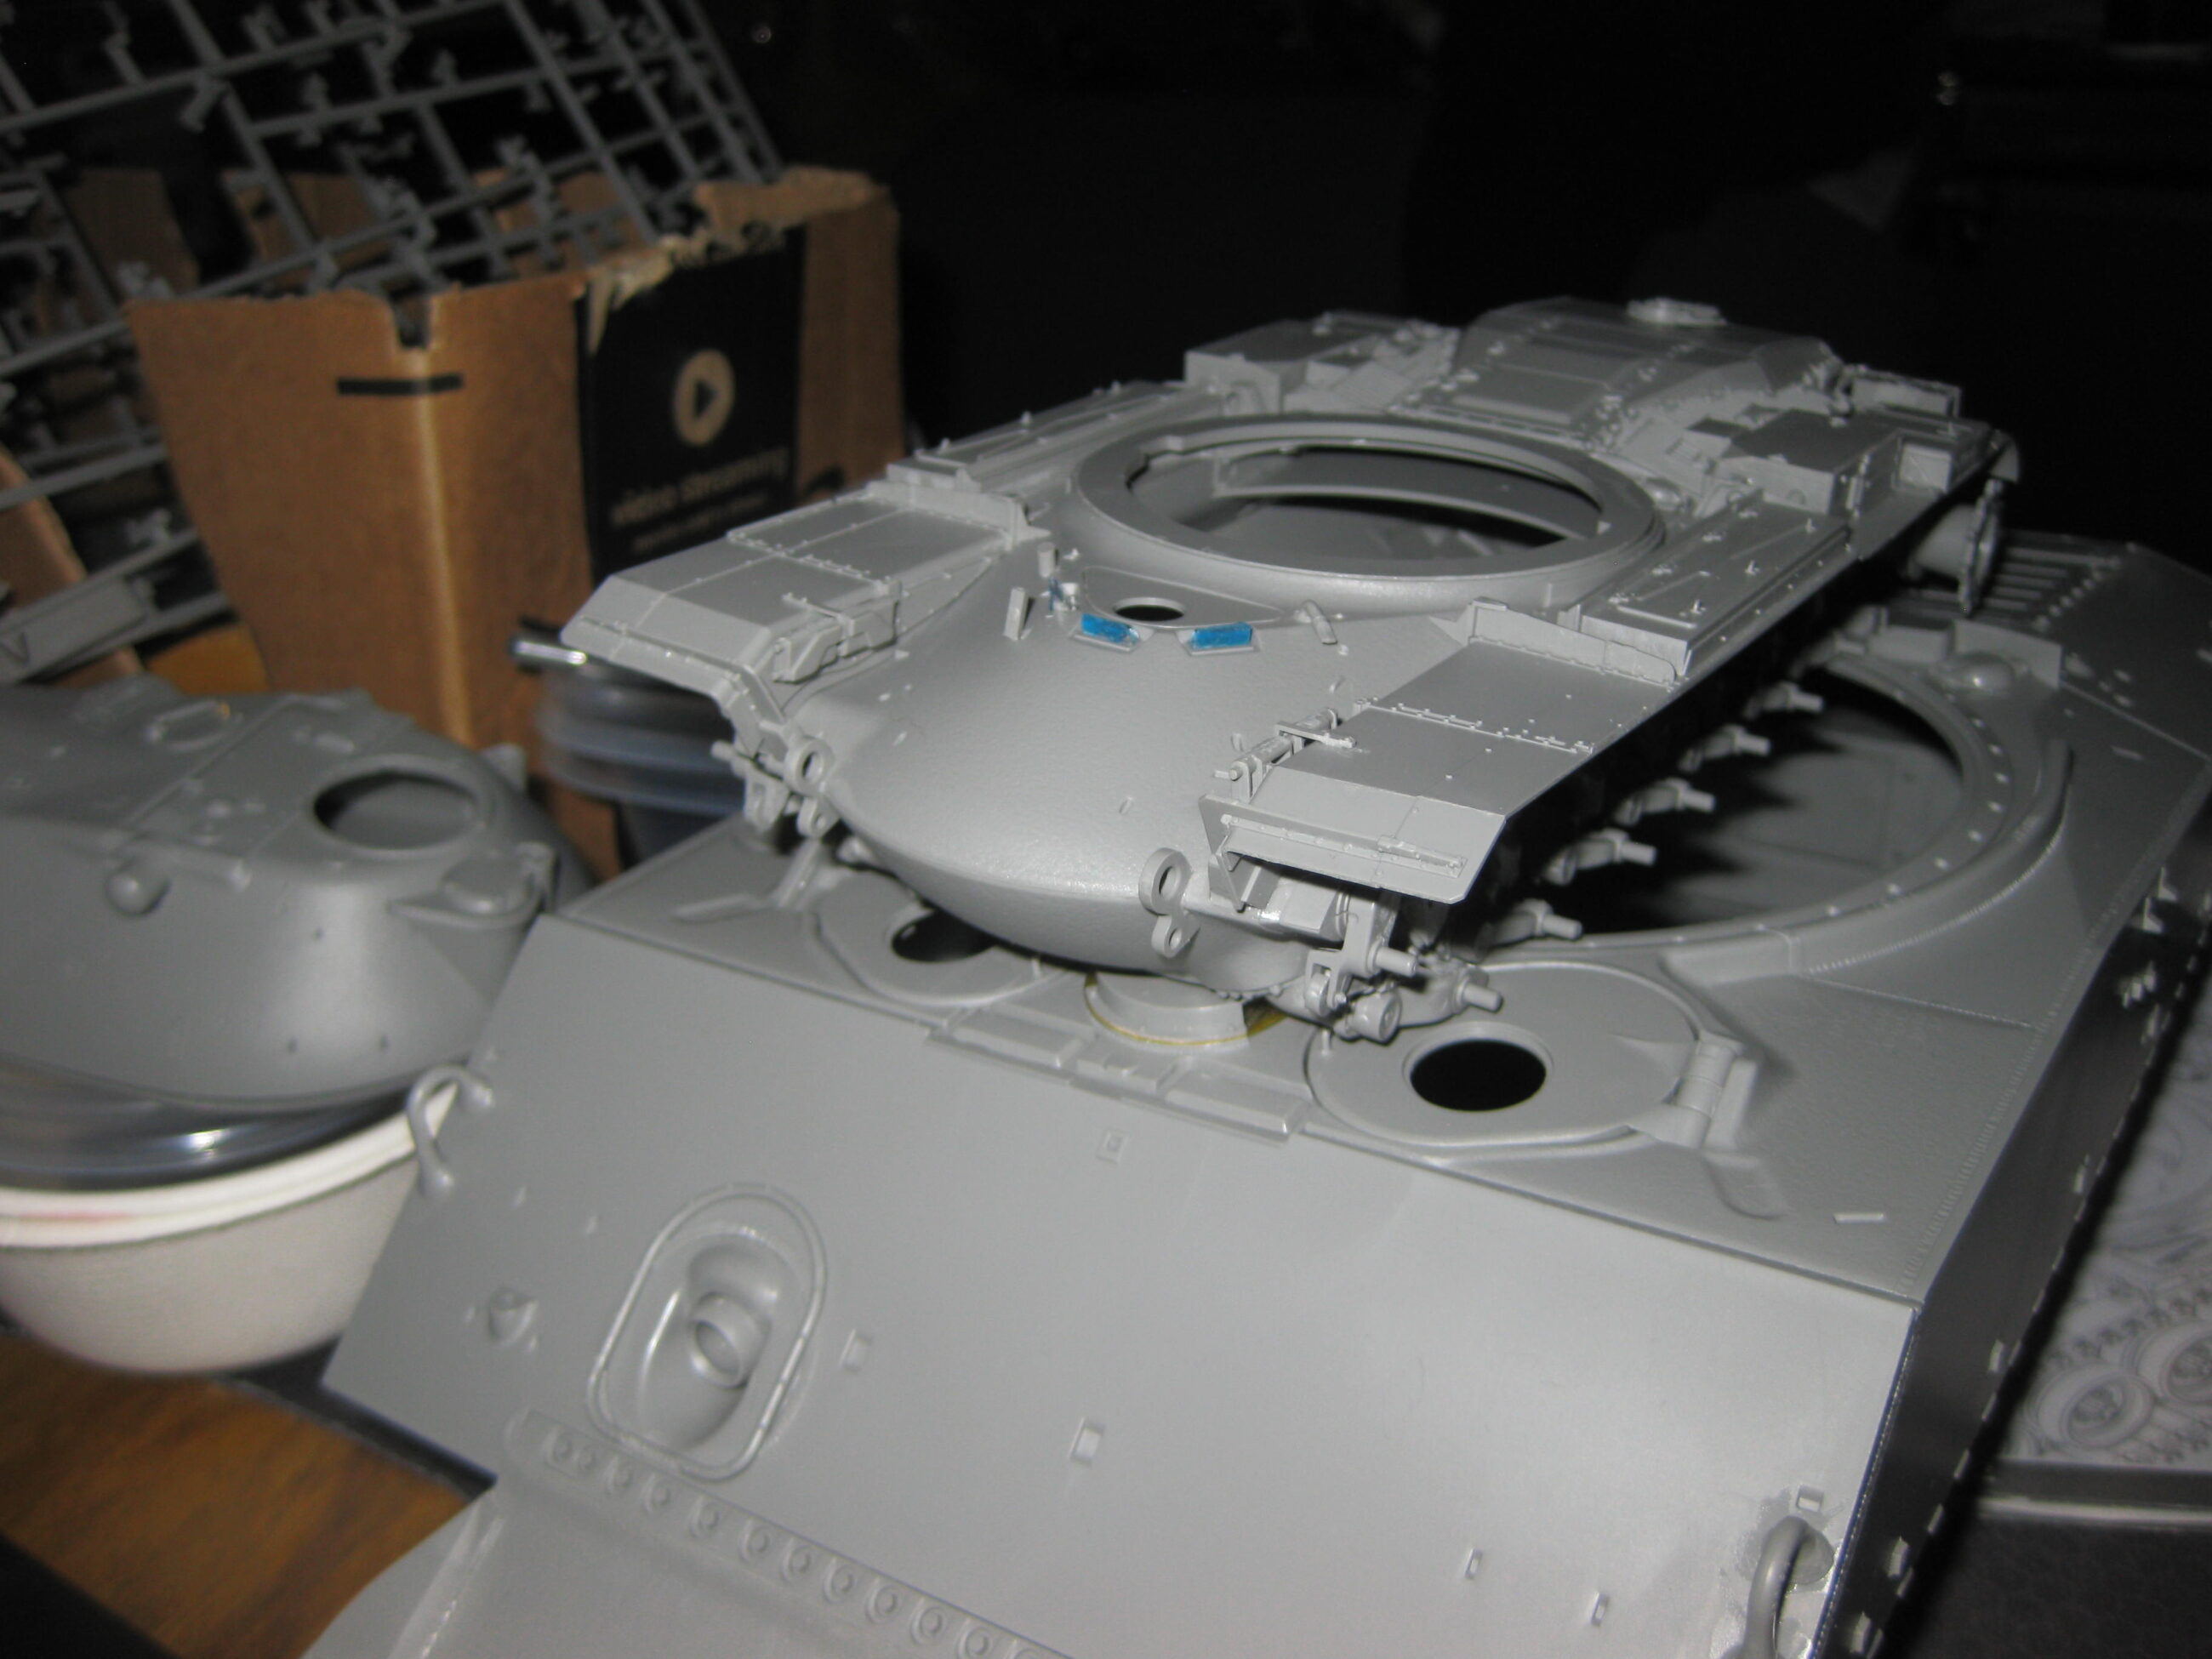
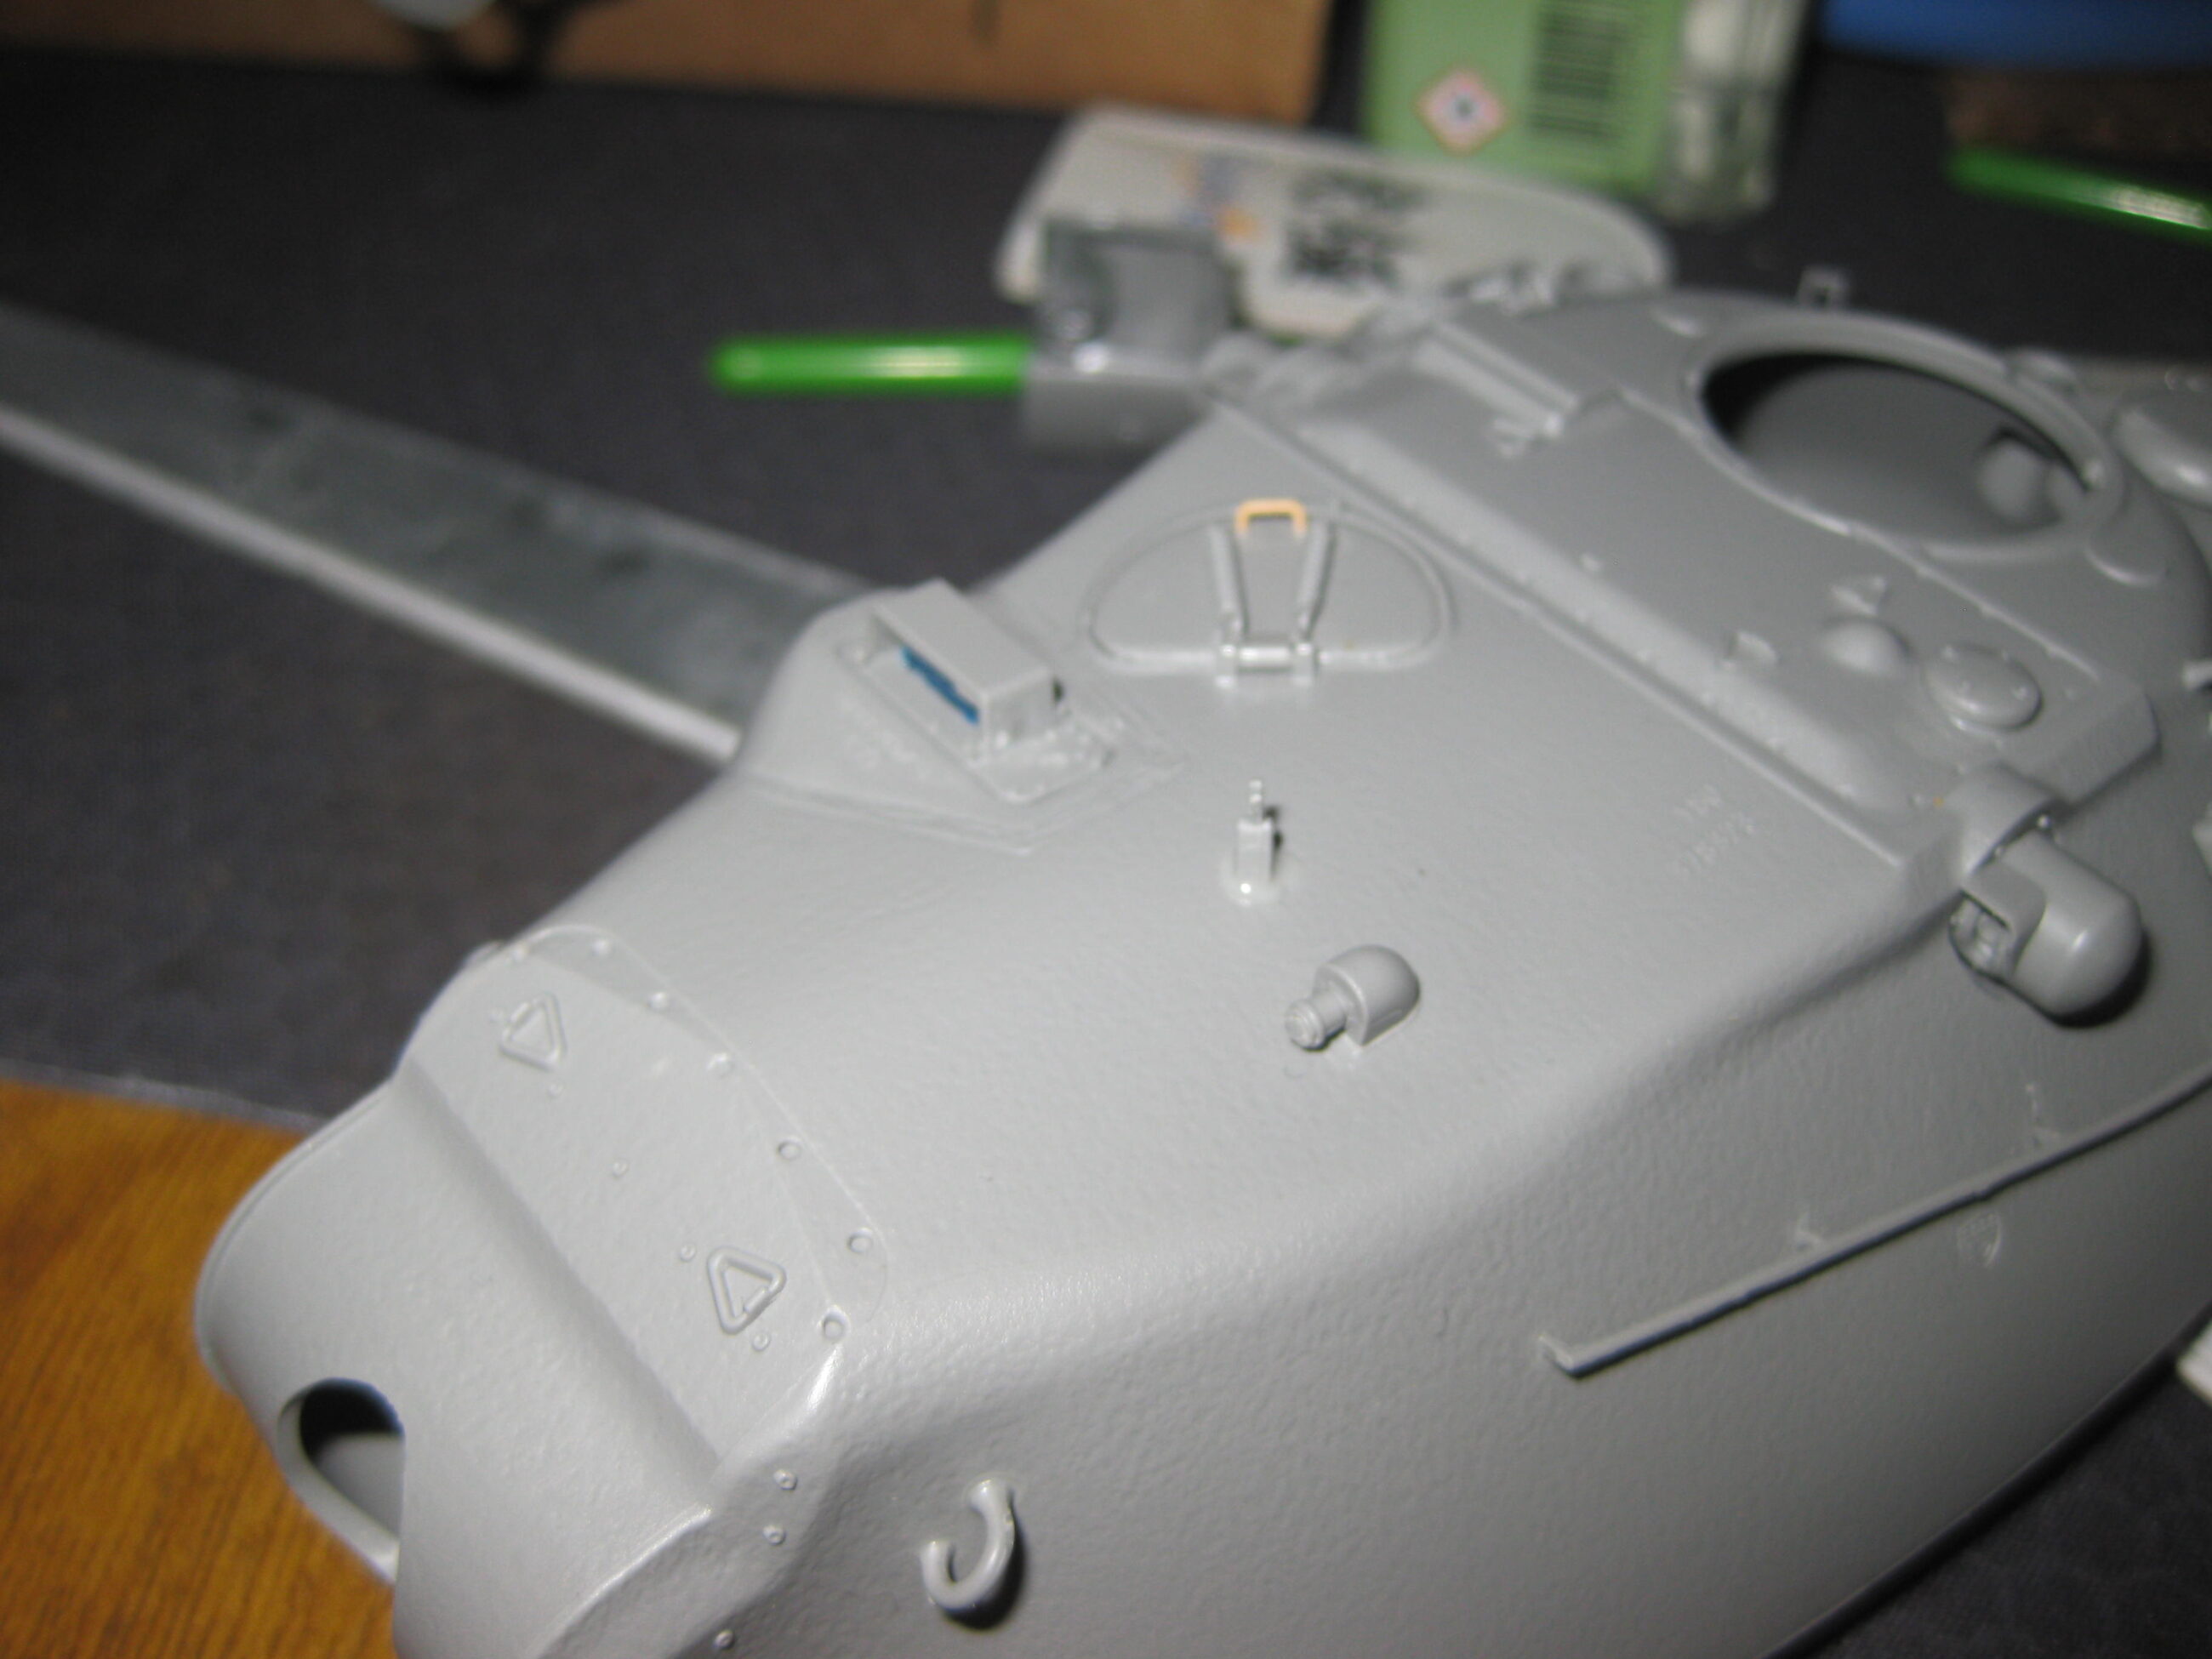
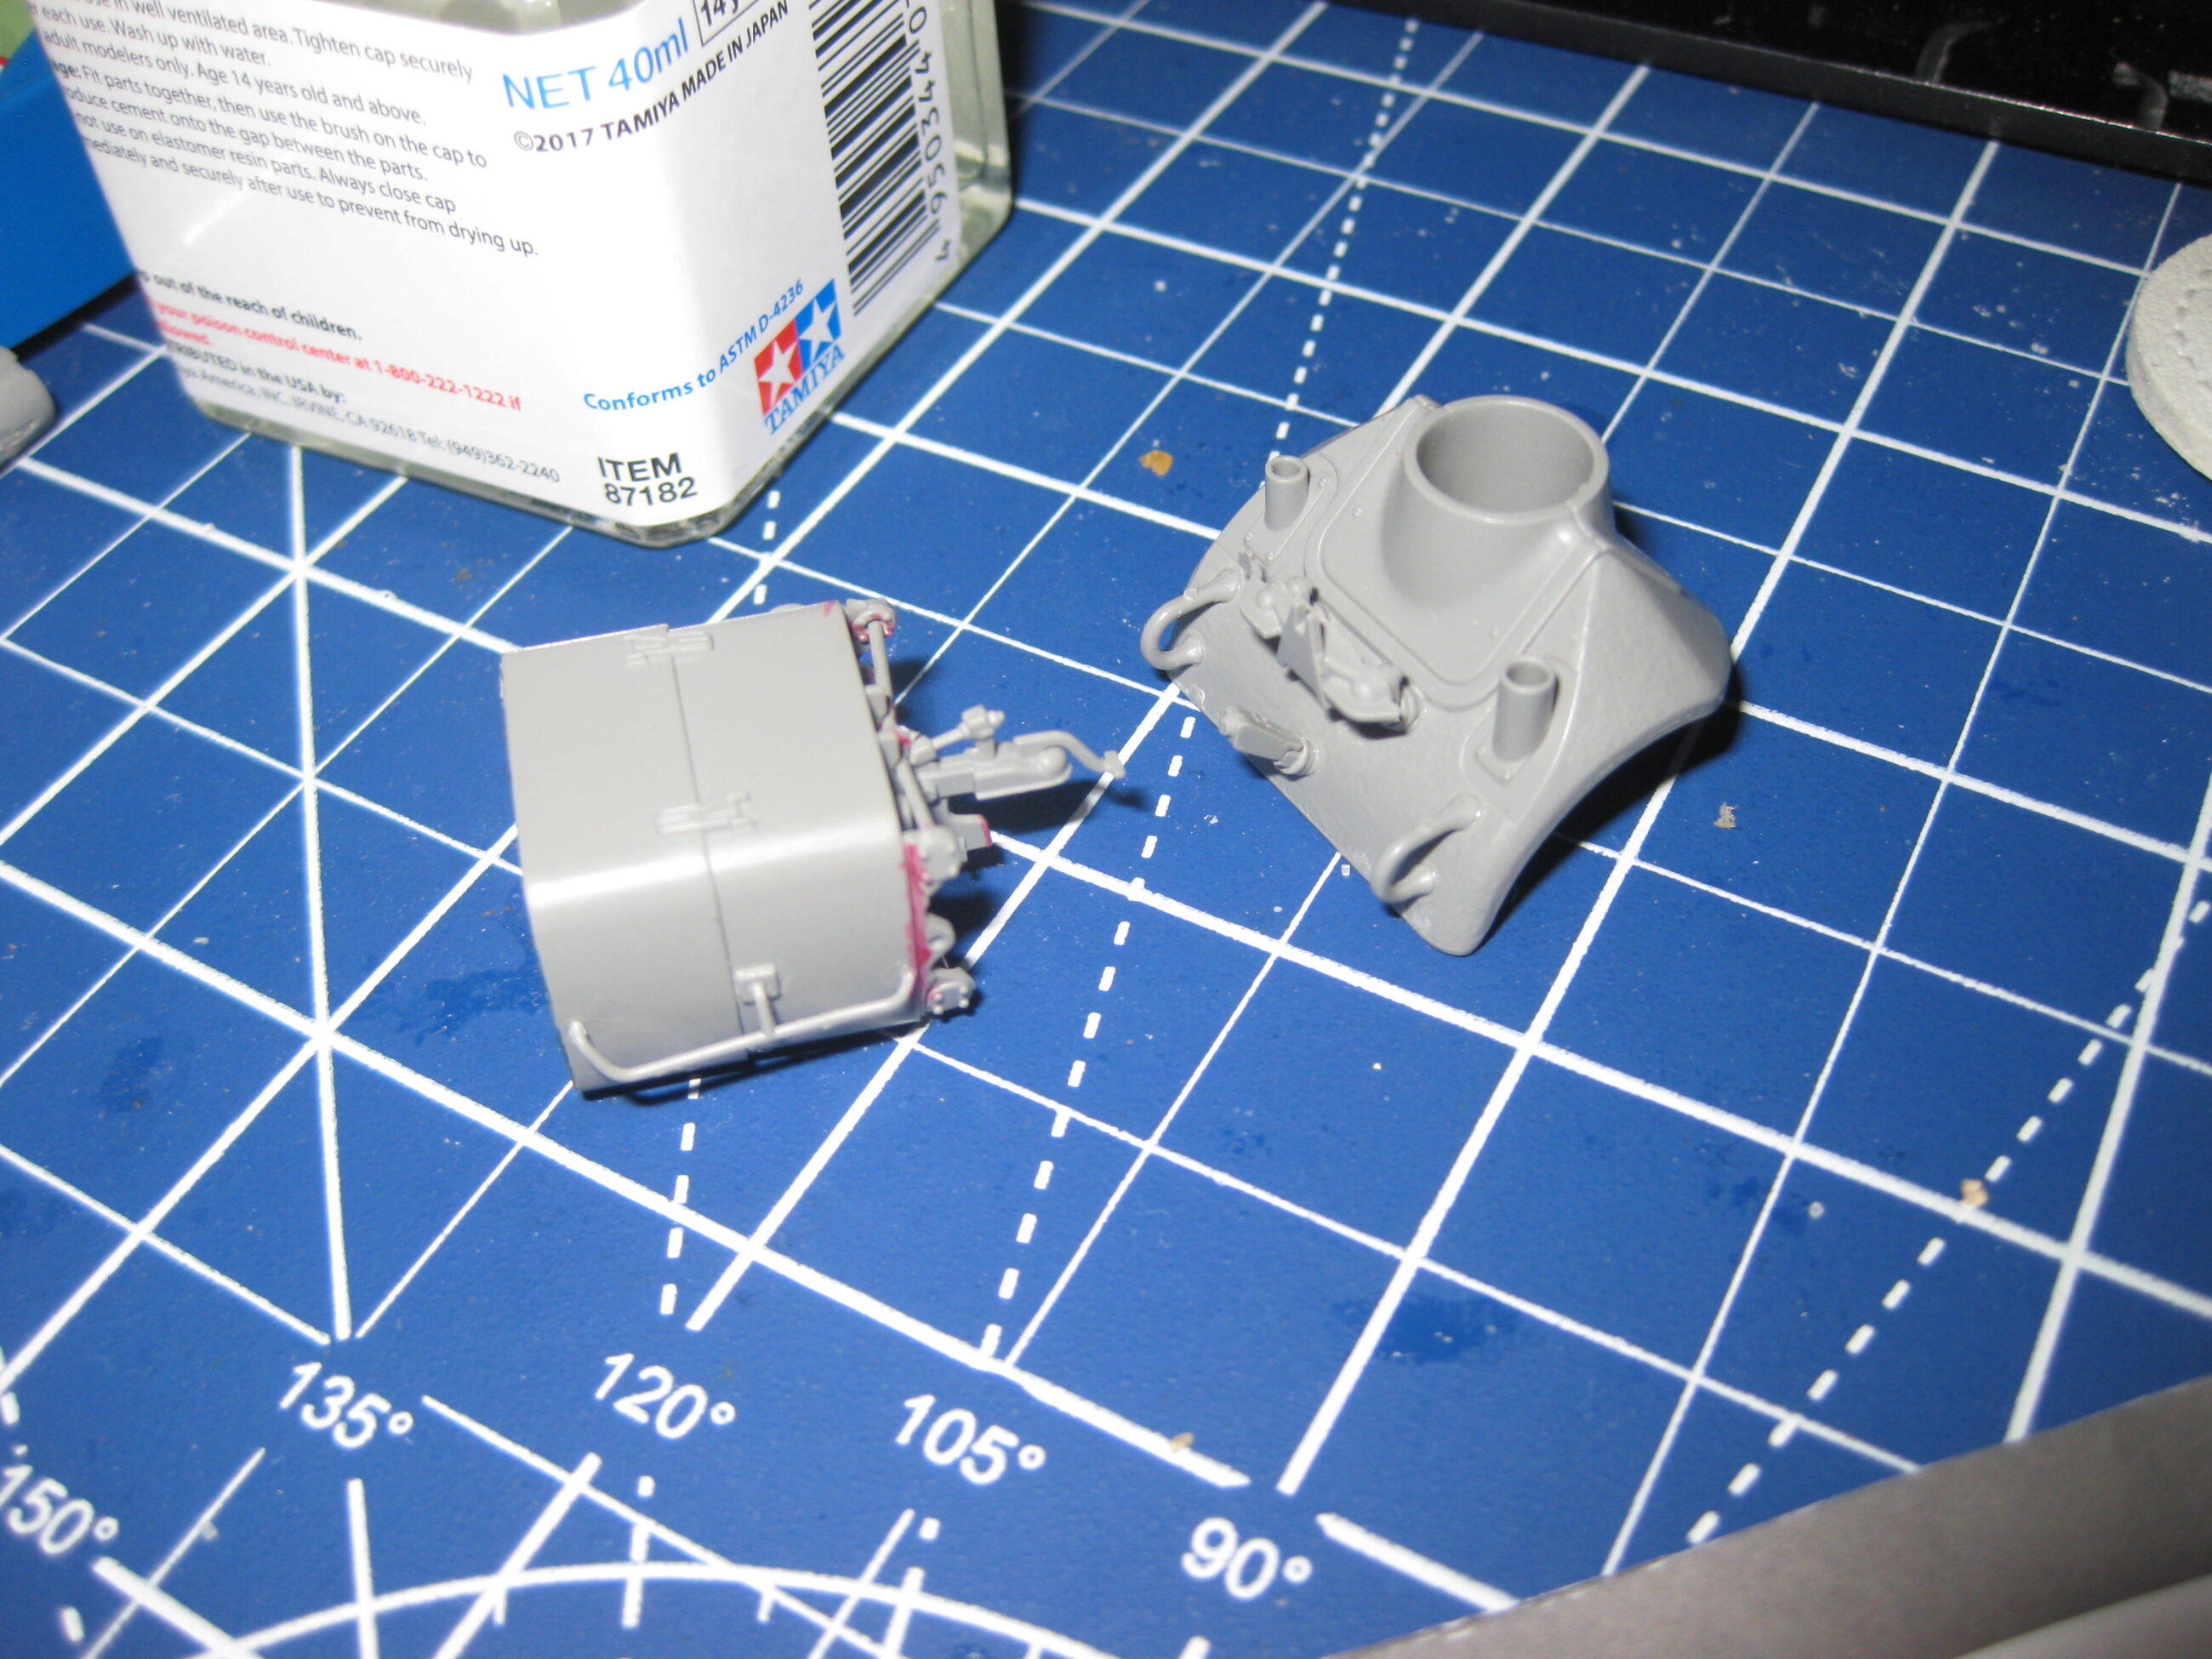
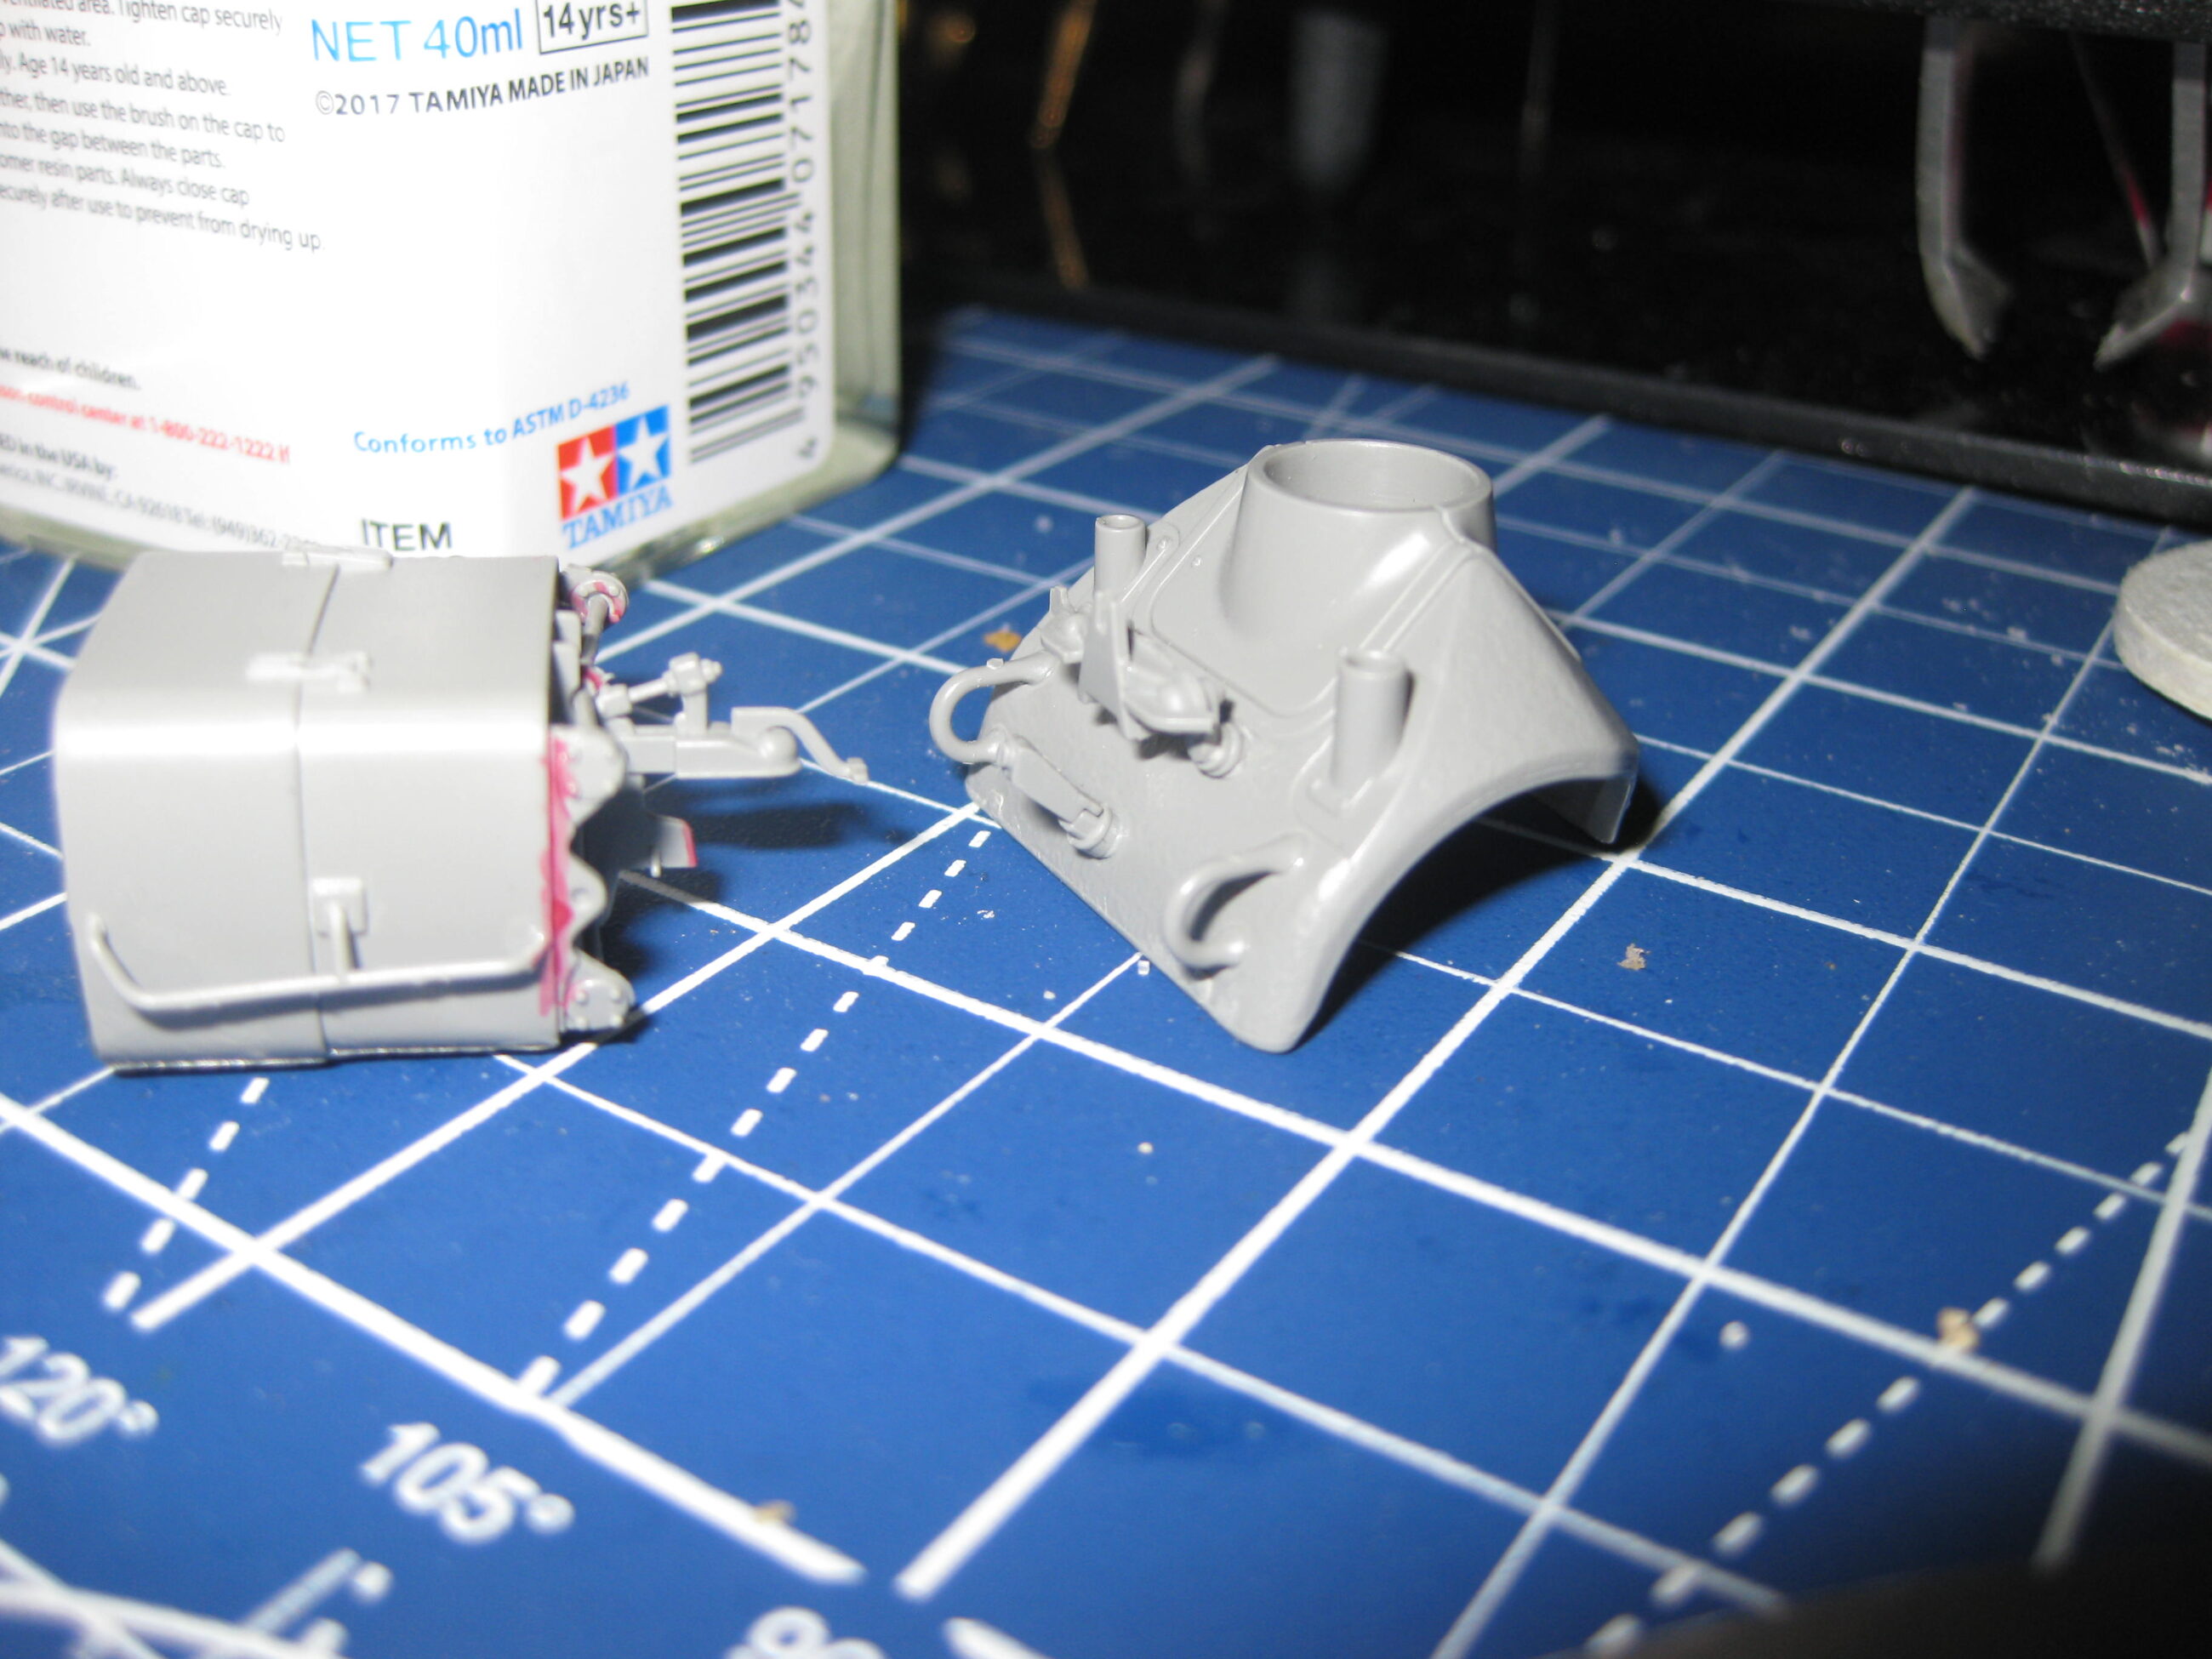
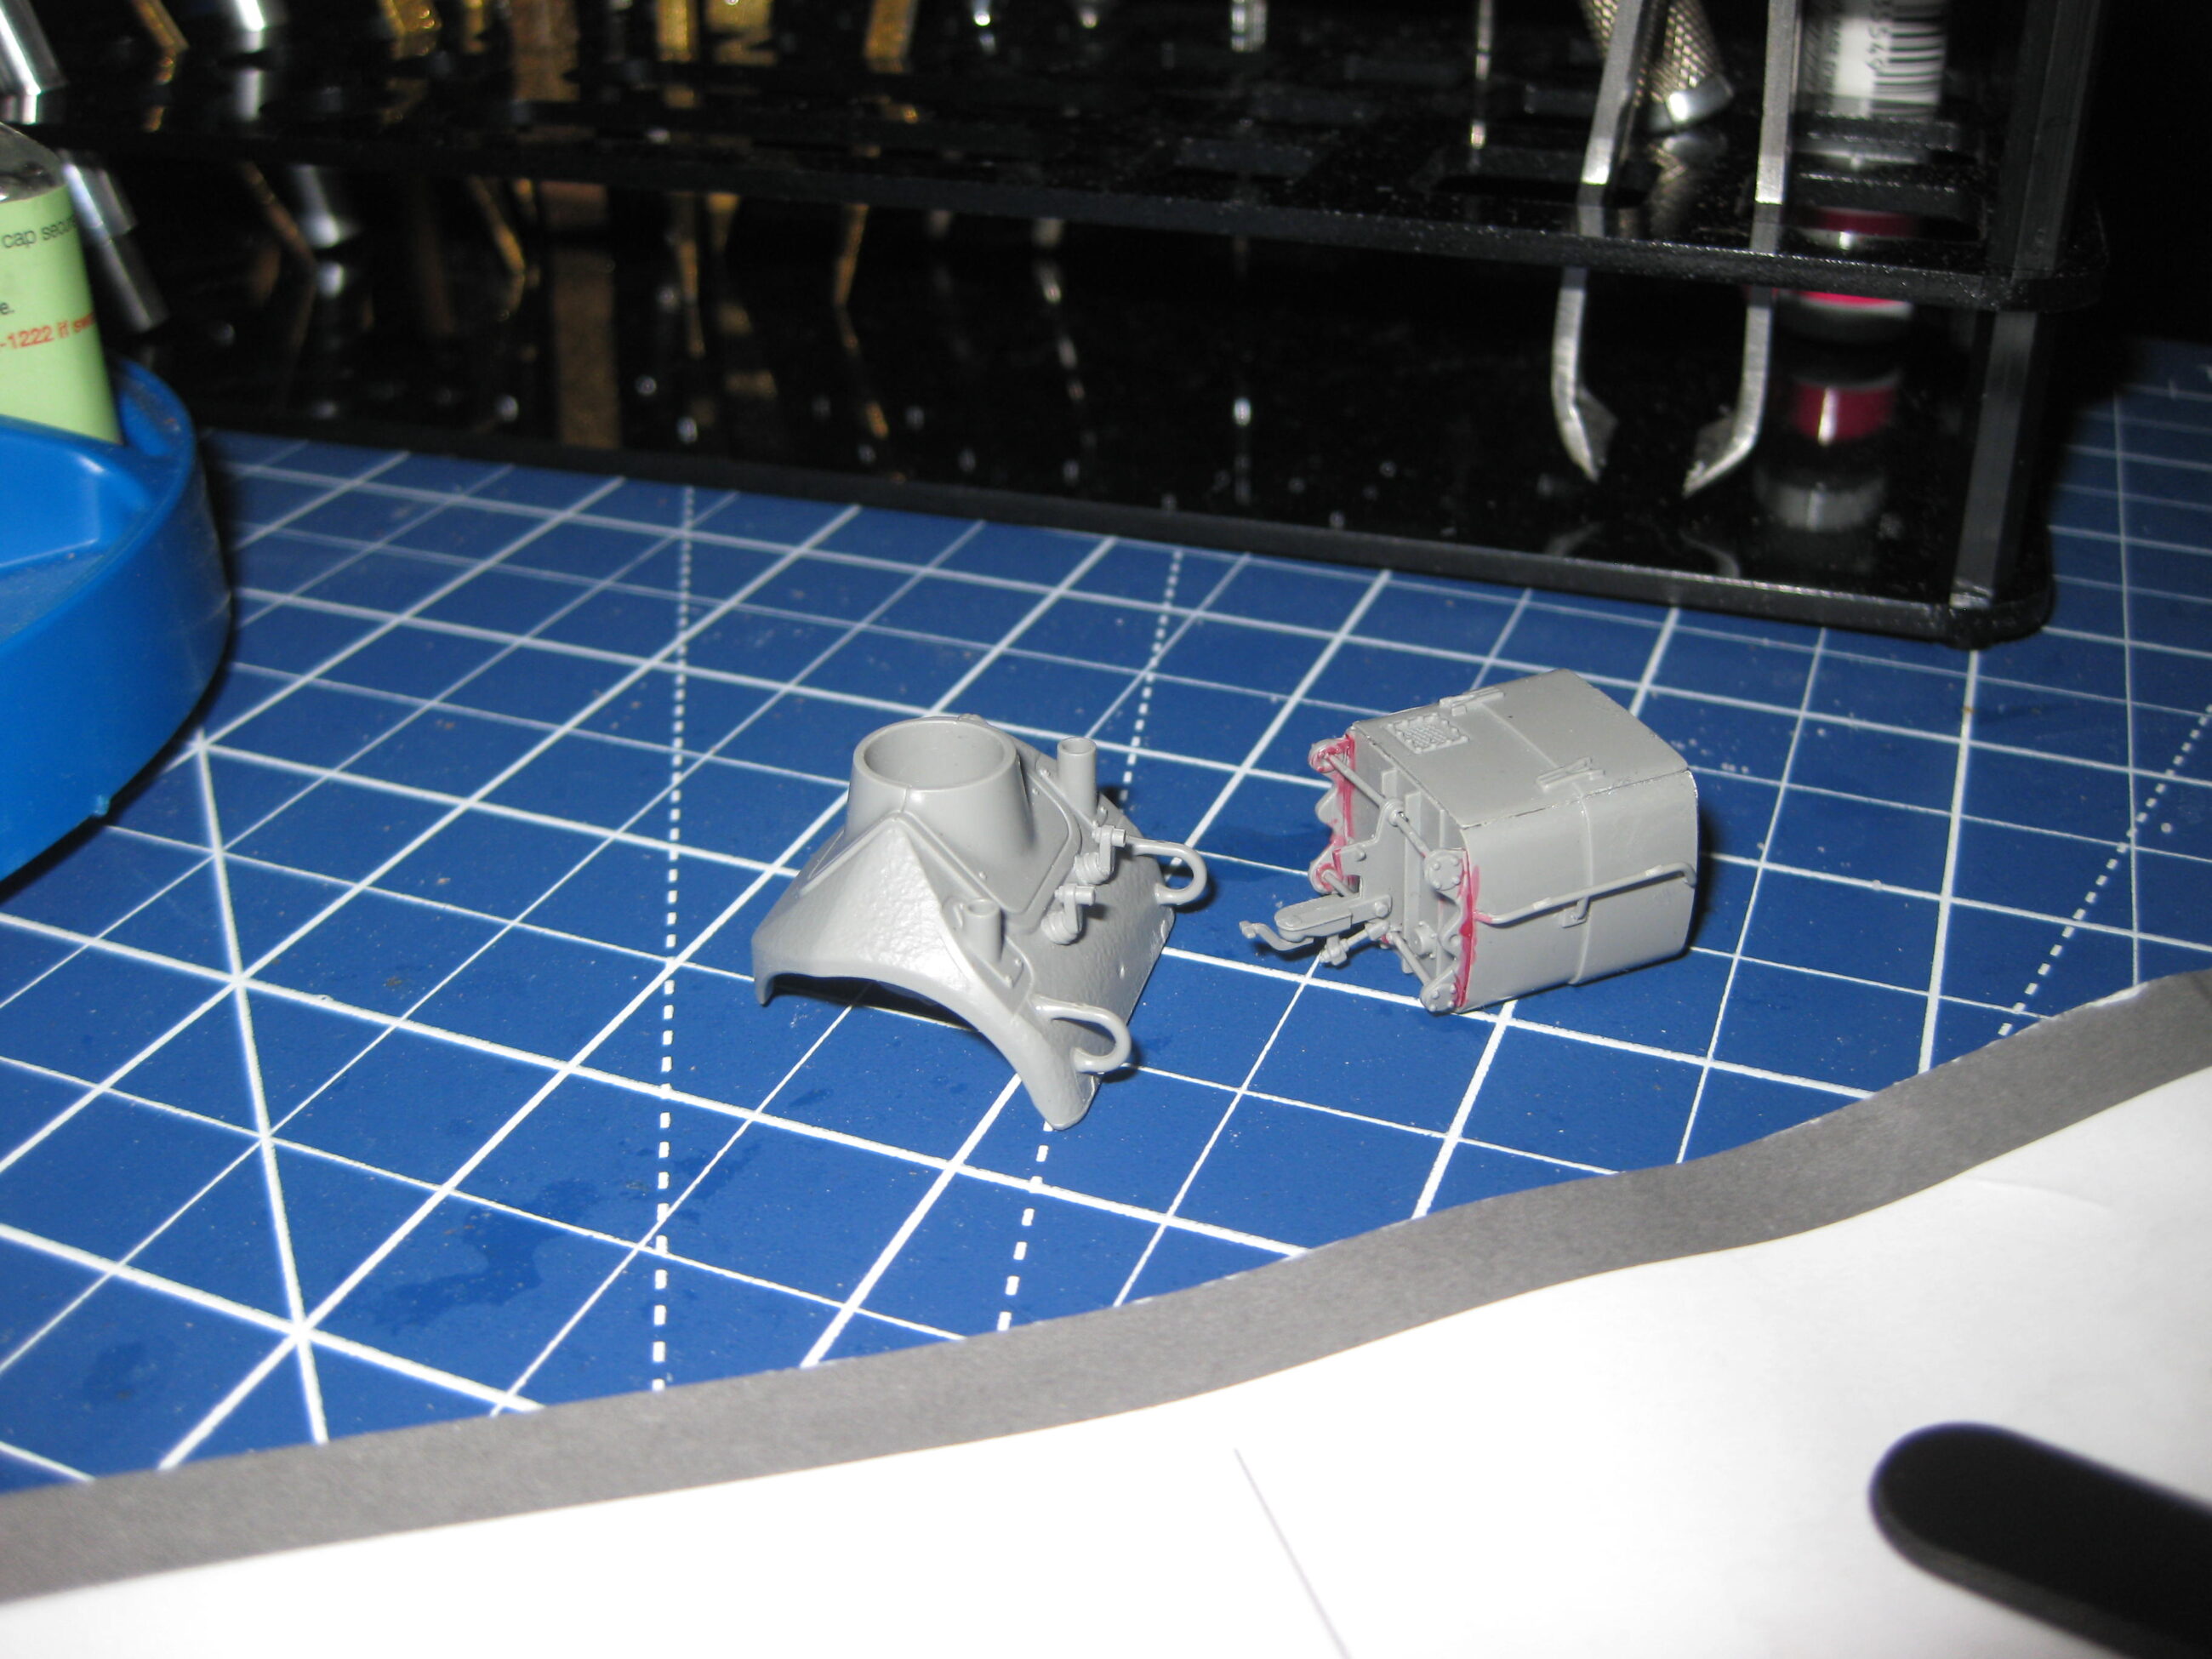
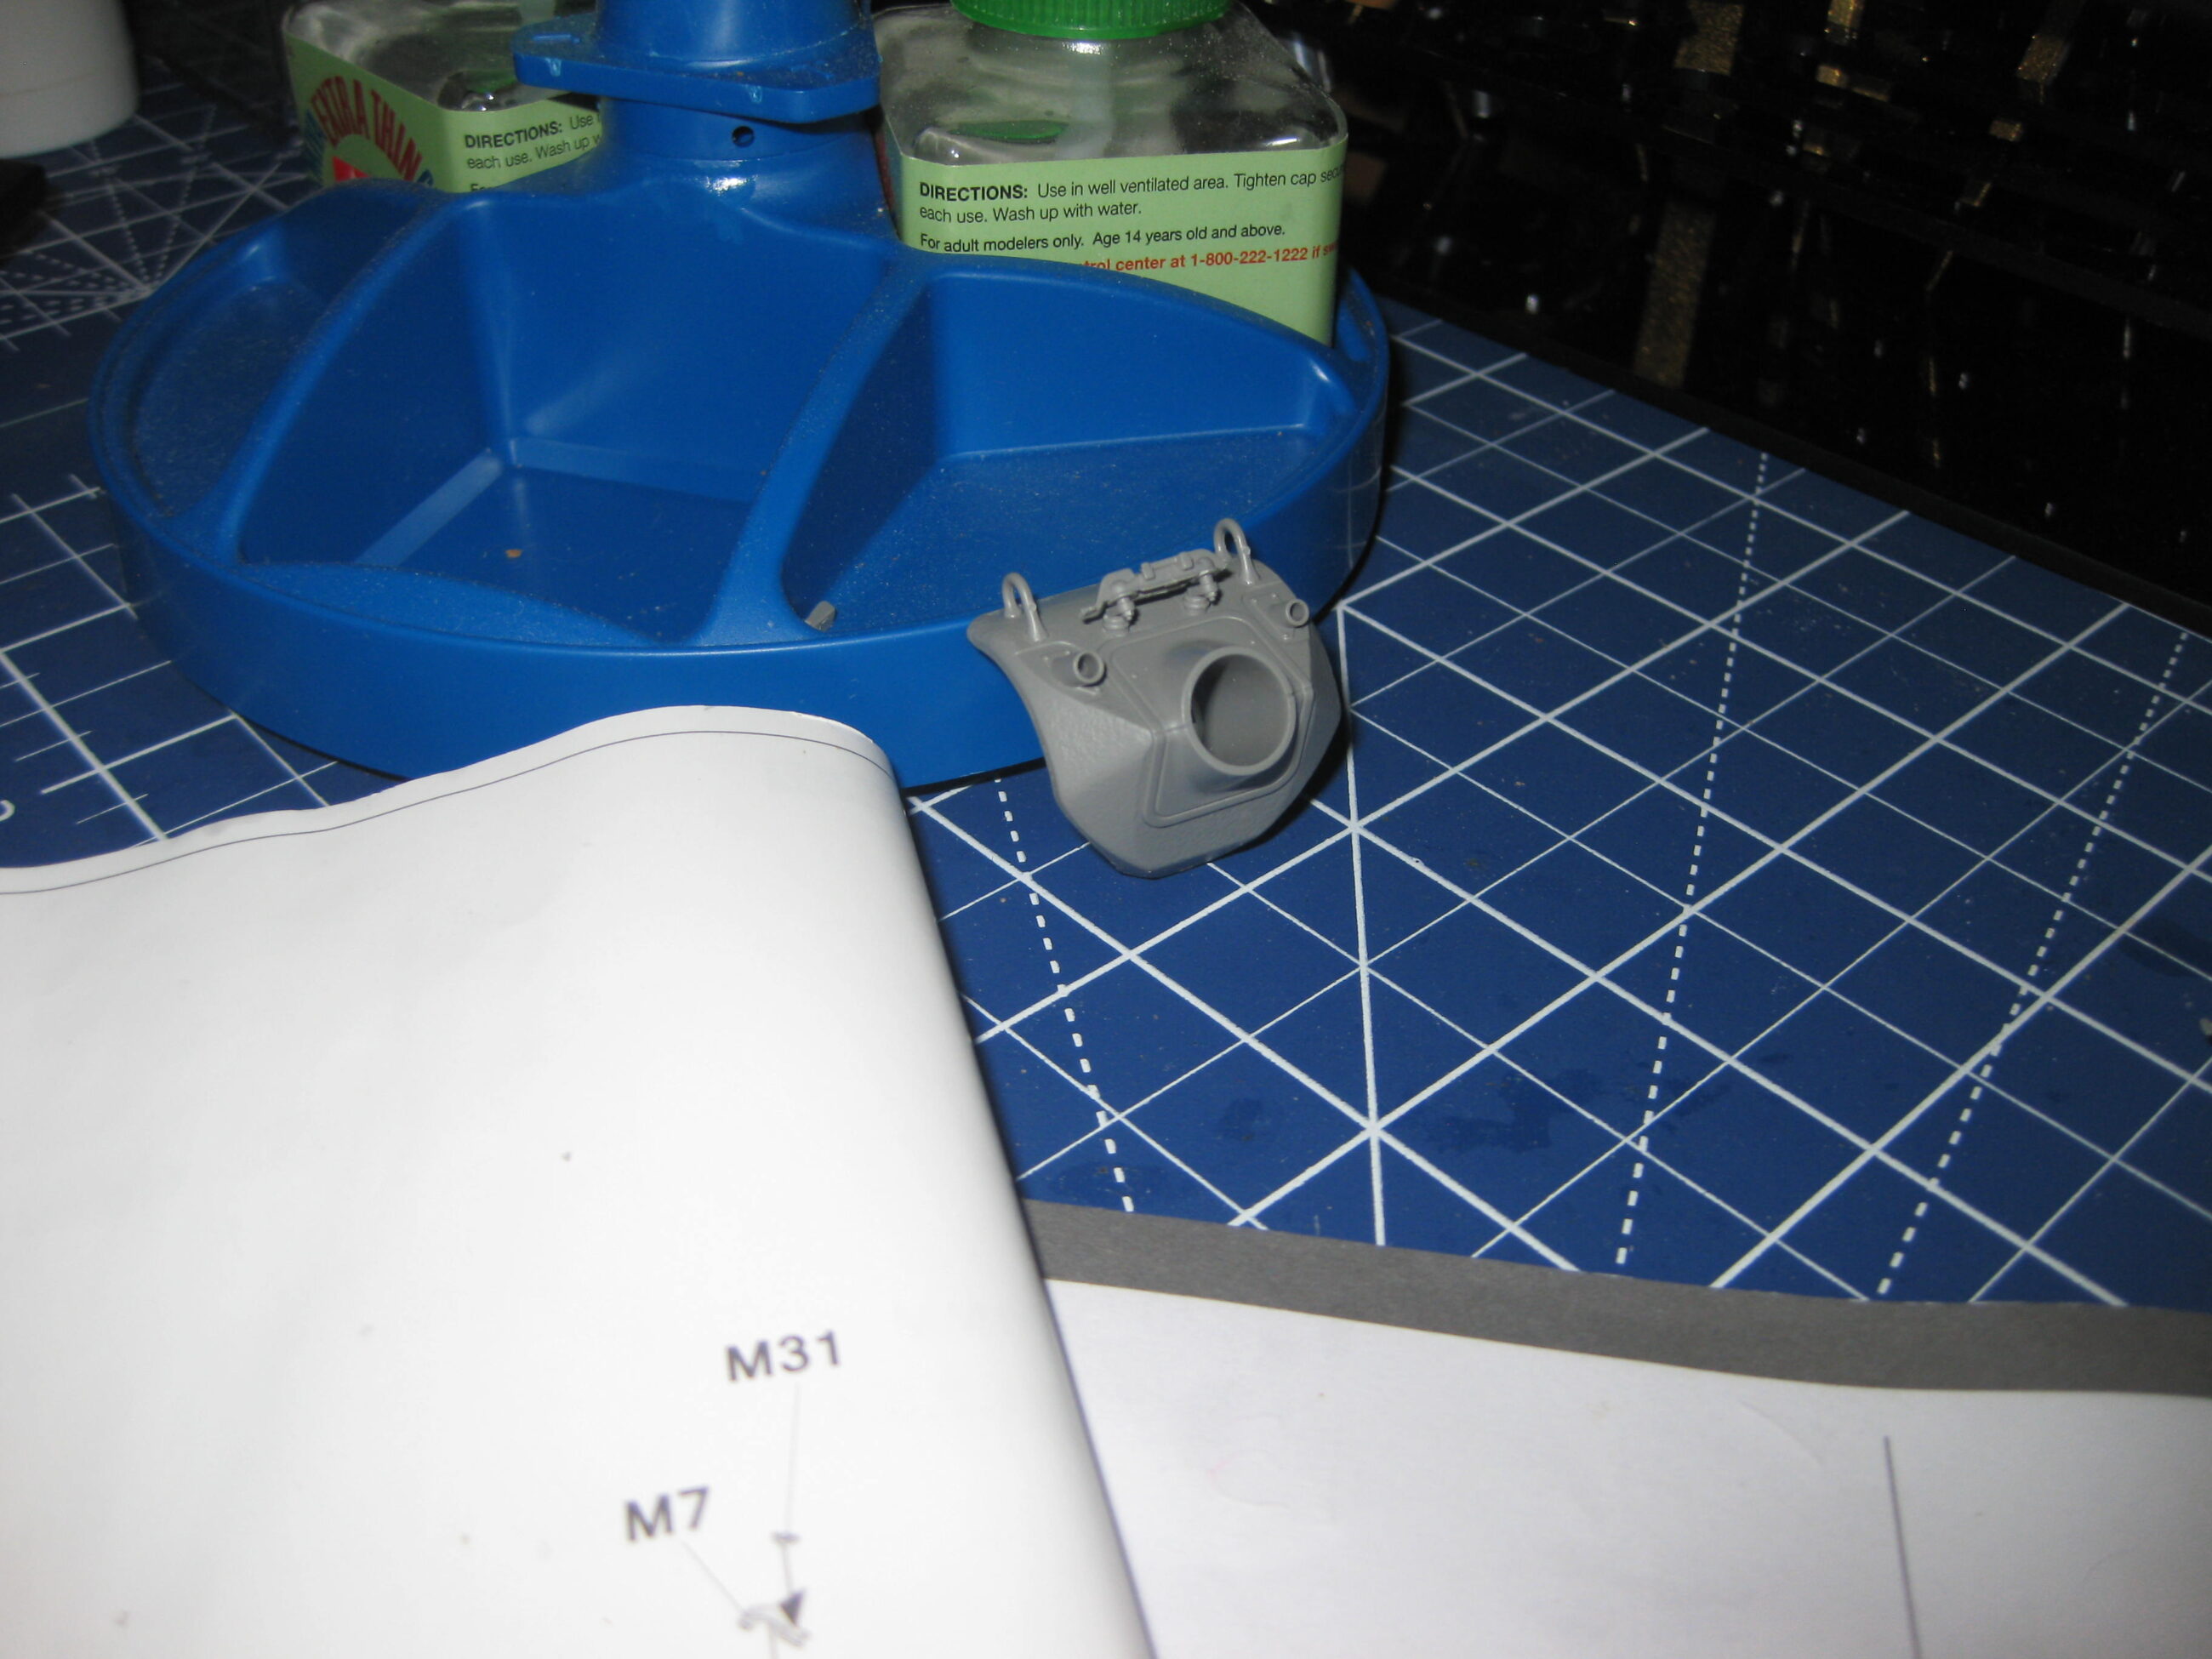
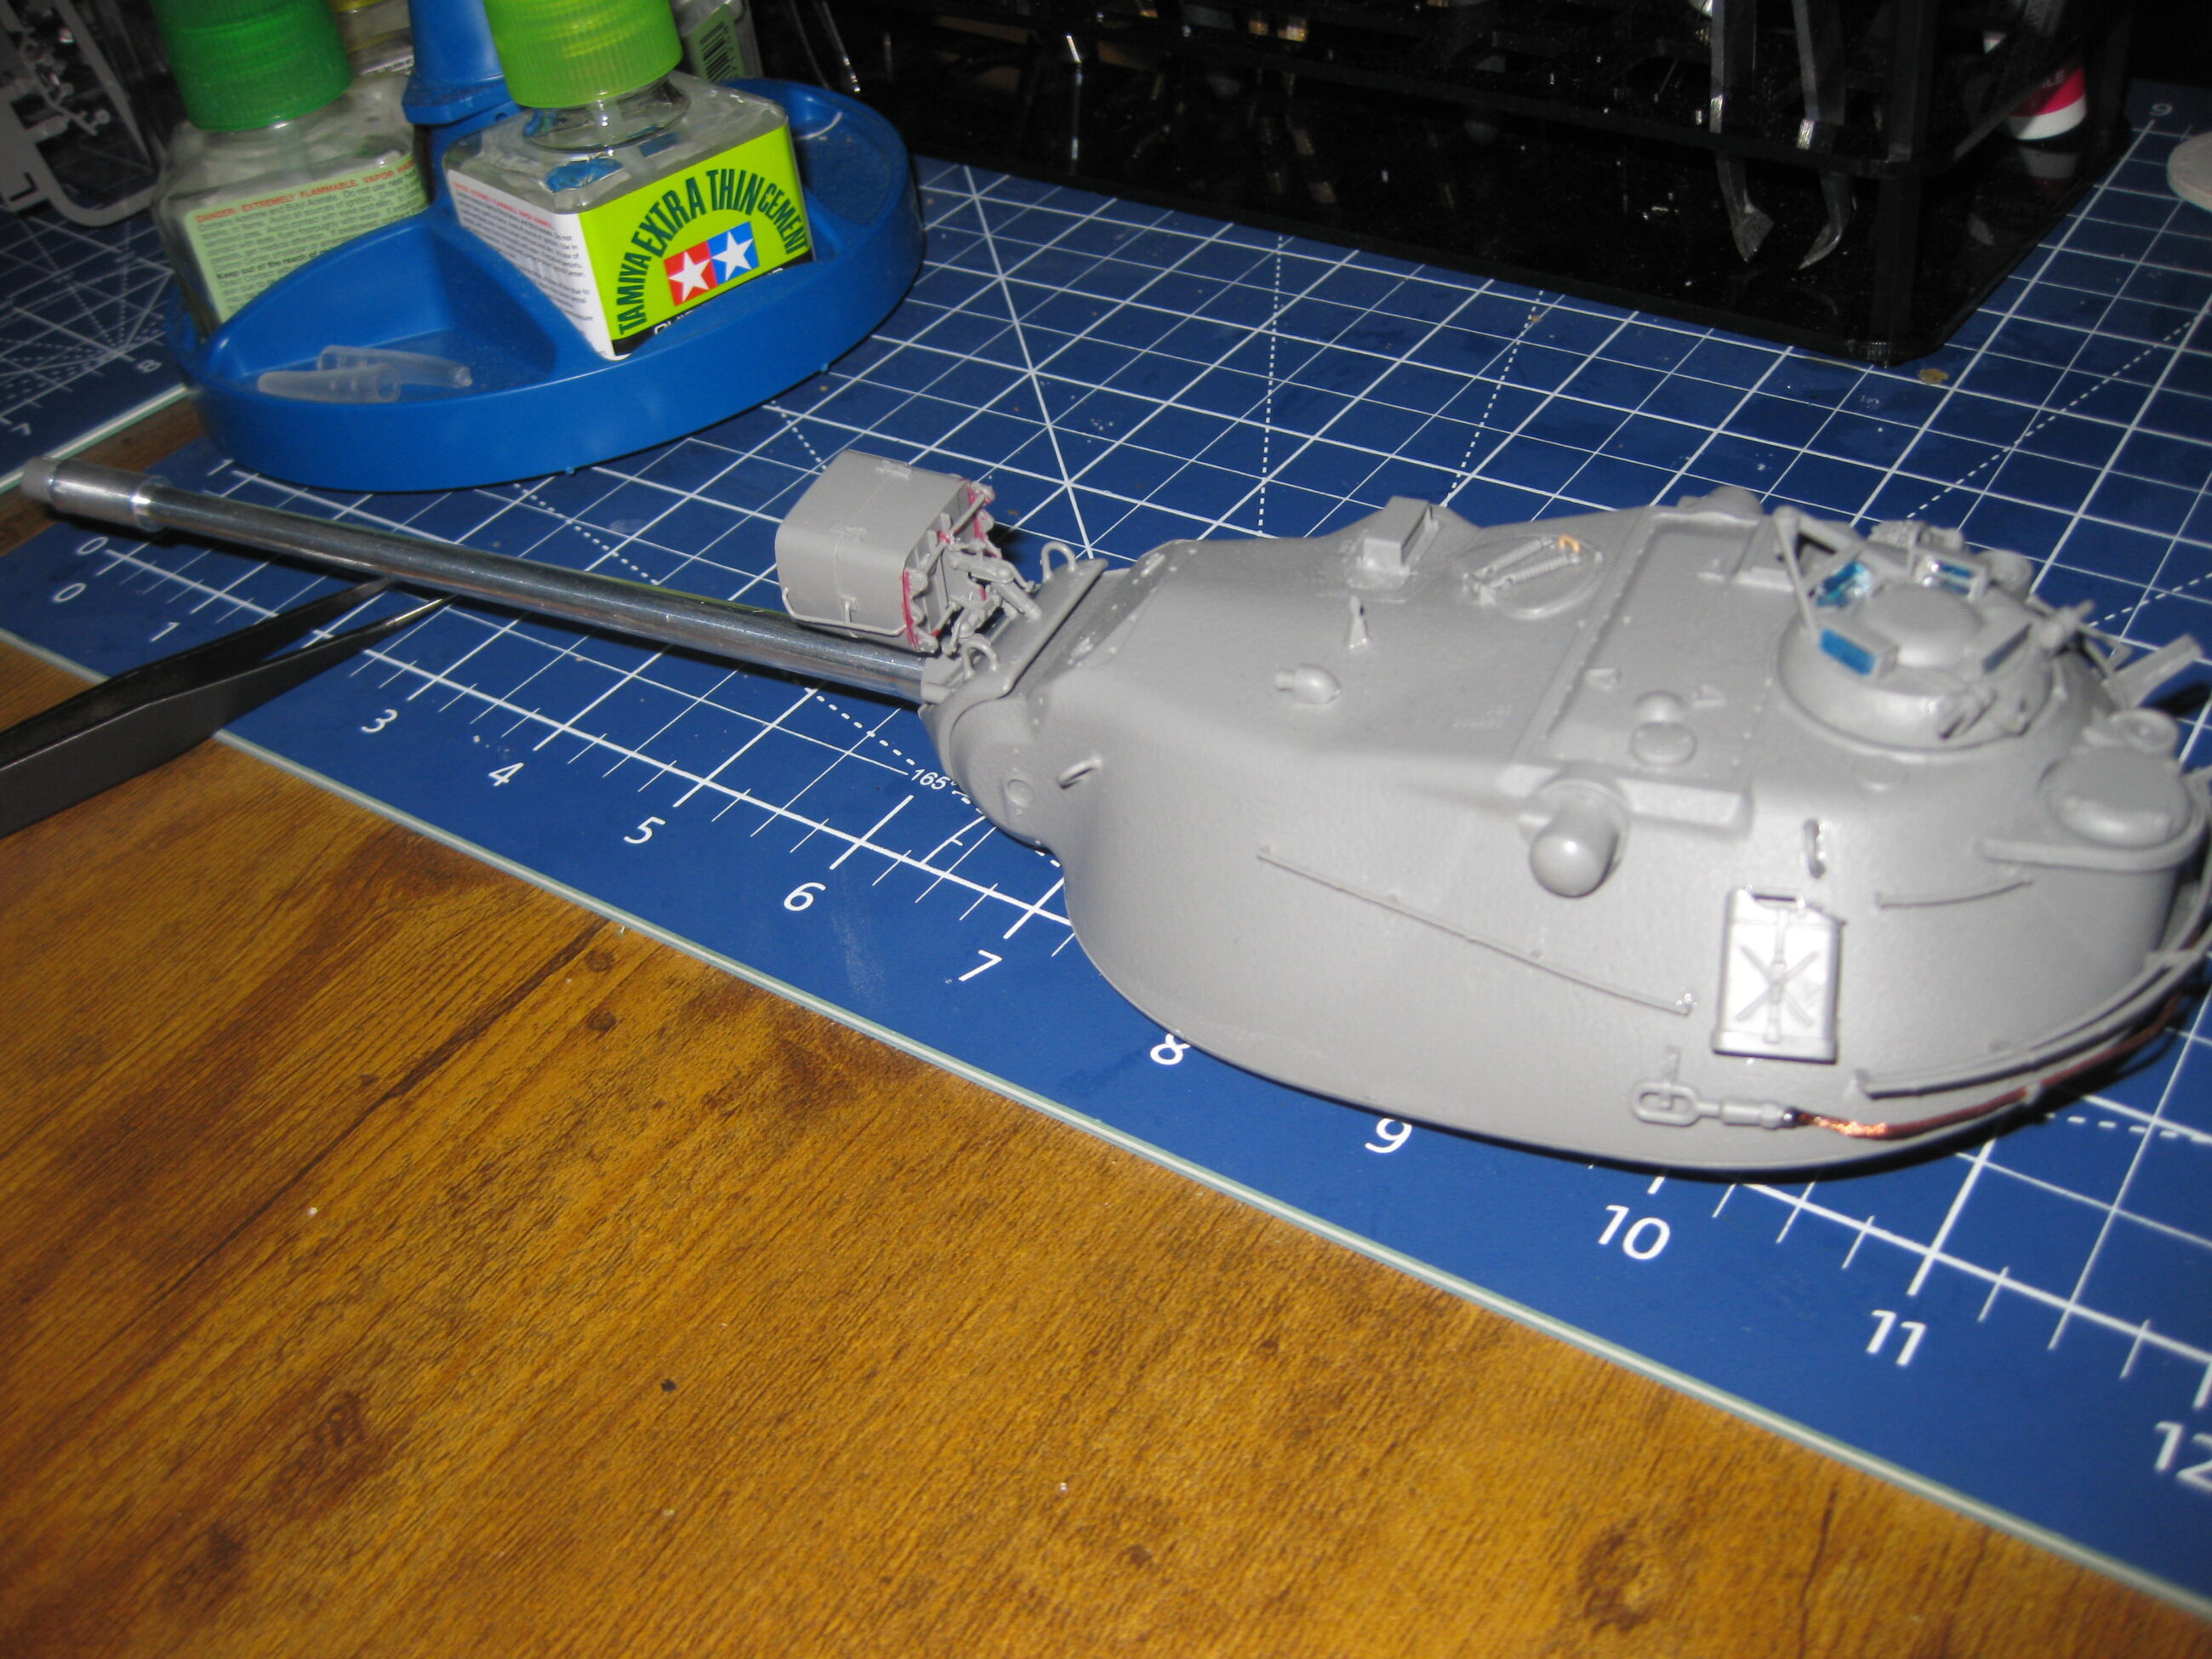
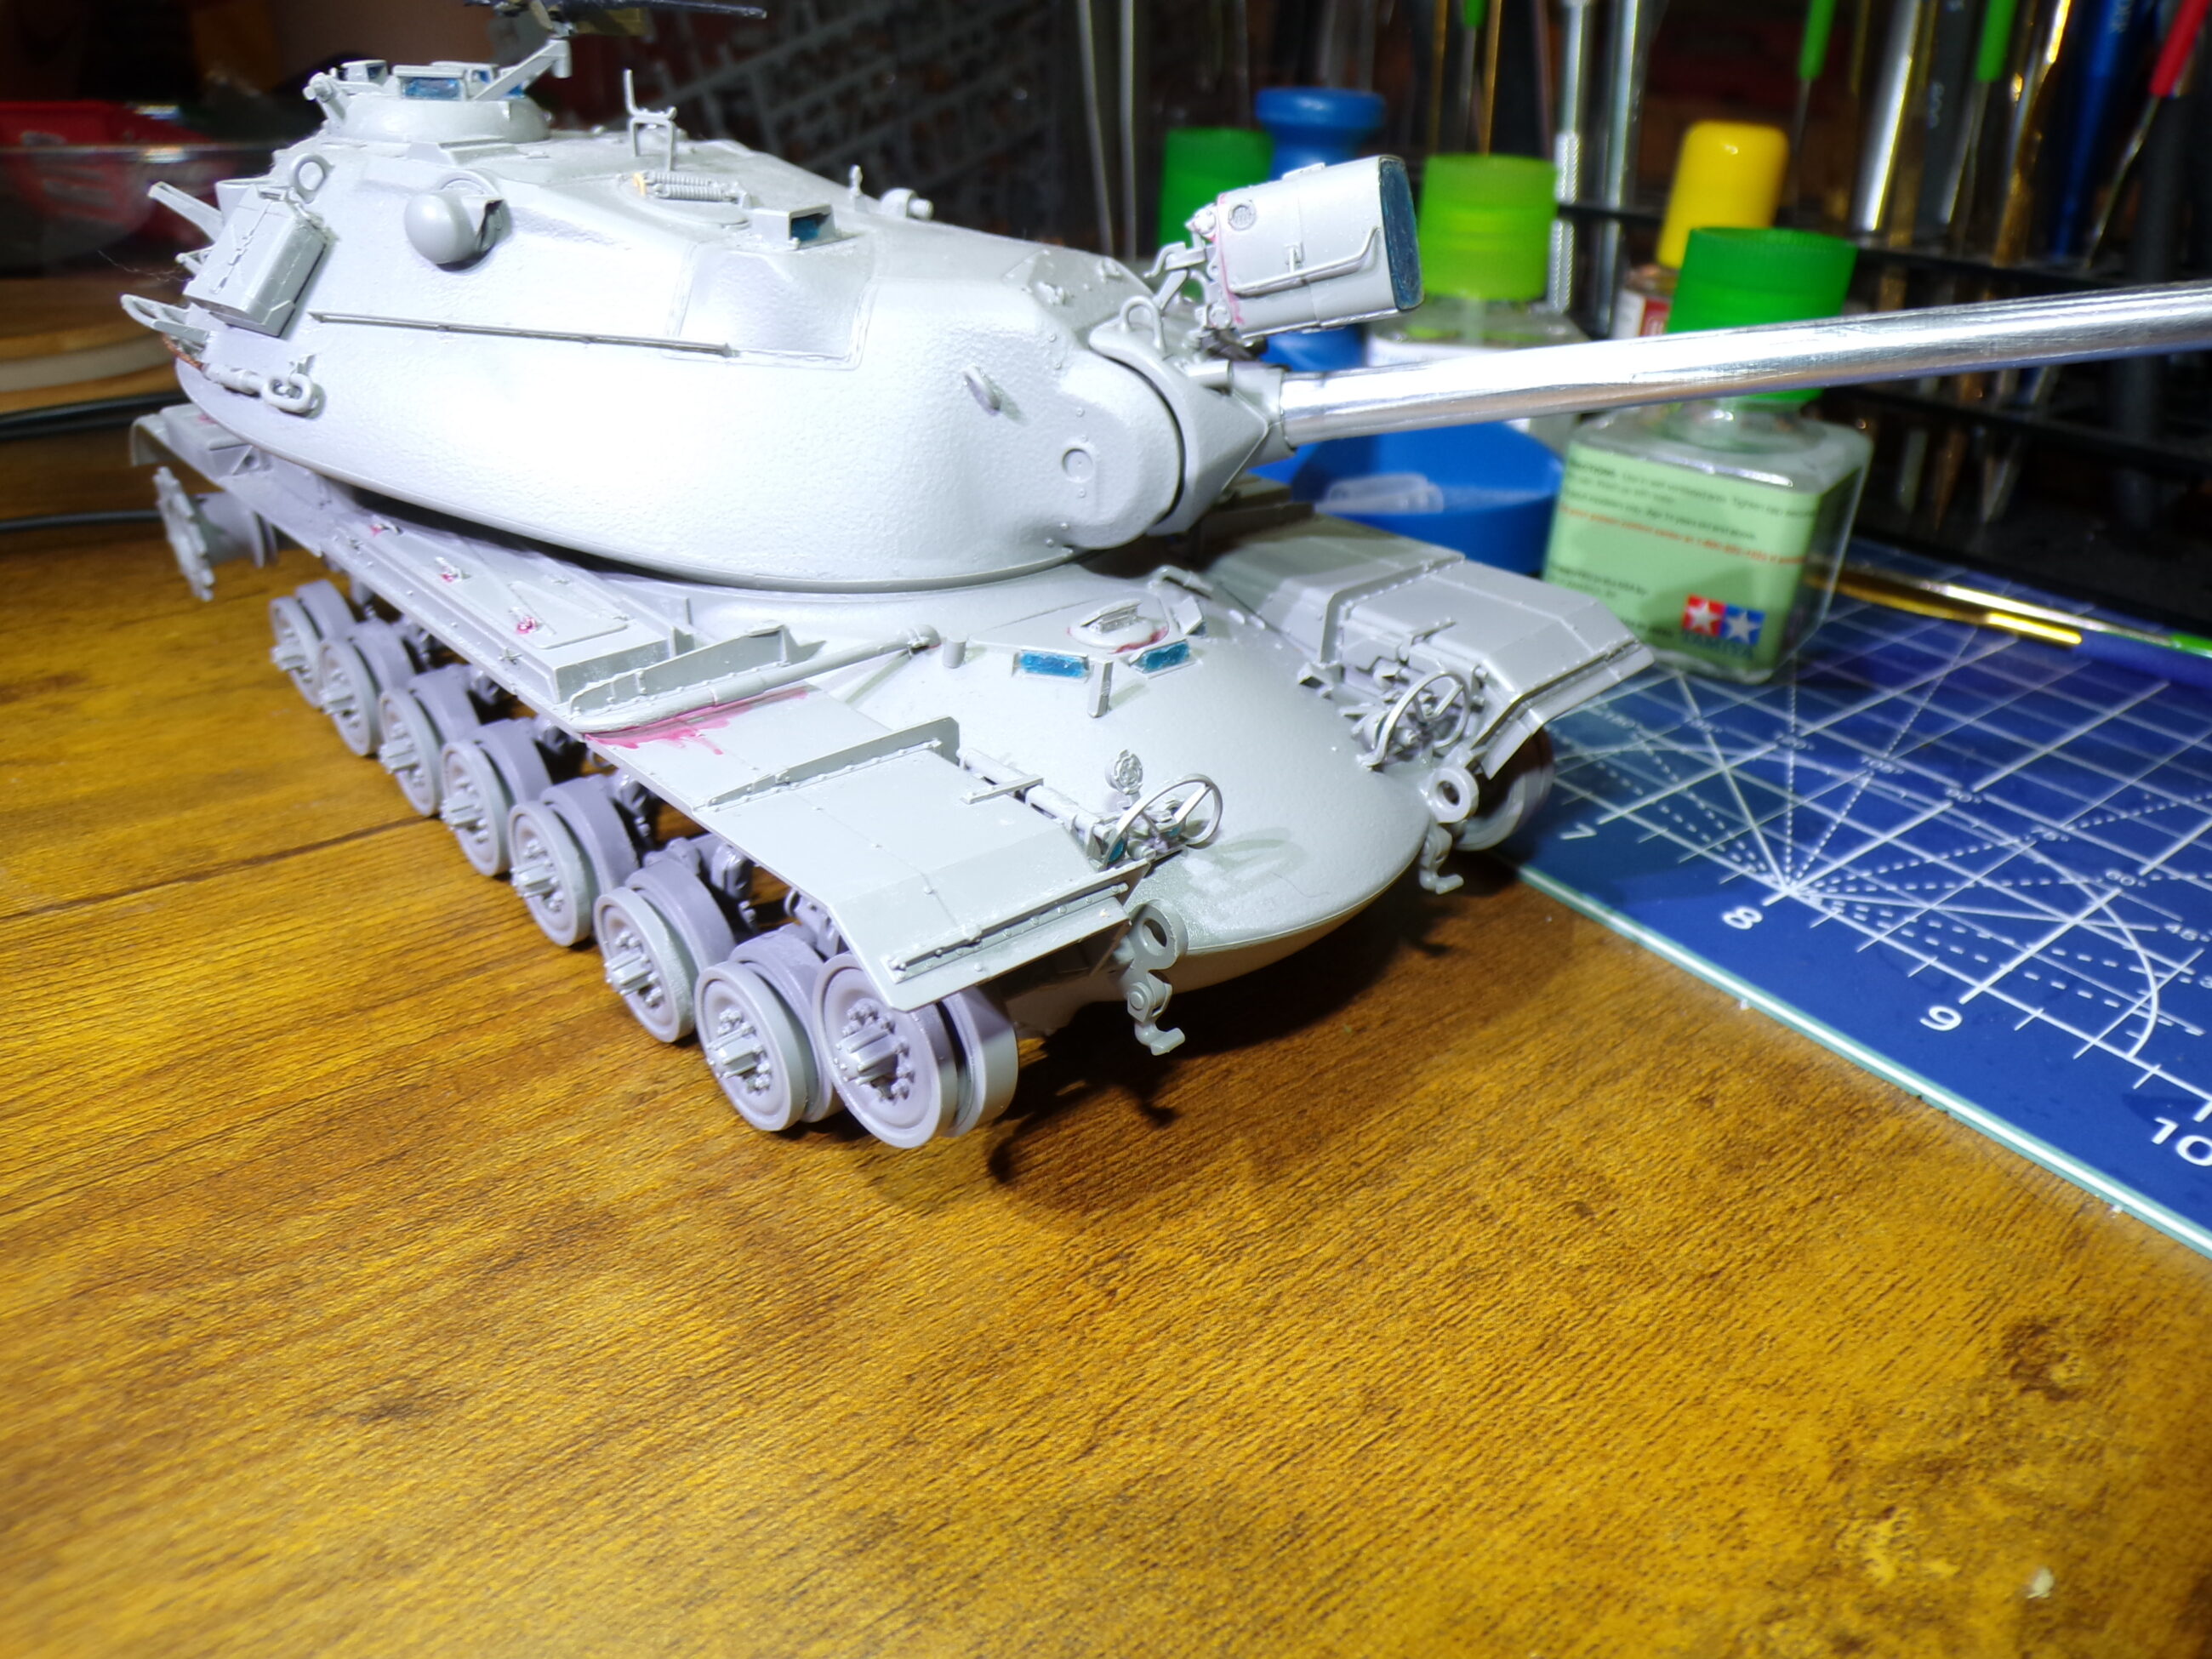
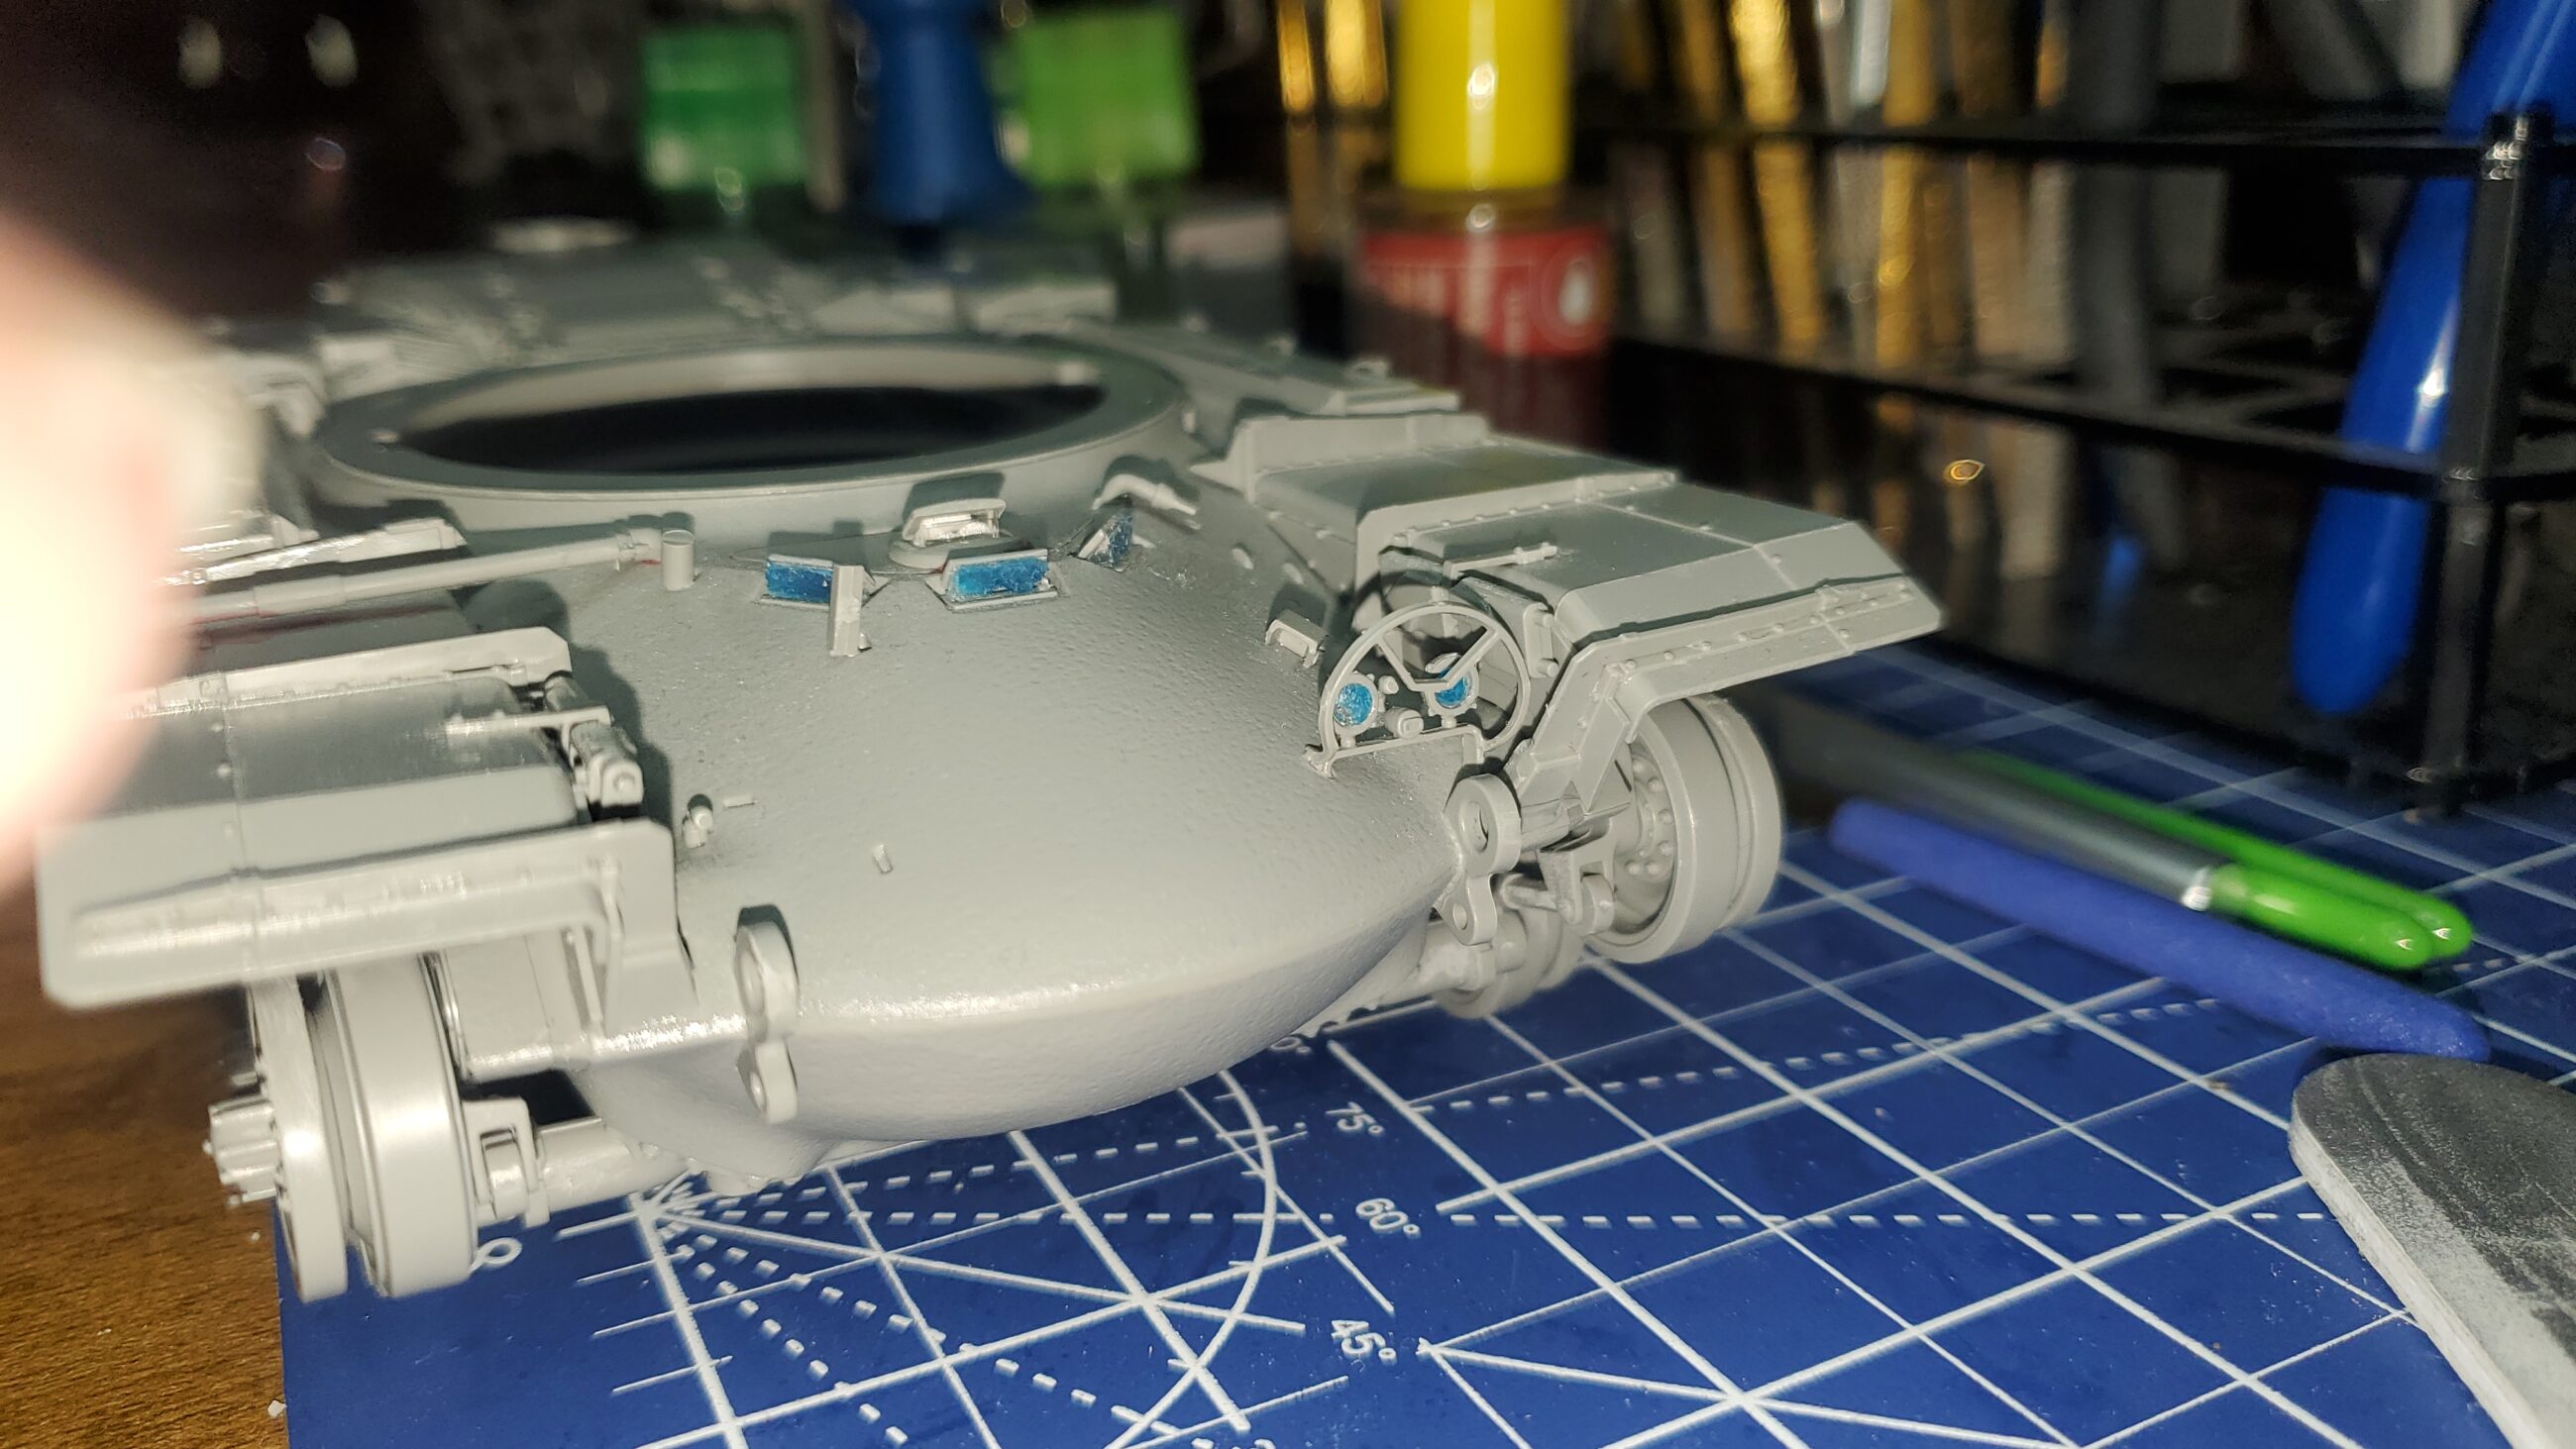
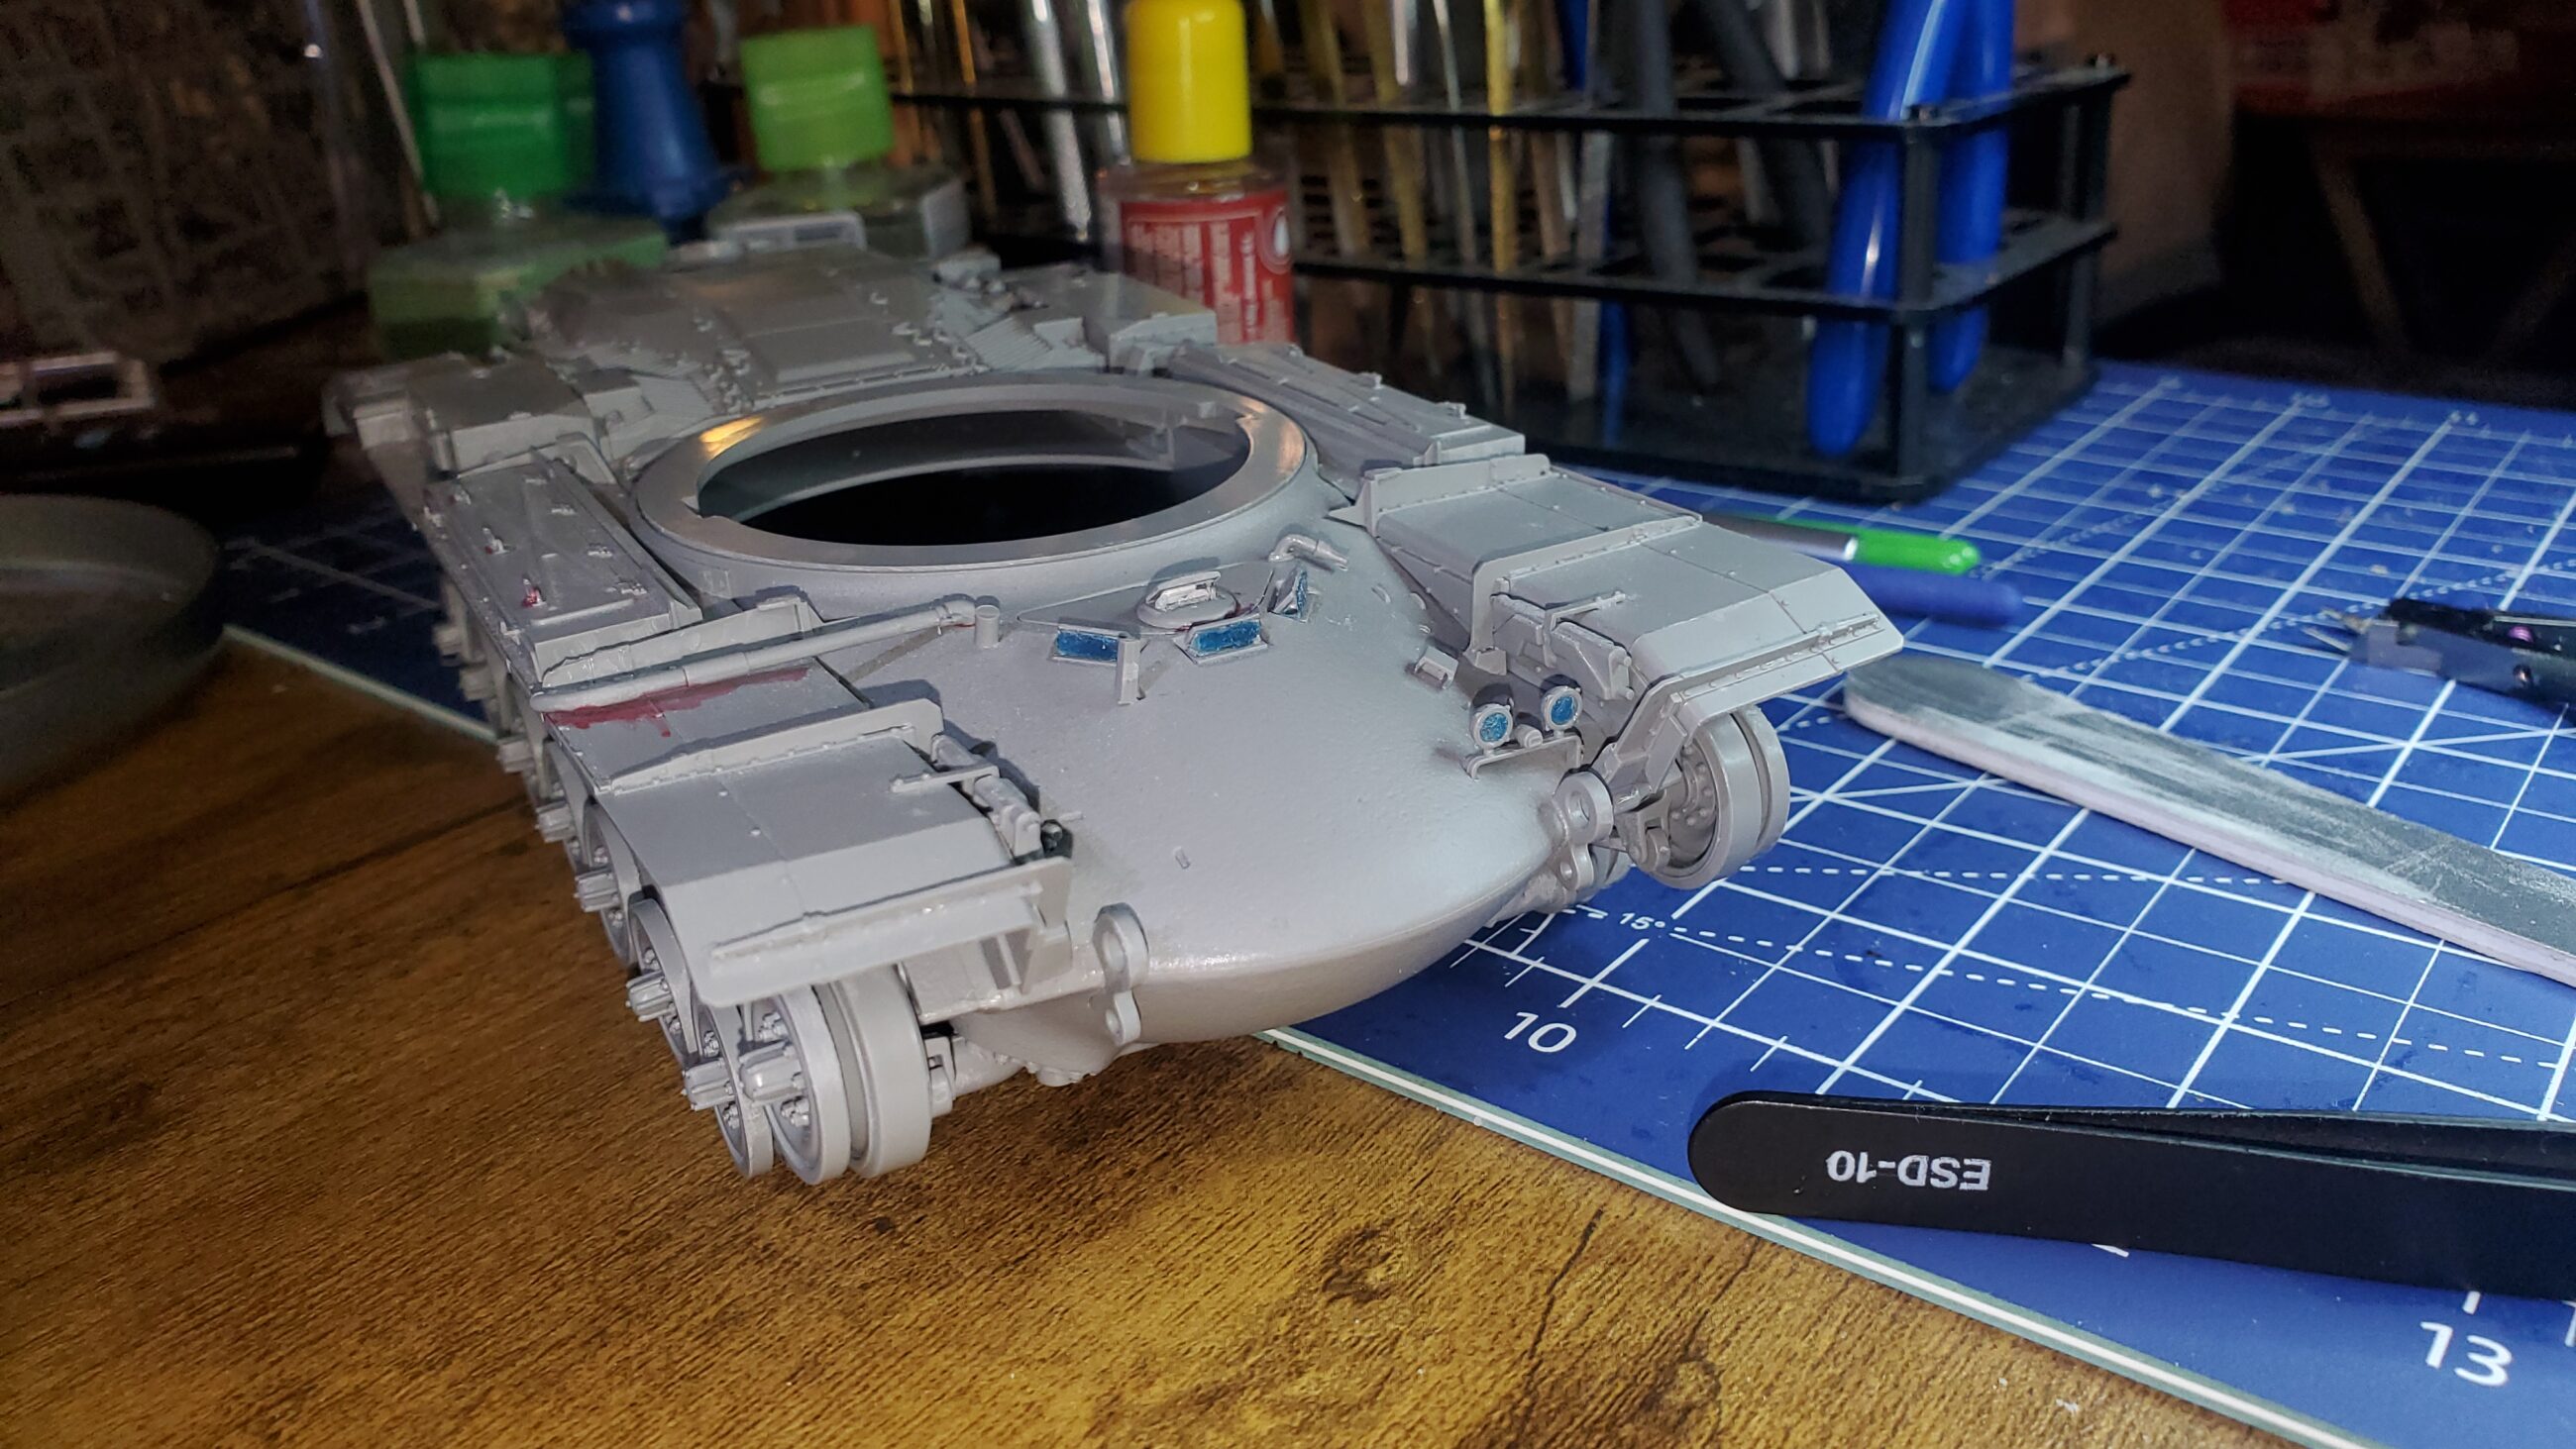
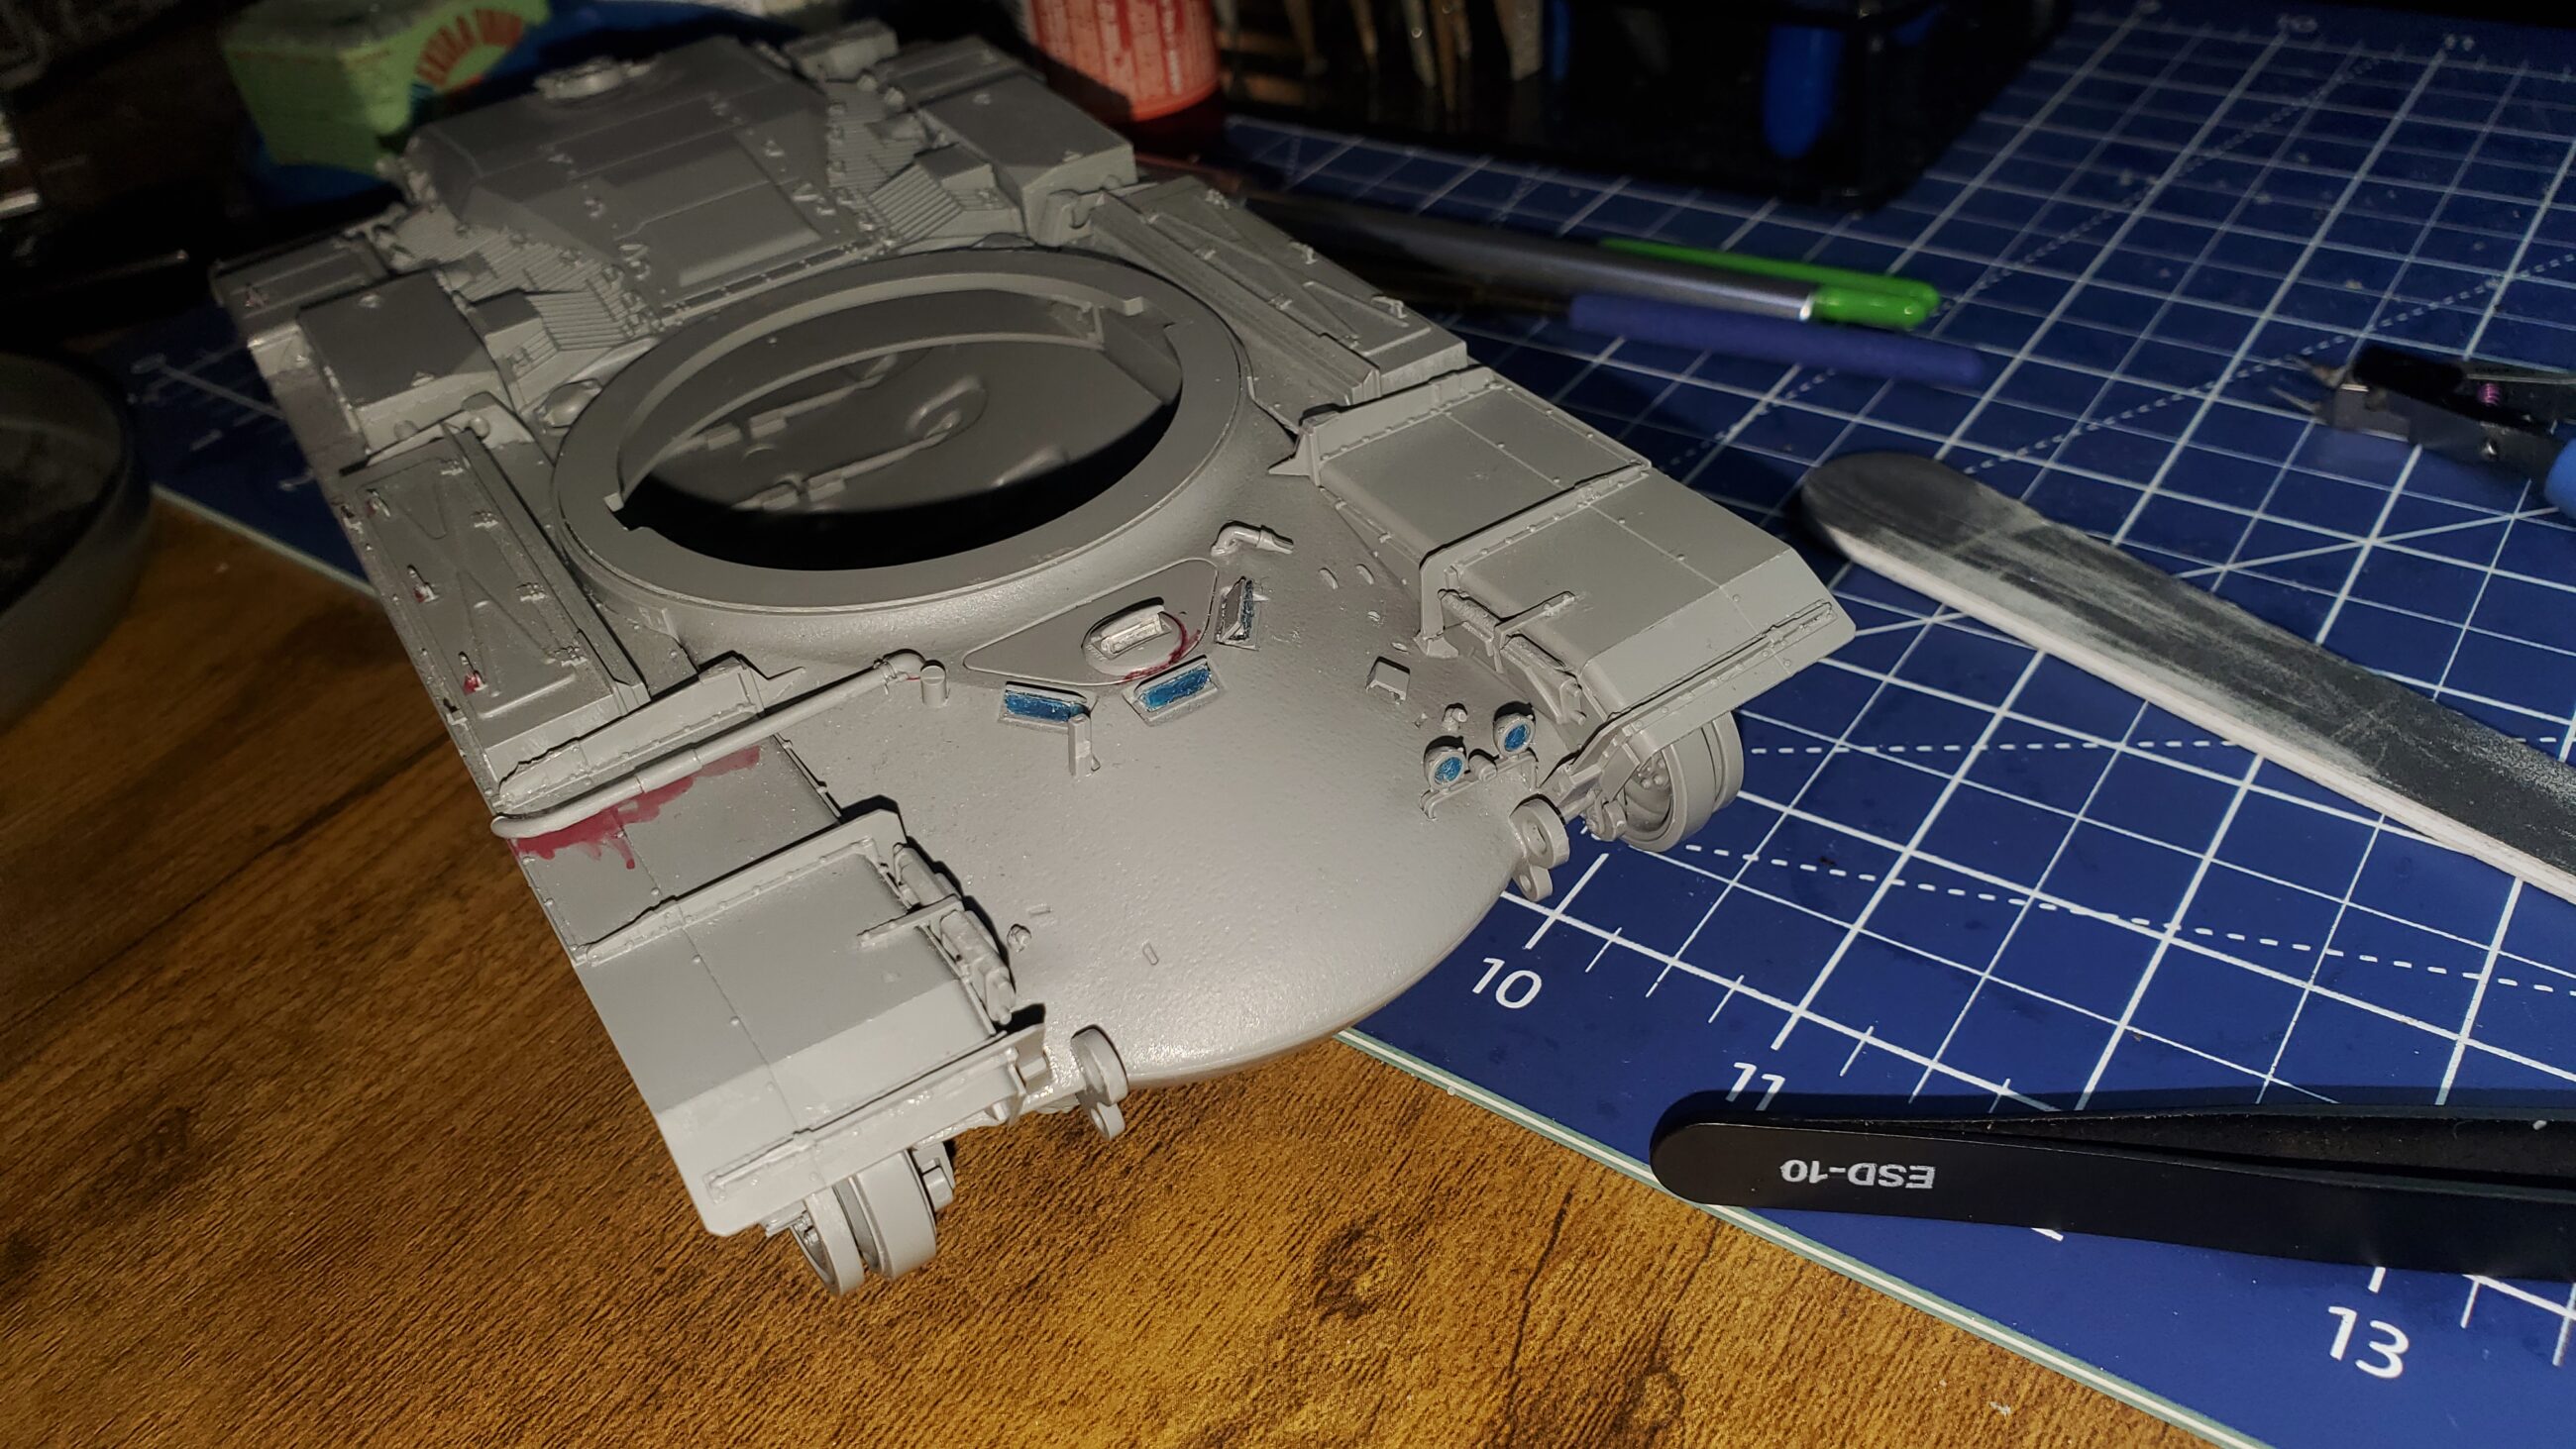
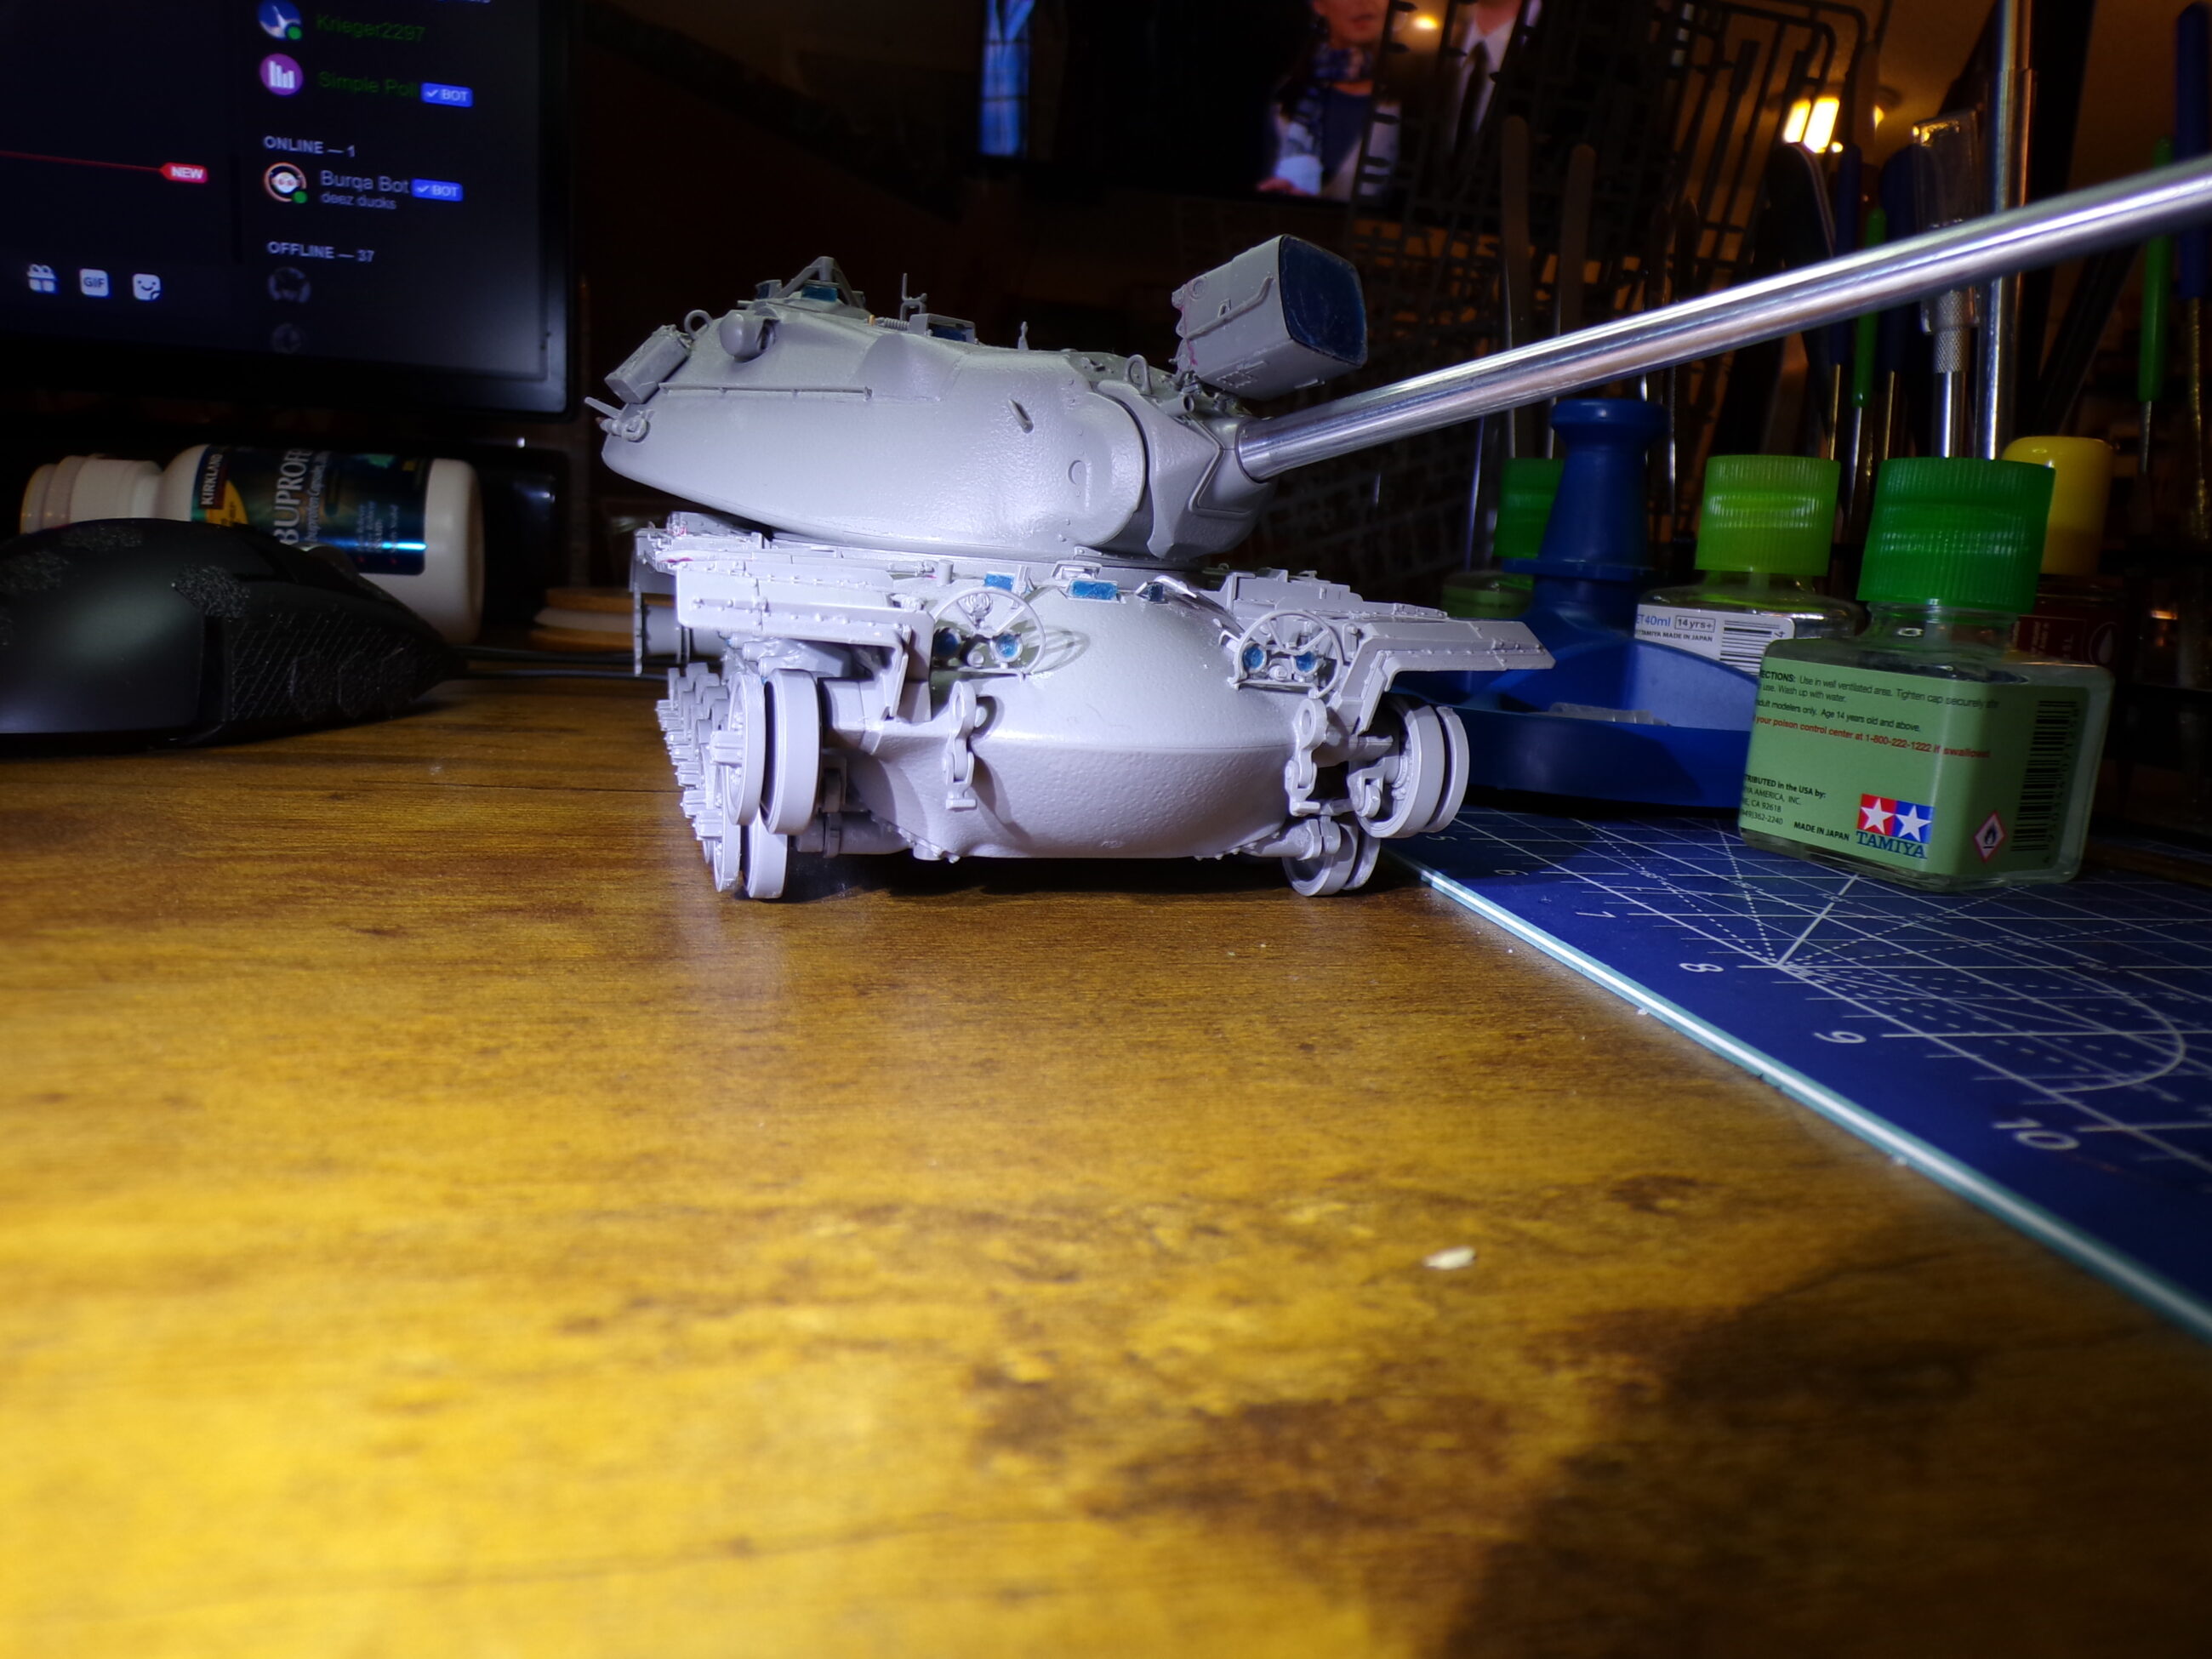
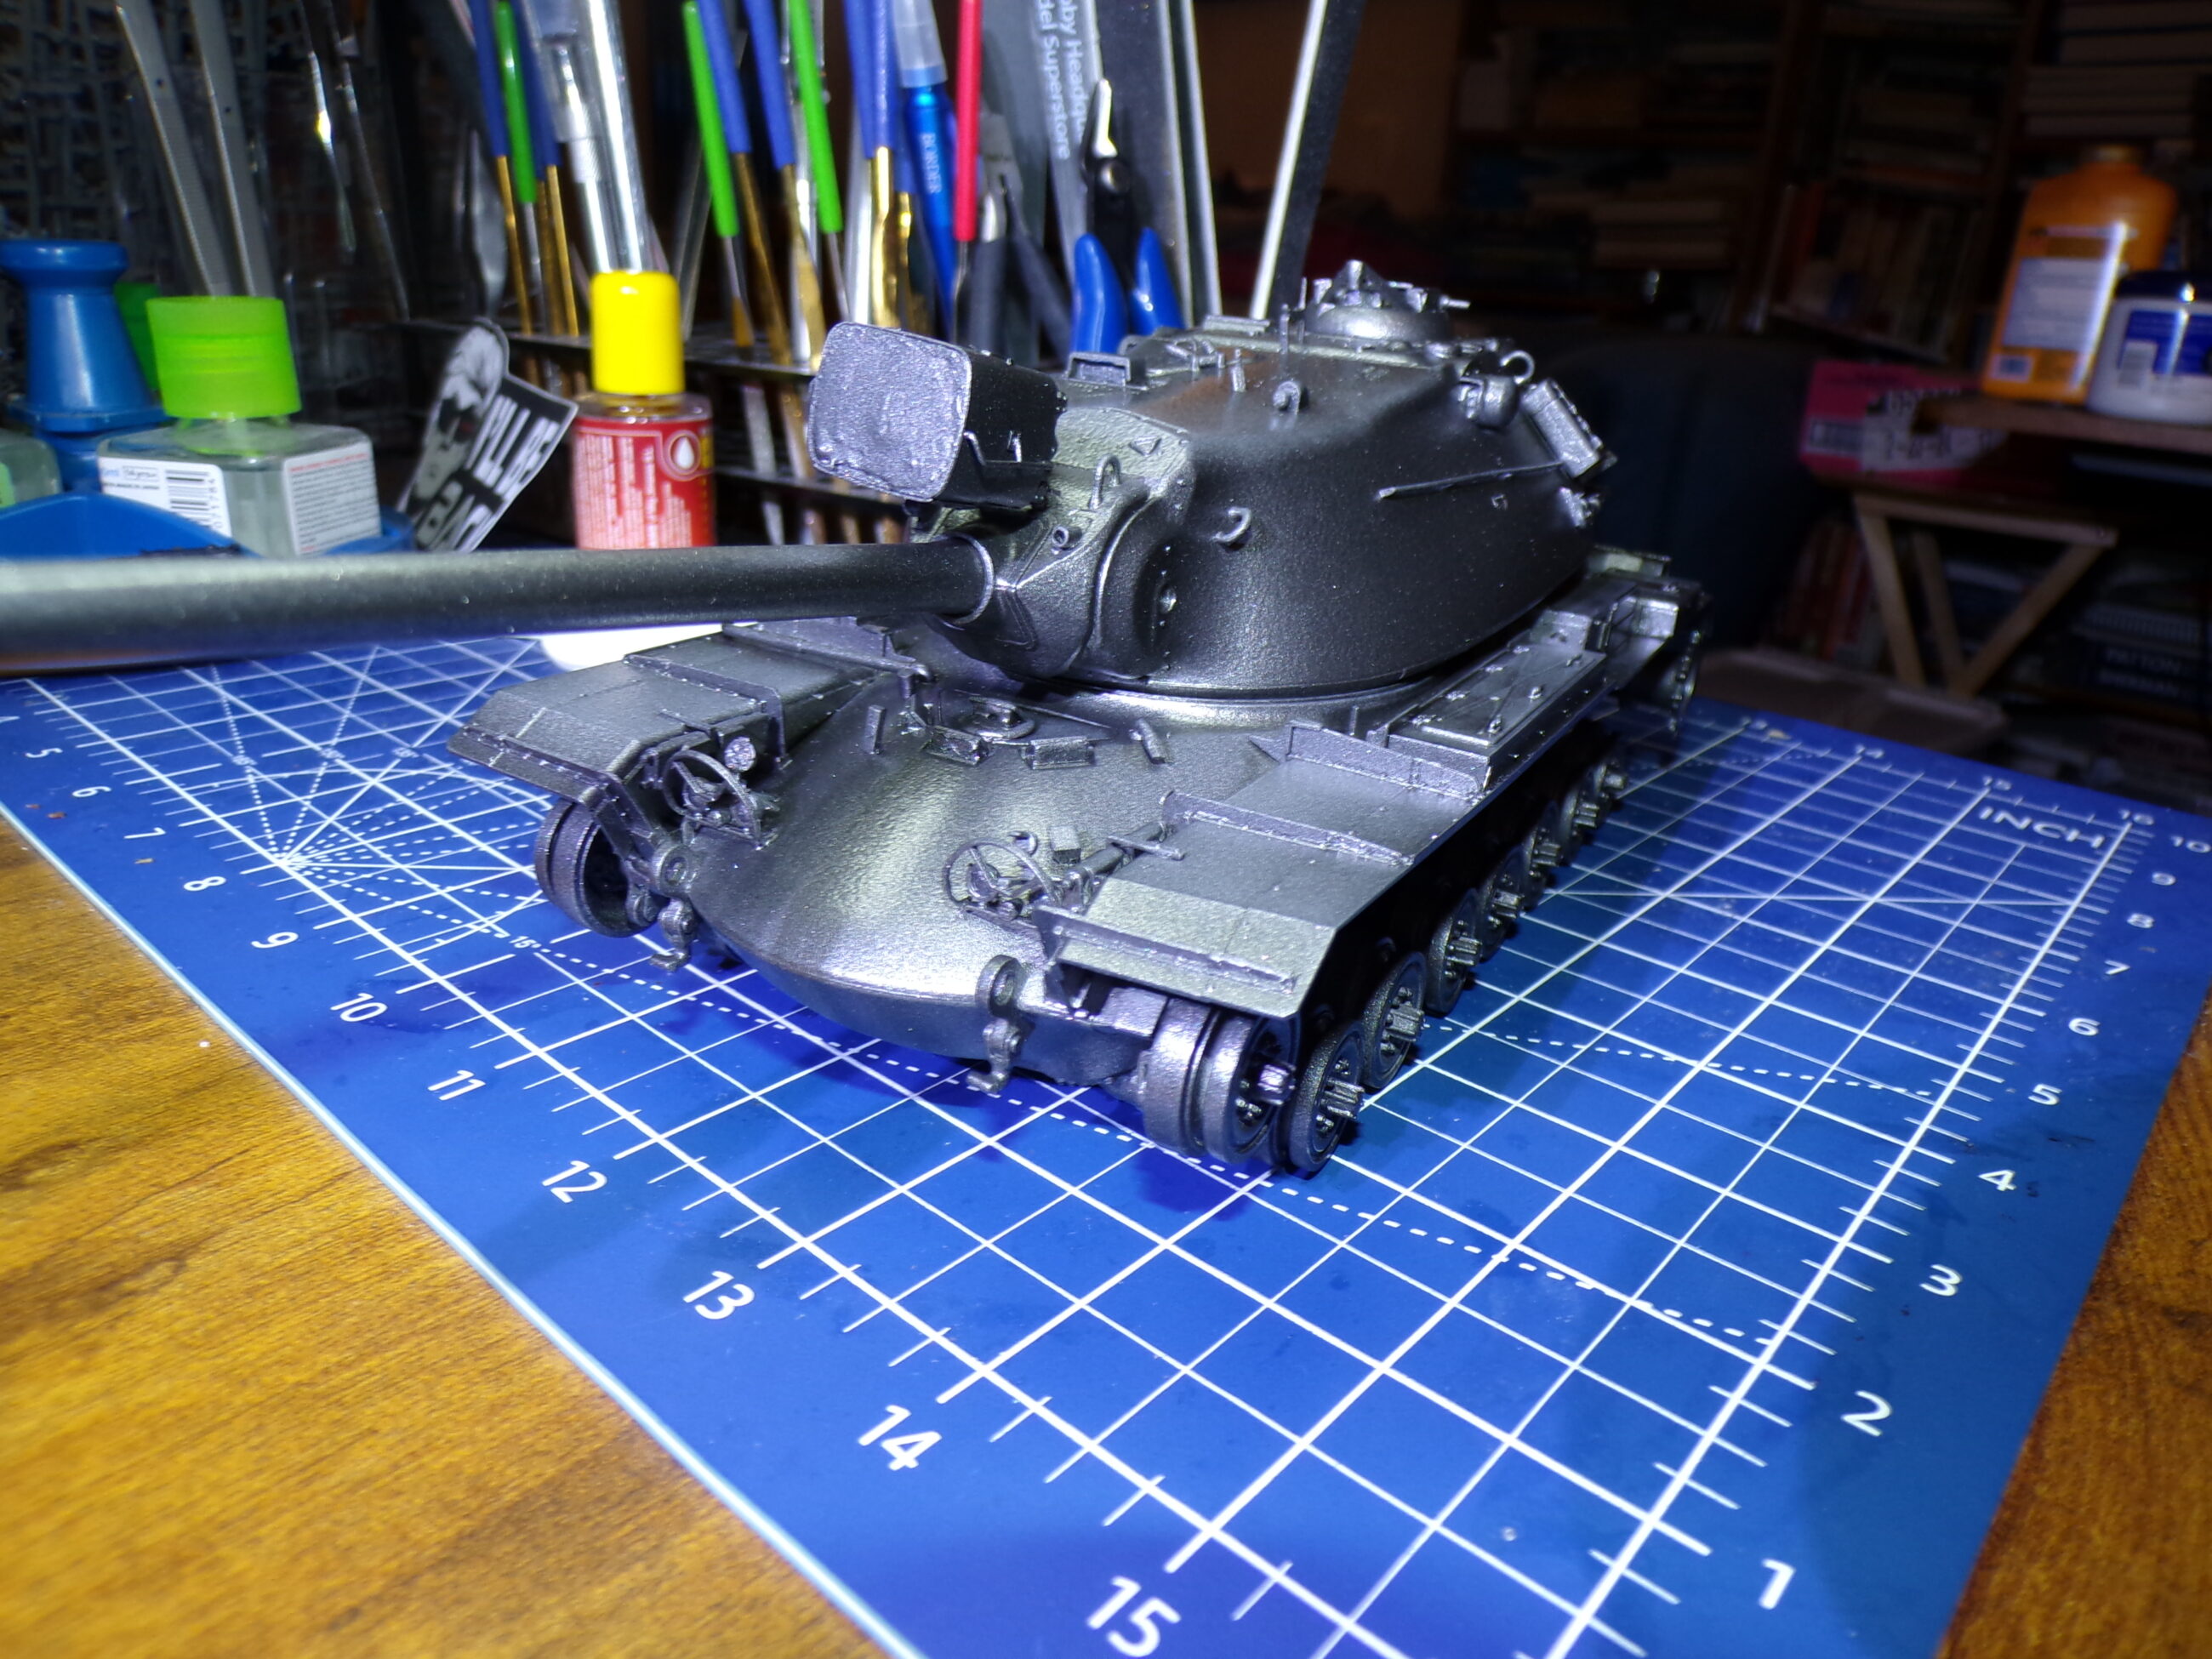
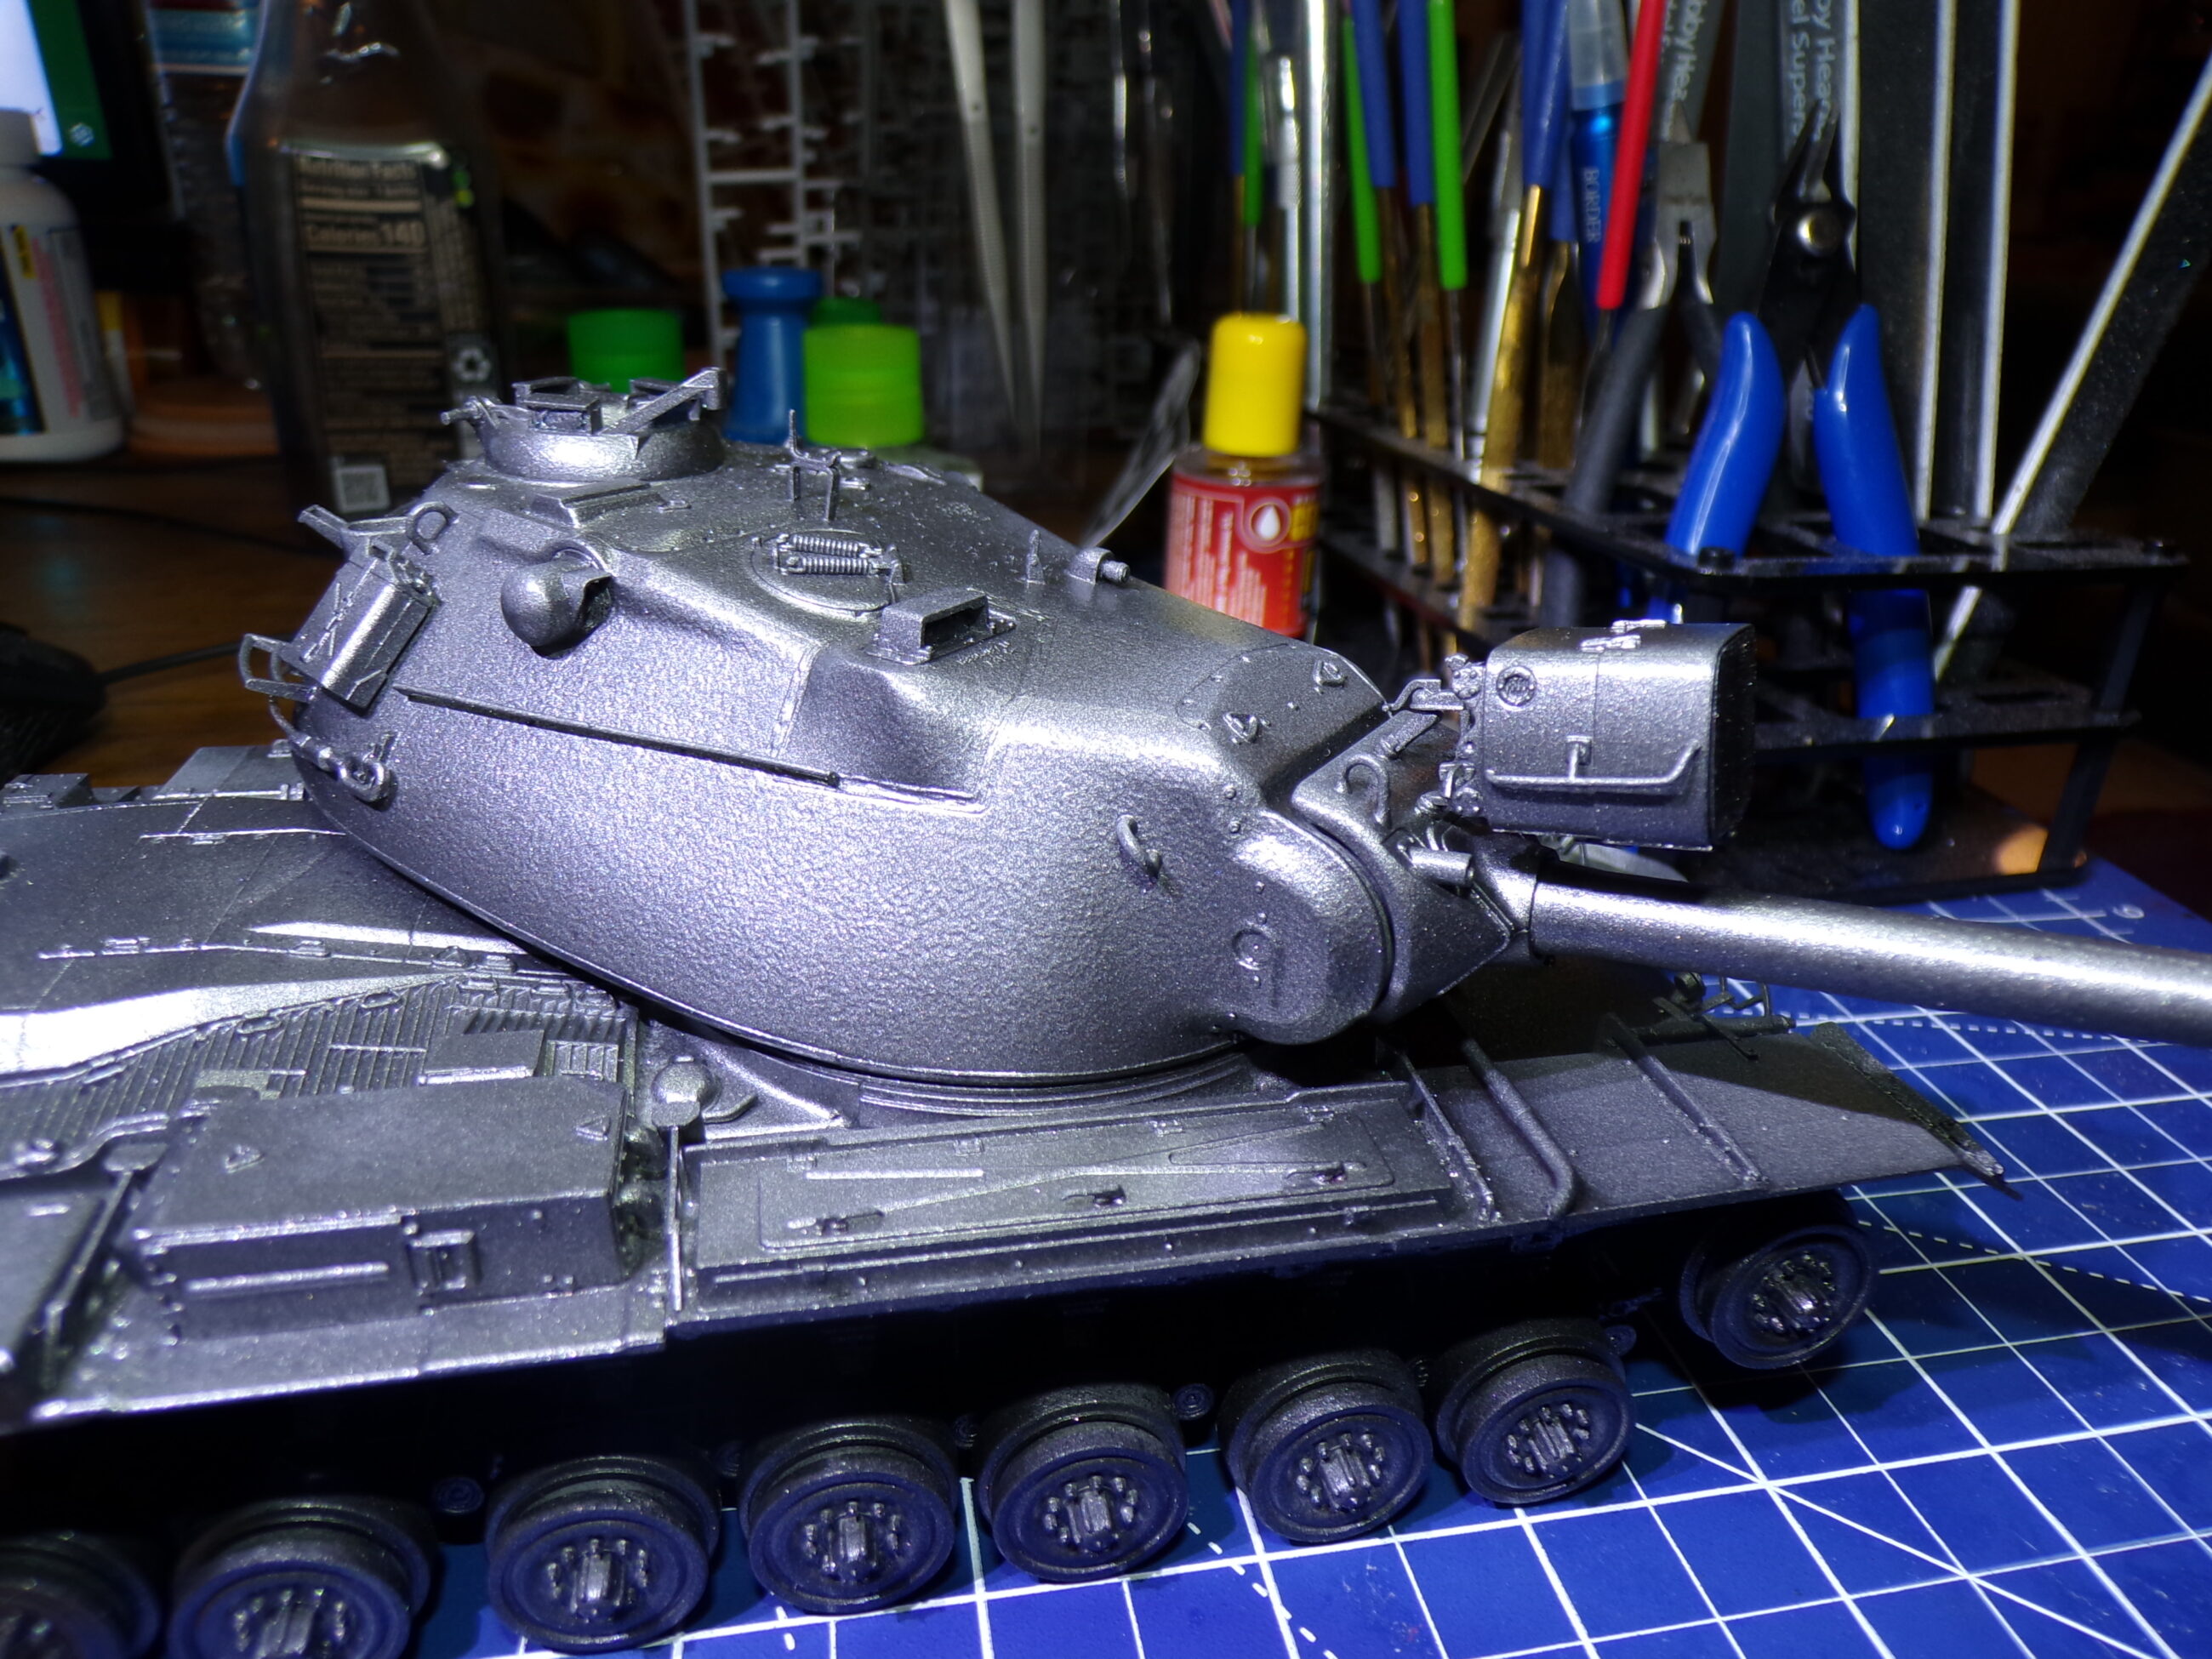
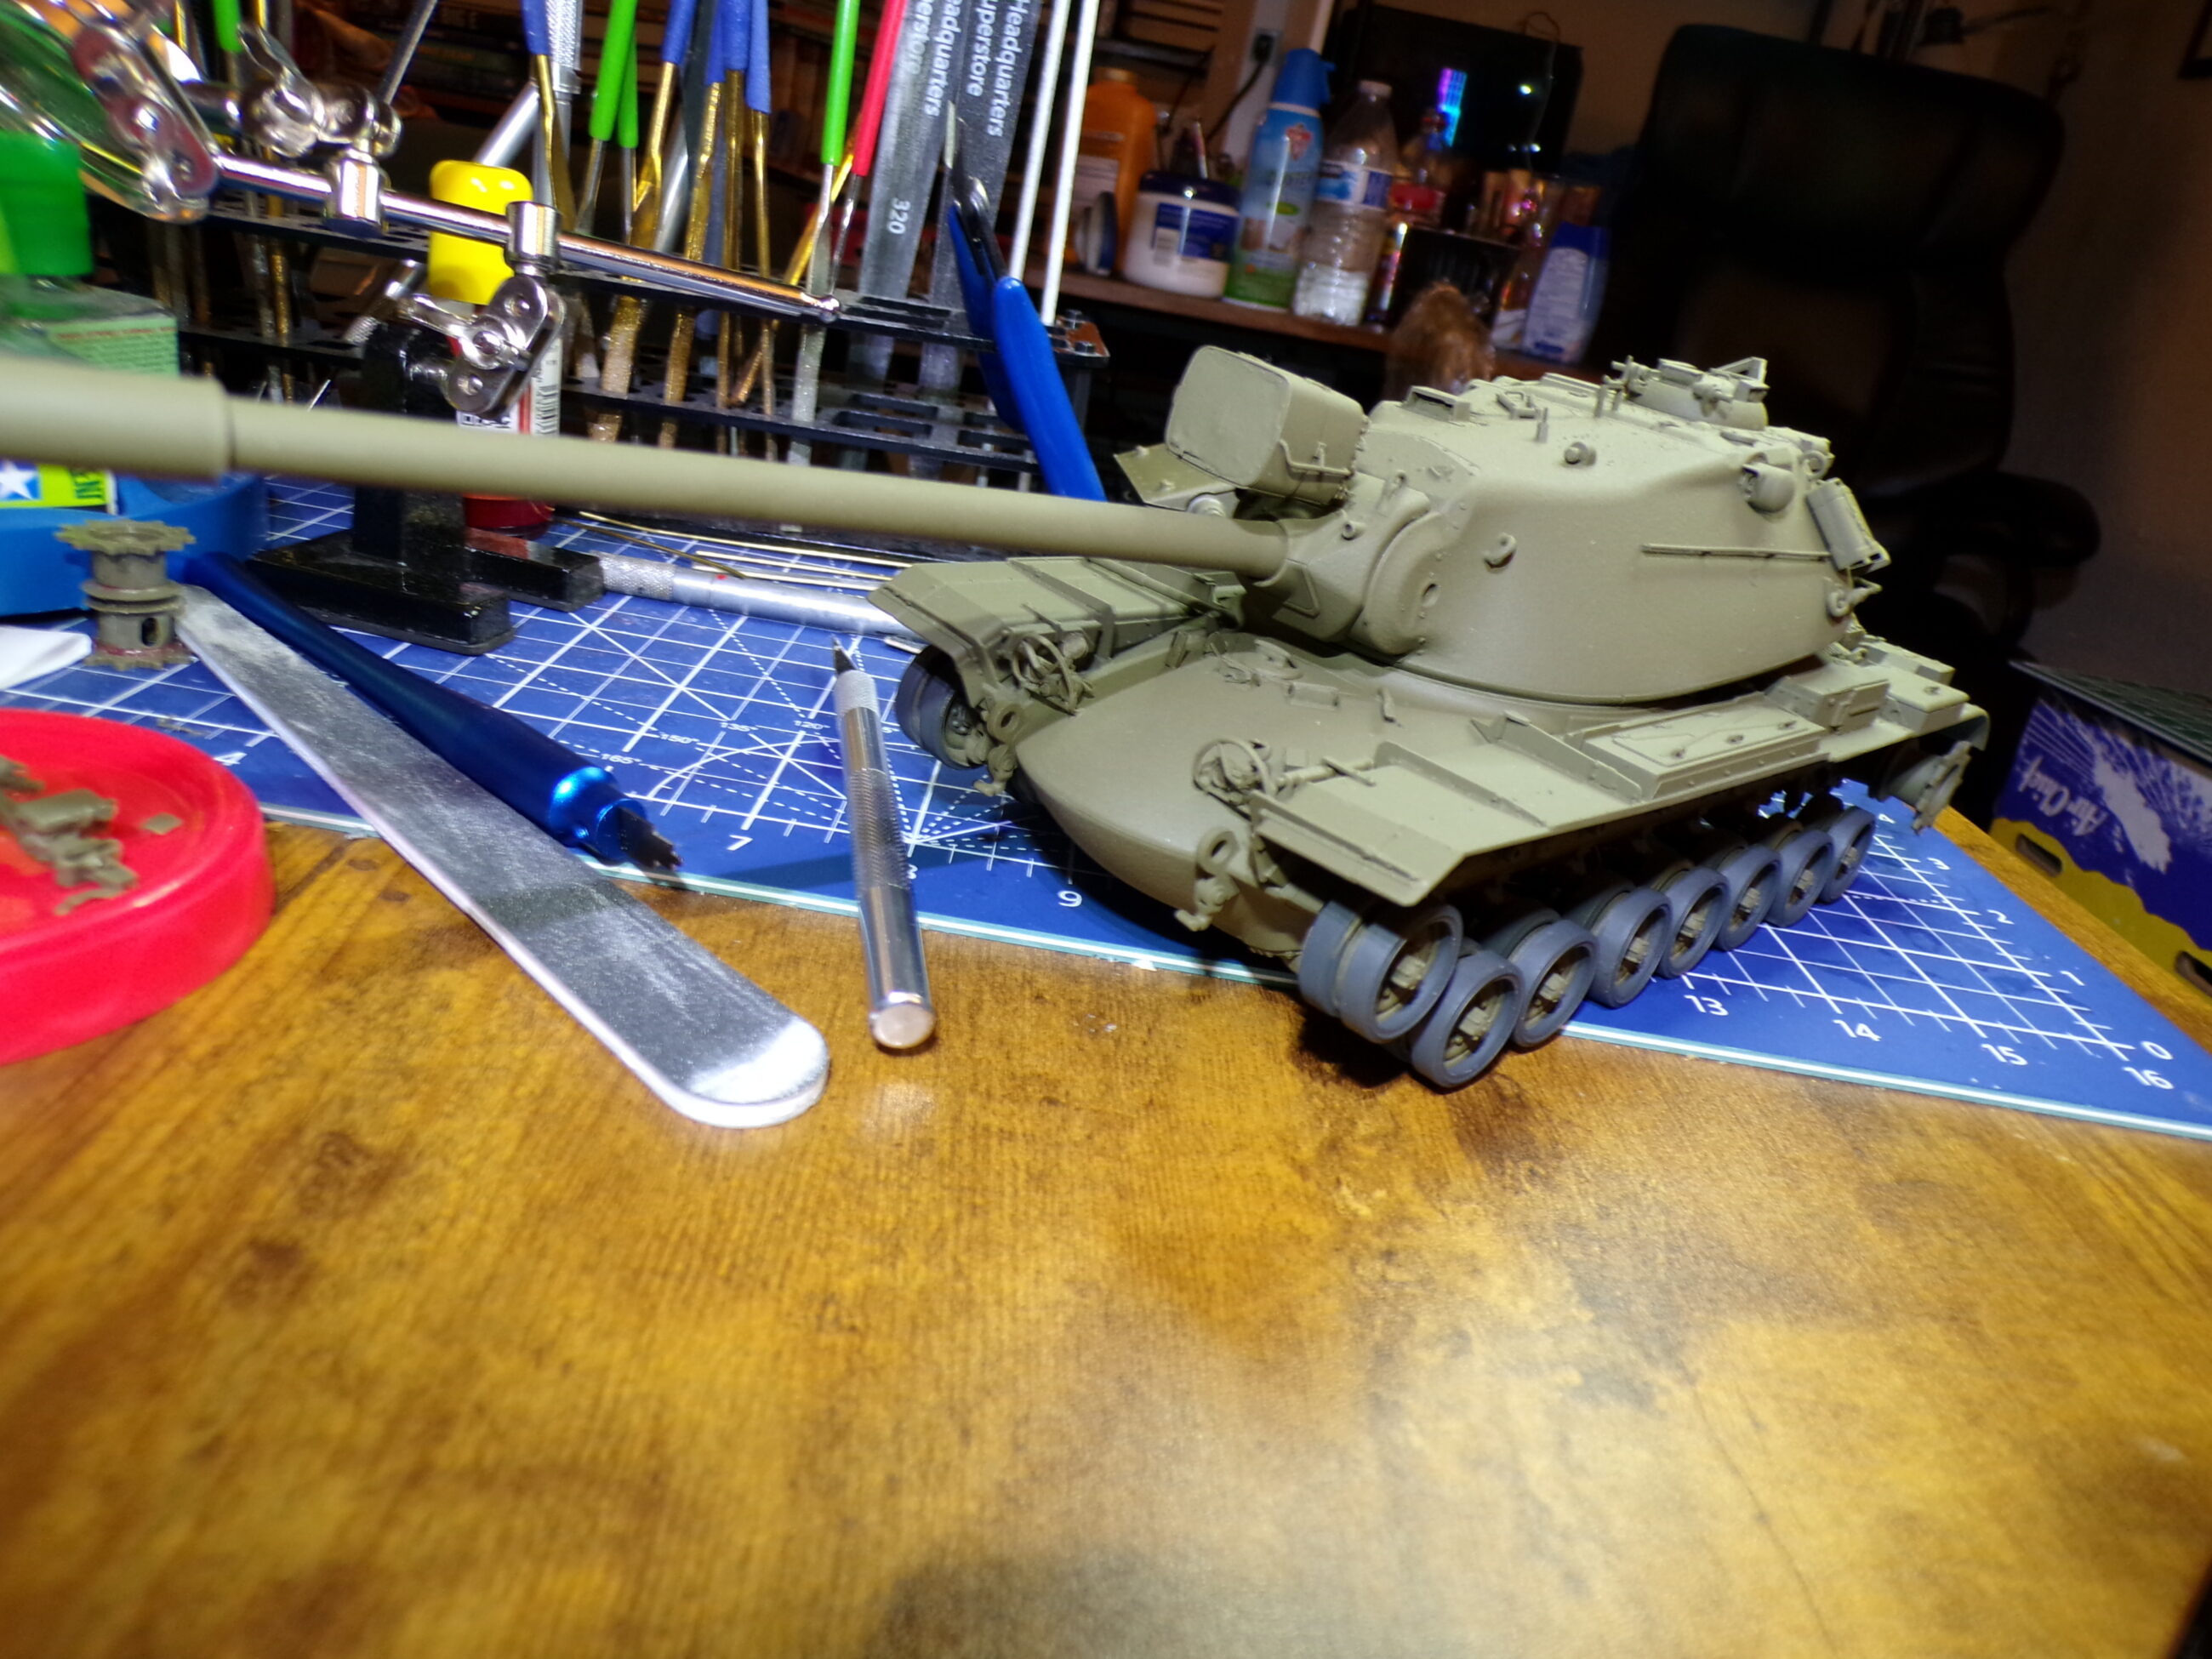
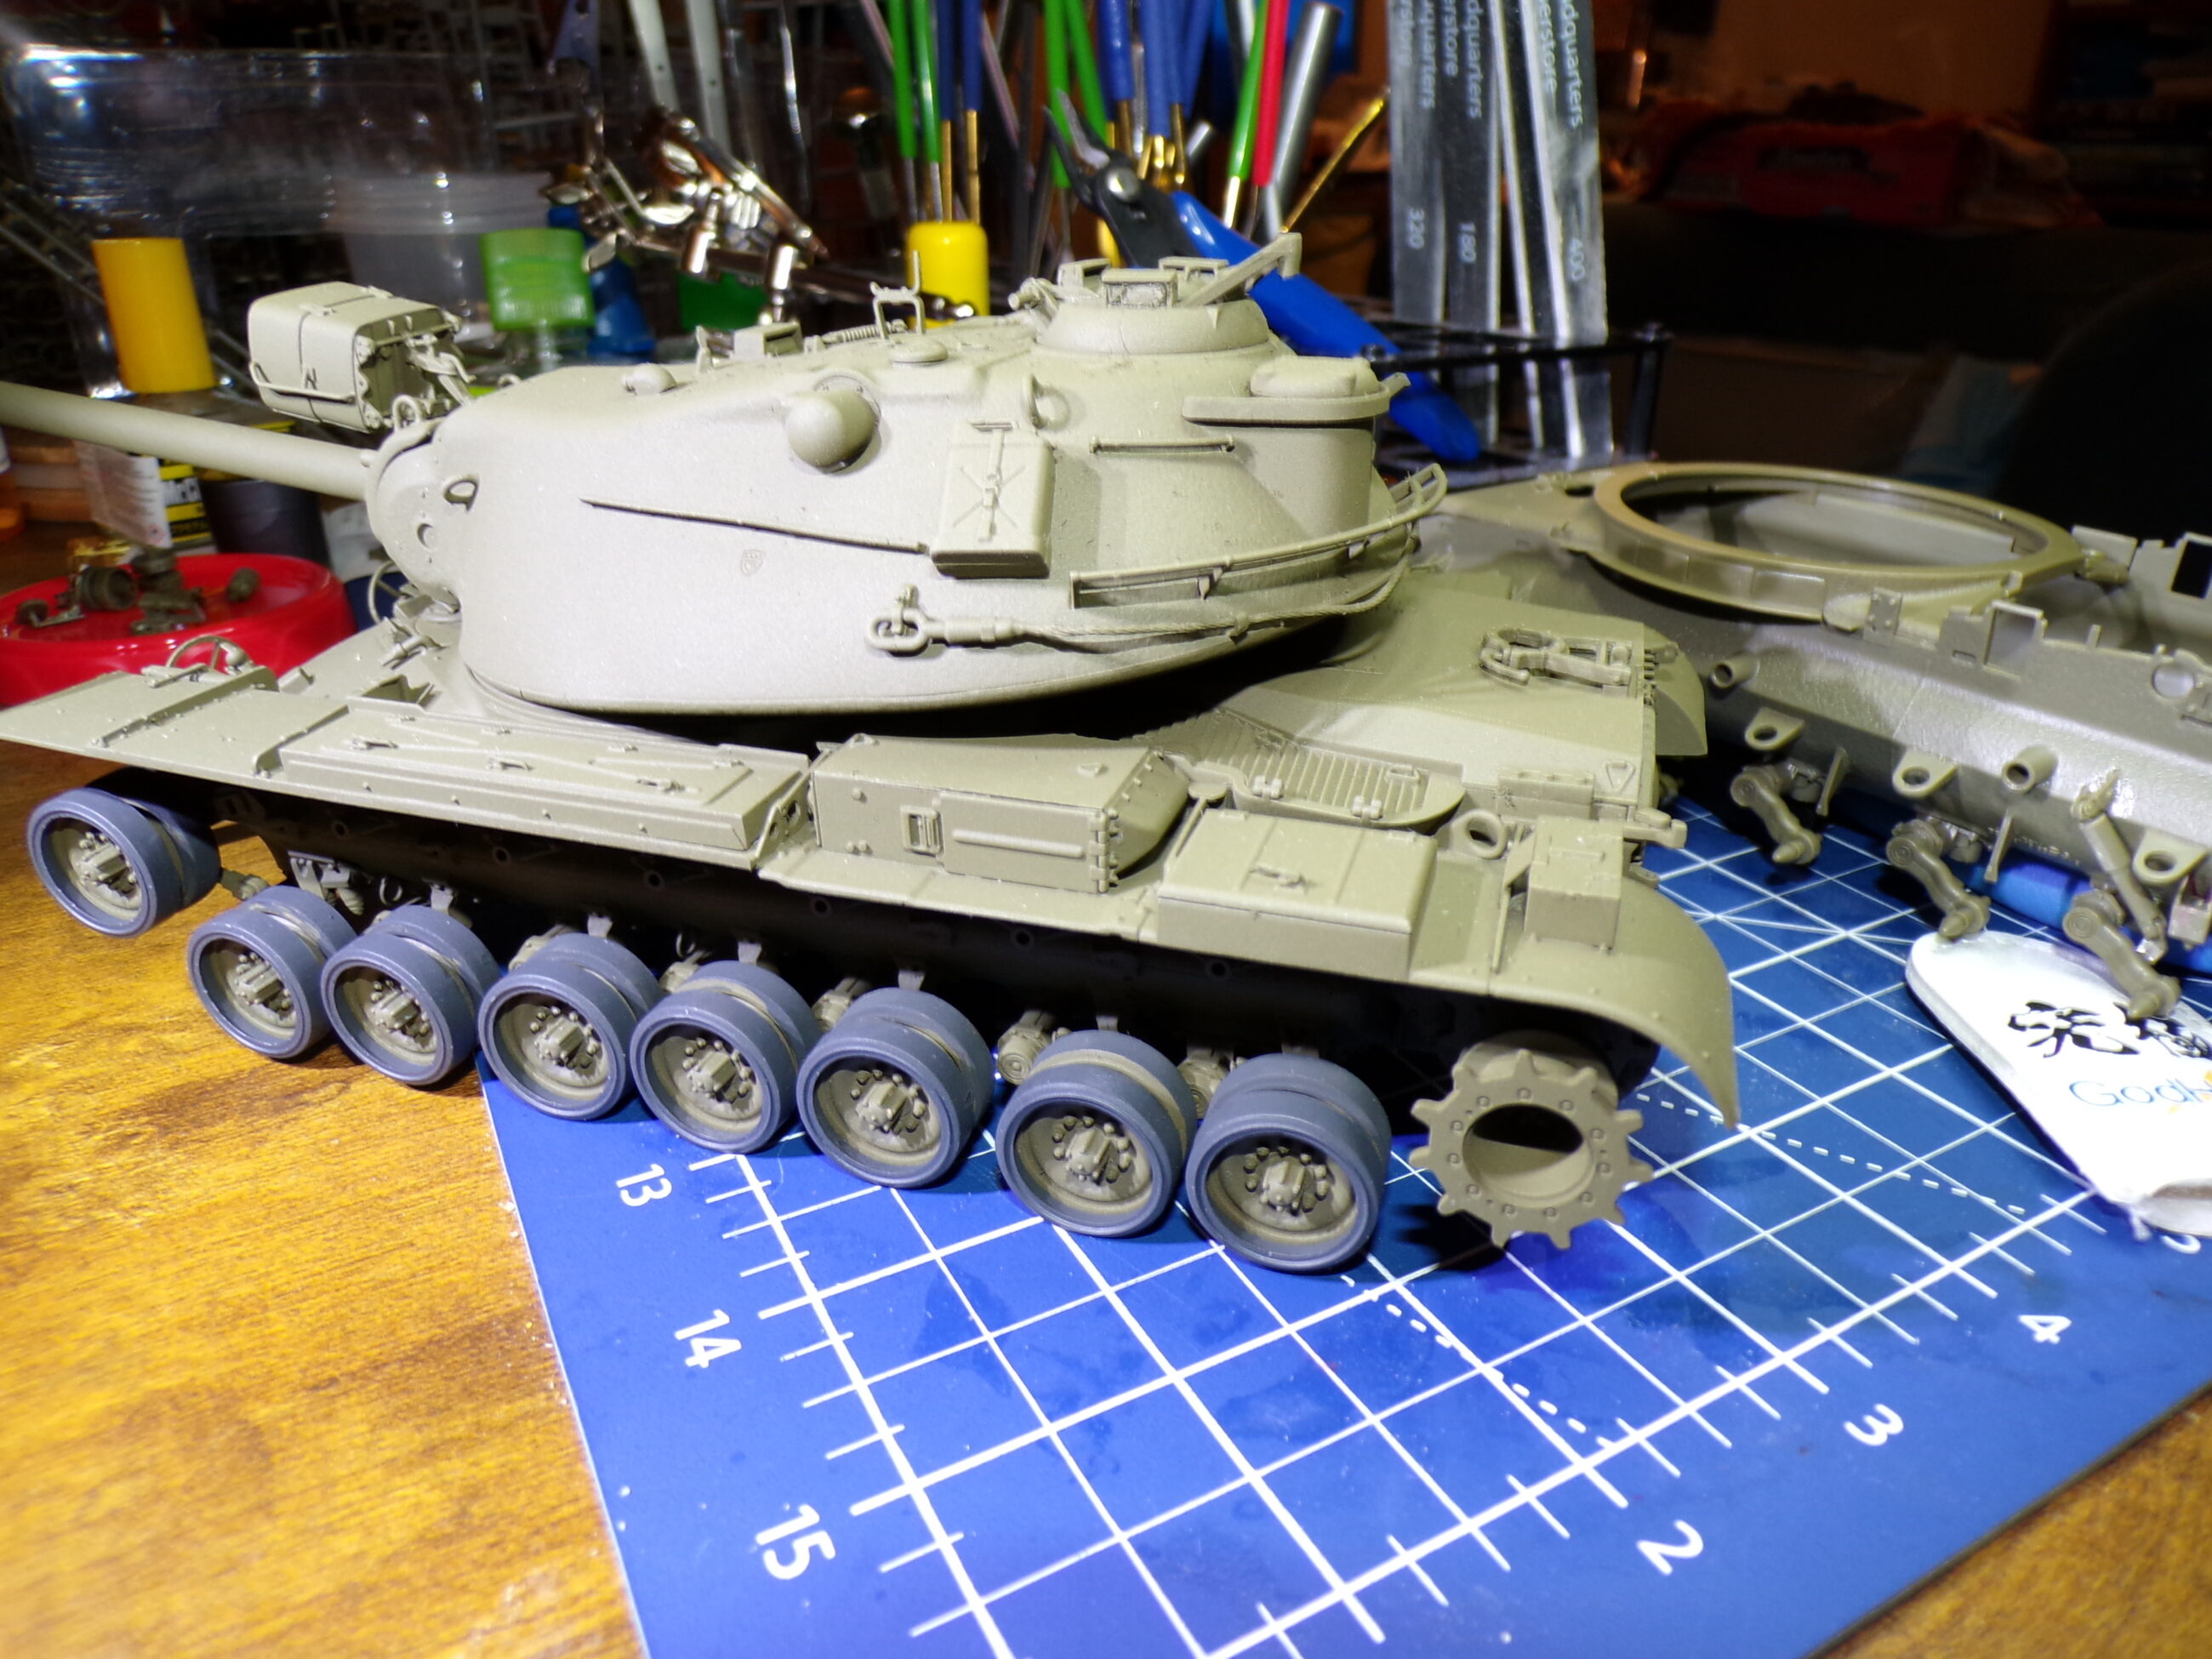
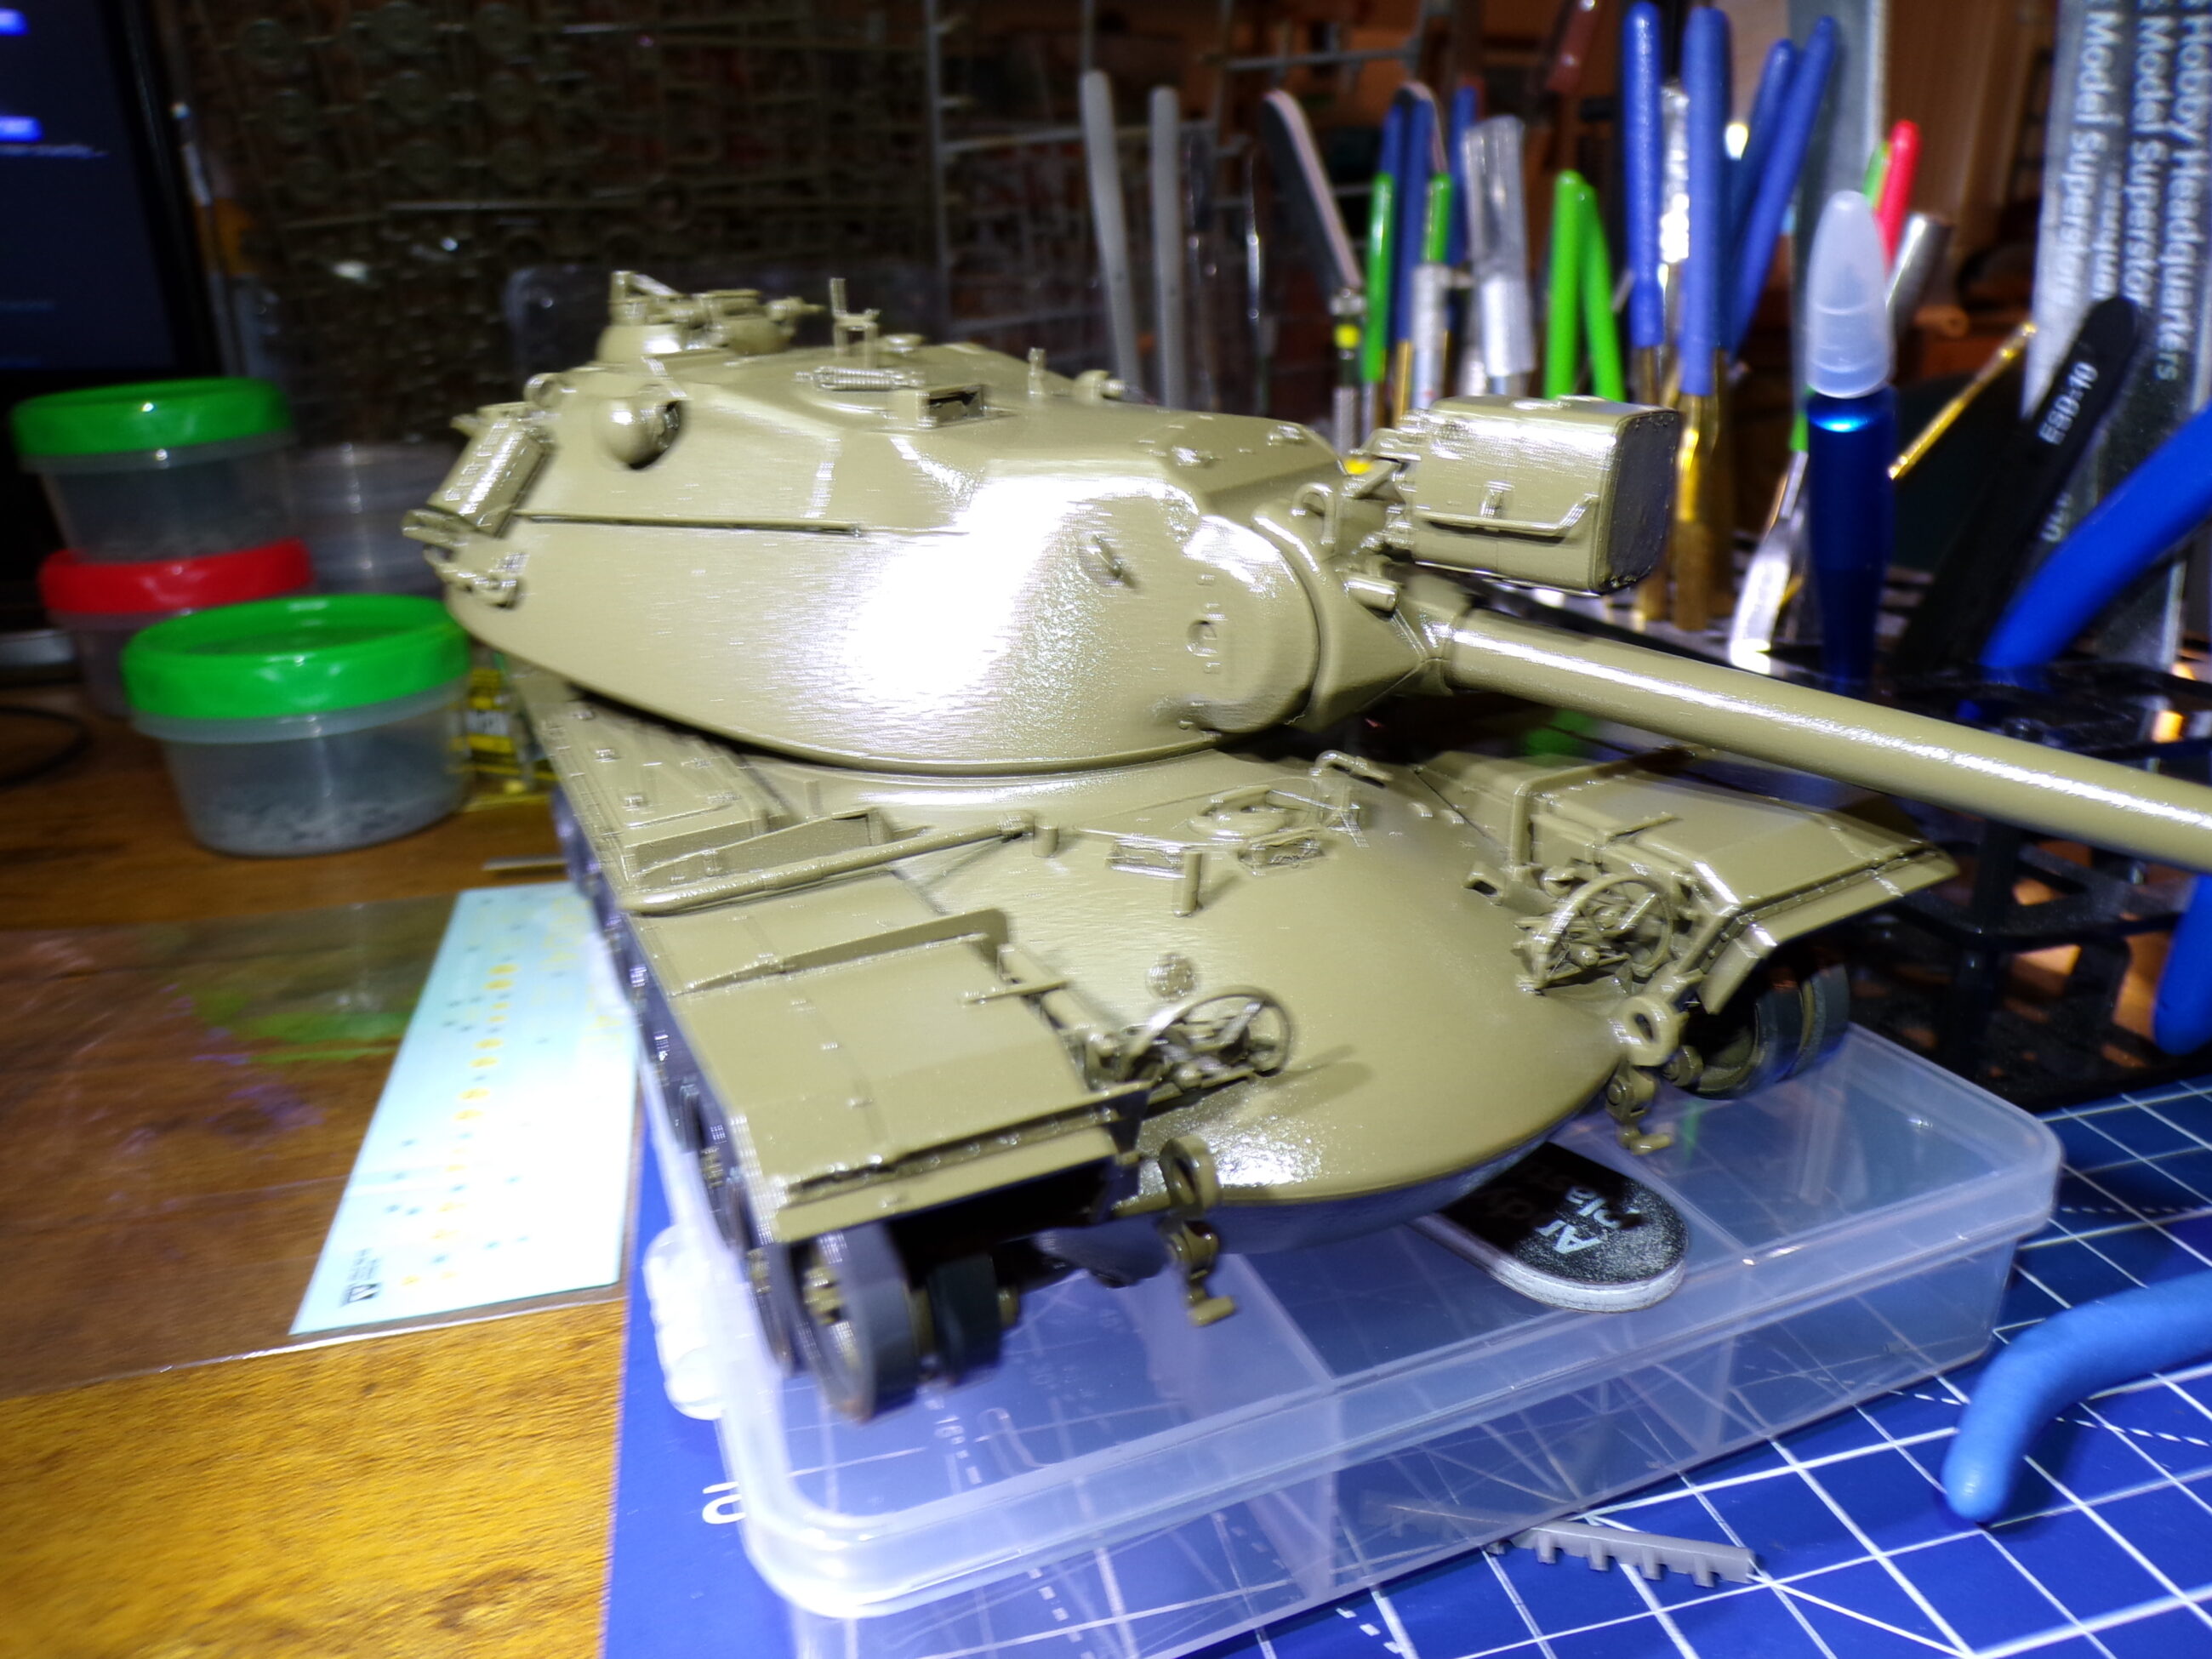
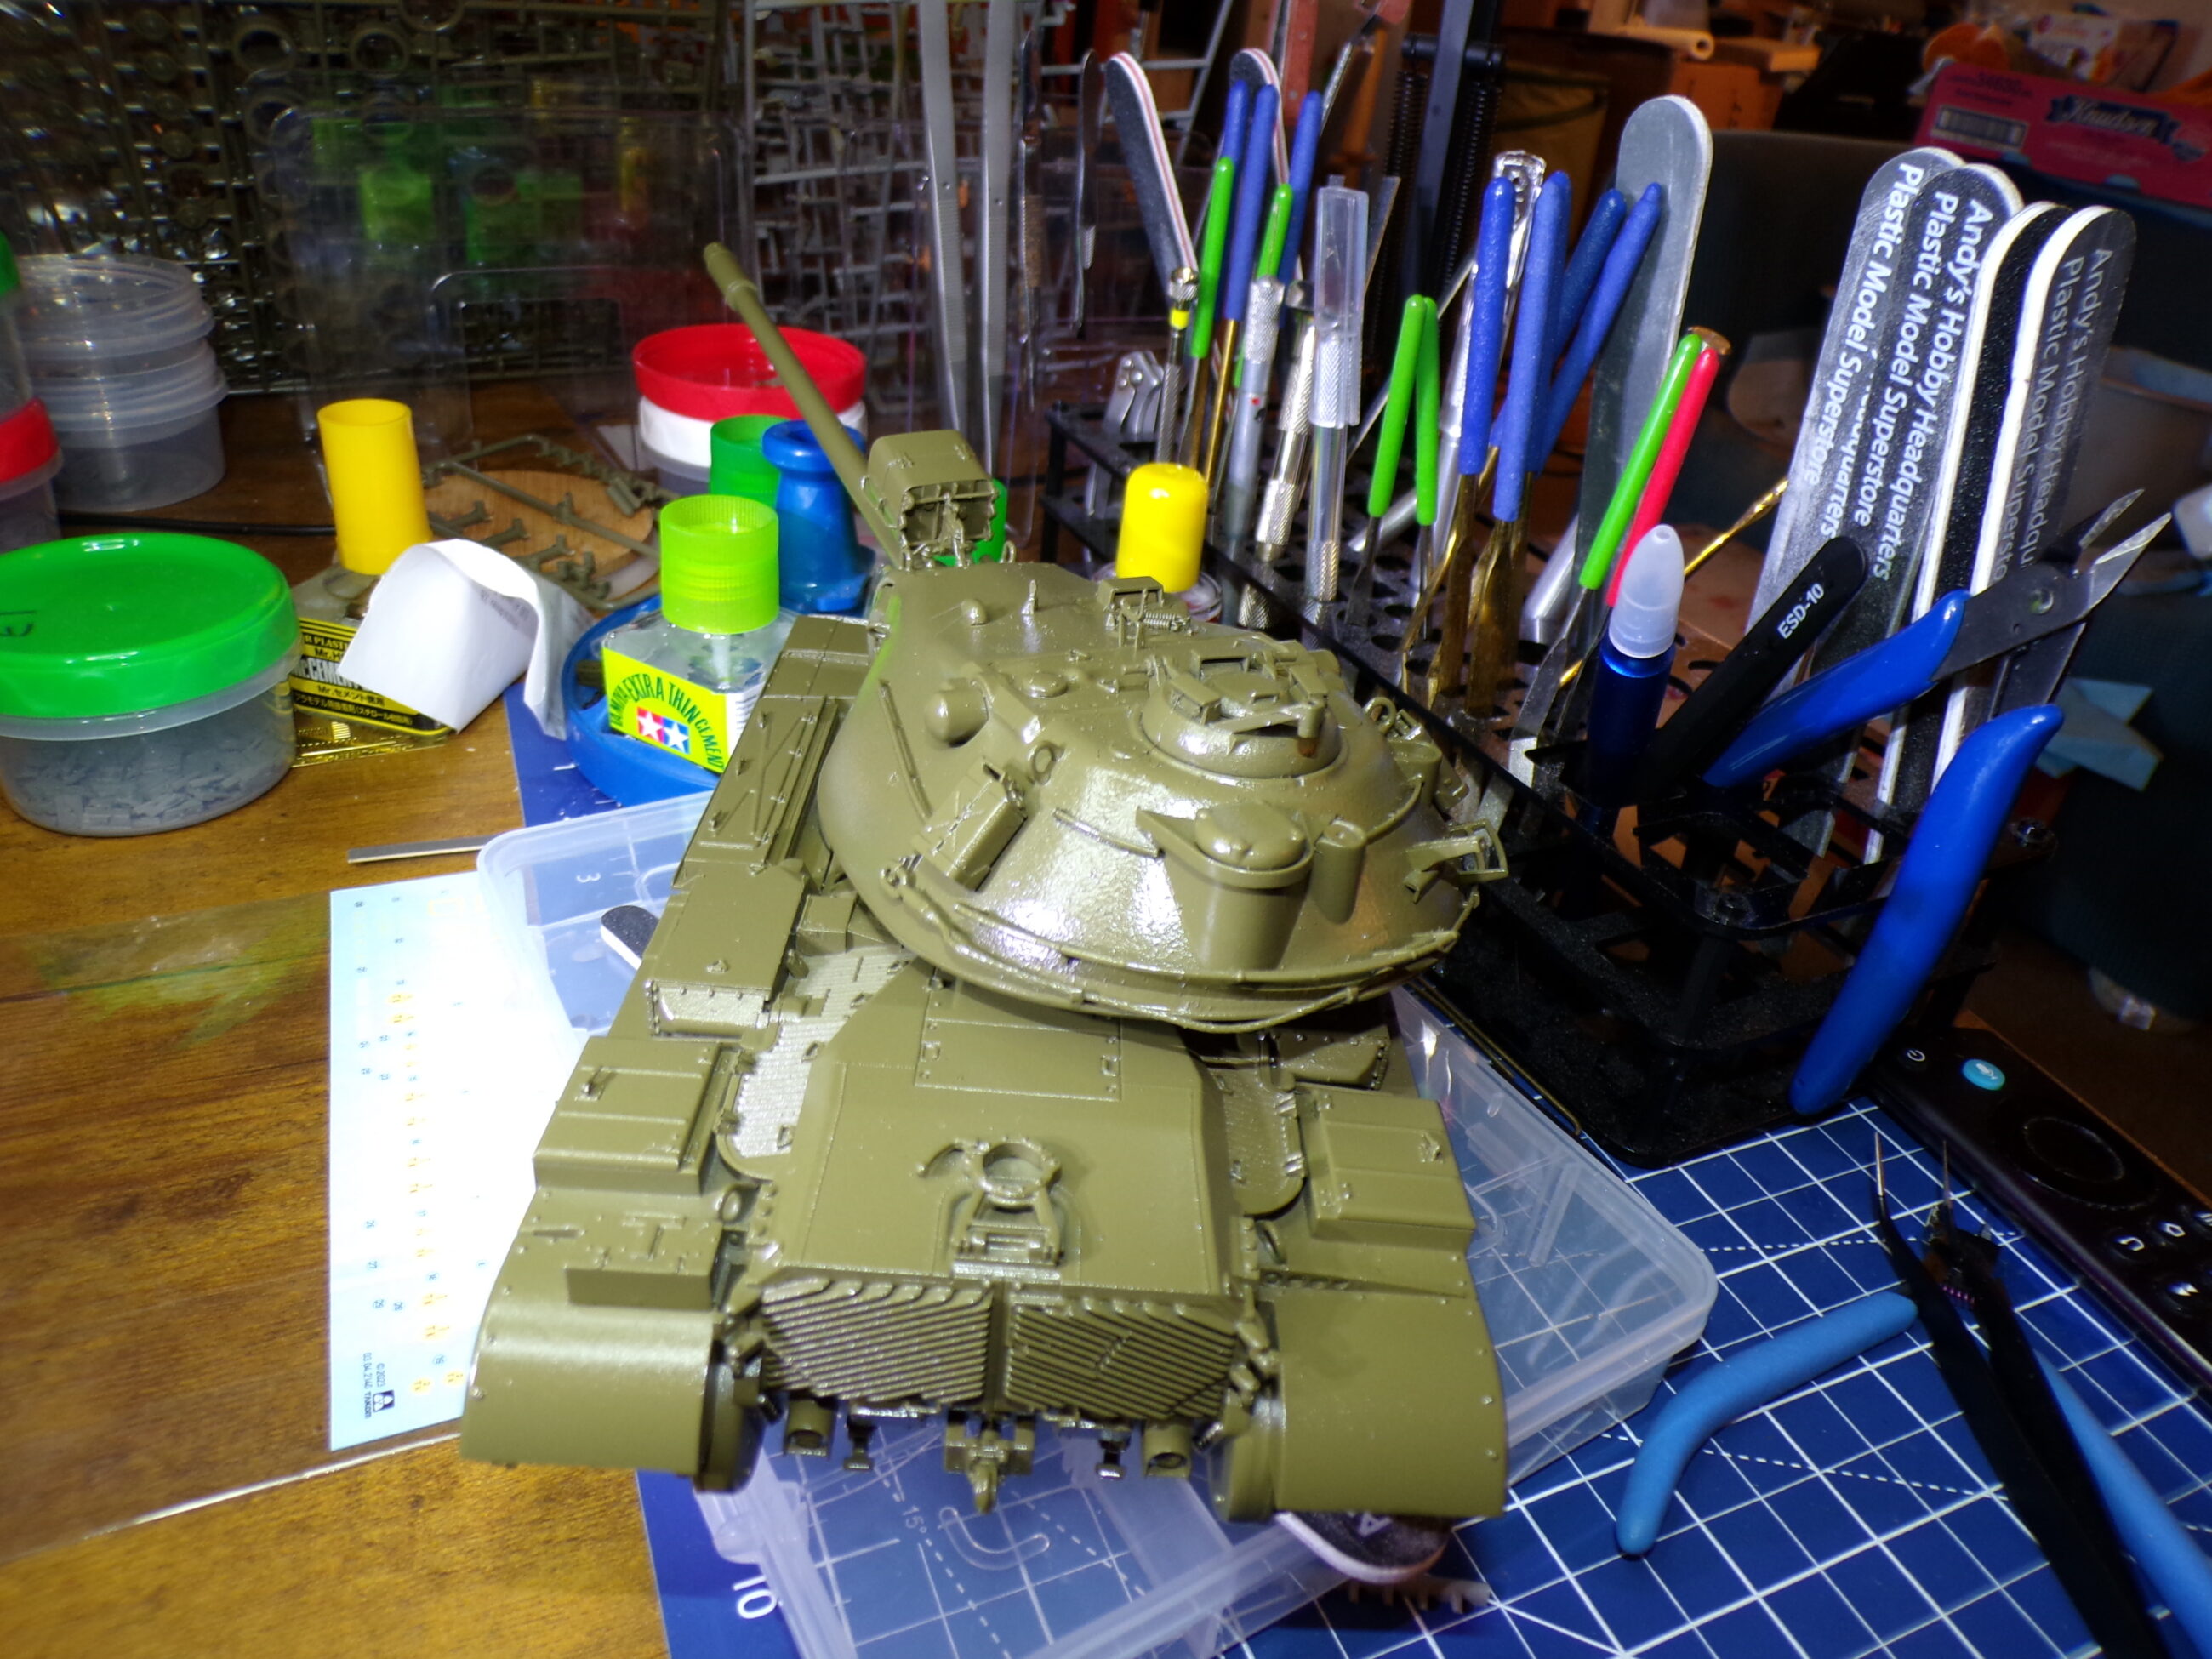
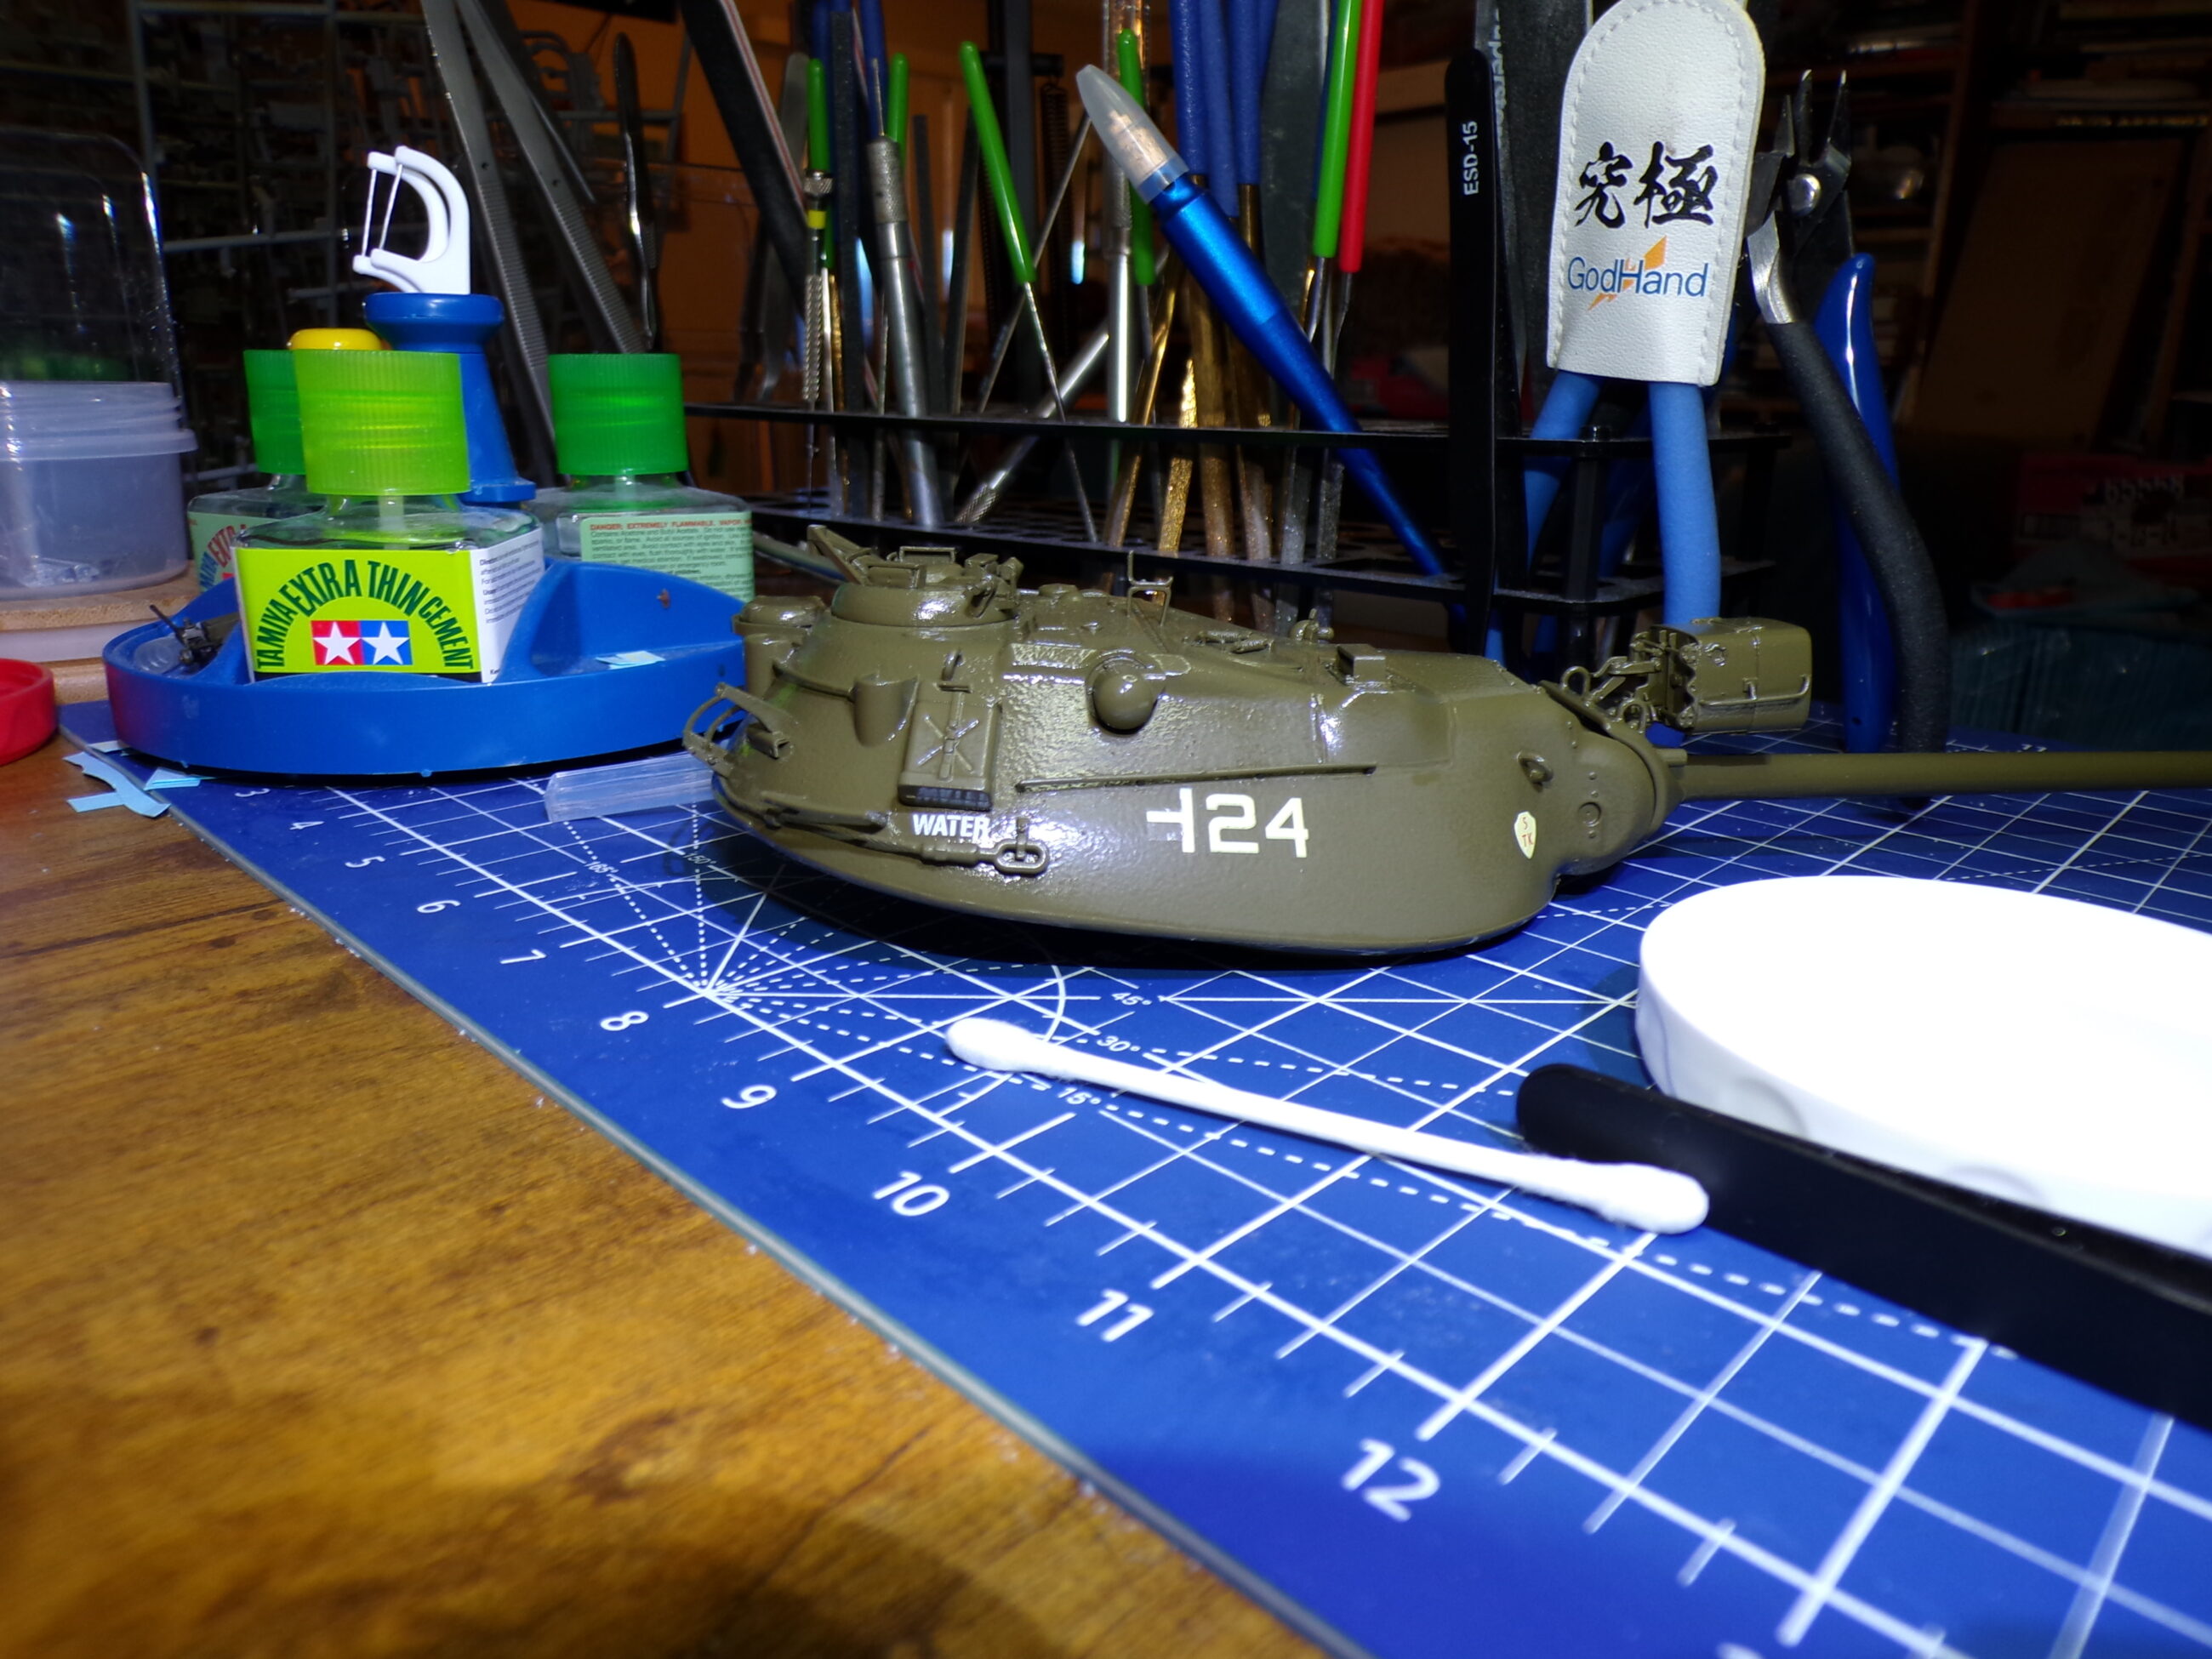
Turret is coming together. Everything fit well. Sometimes the instructions could be a little more clear. I had to compare reference photos a few times.
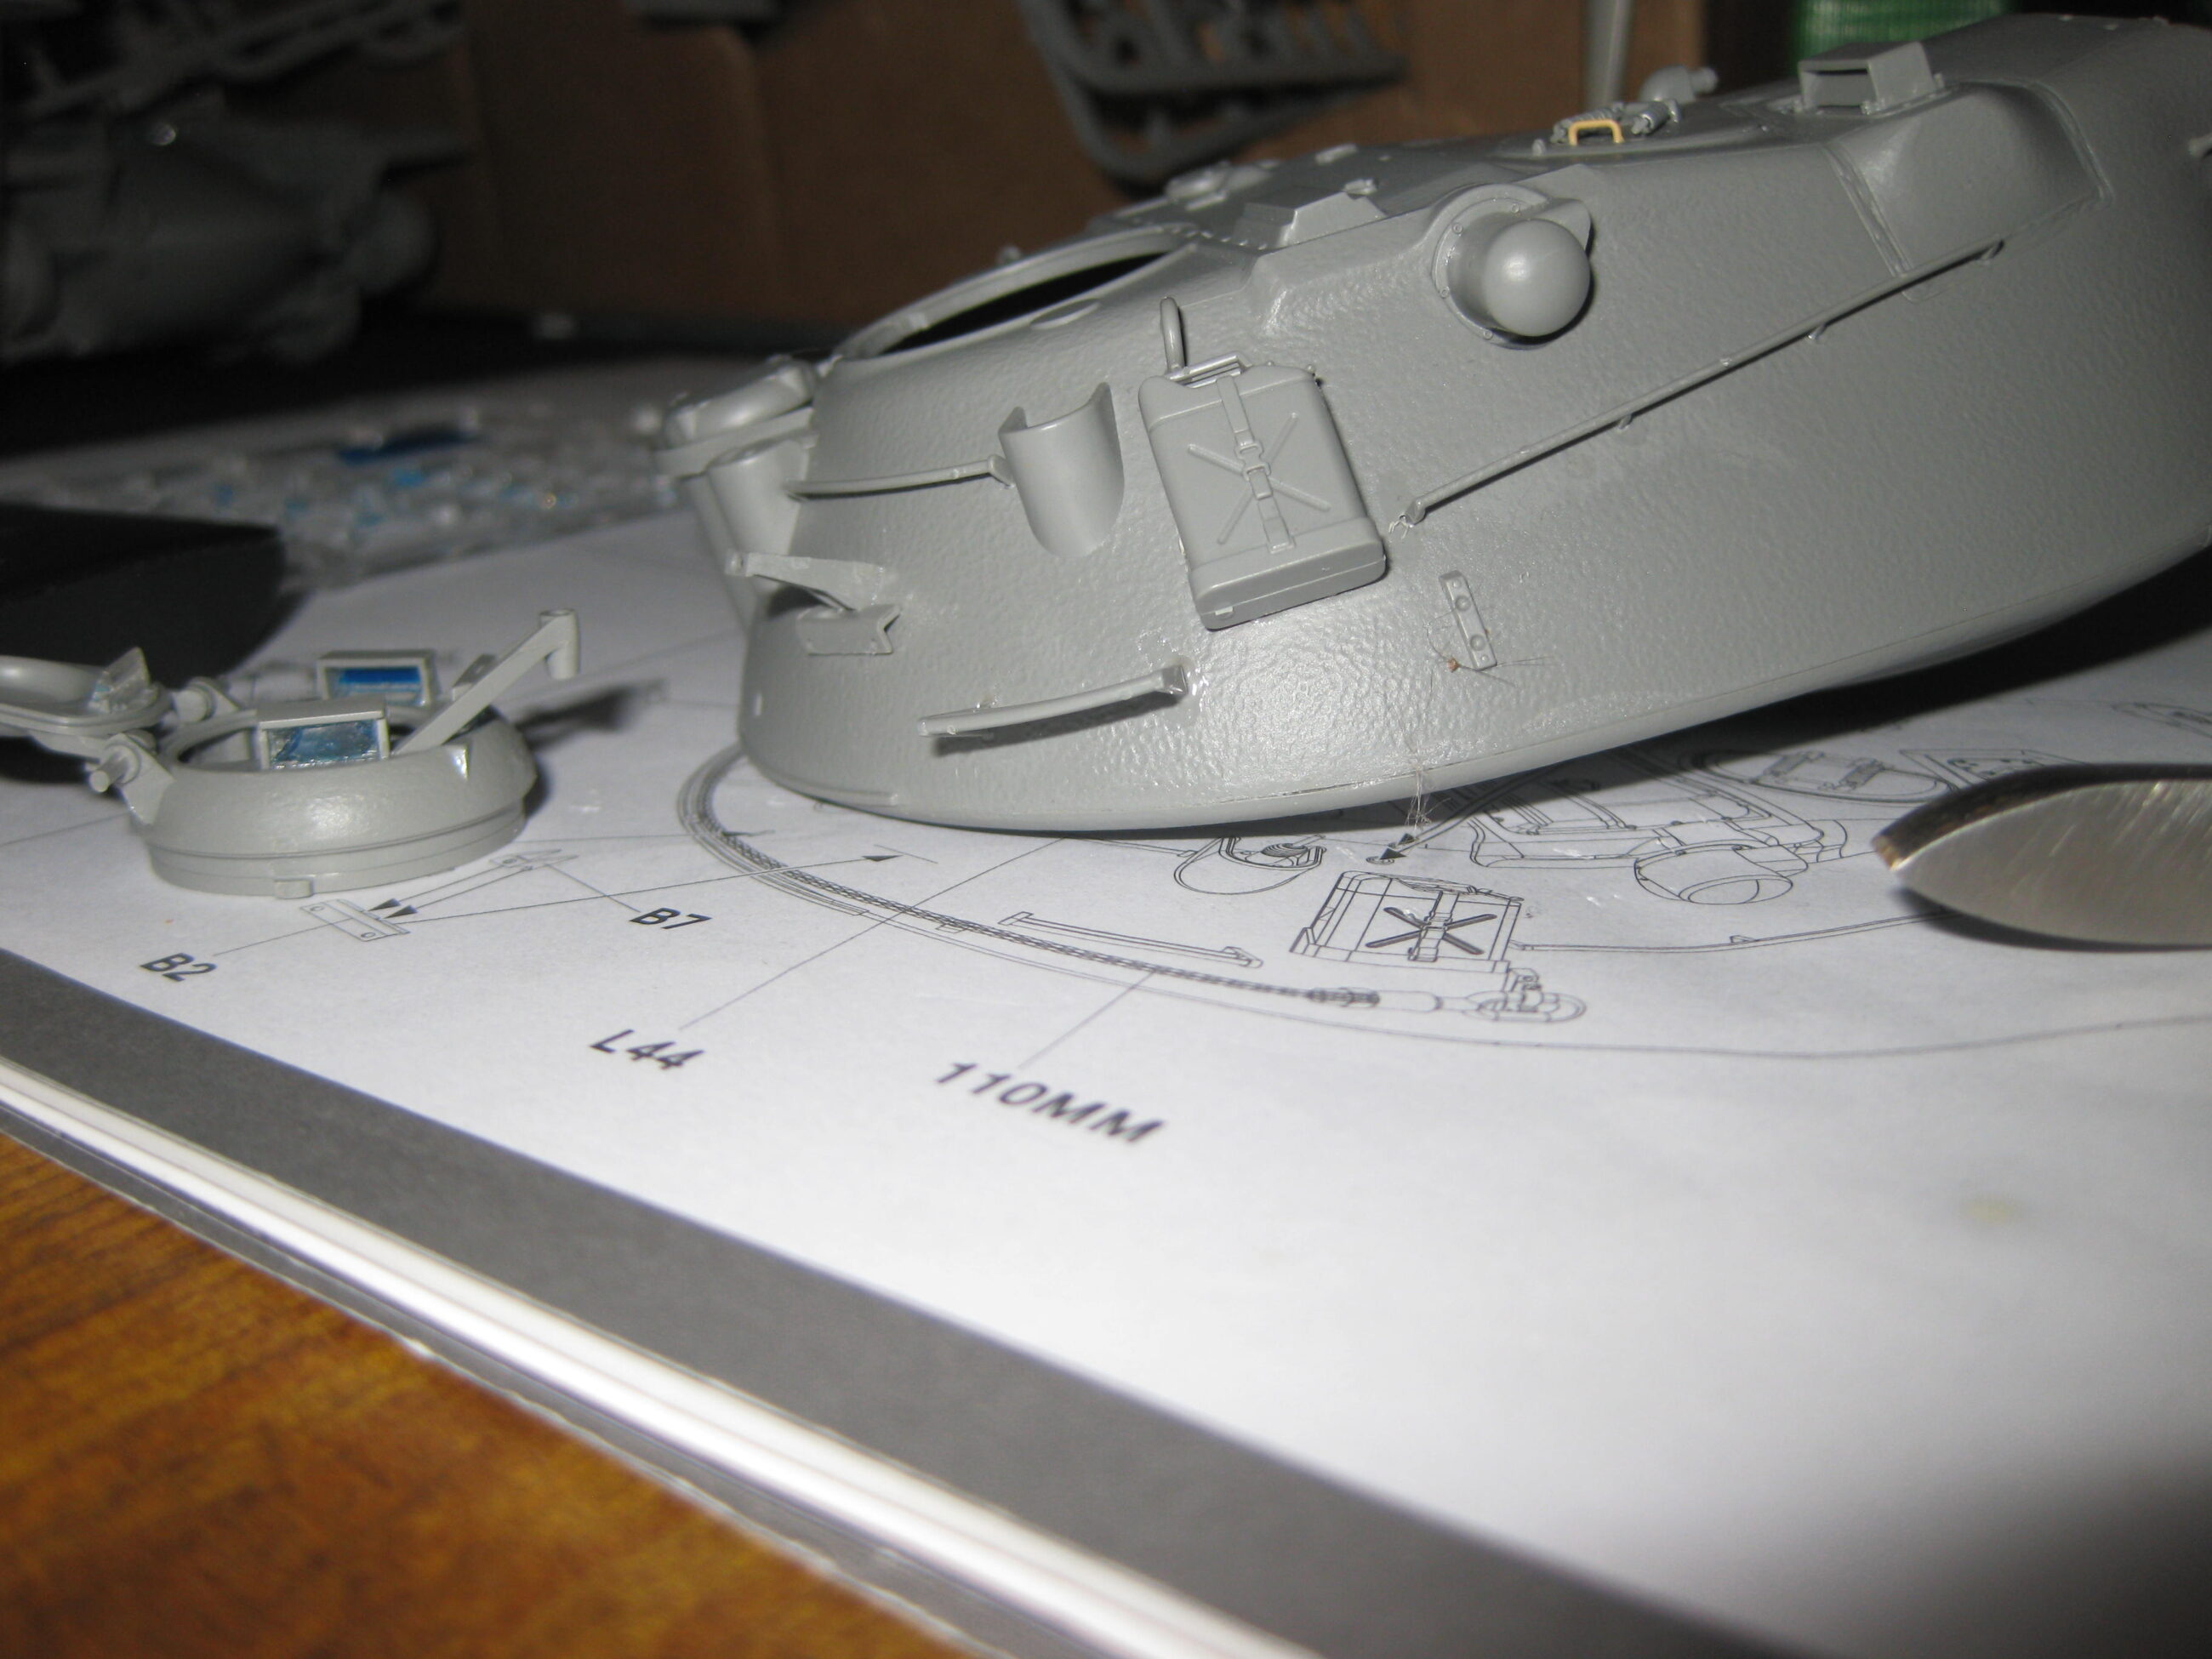
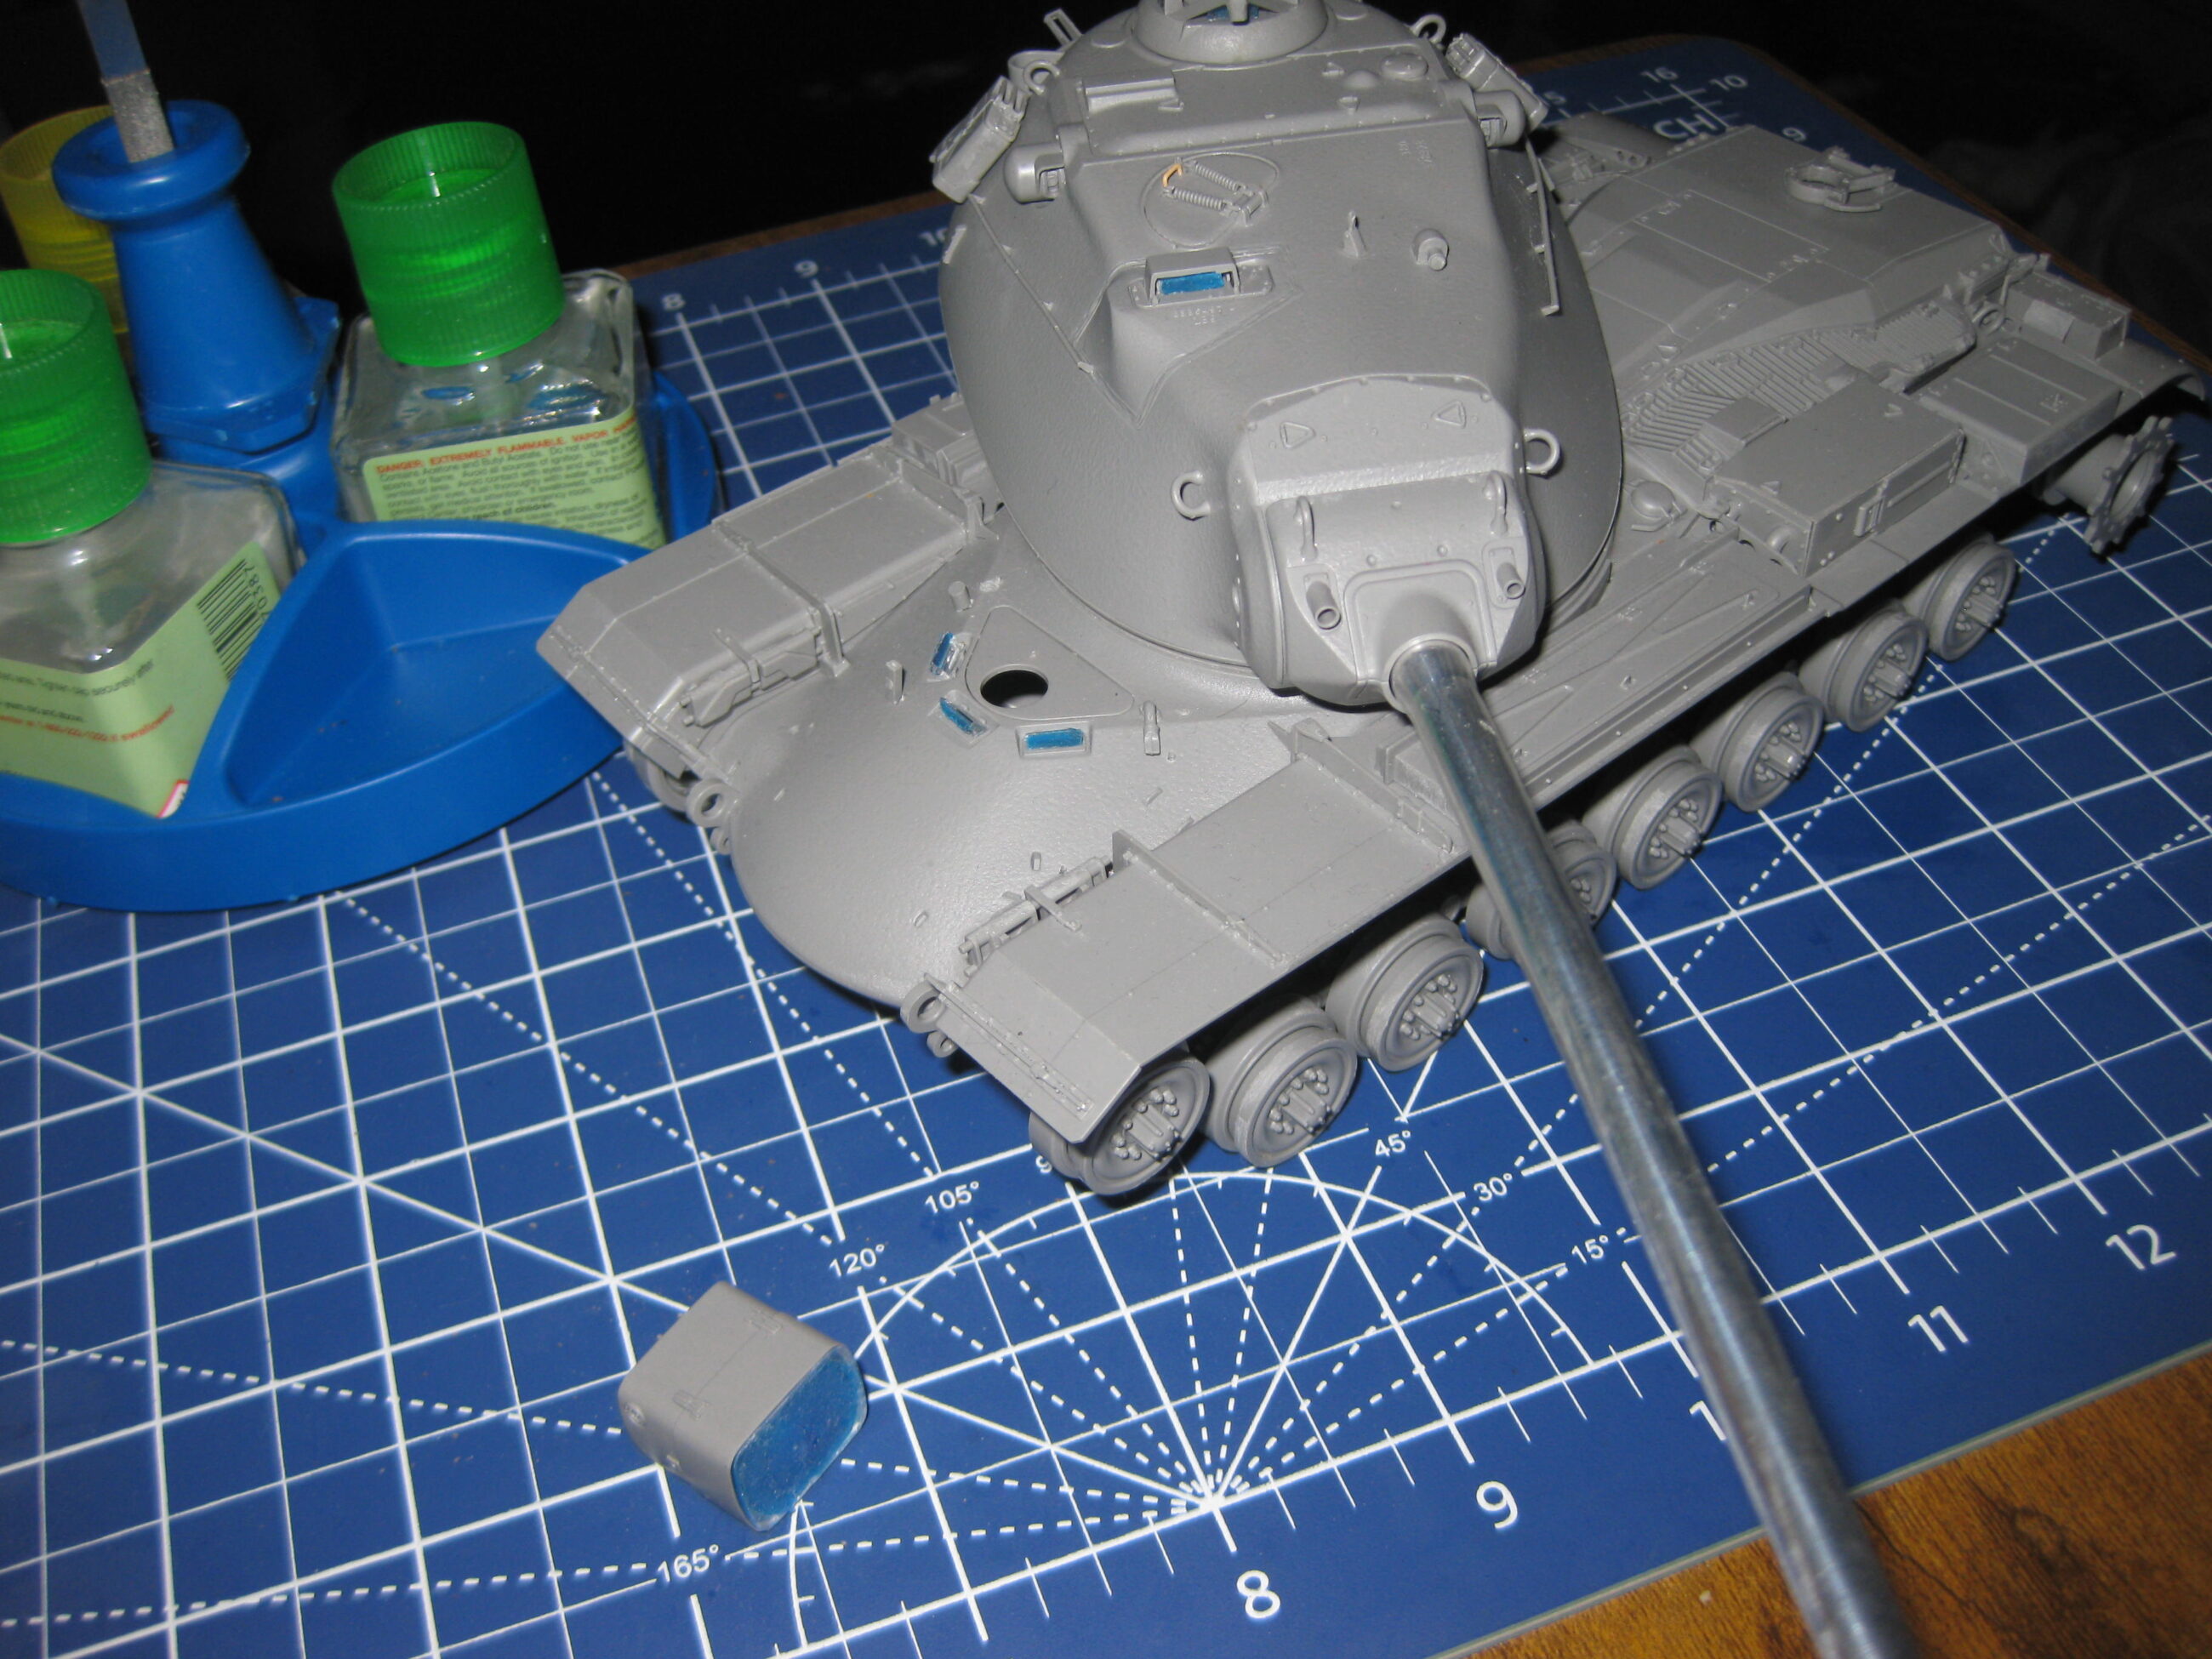

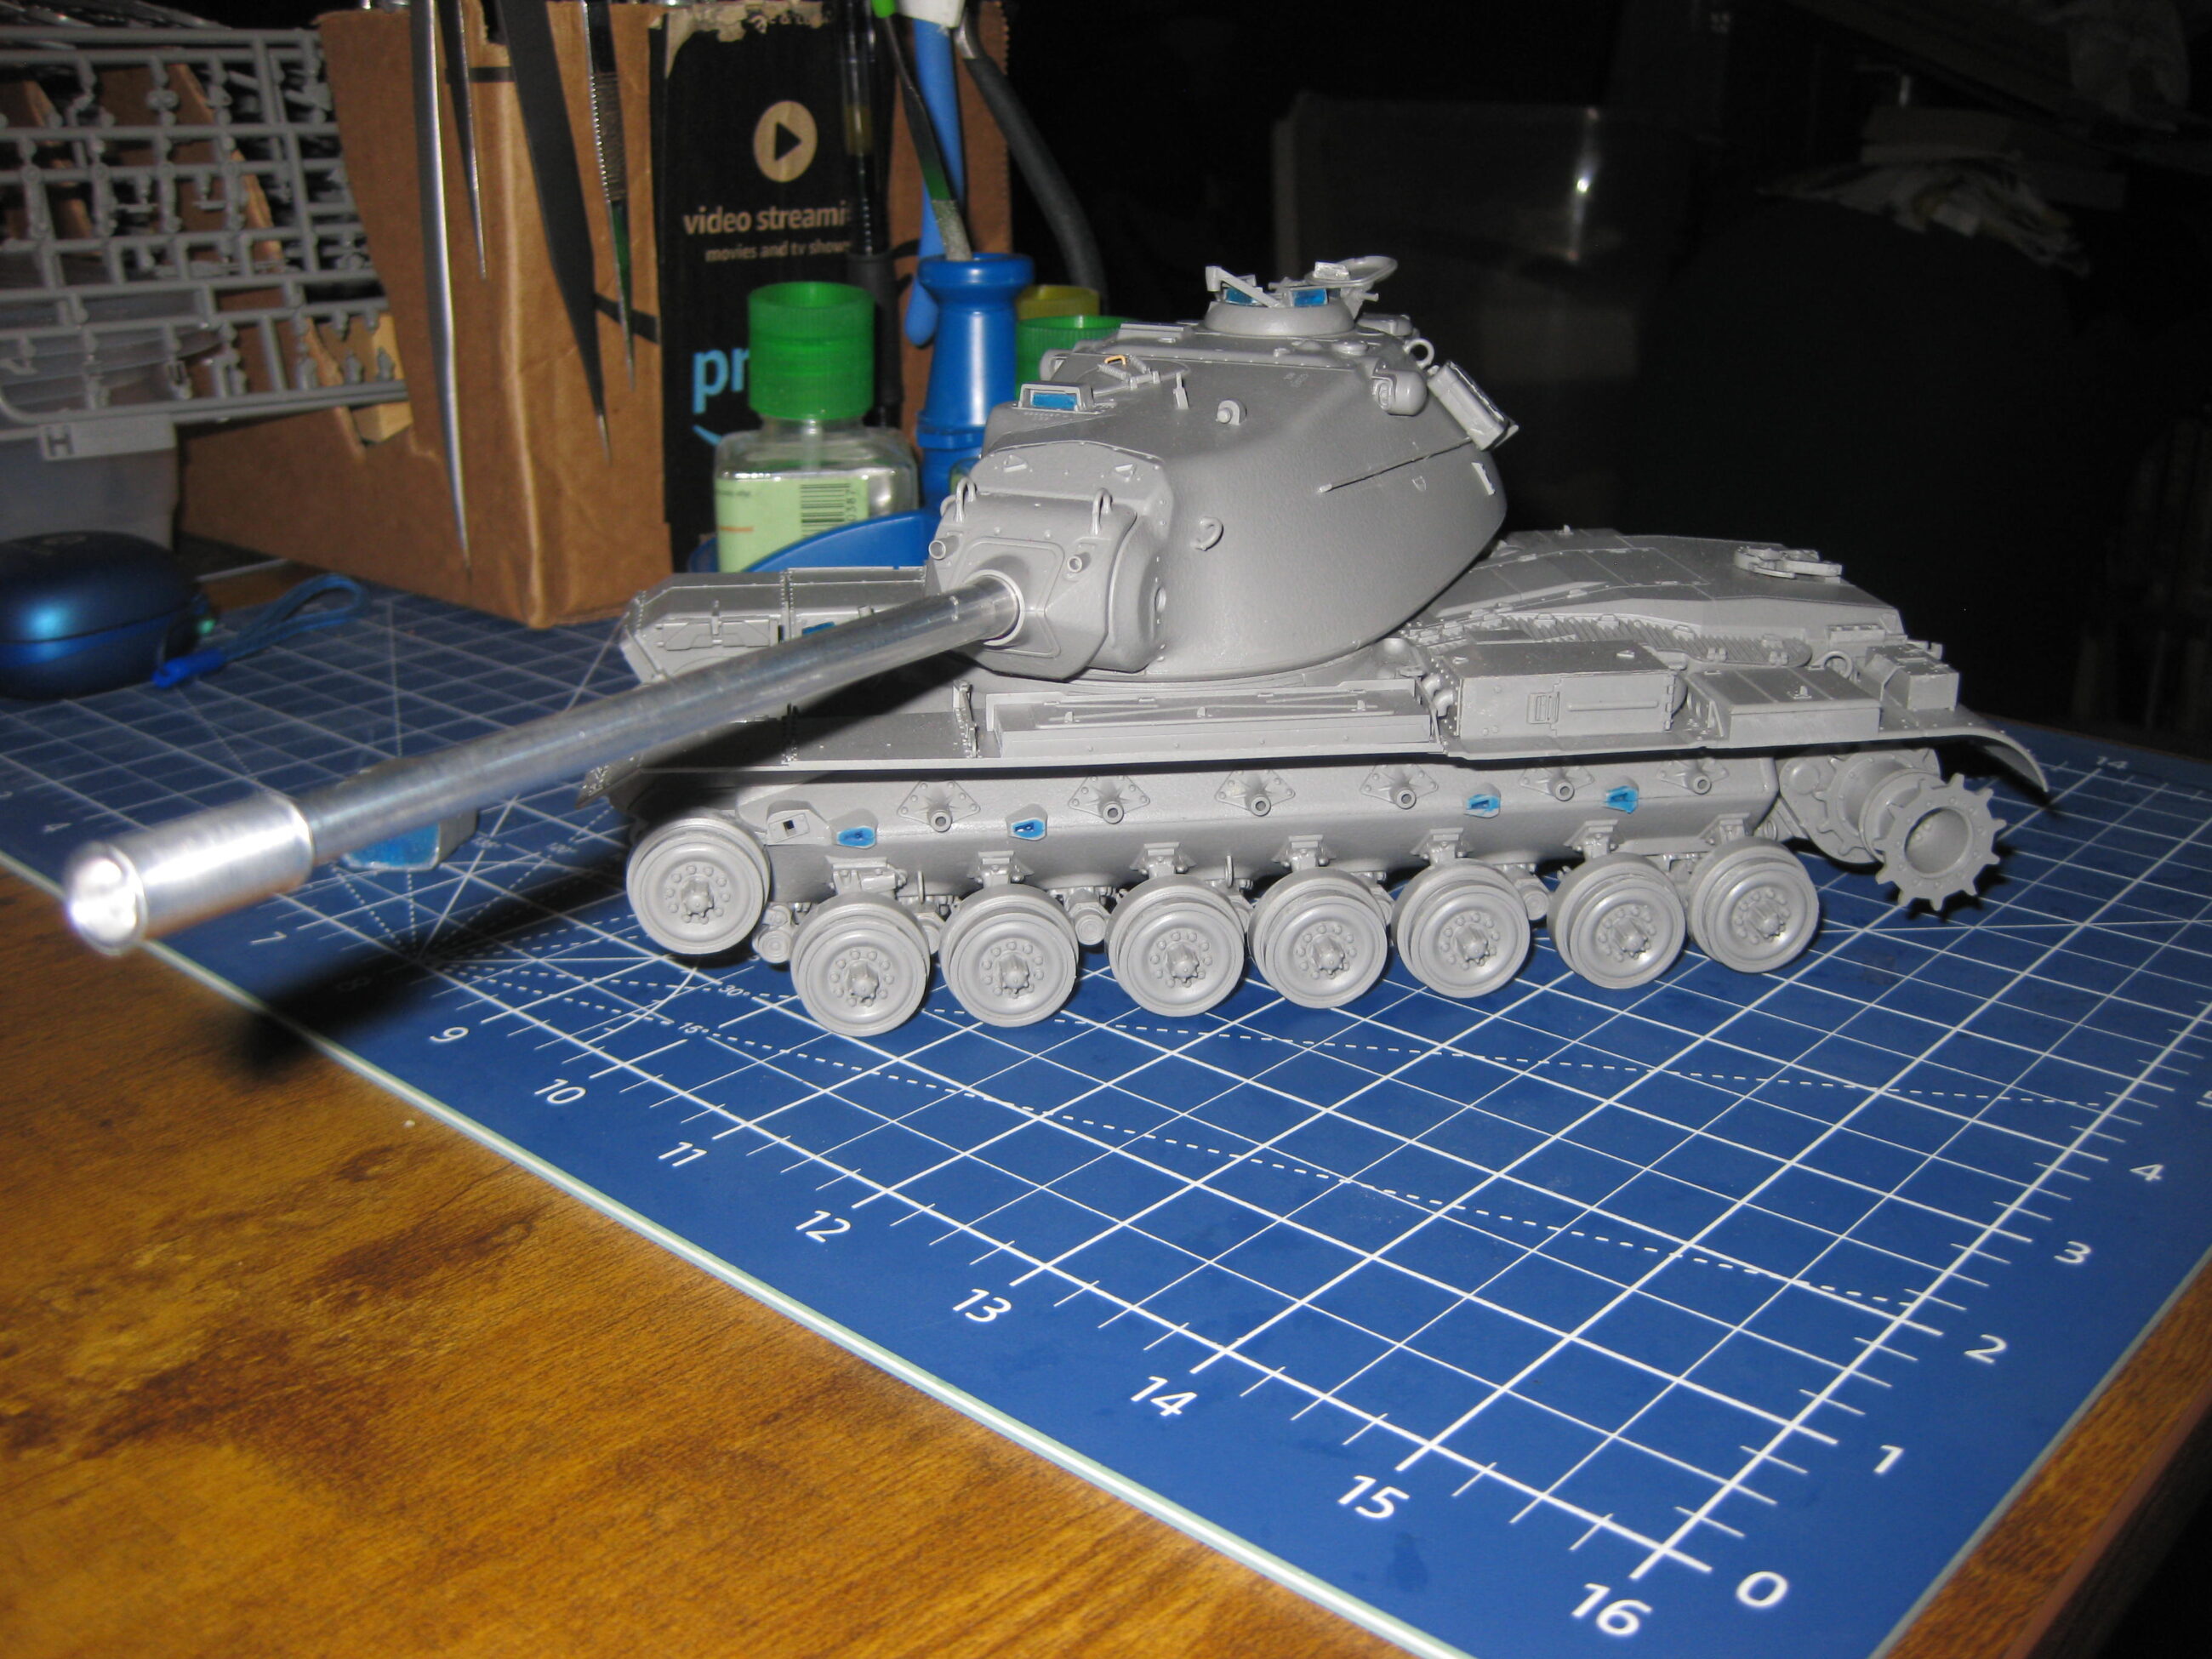
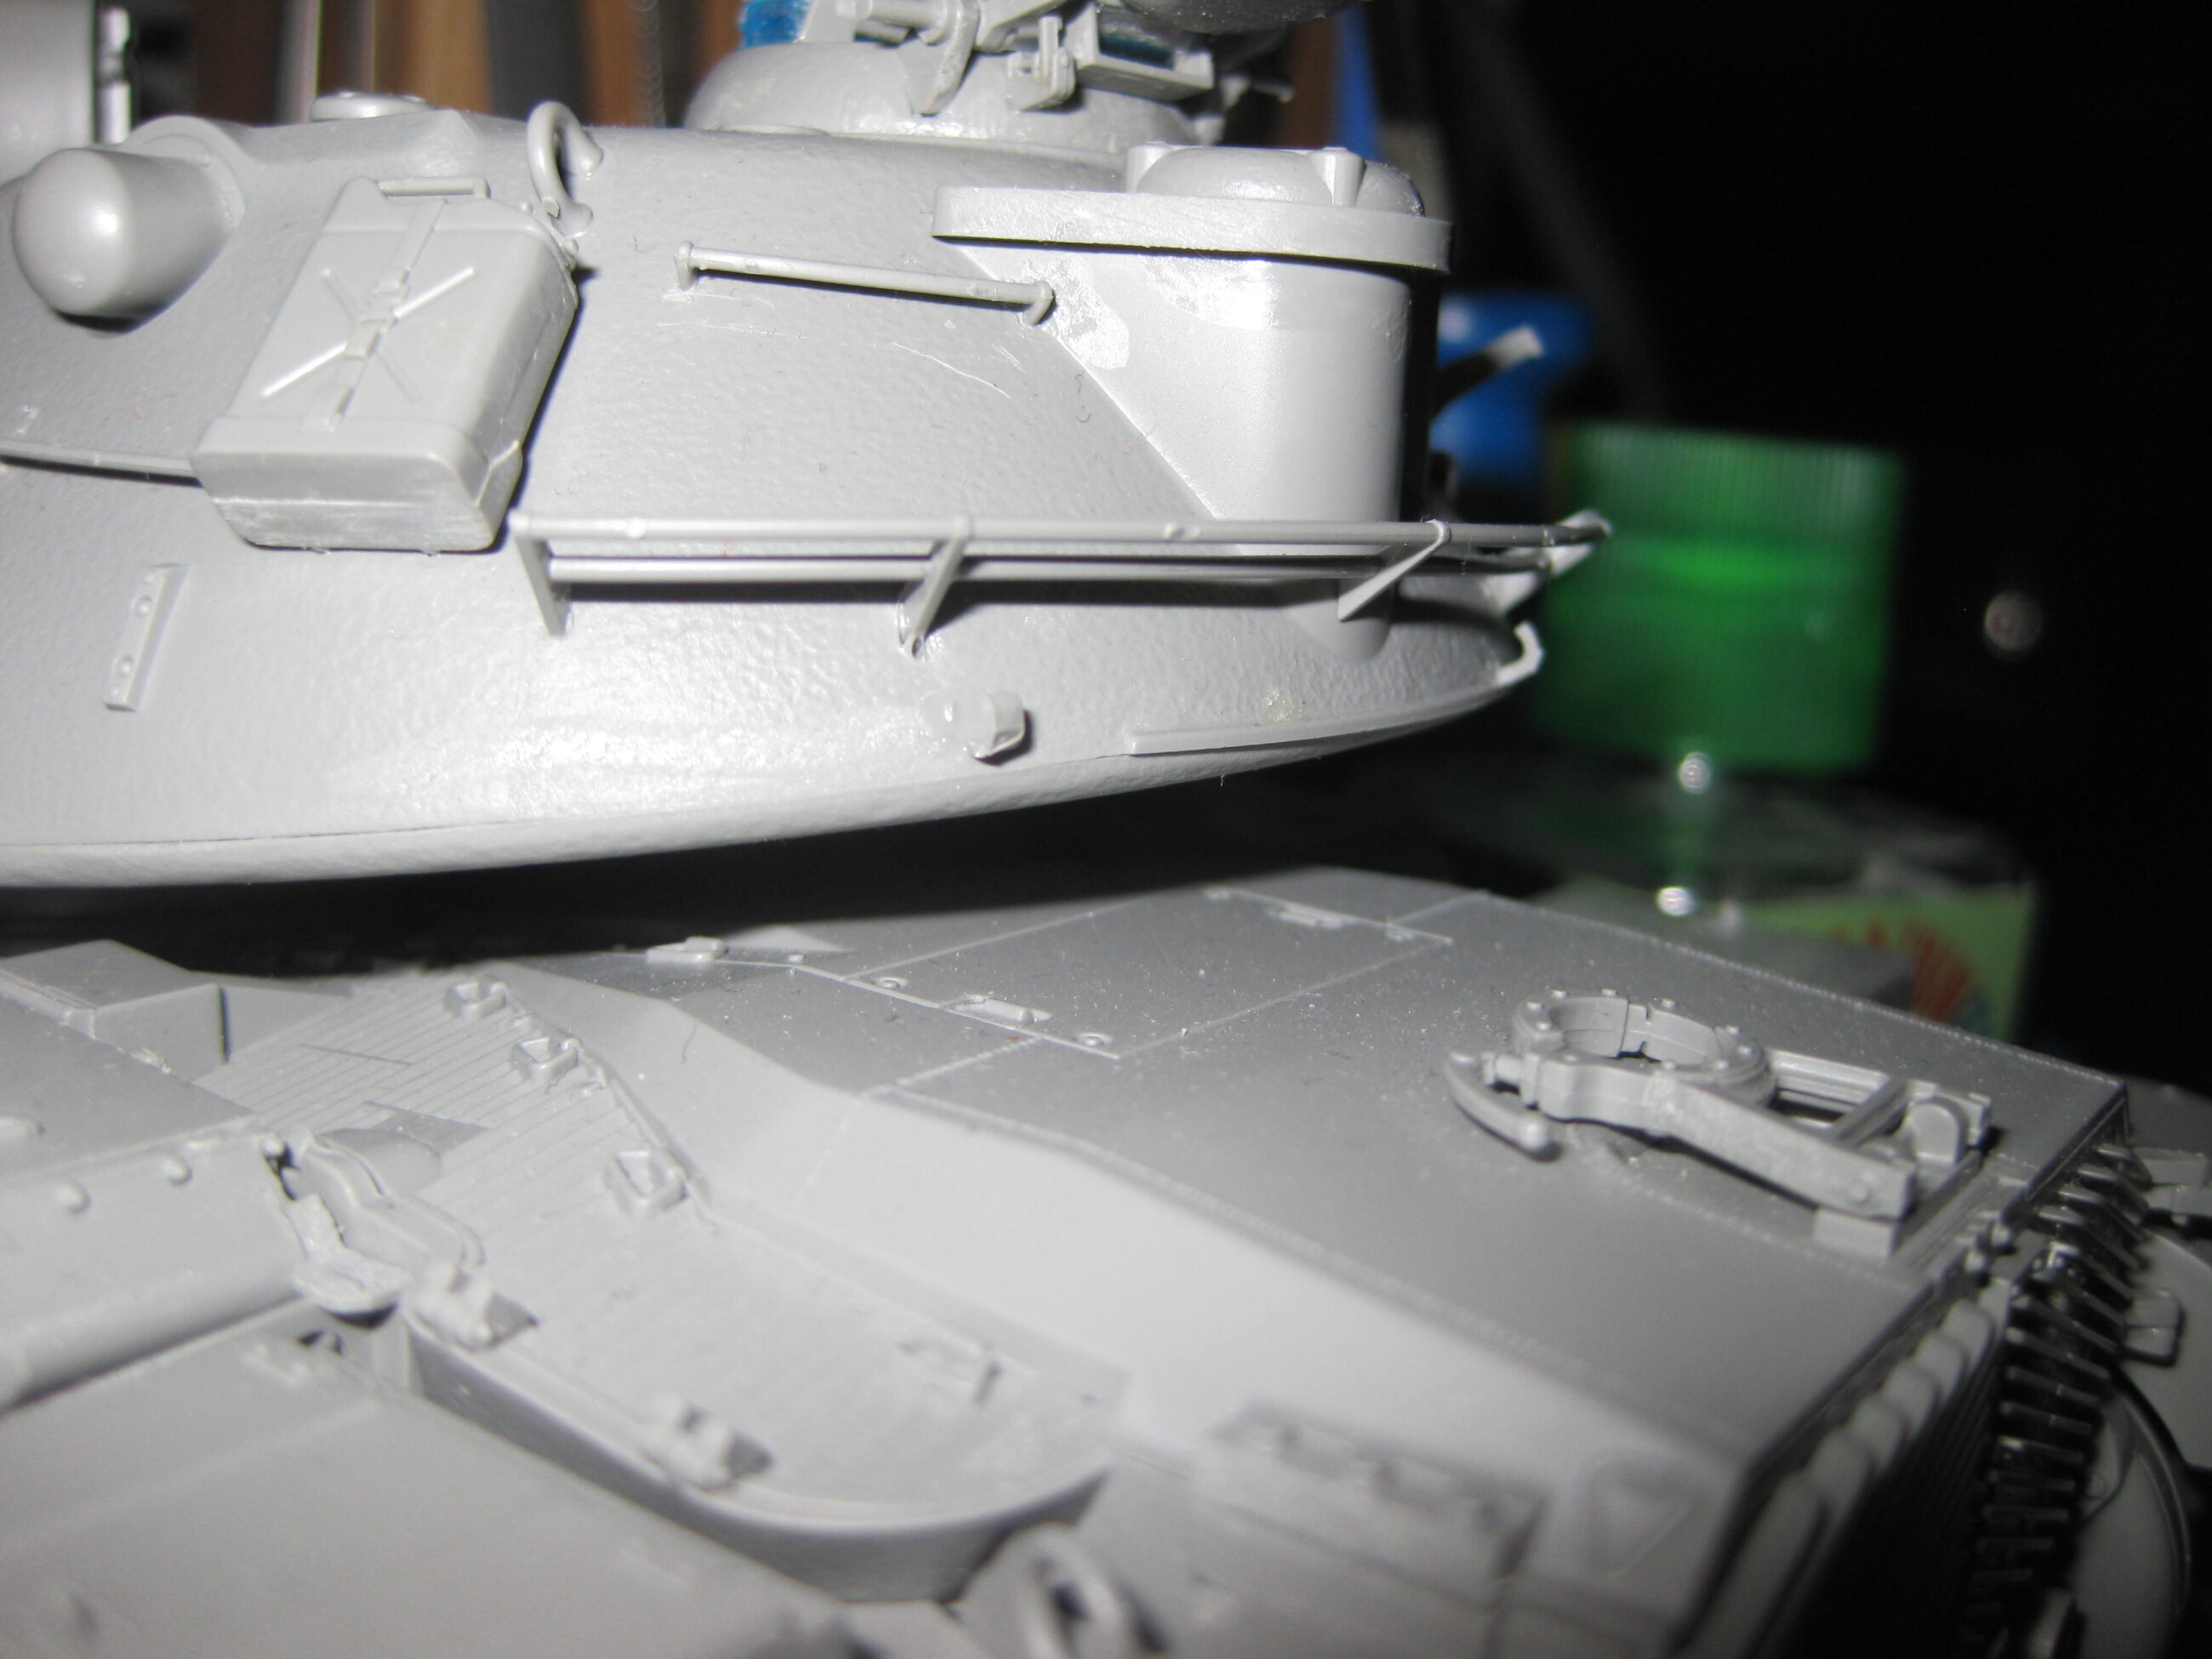
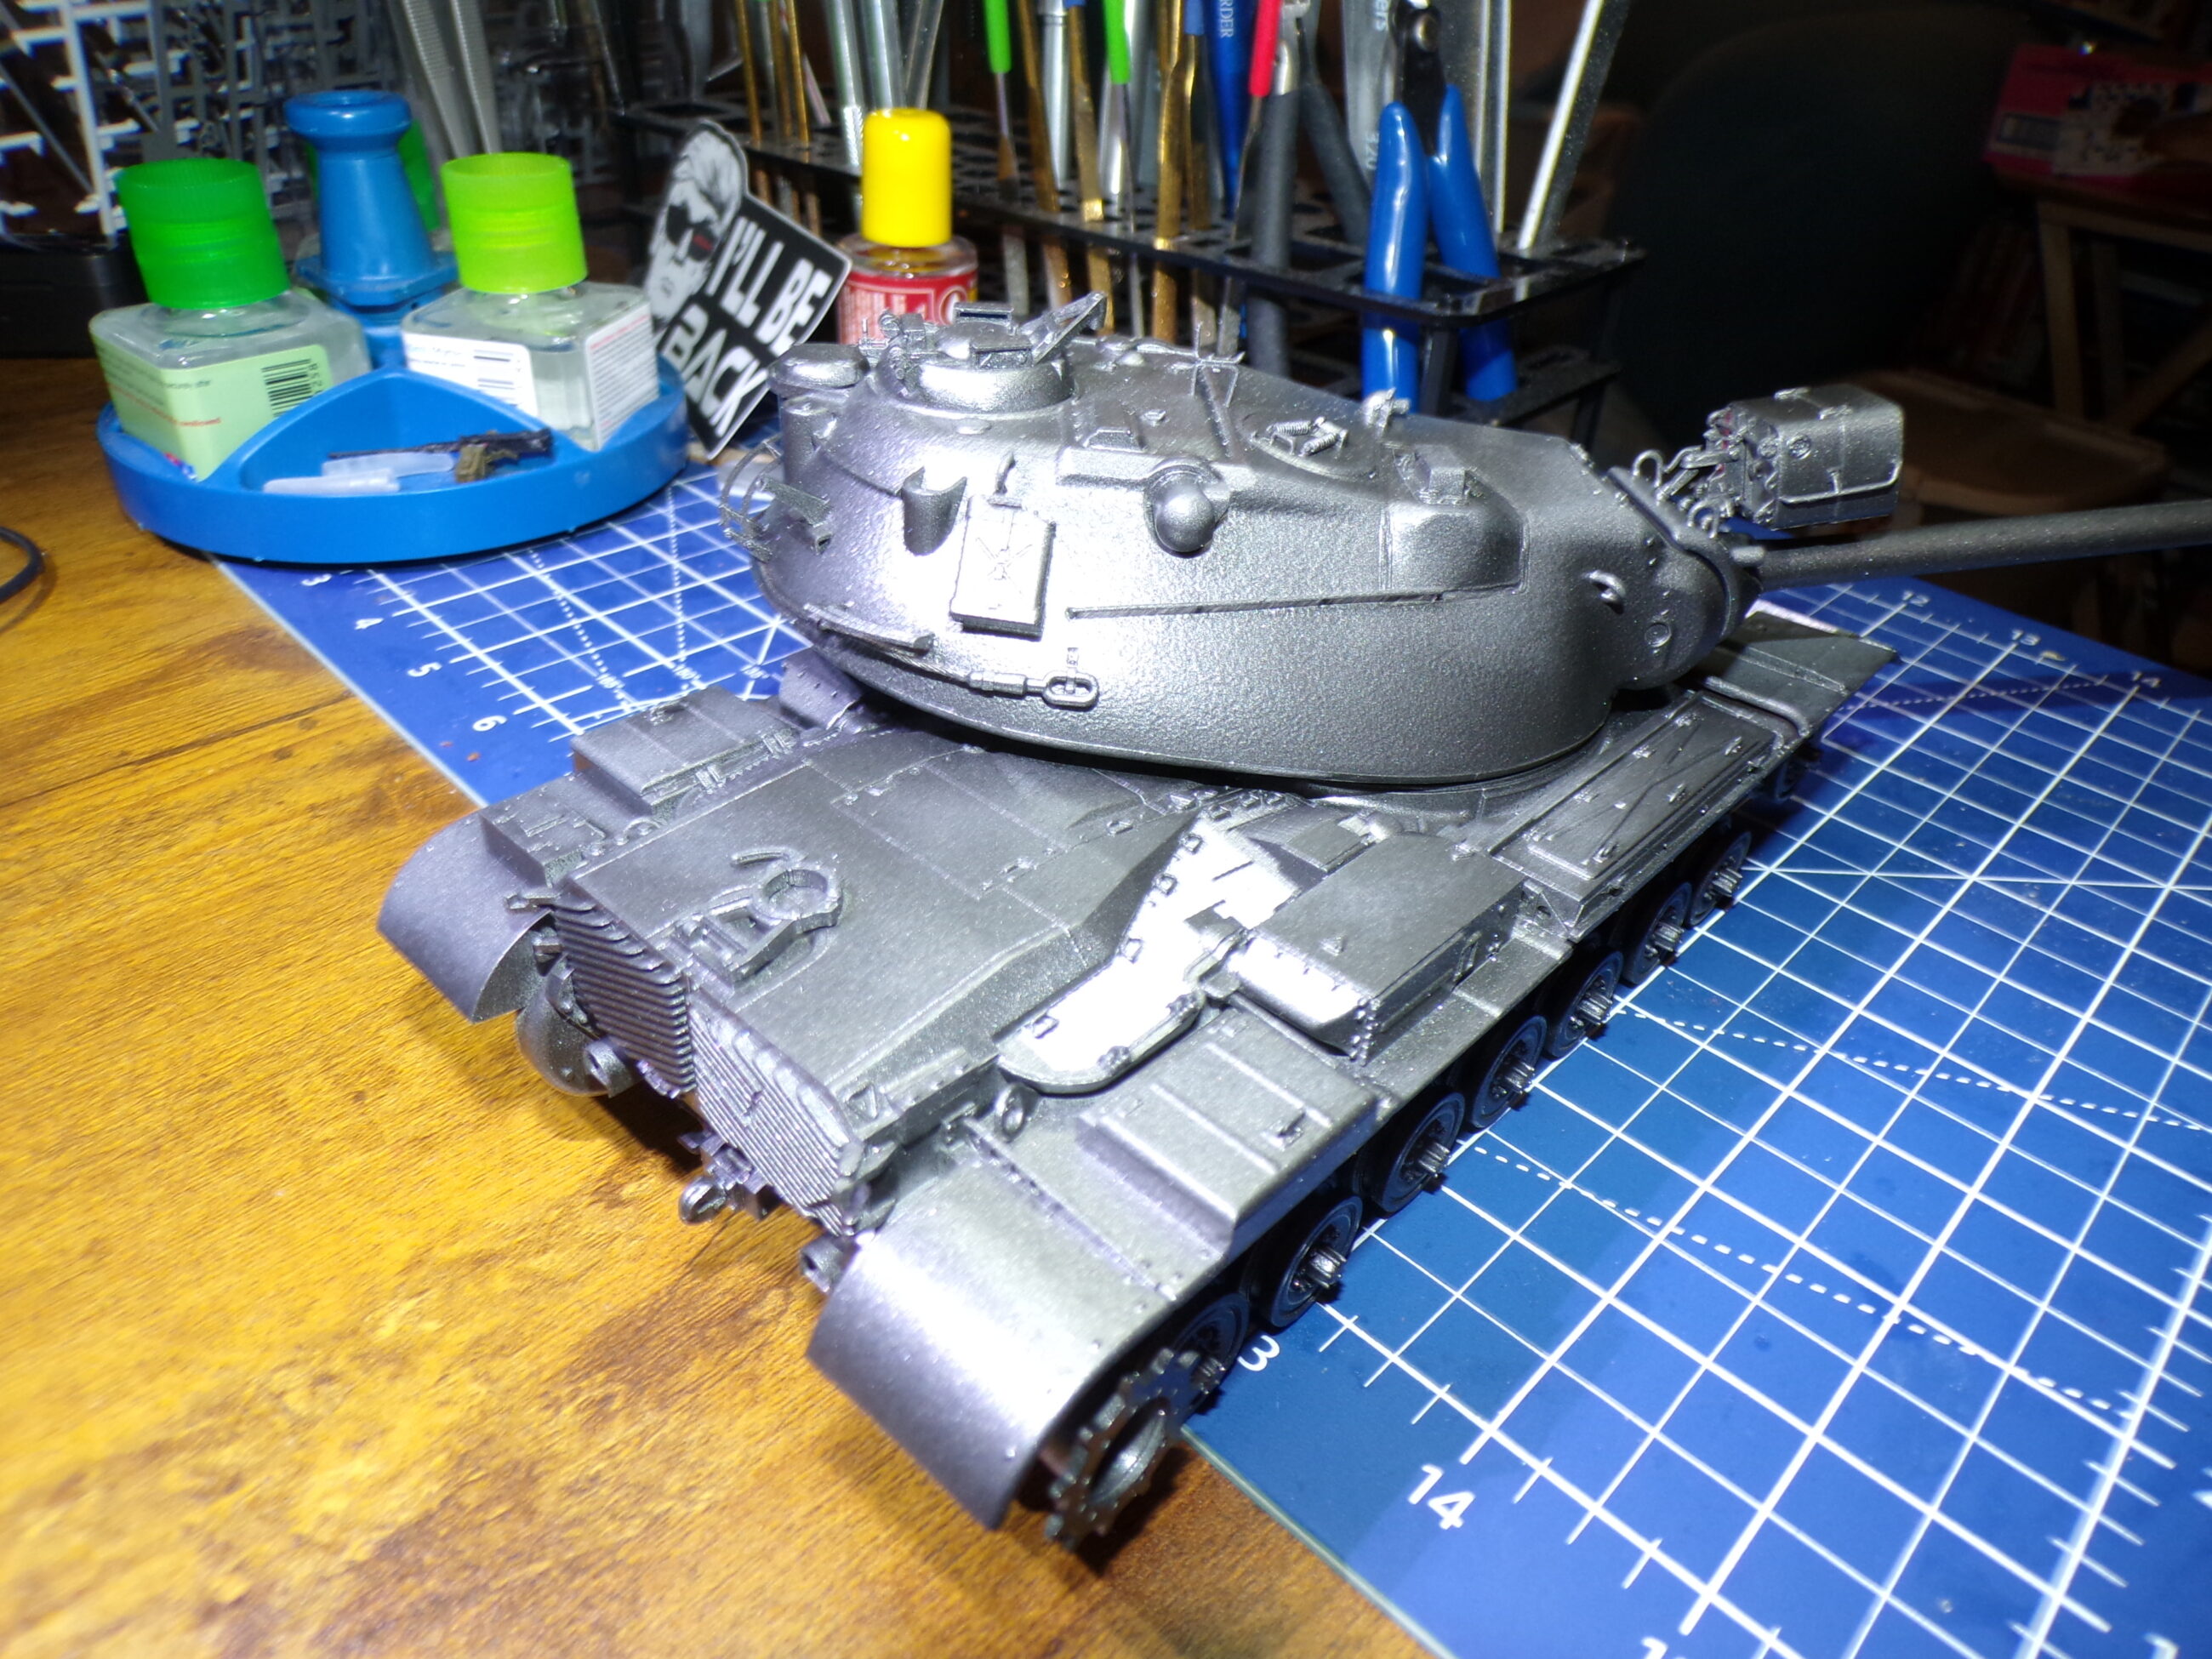
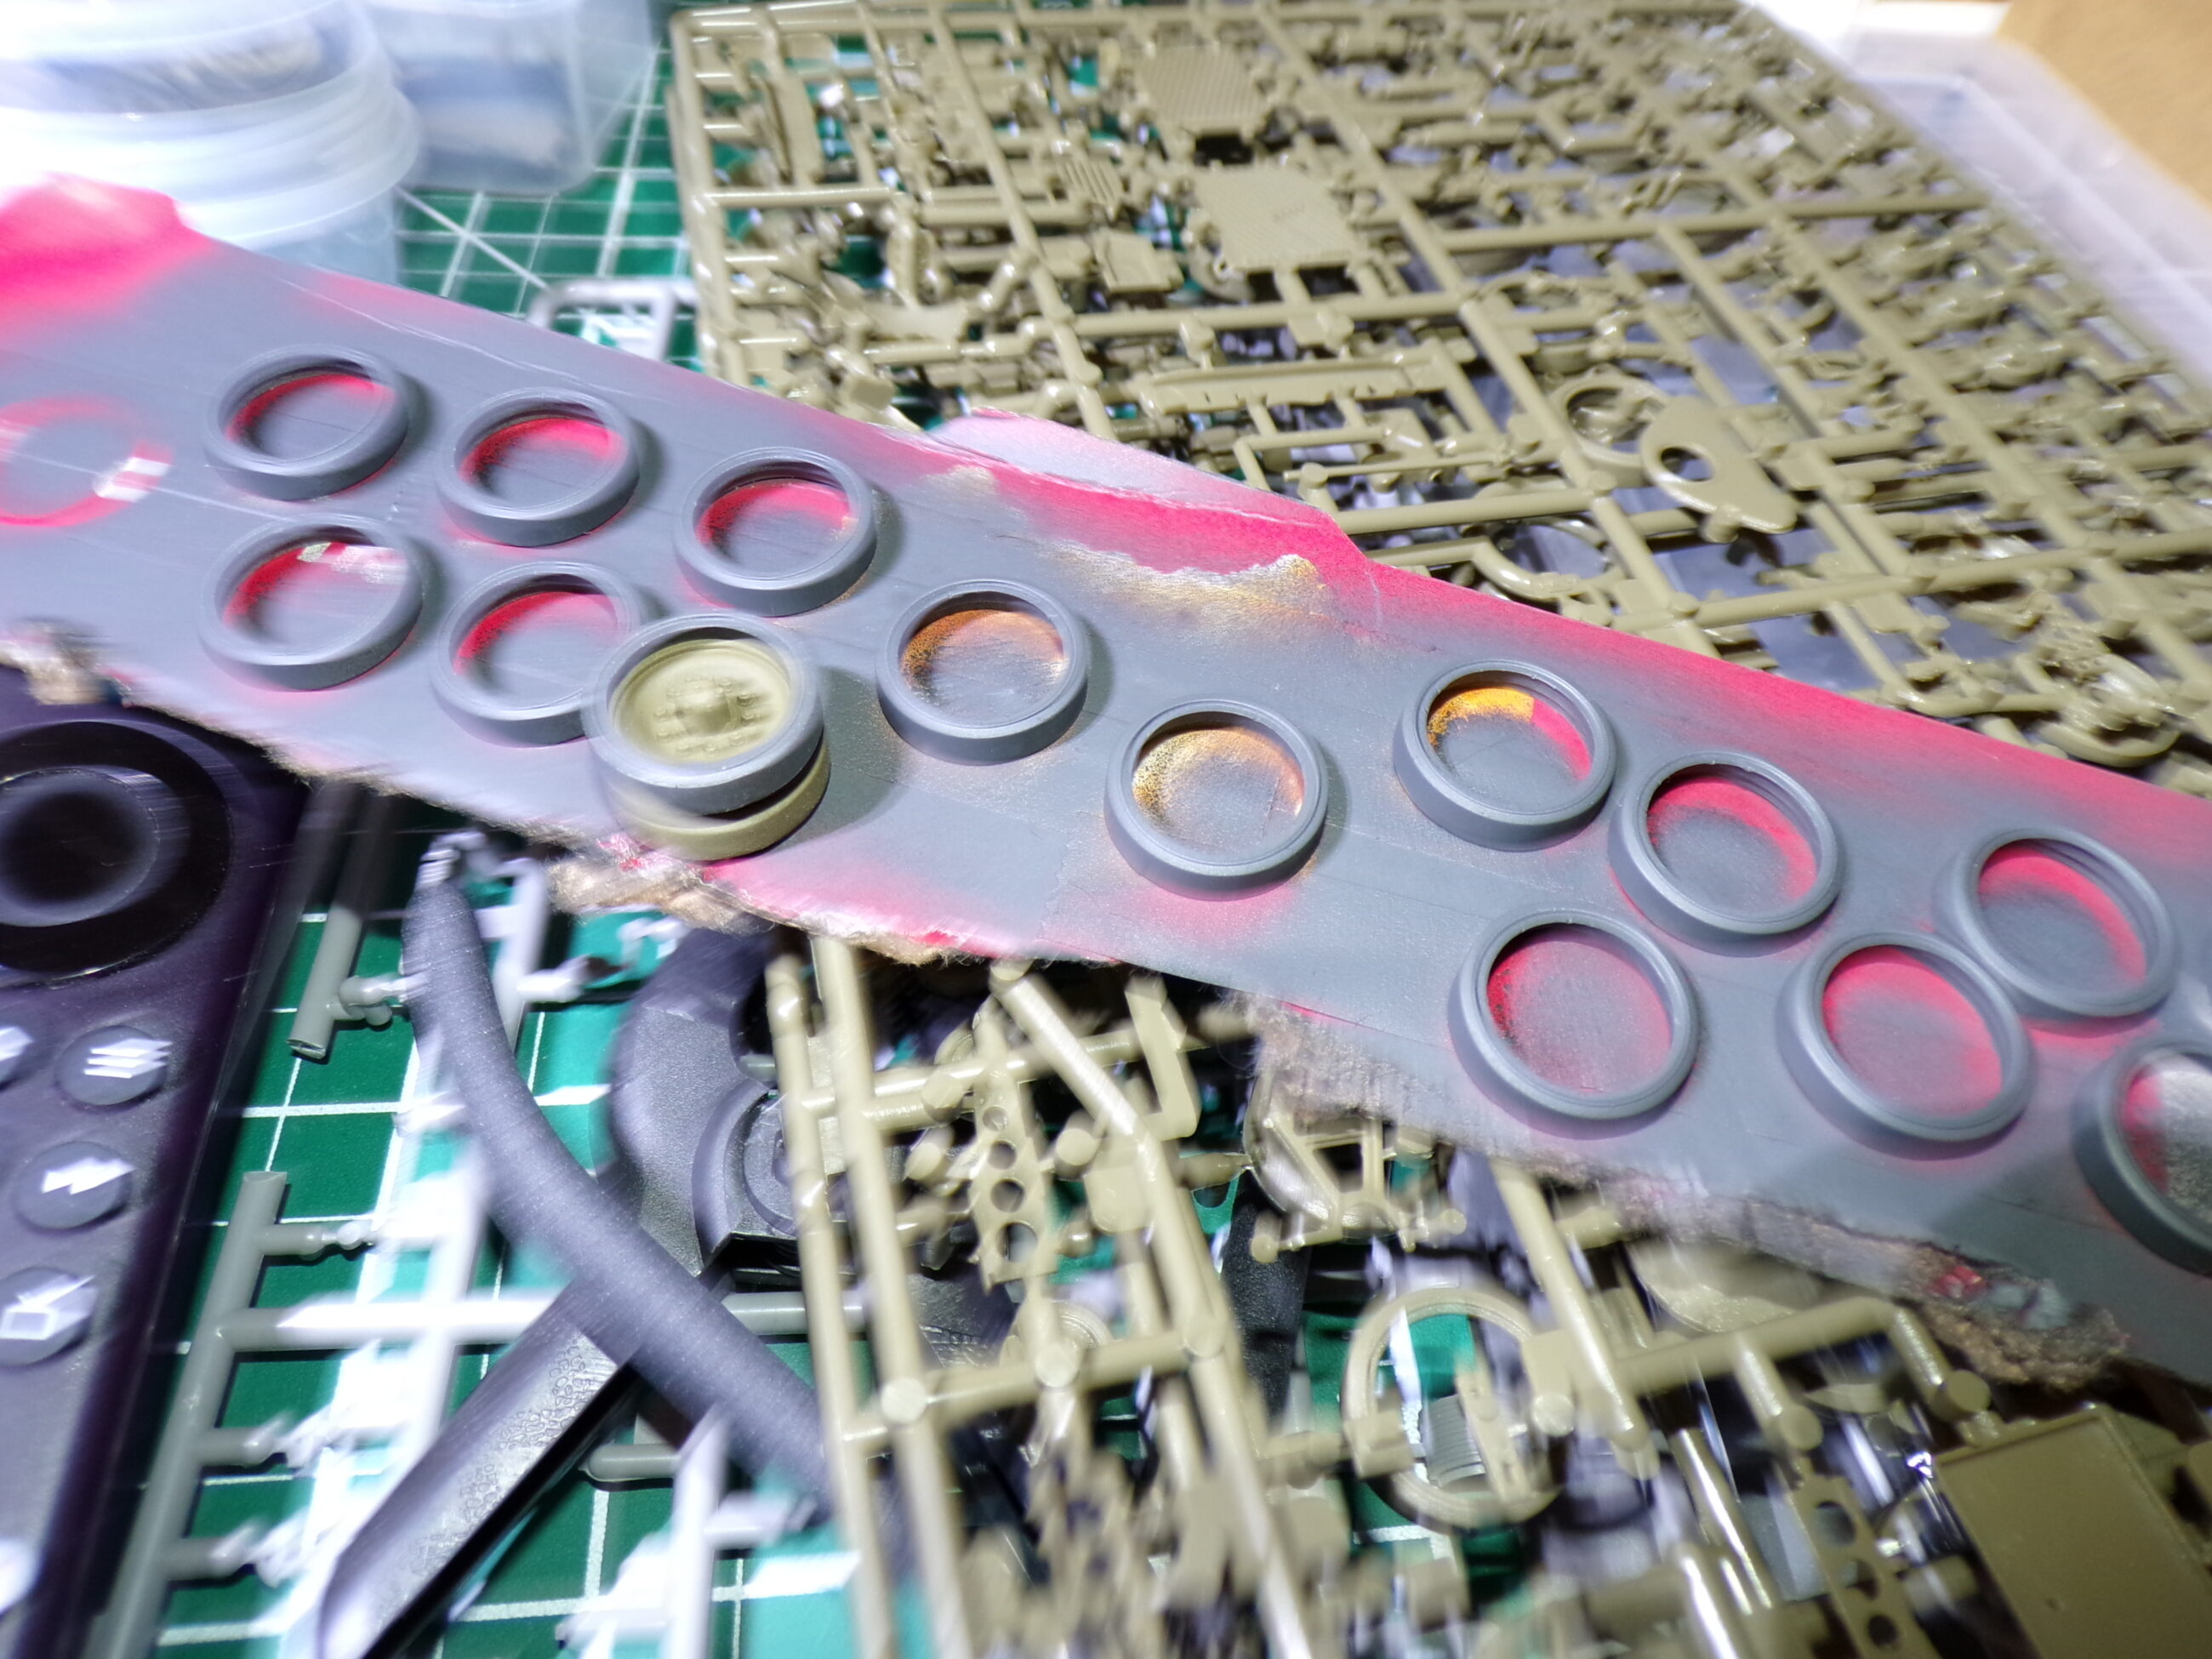
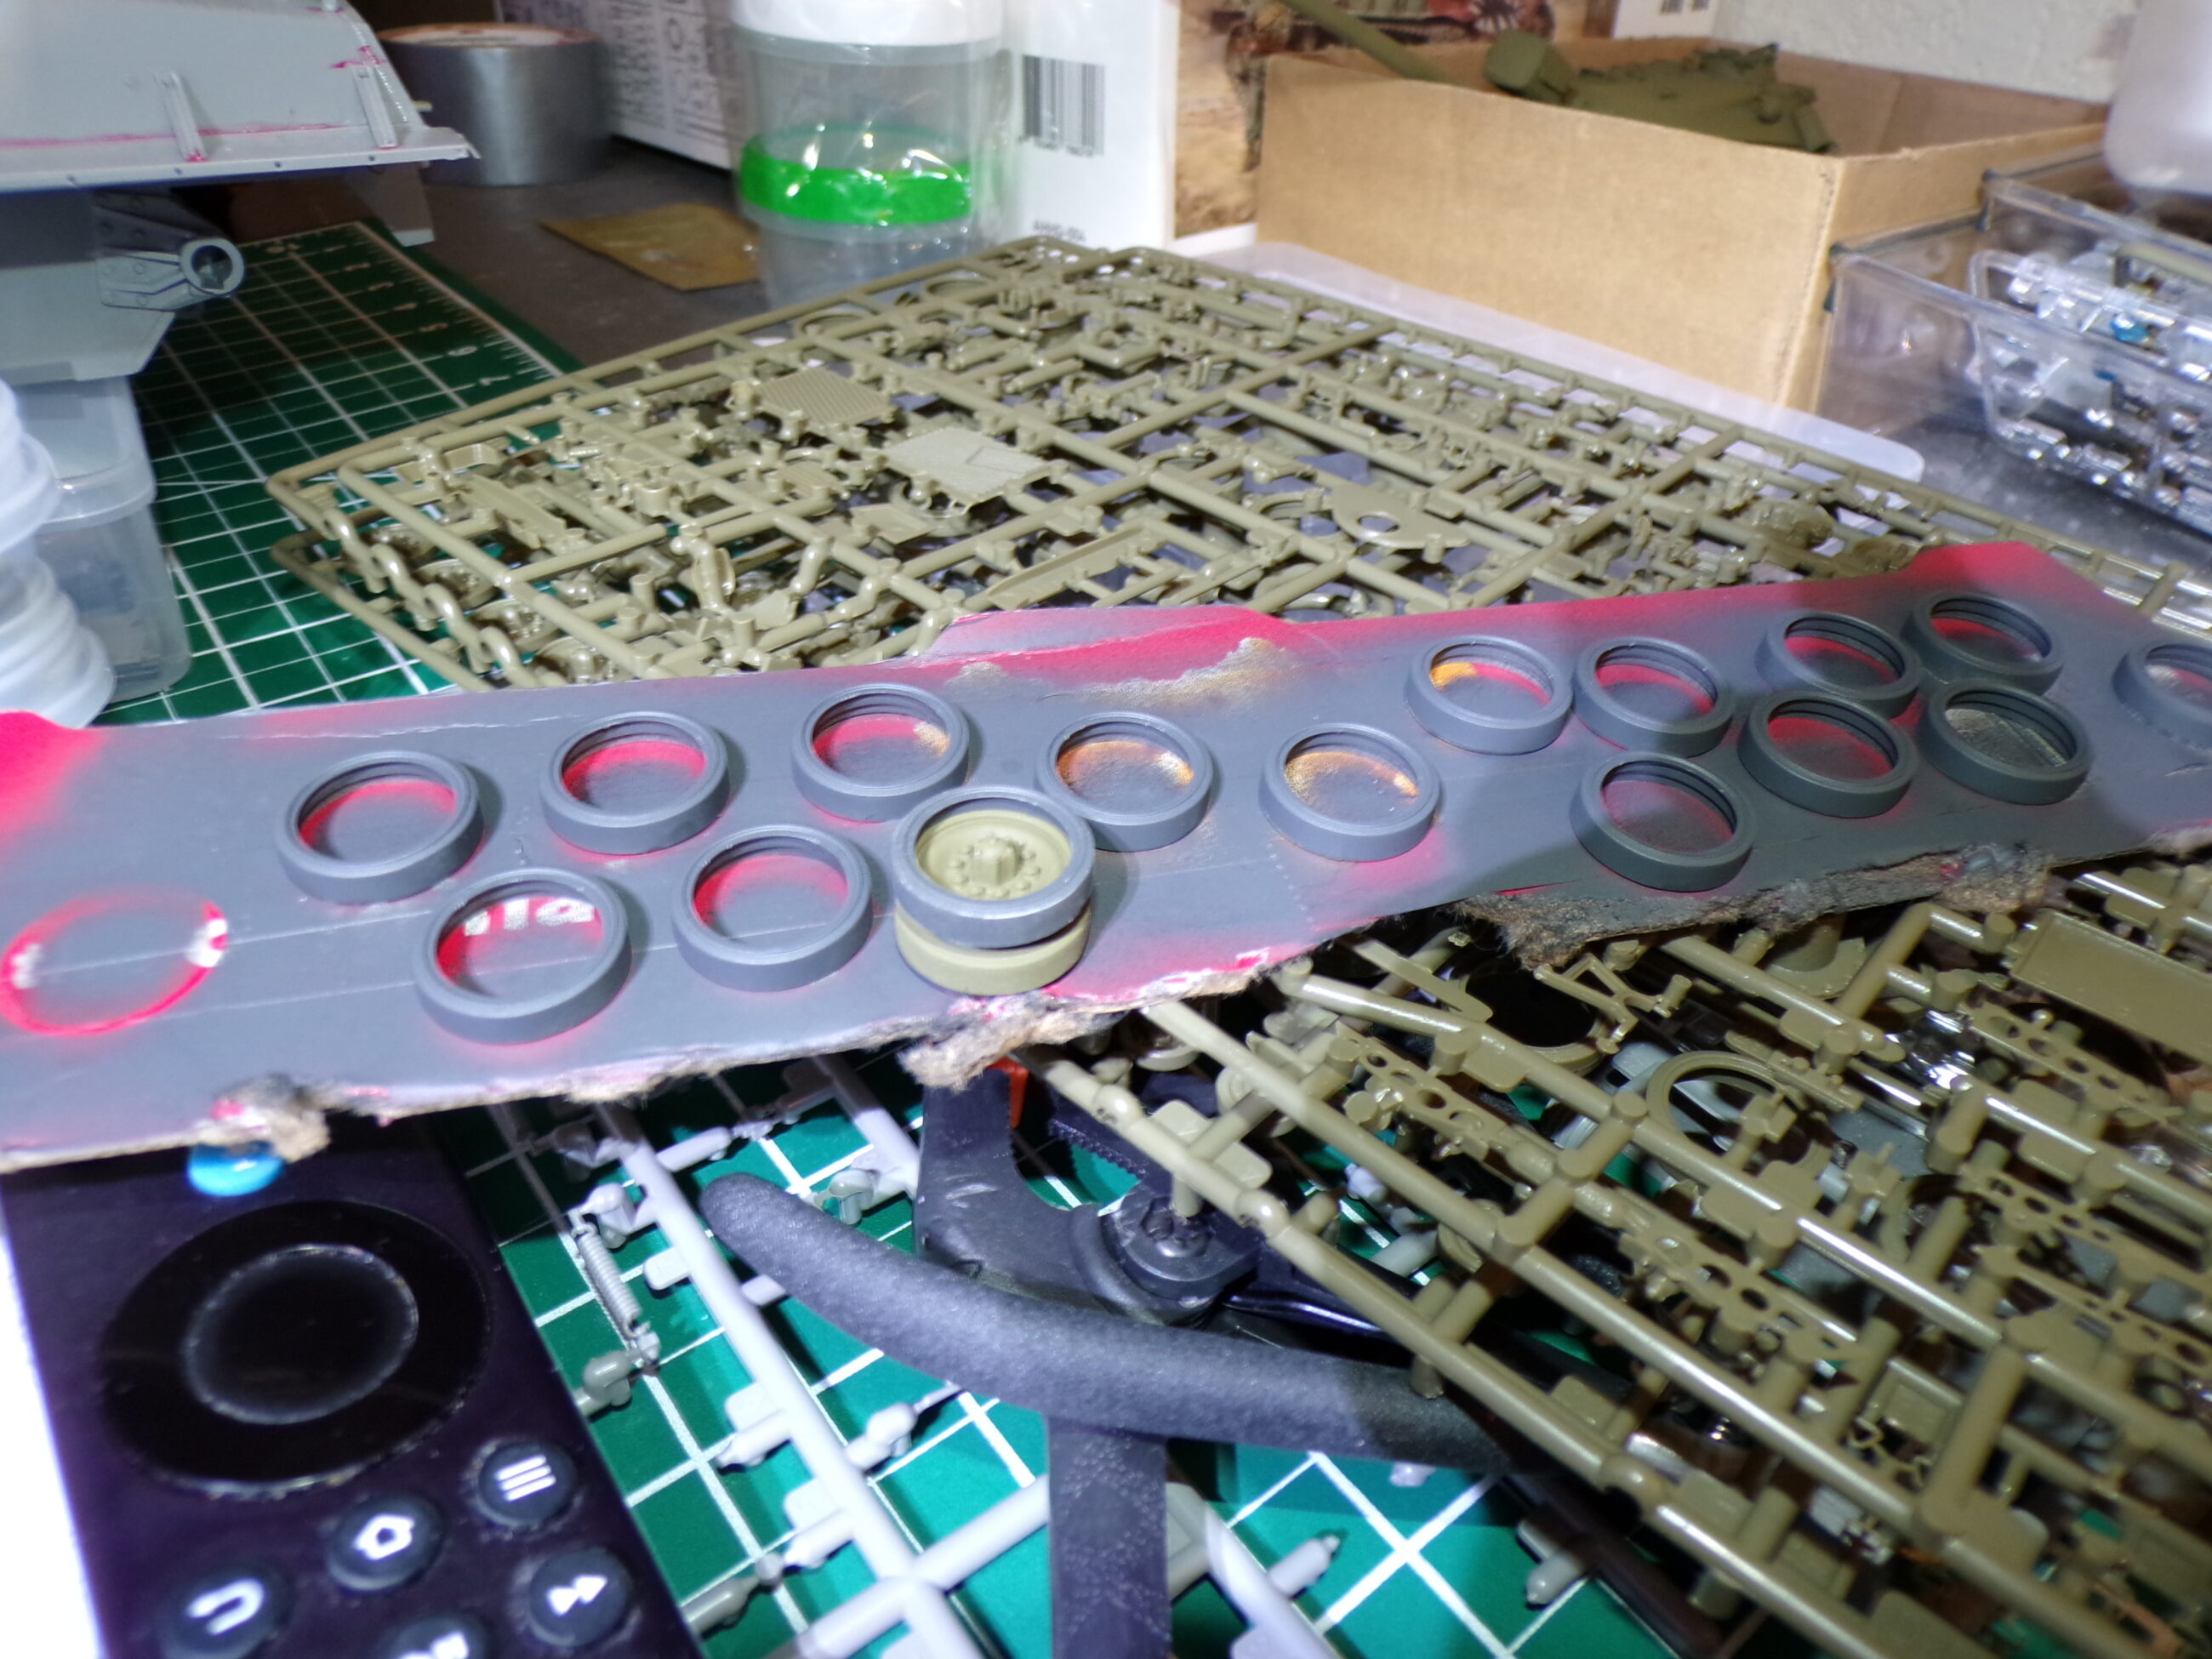
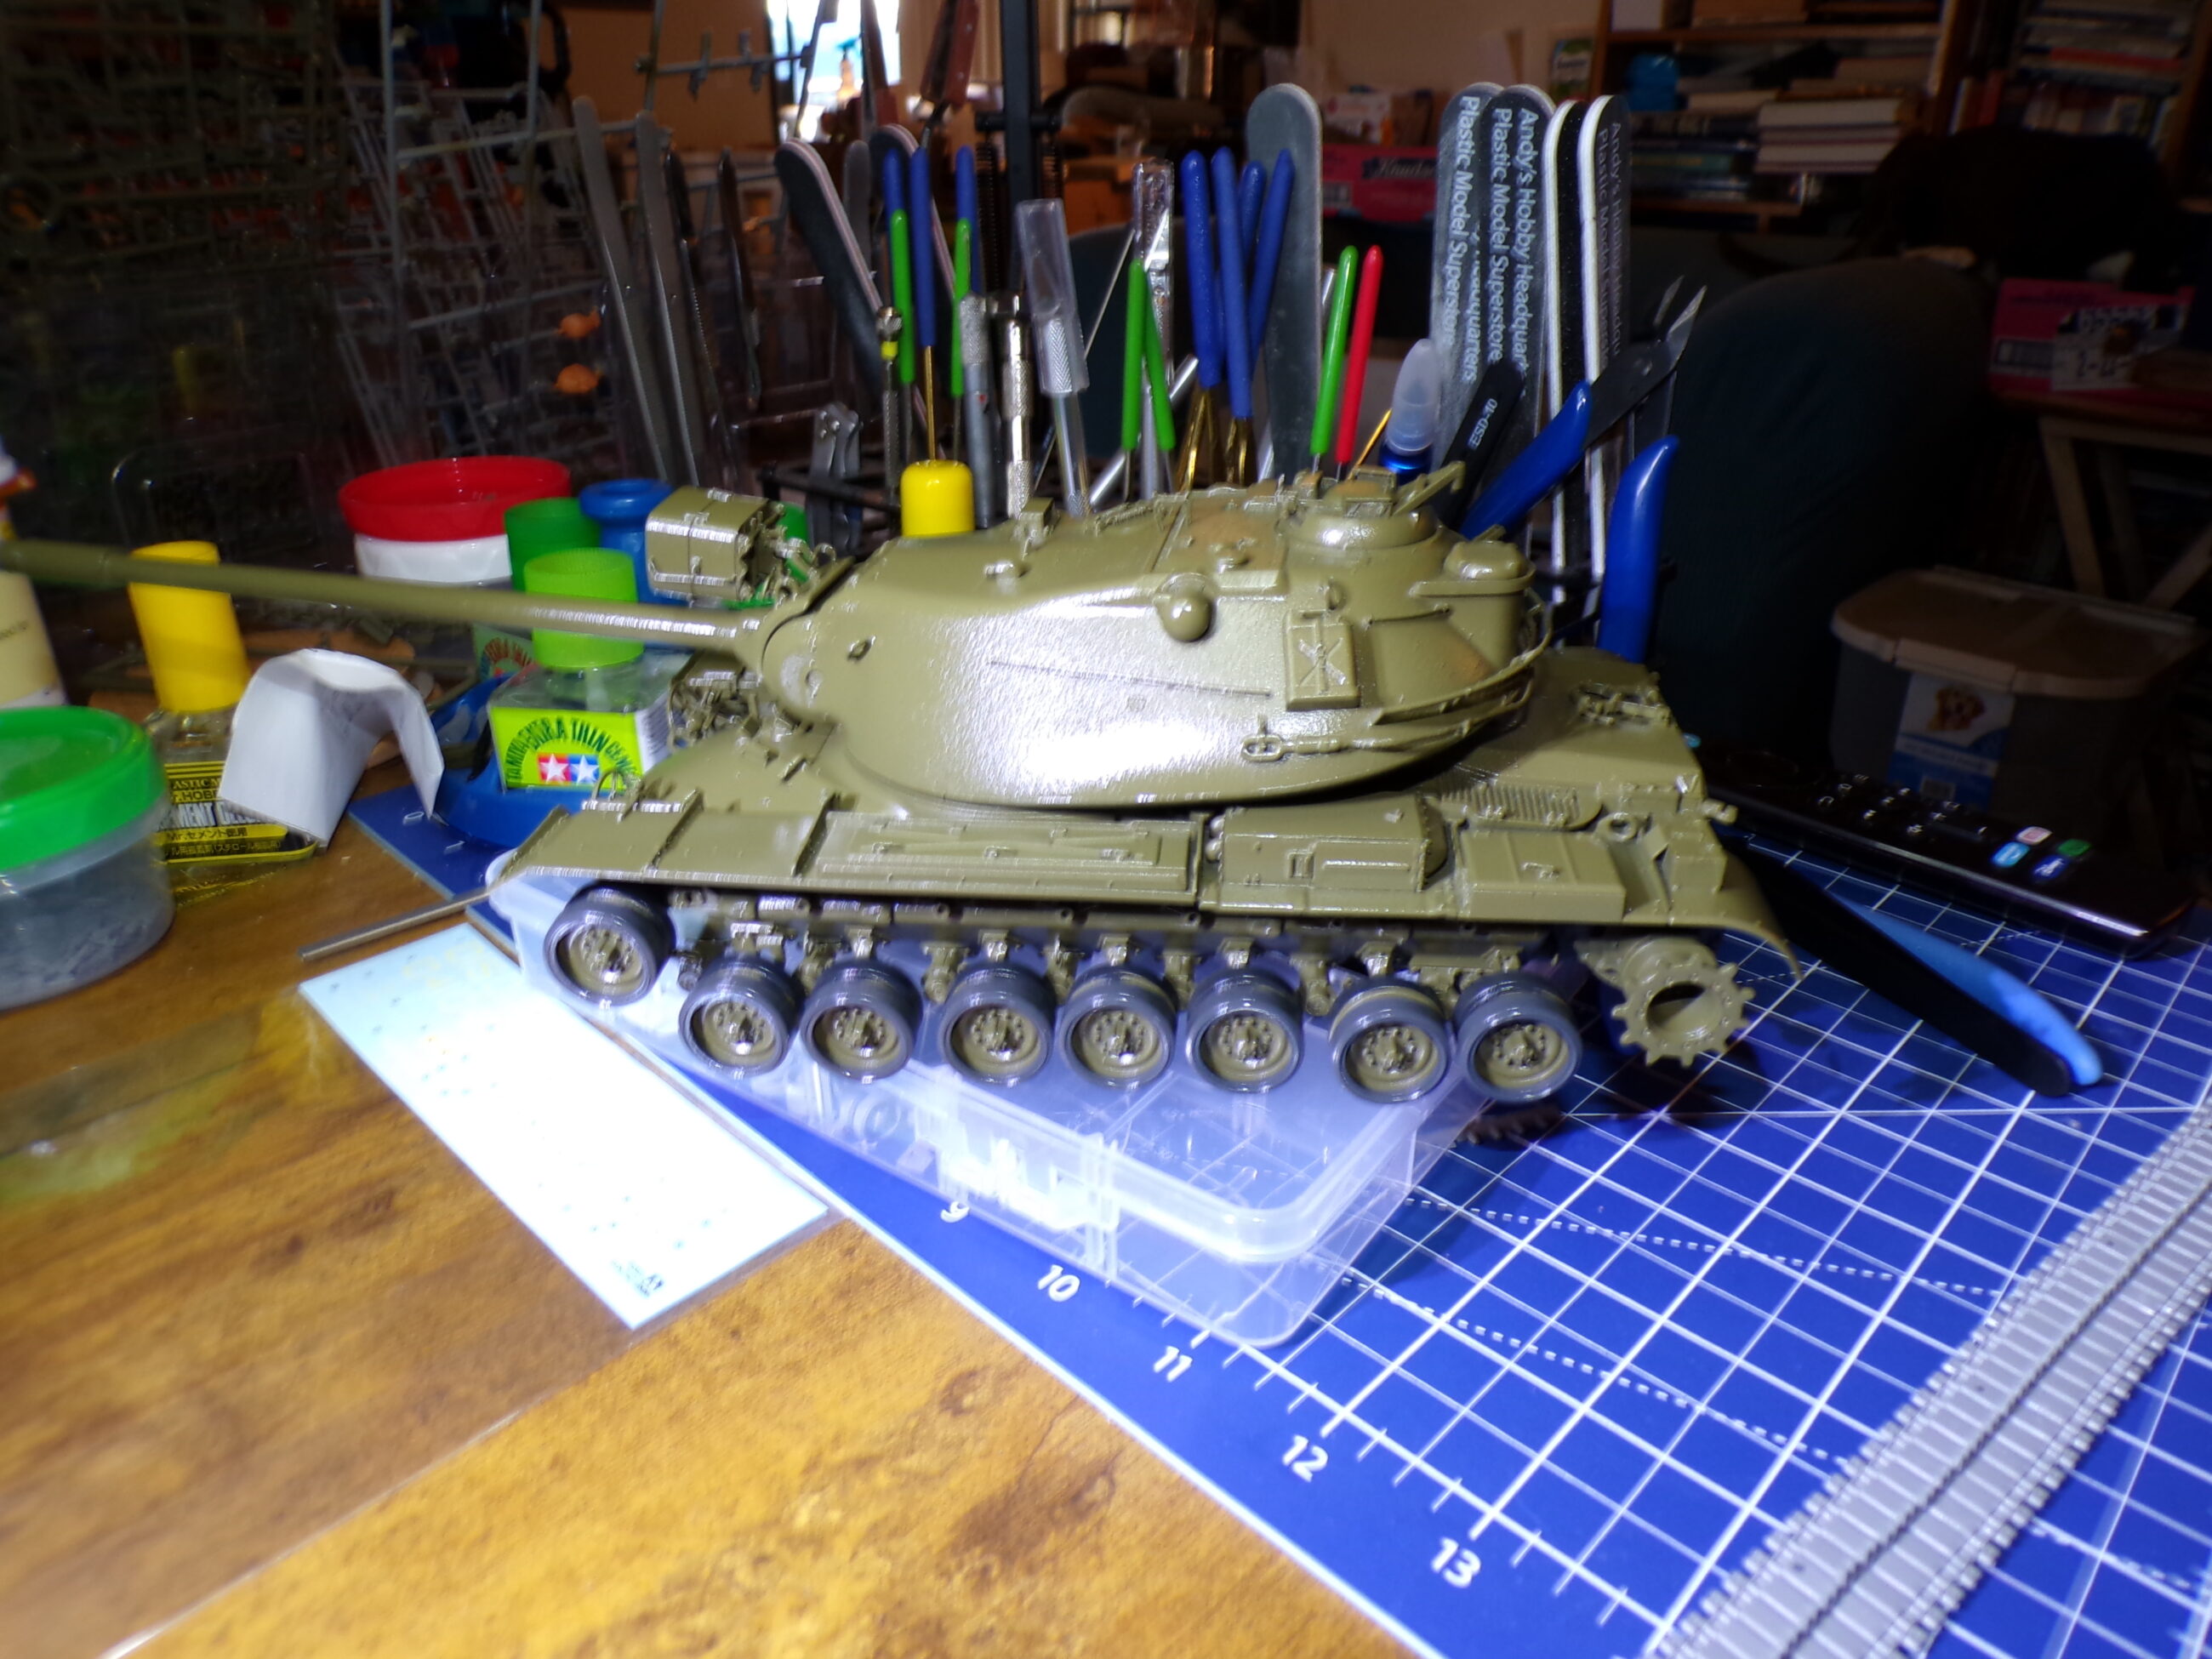
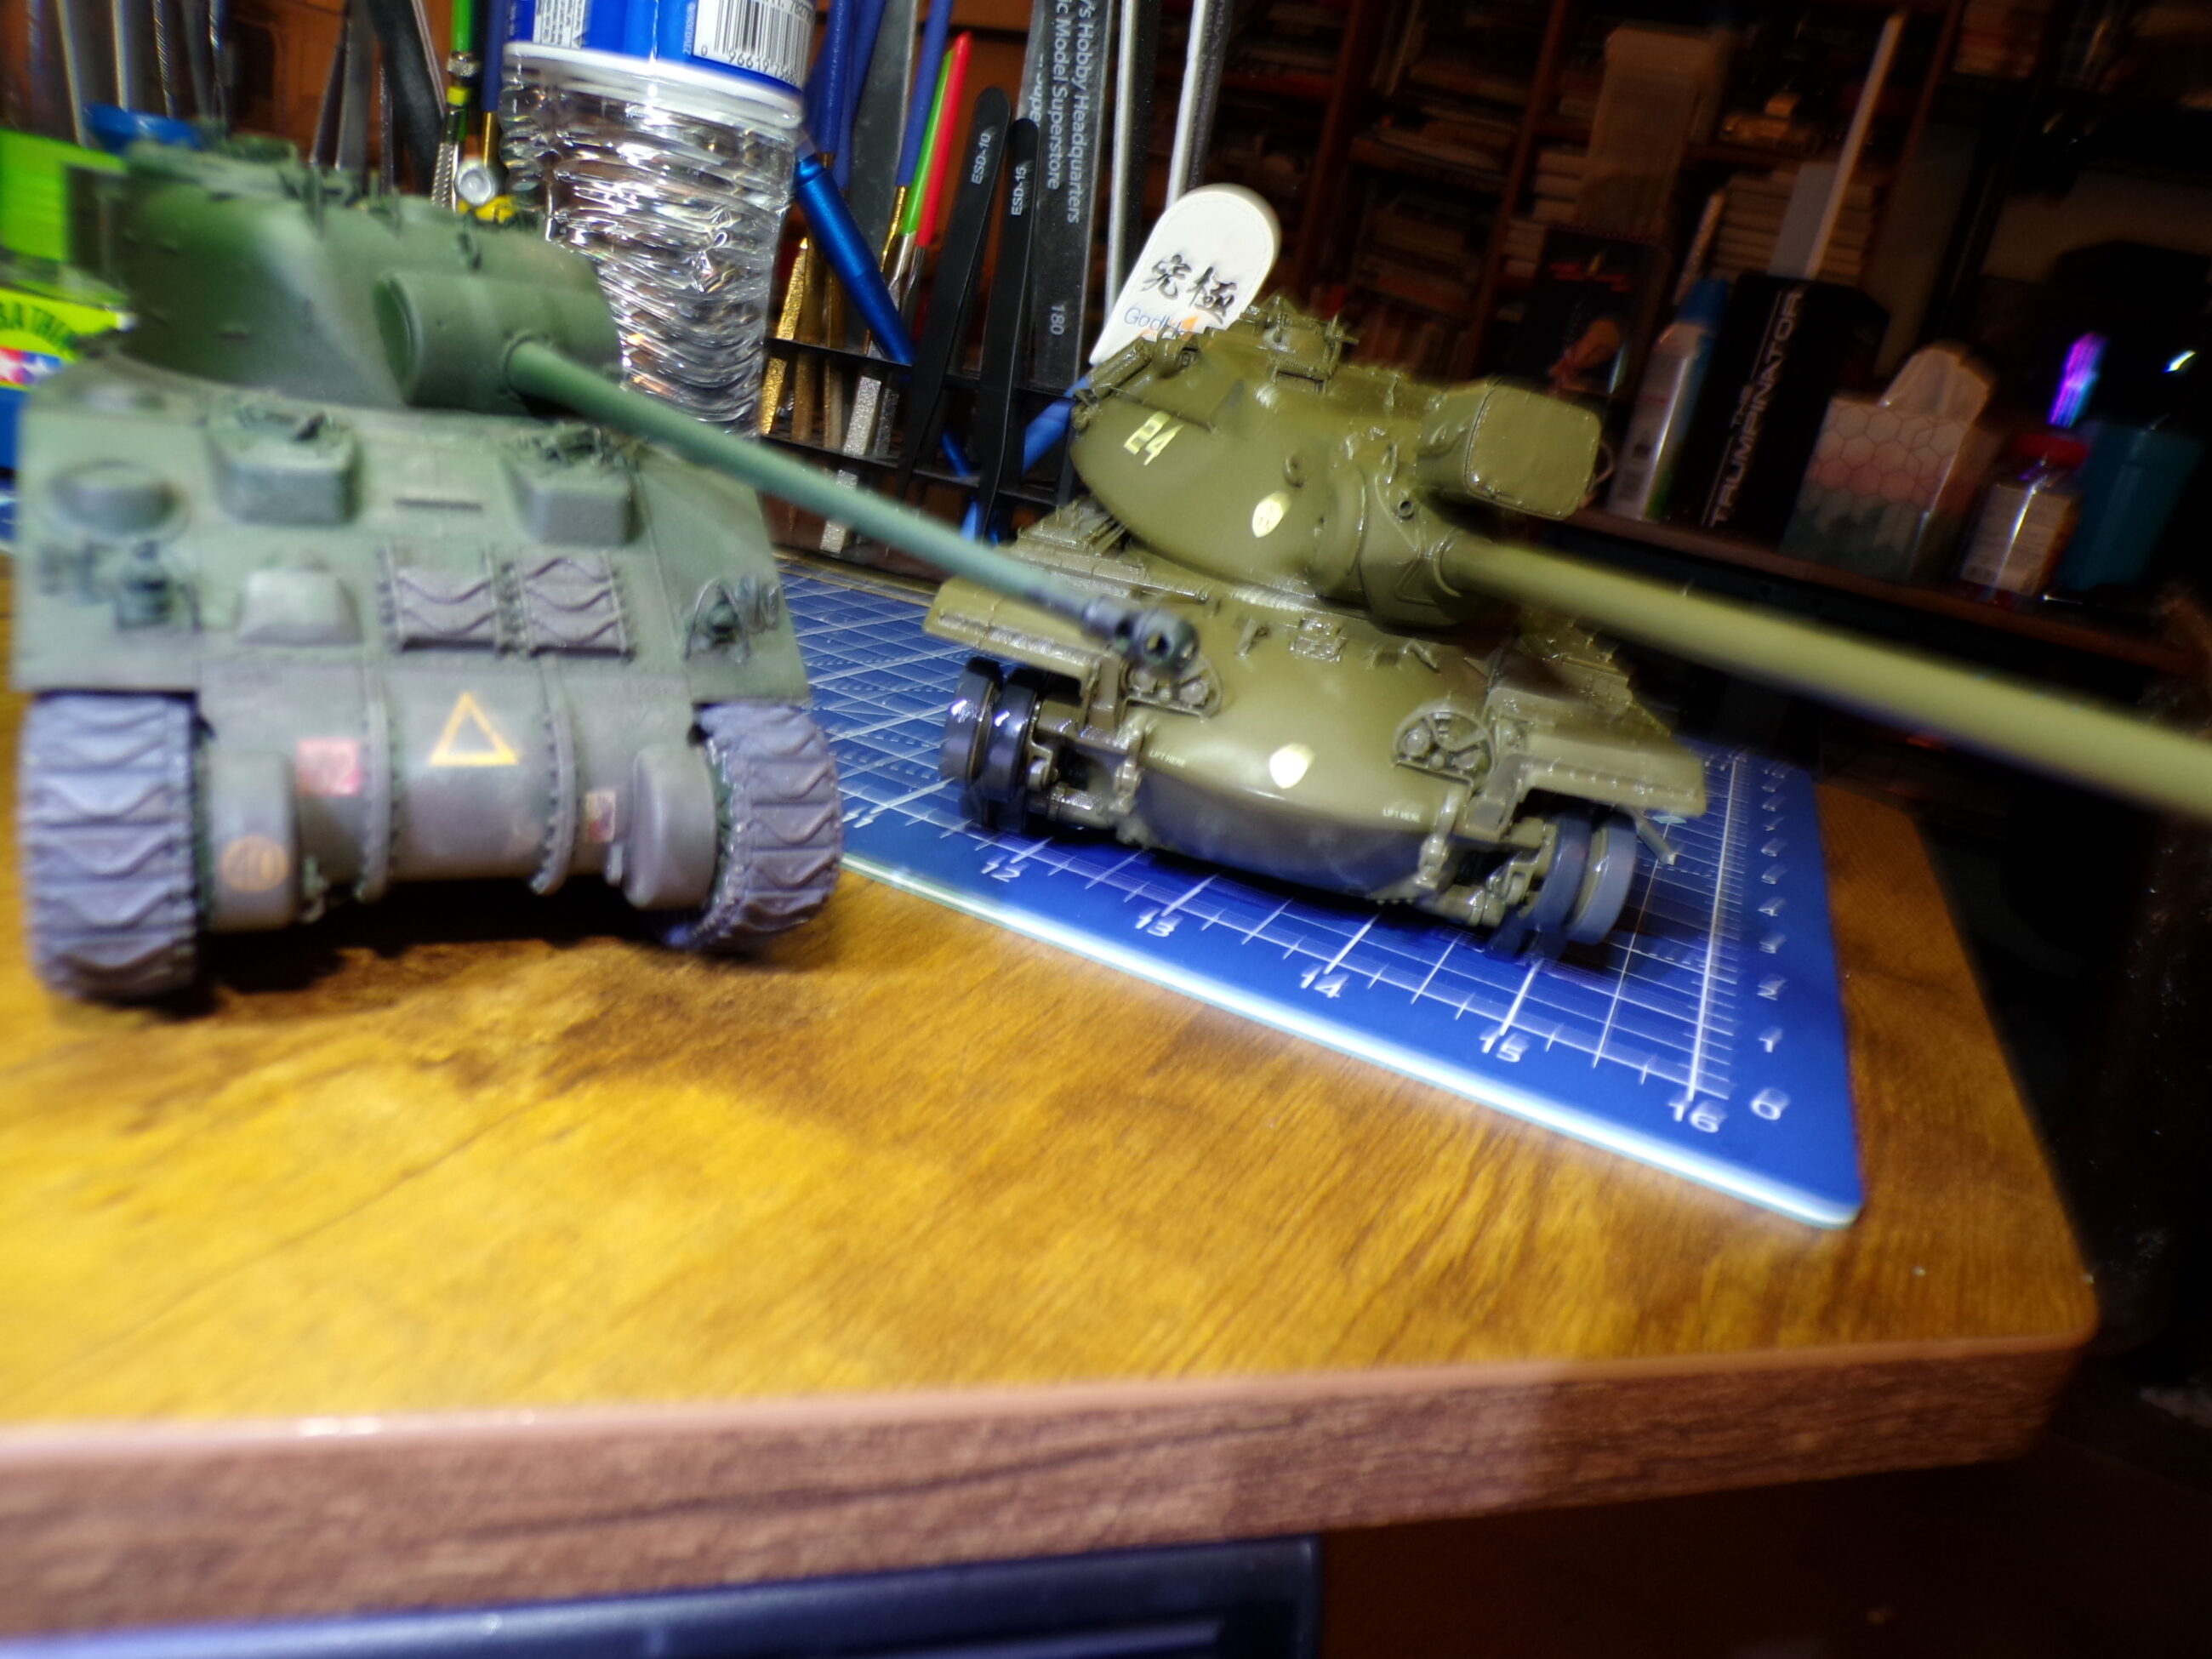
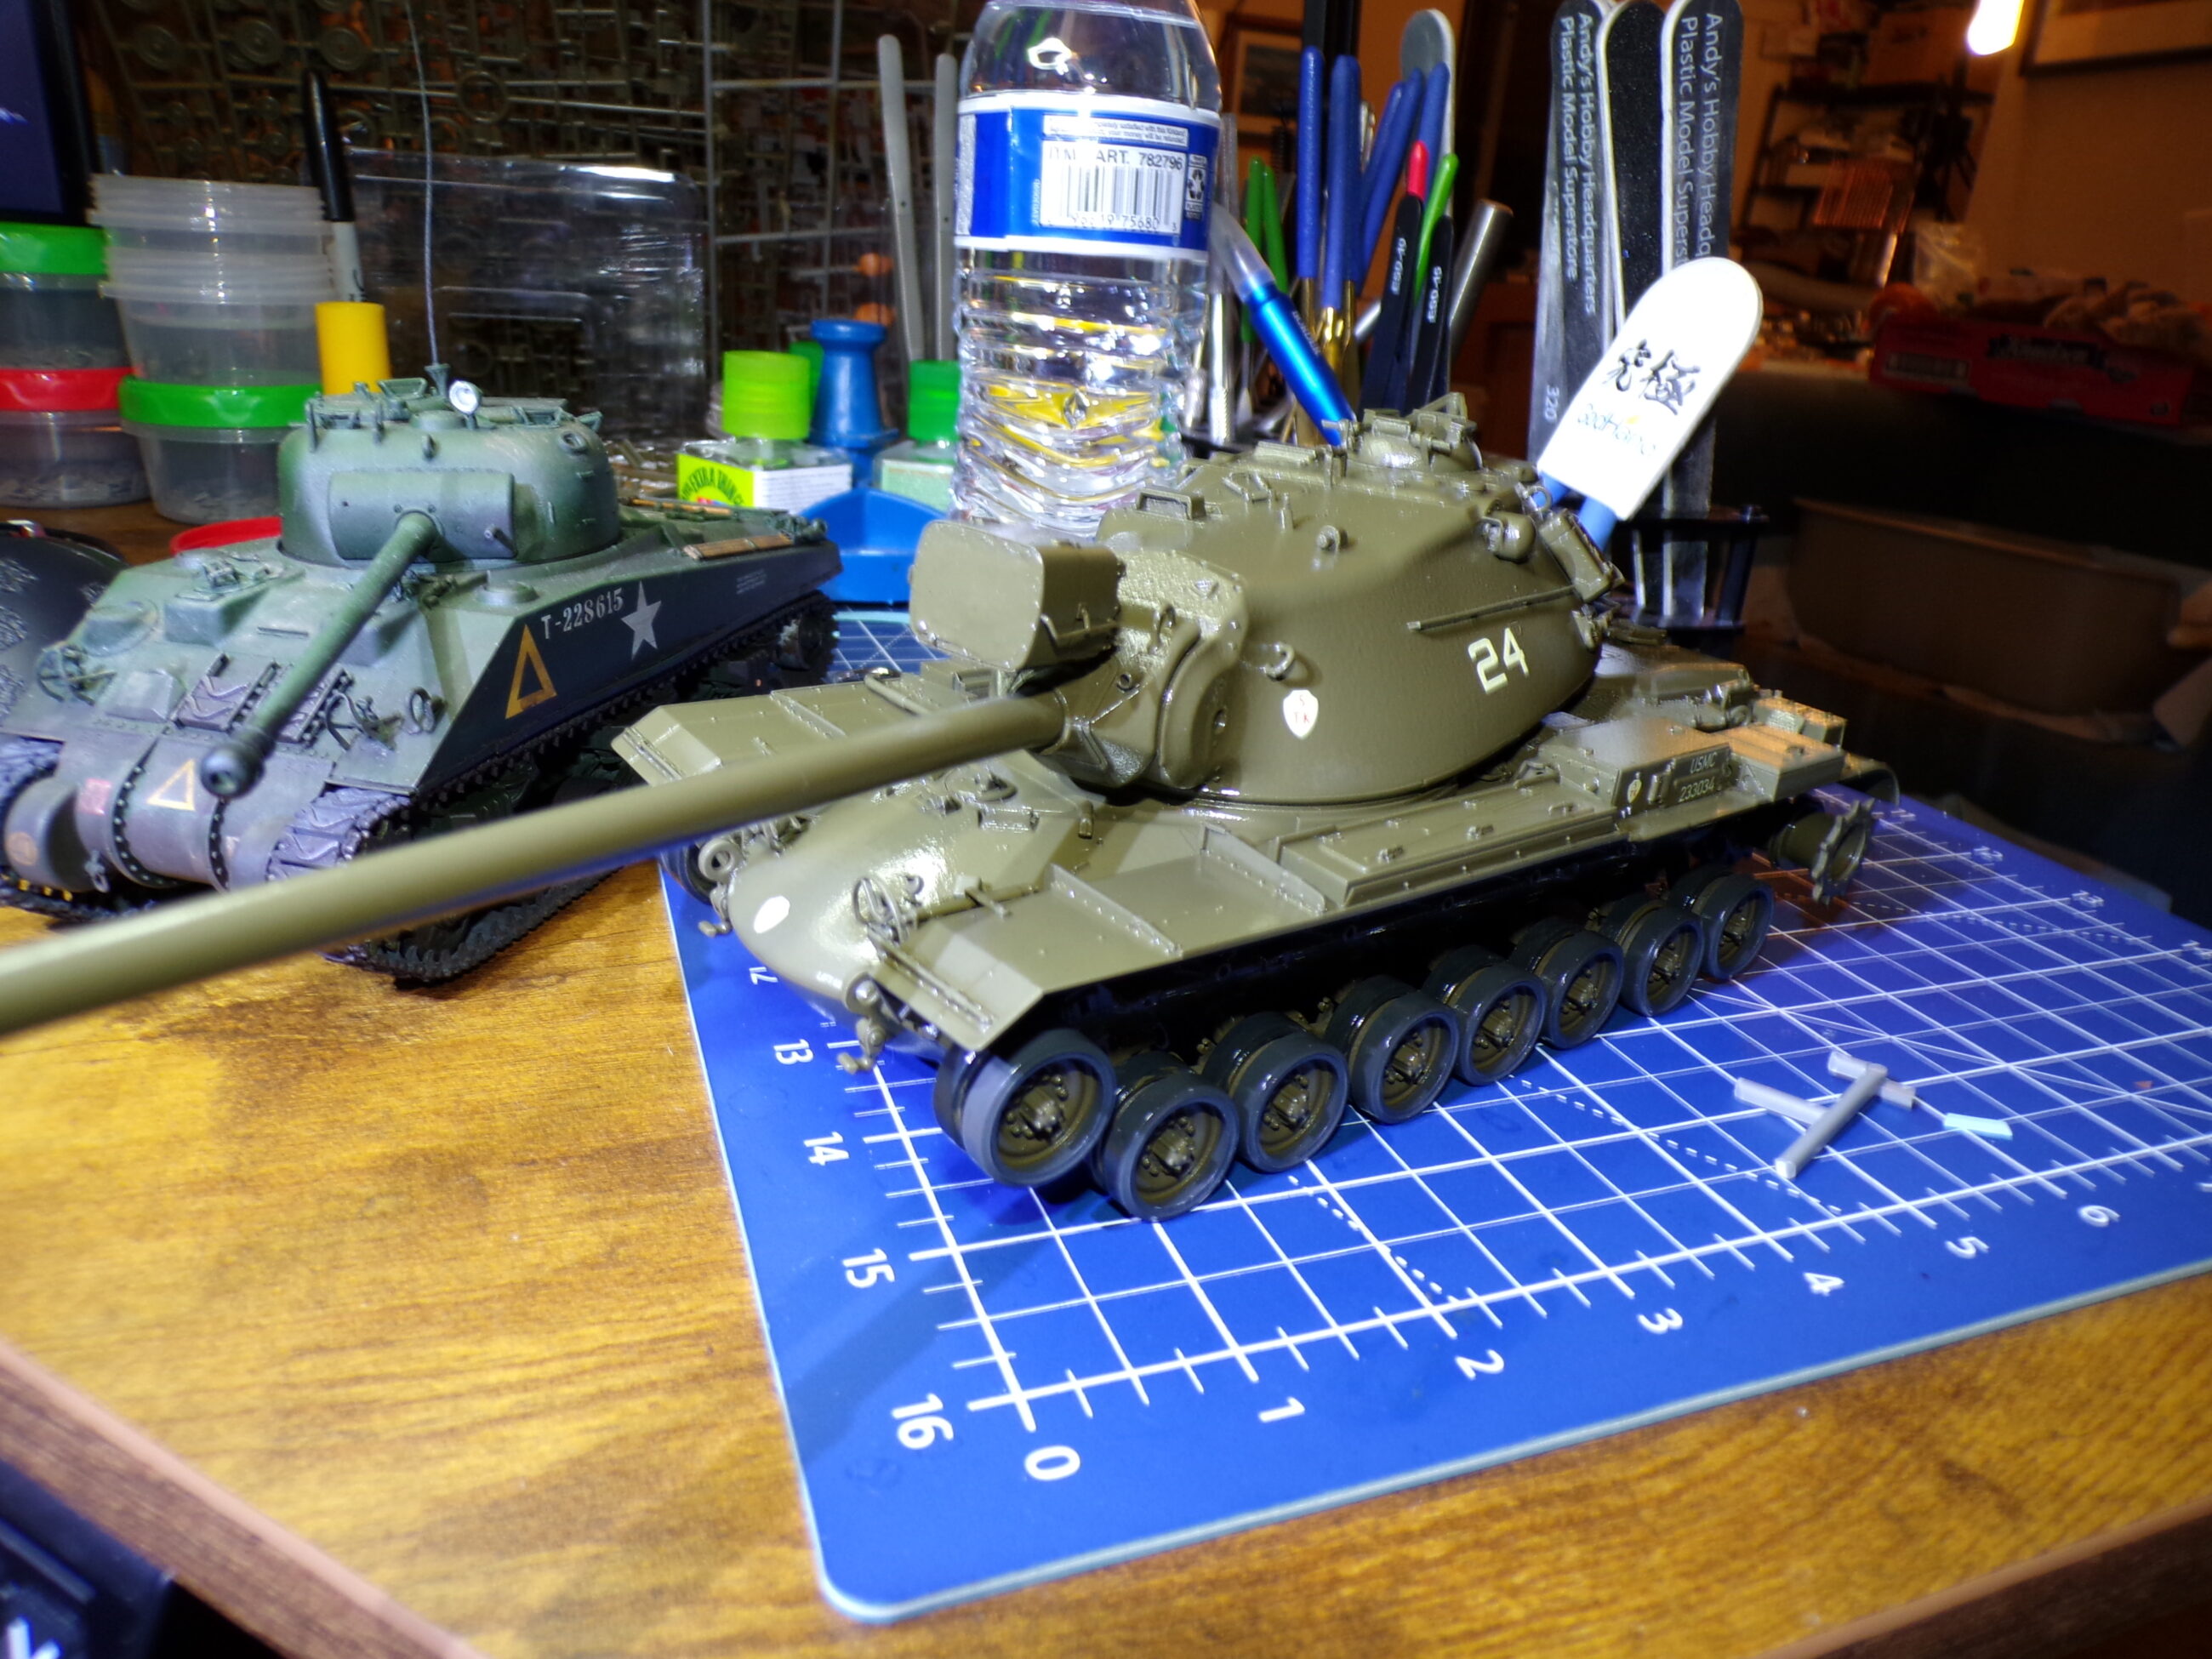
The turret is basically done here, just the tow cable to go on. Well, that and the spotlight. You can see how much bigger the 103, is over the Vc Firefly (M4A4), the Sherman turret would fit inside the M103s. I also did the road wheels at some point. The outer tire is a separate part, making painting them much easier.
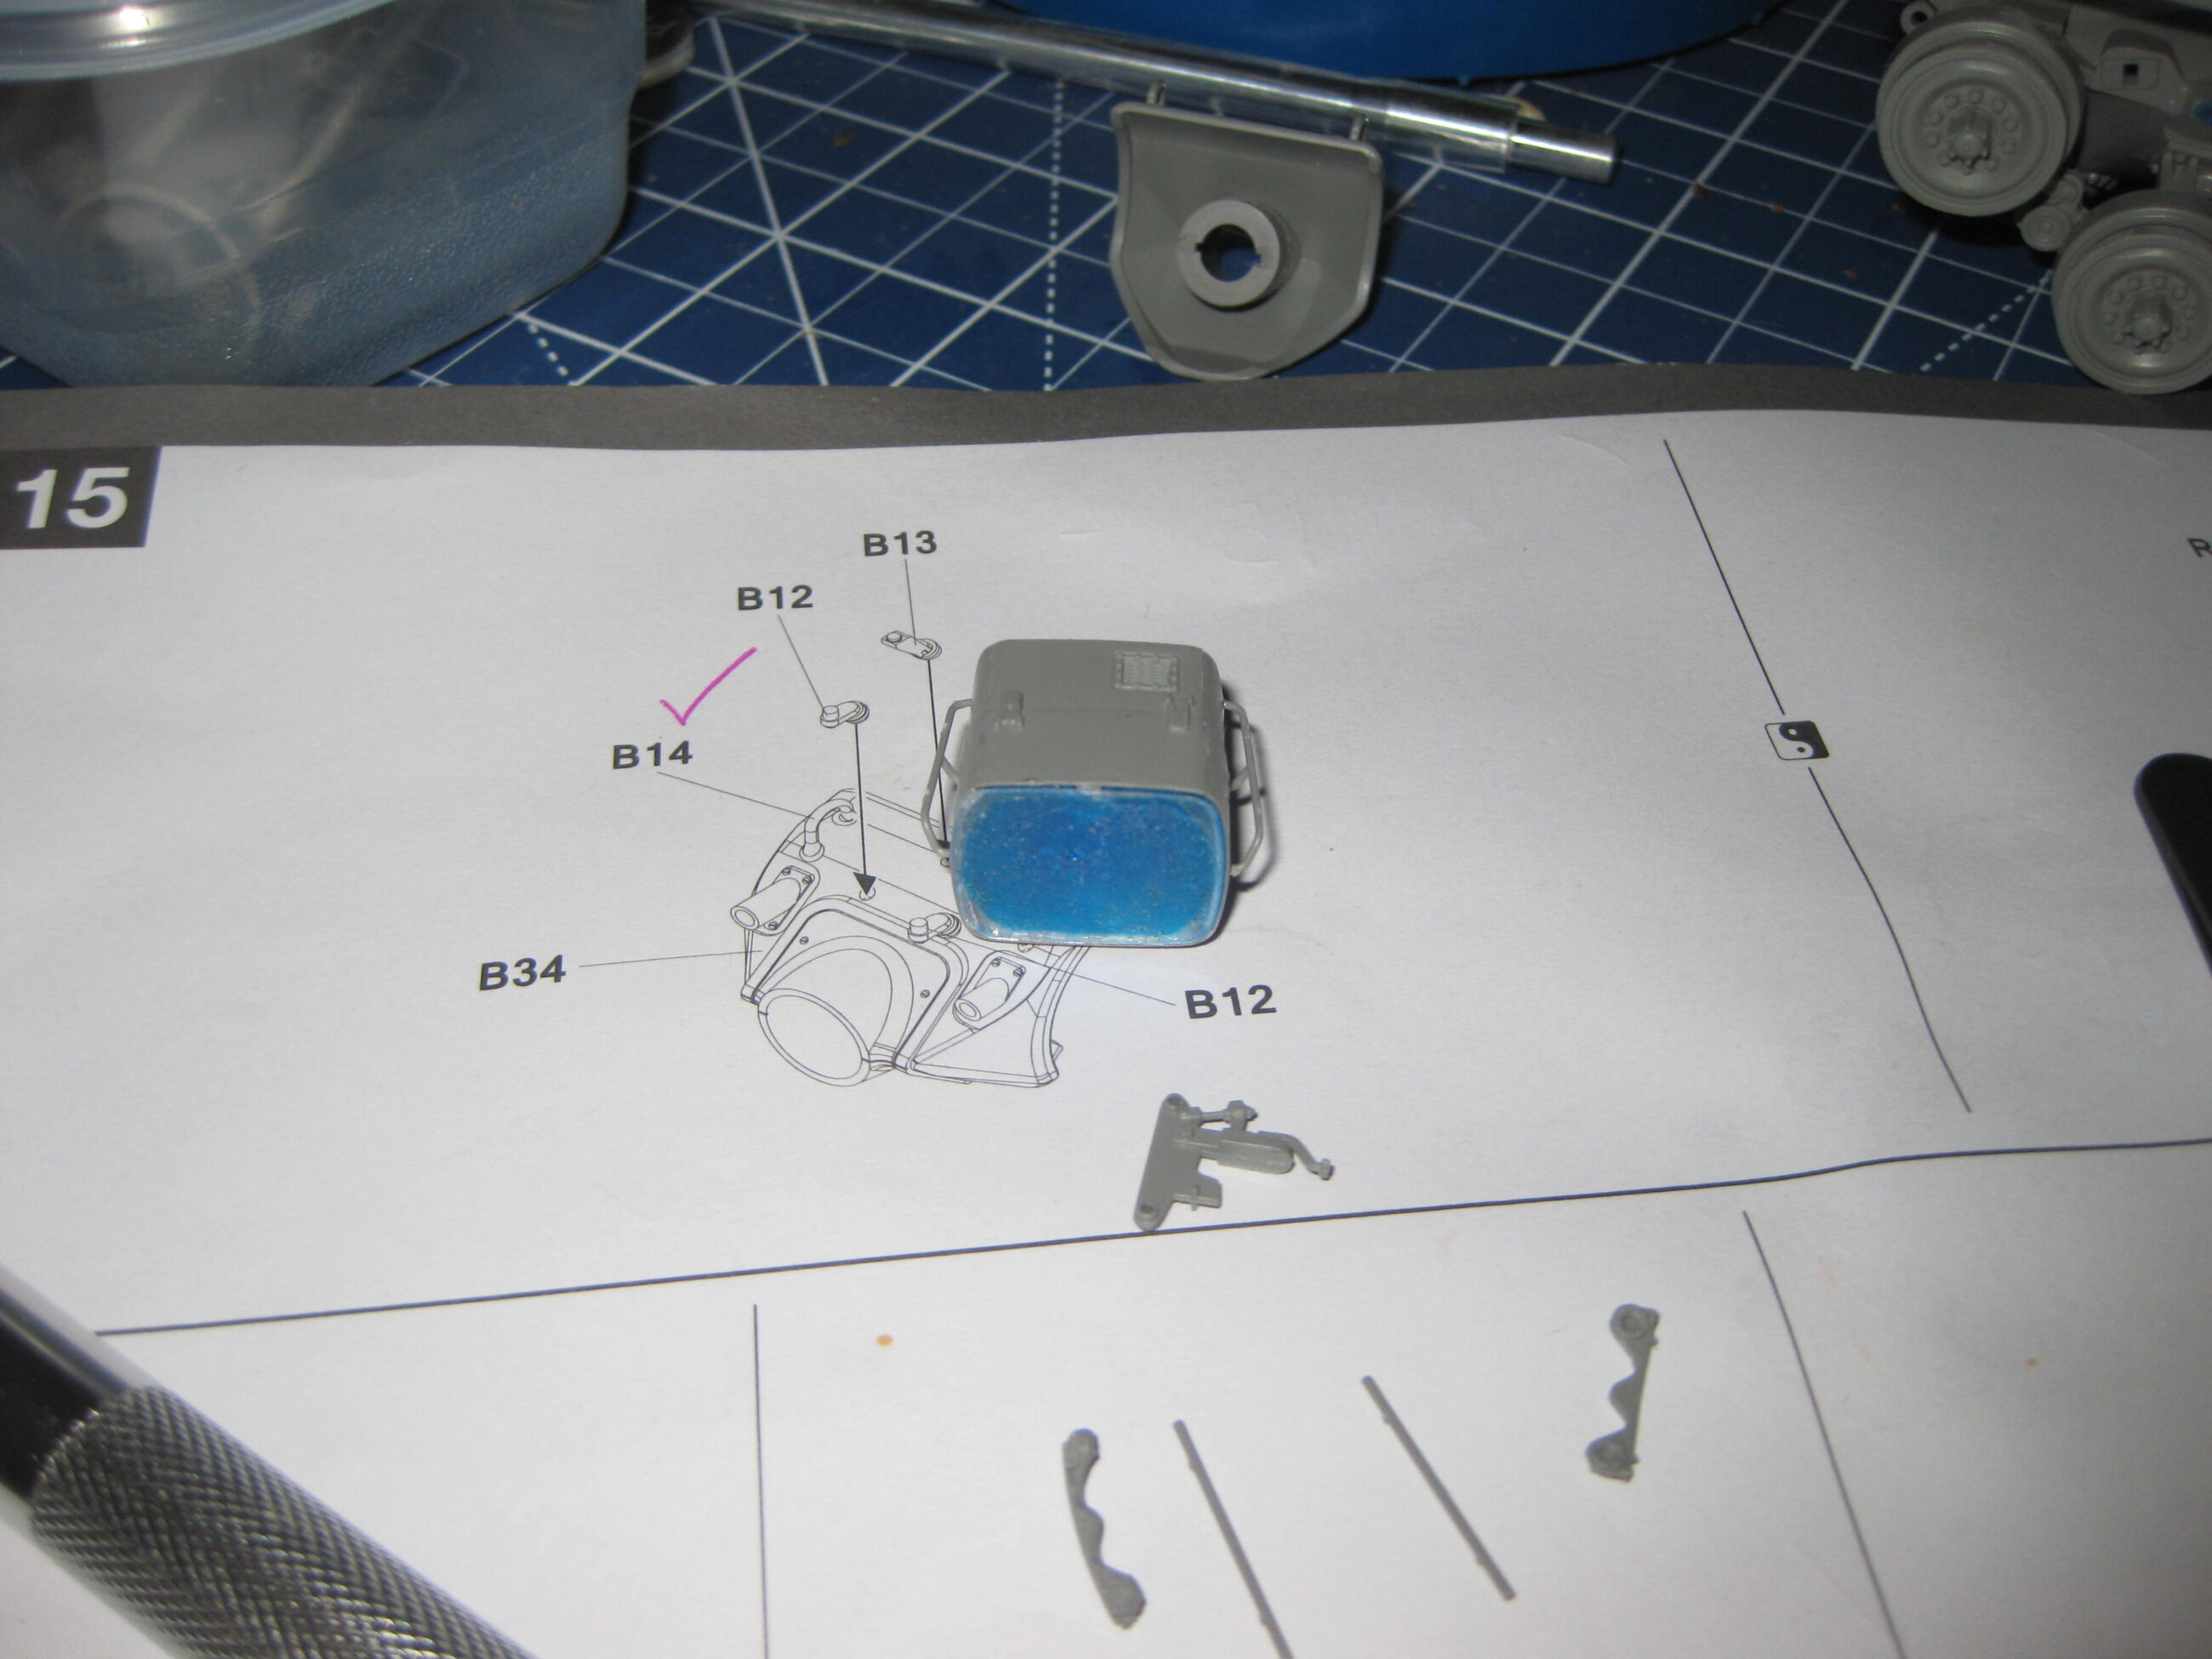

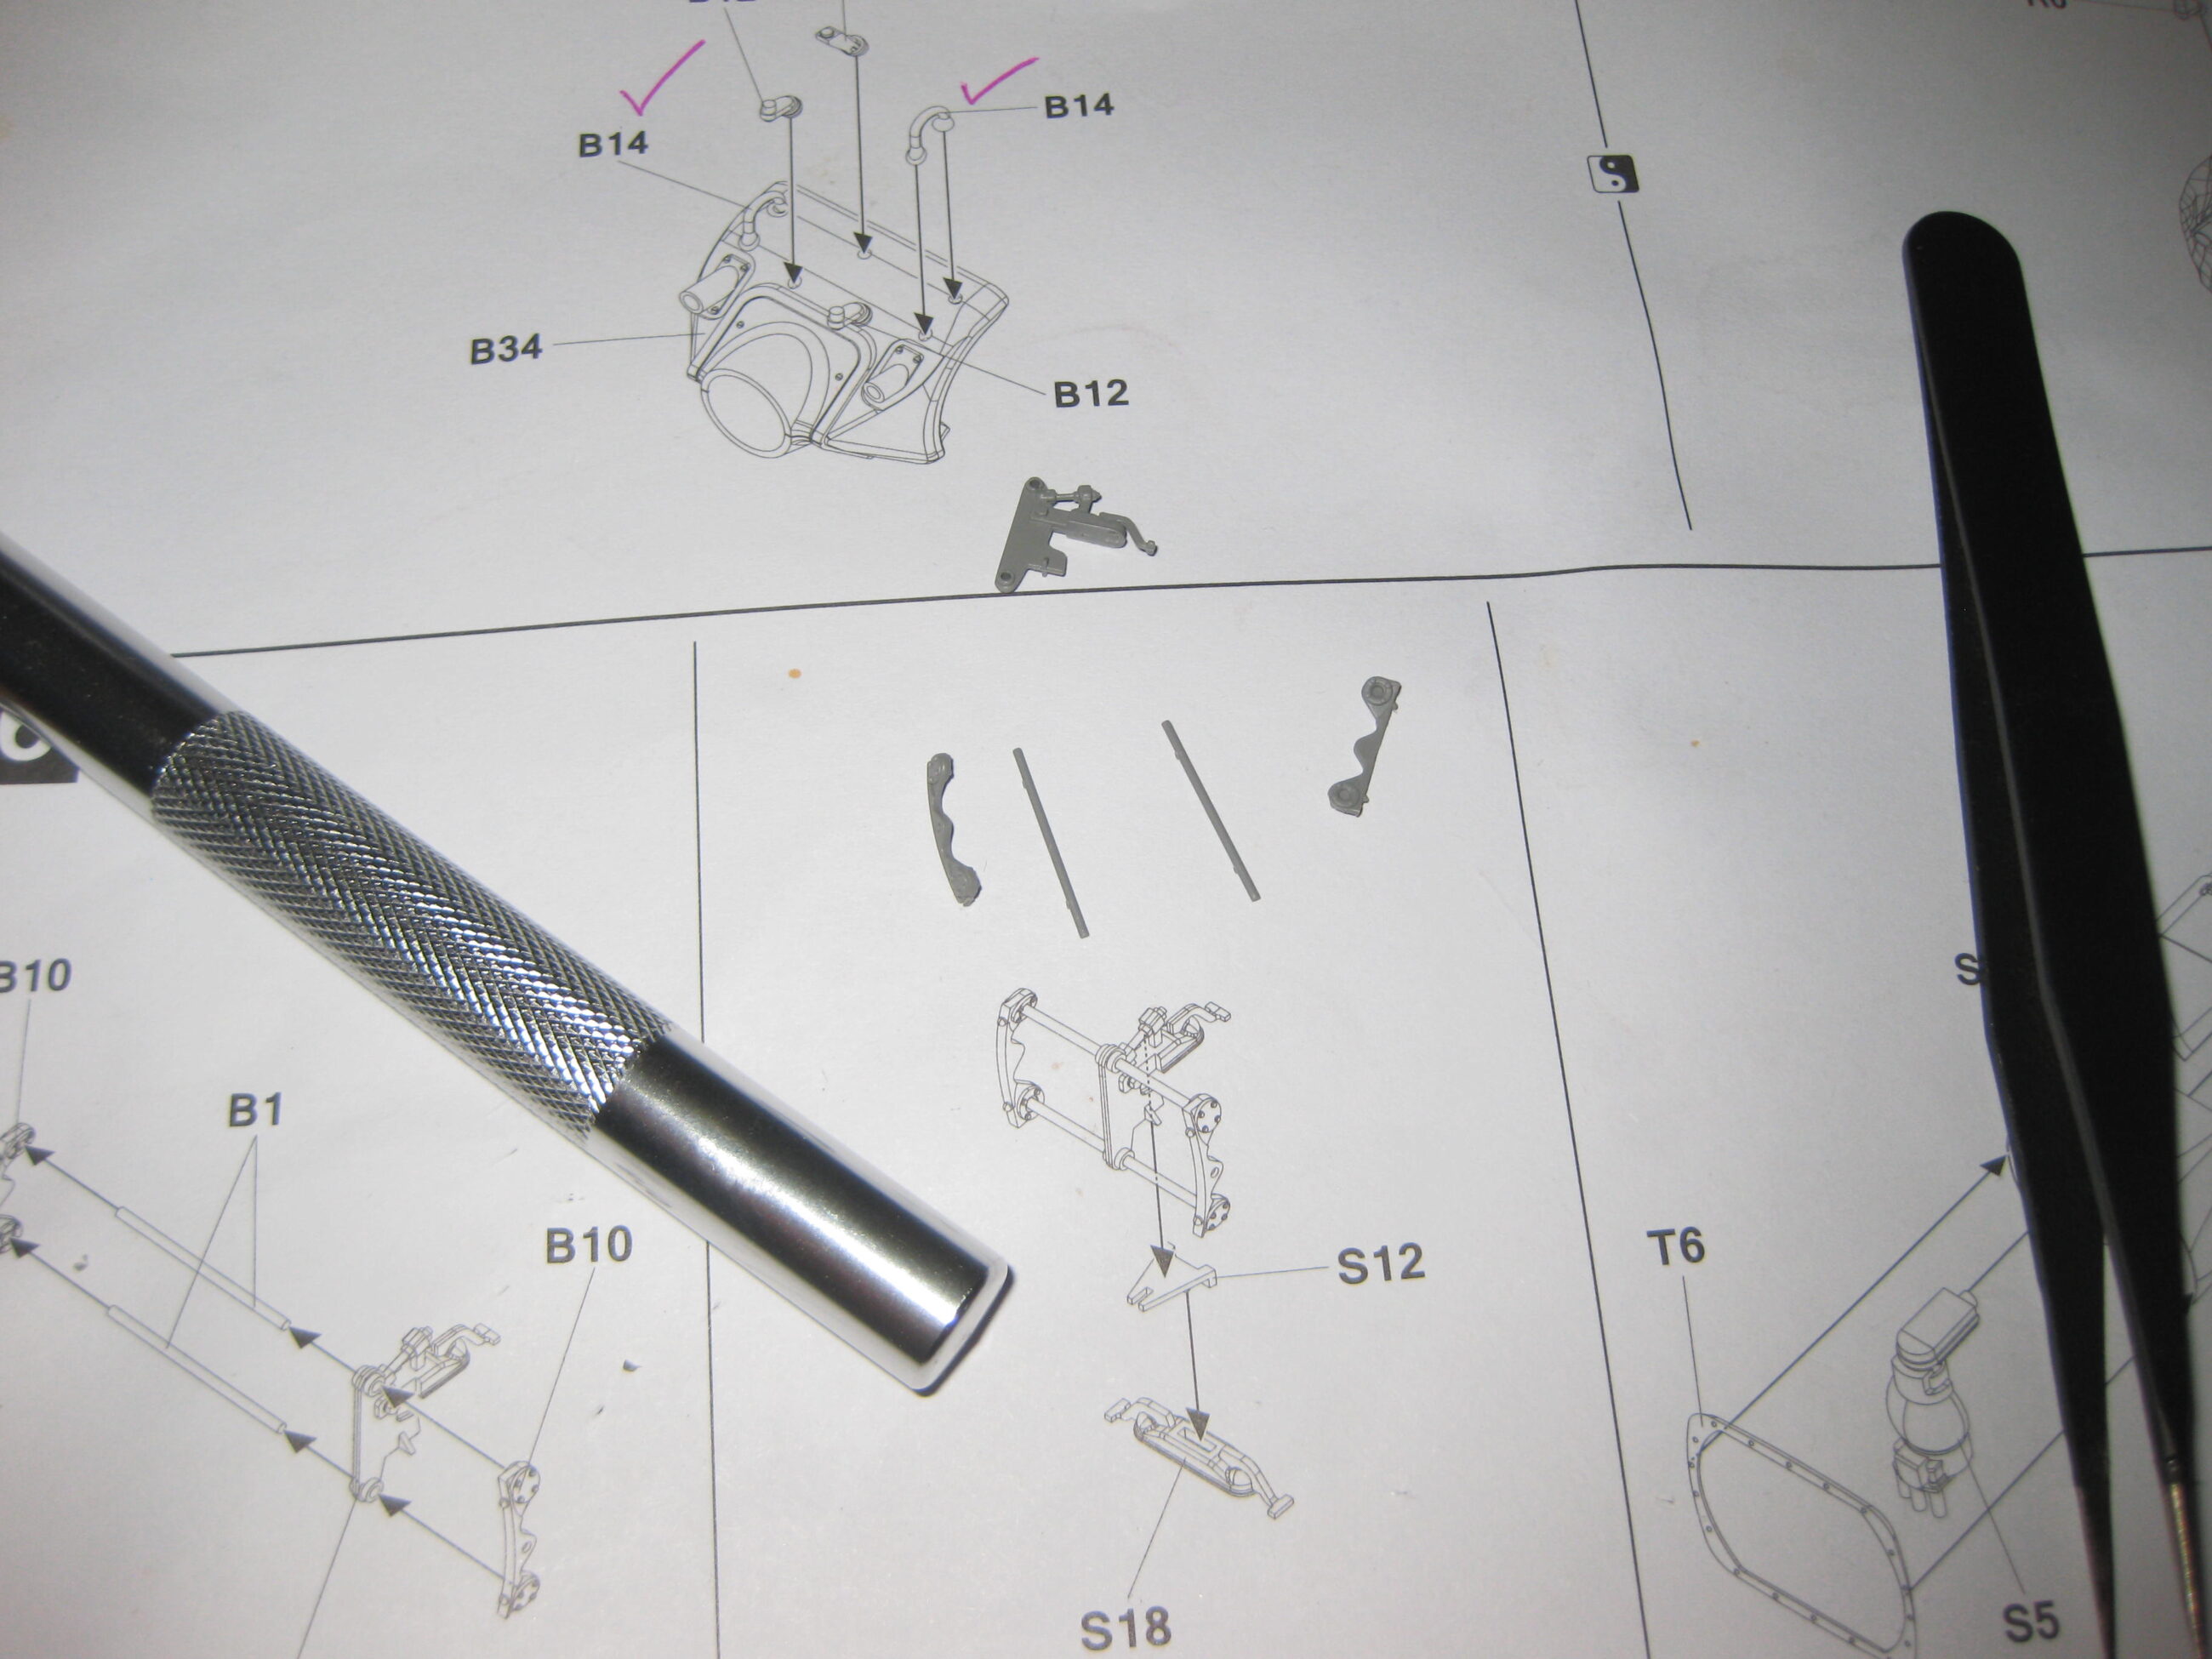


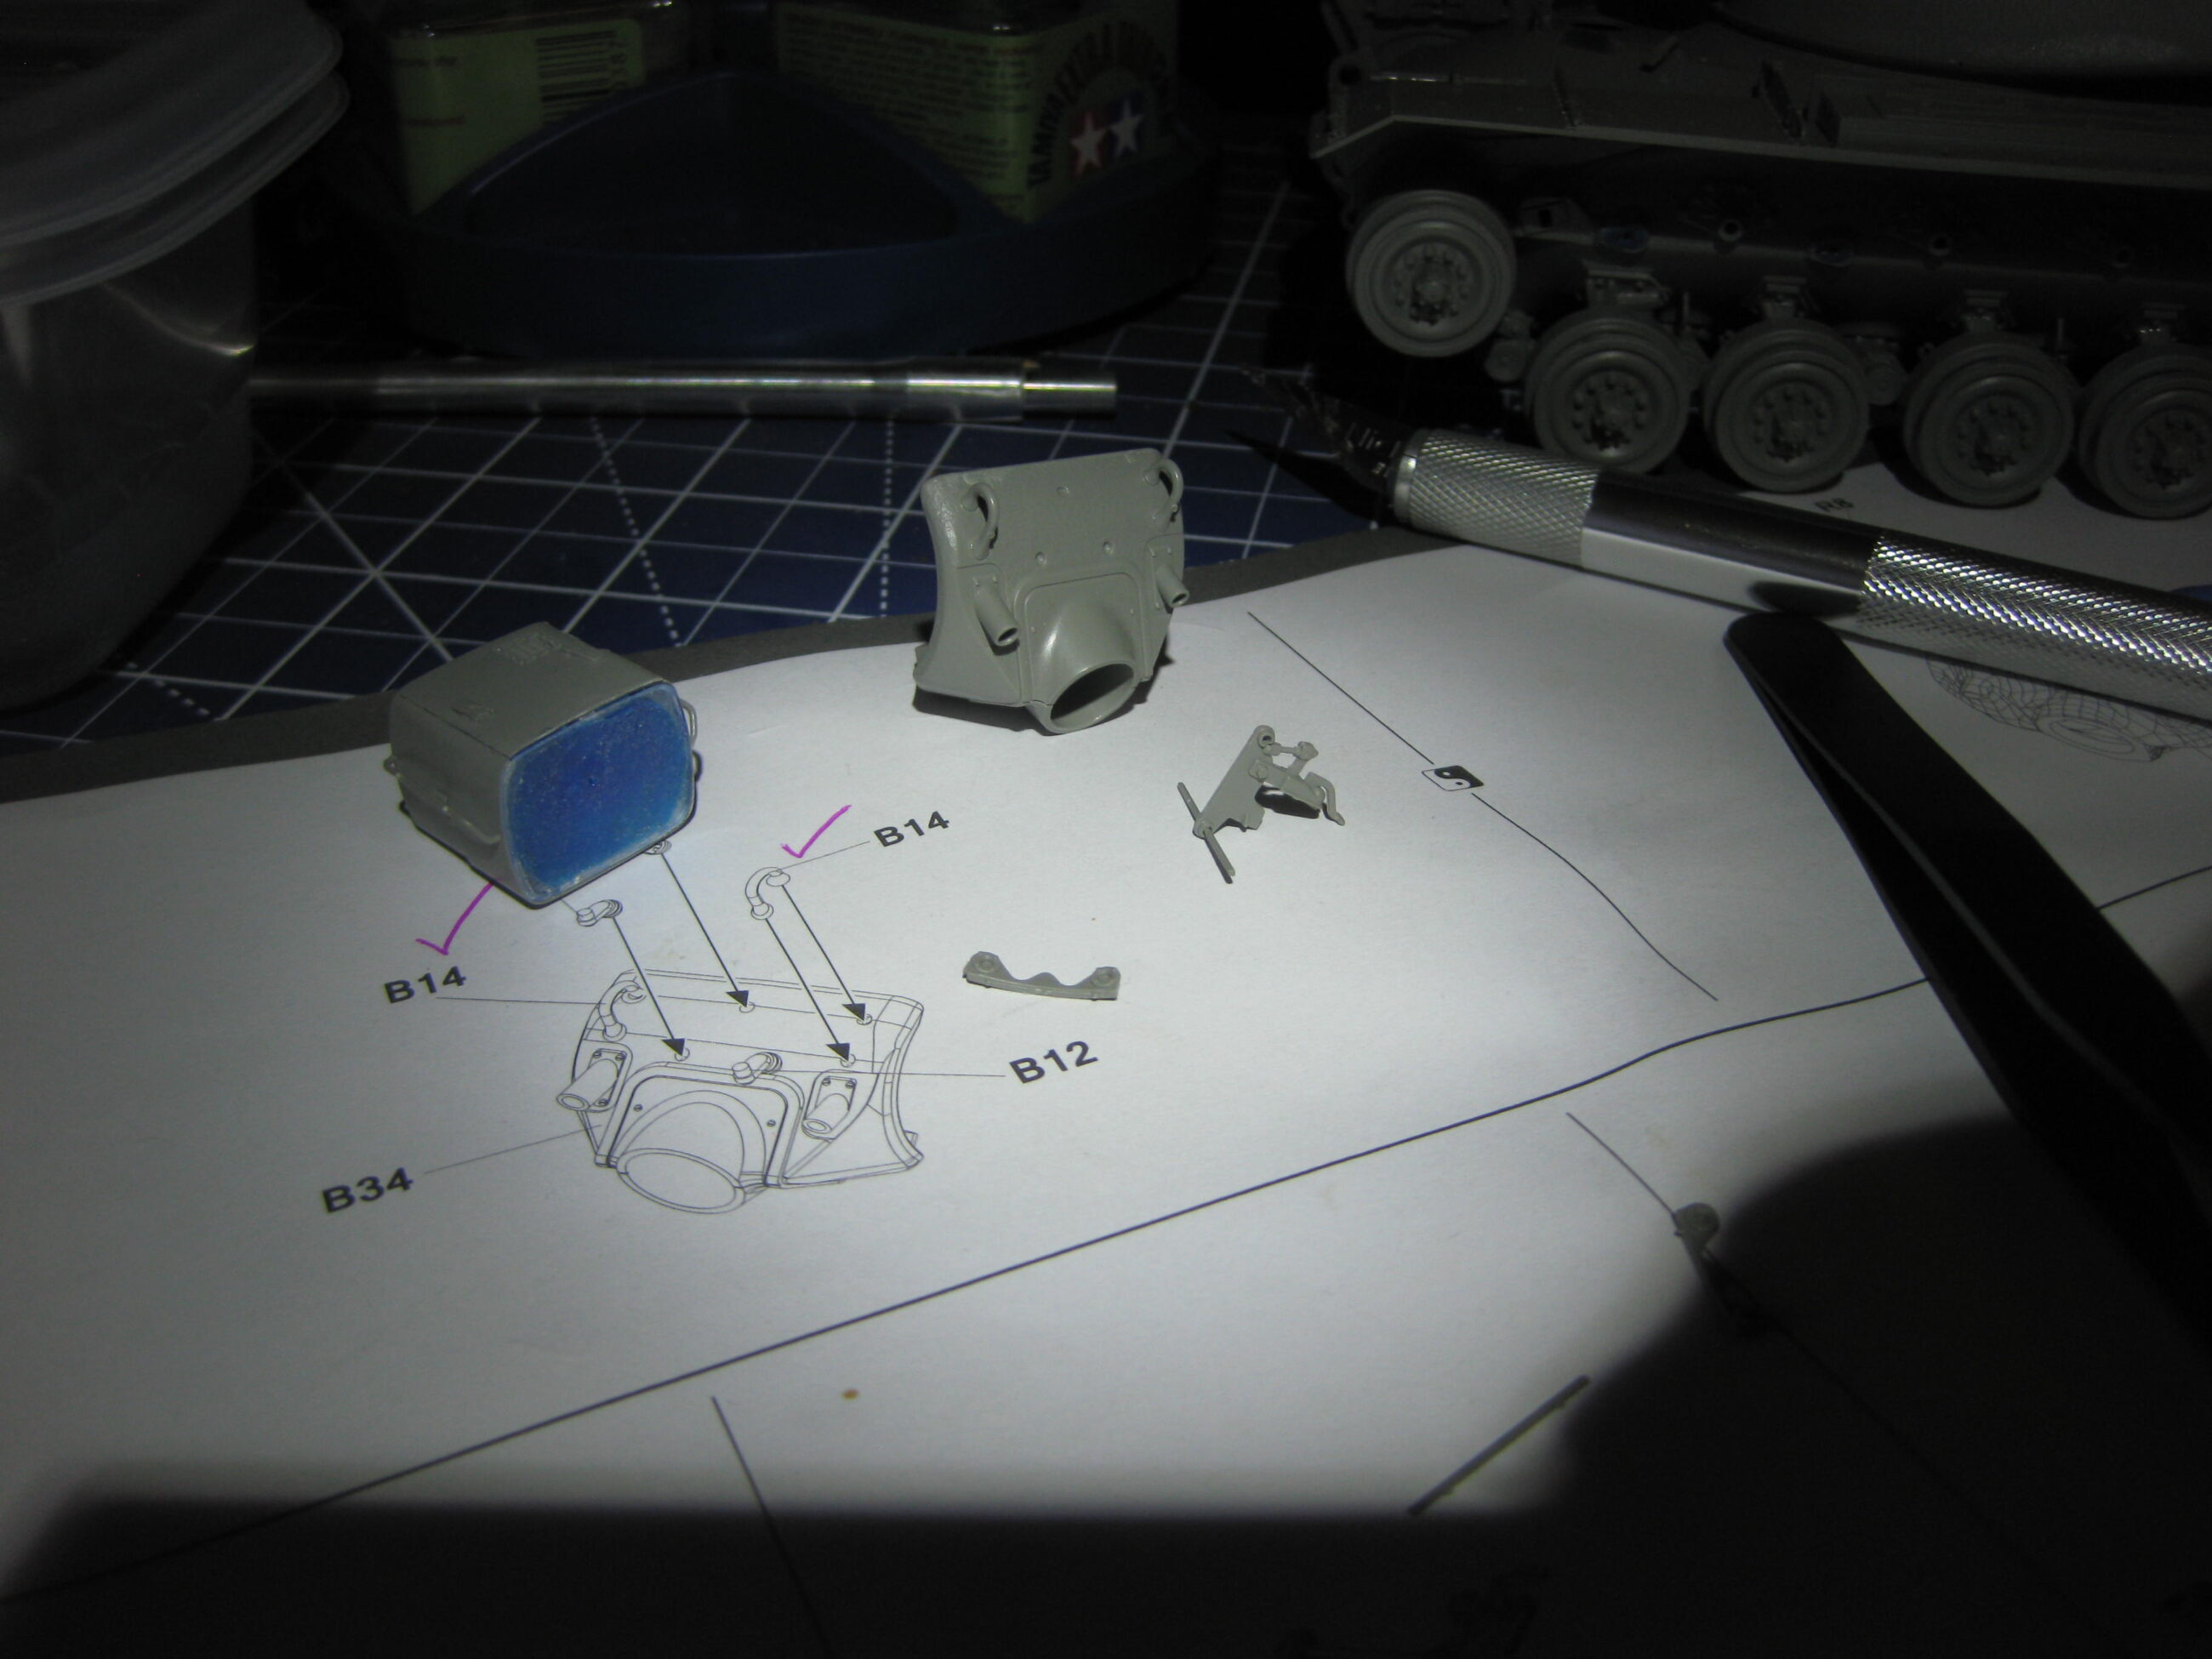
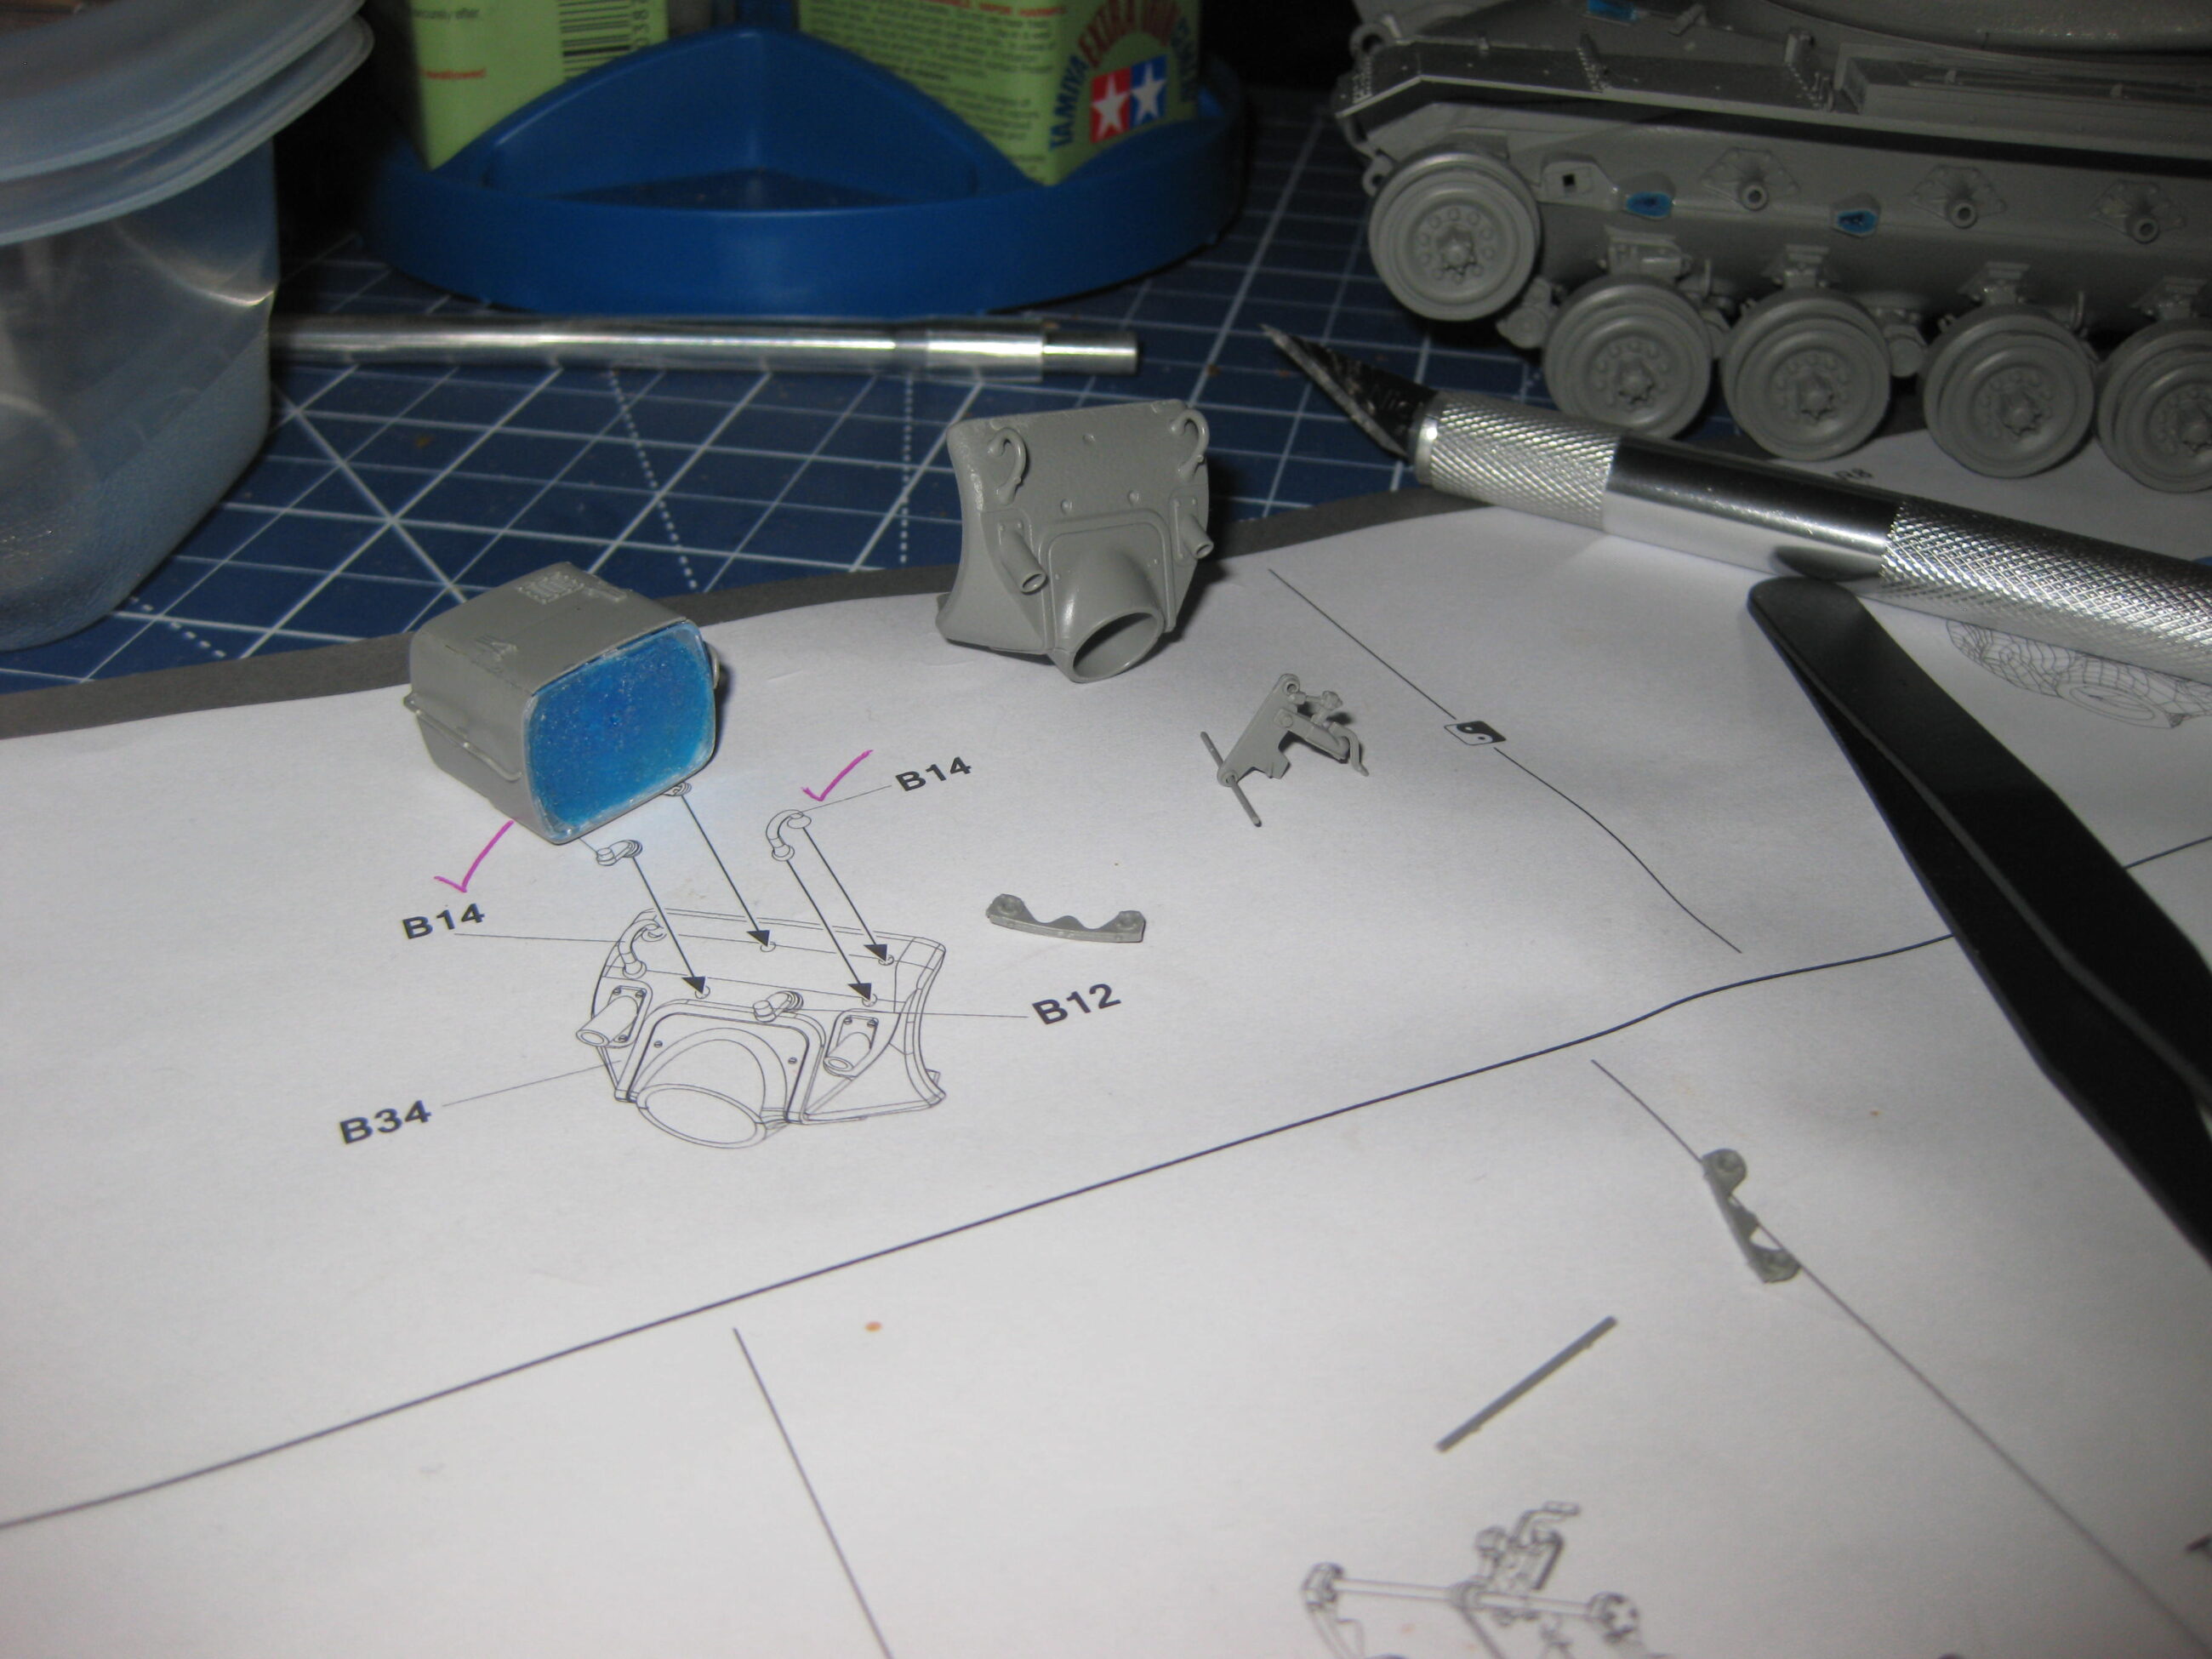
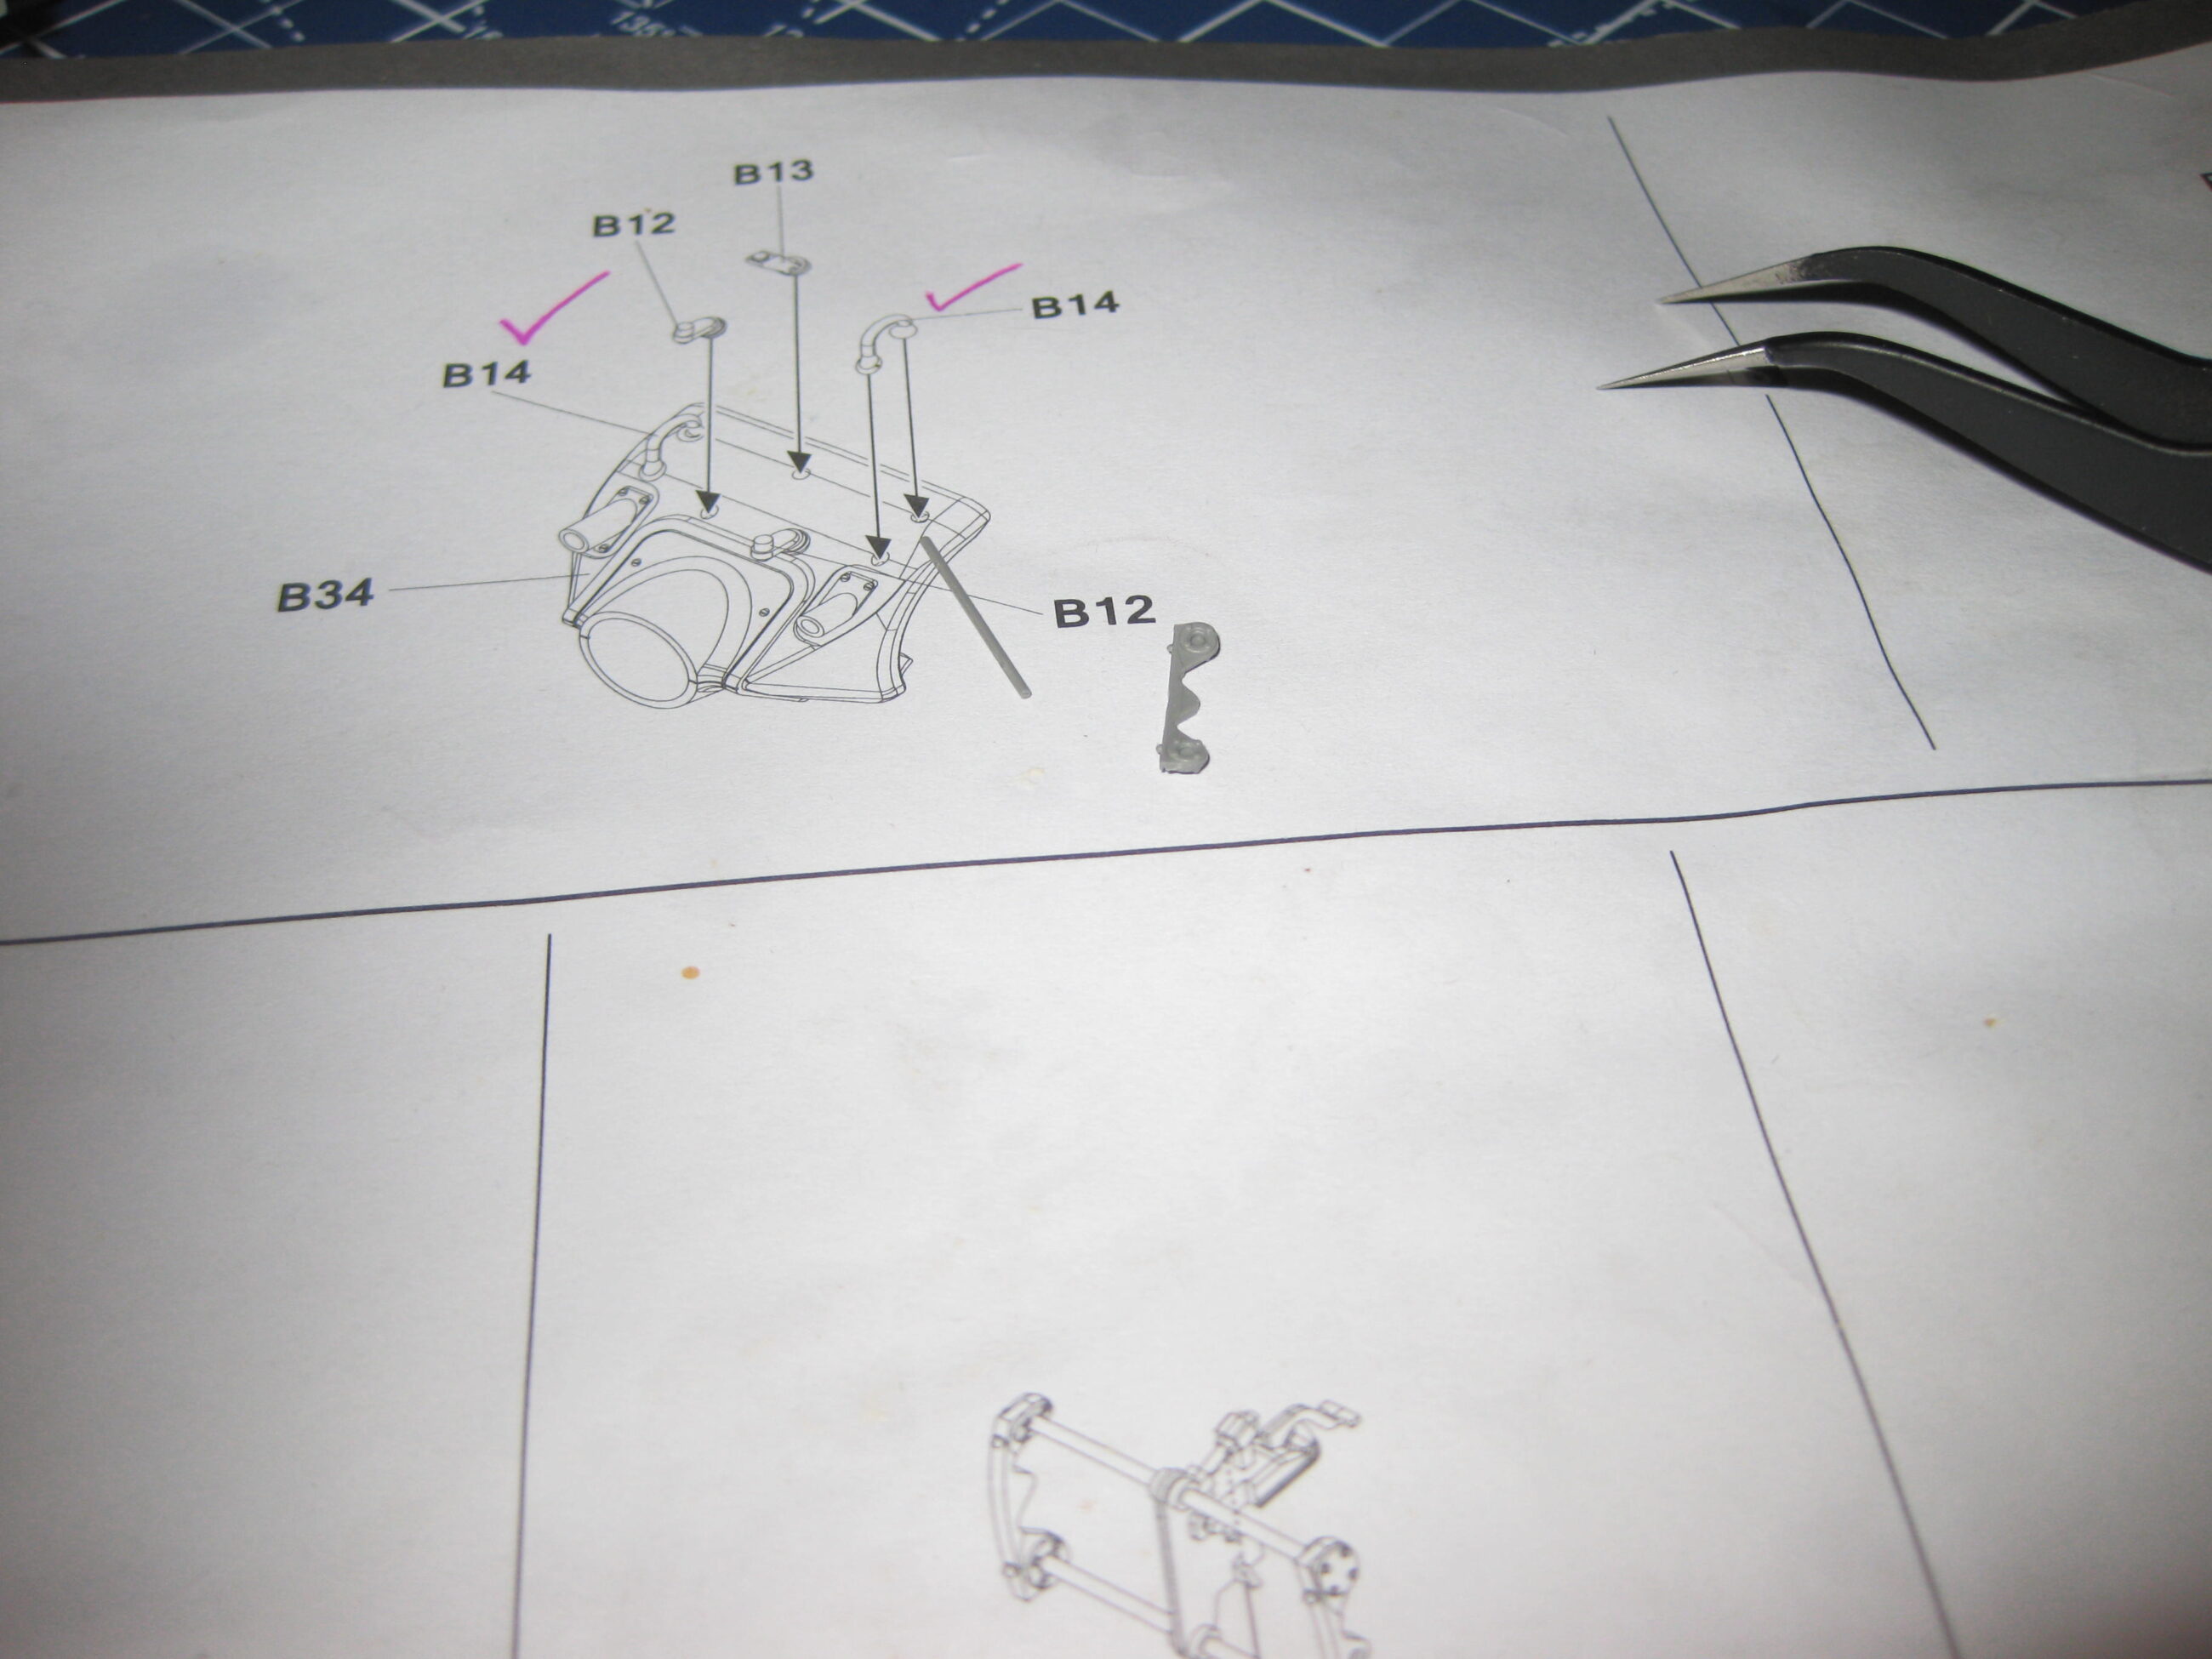
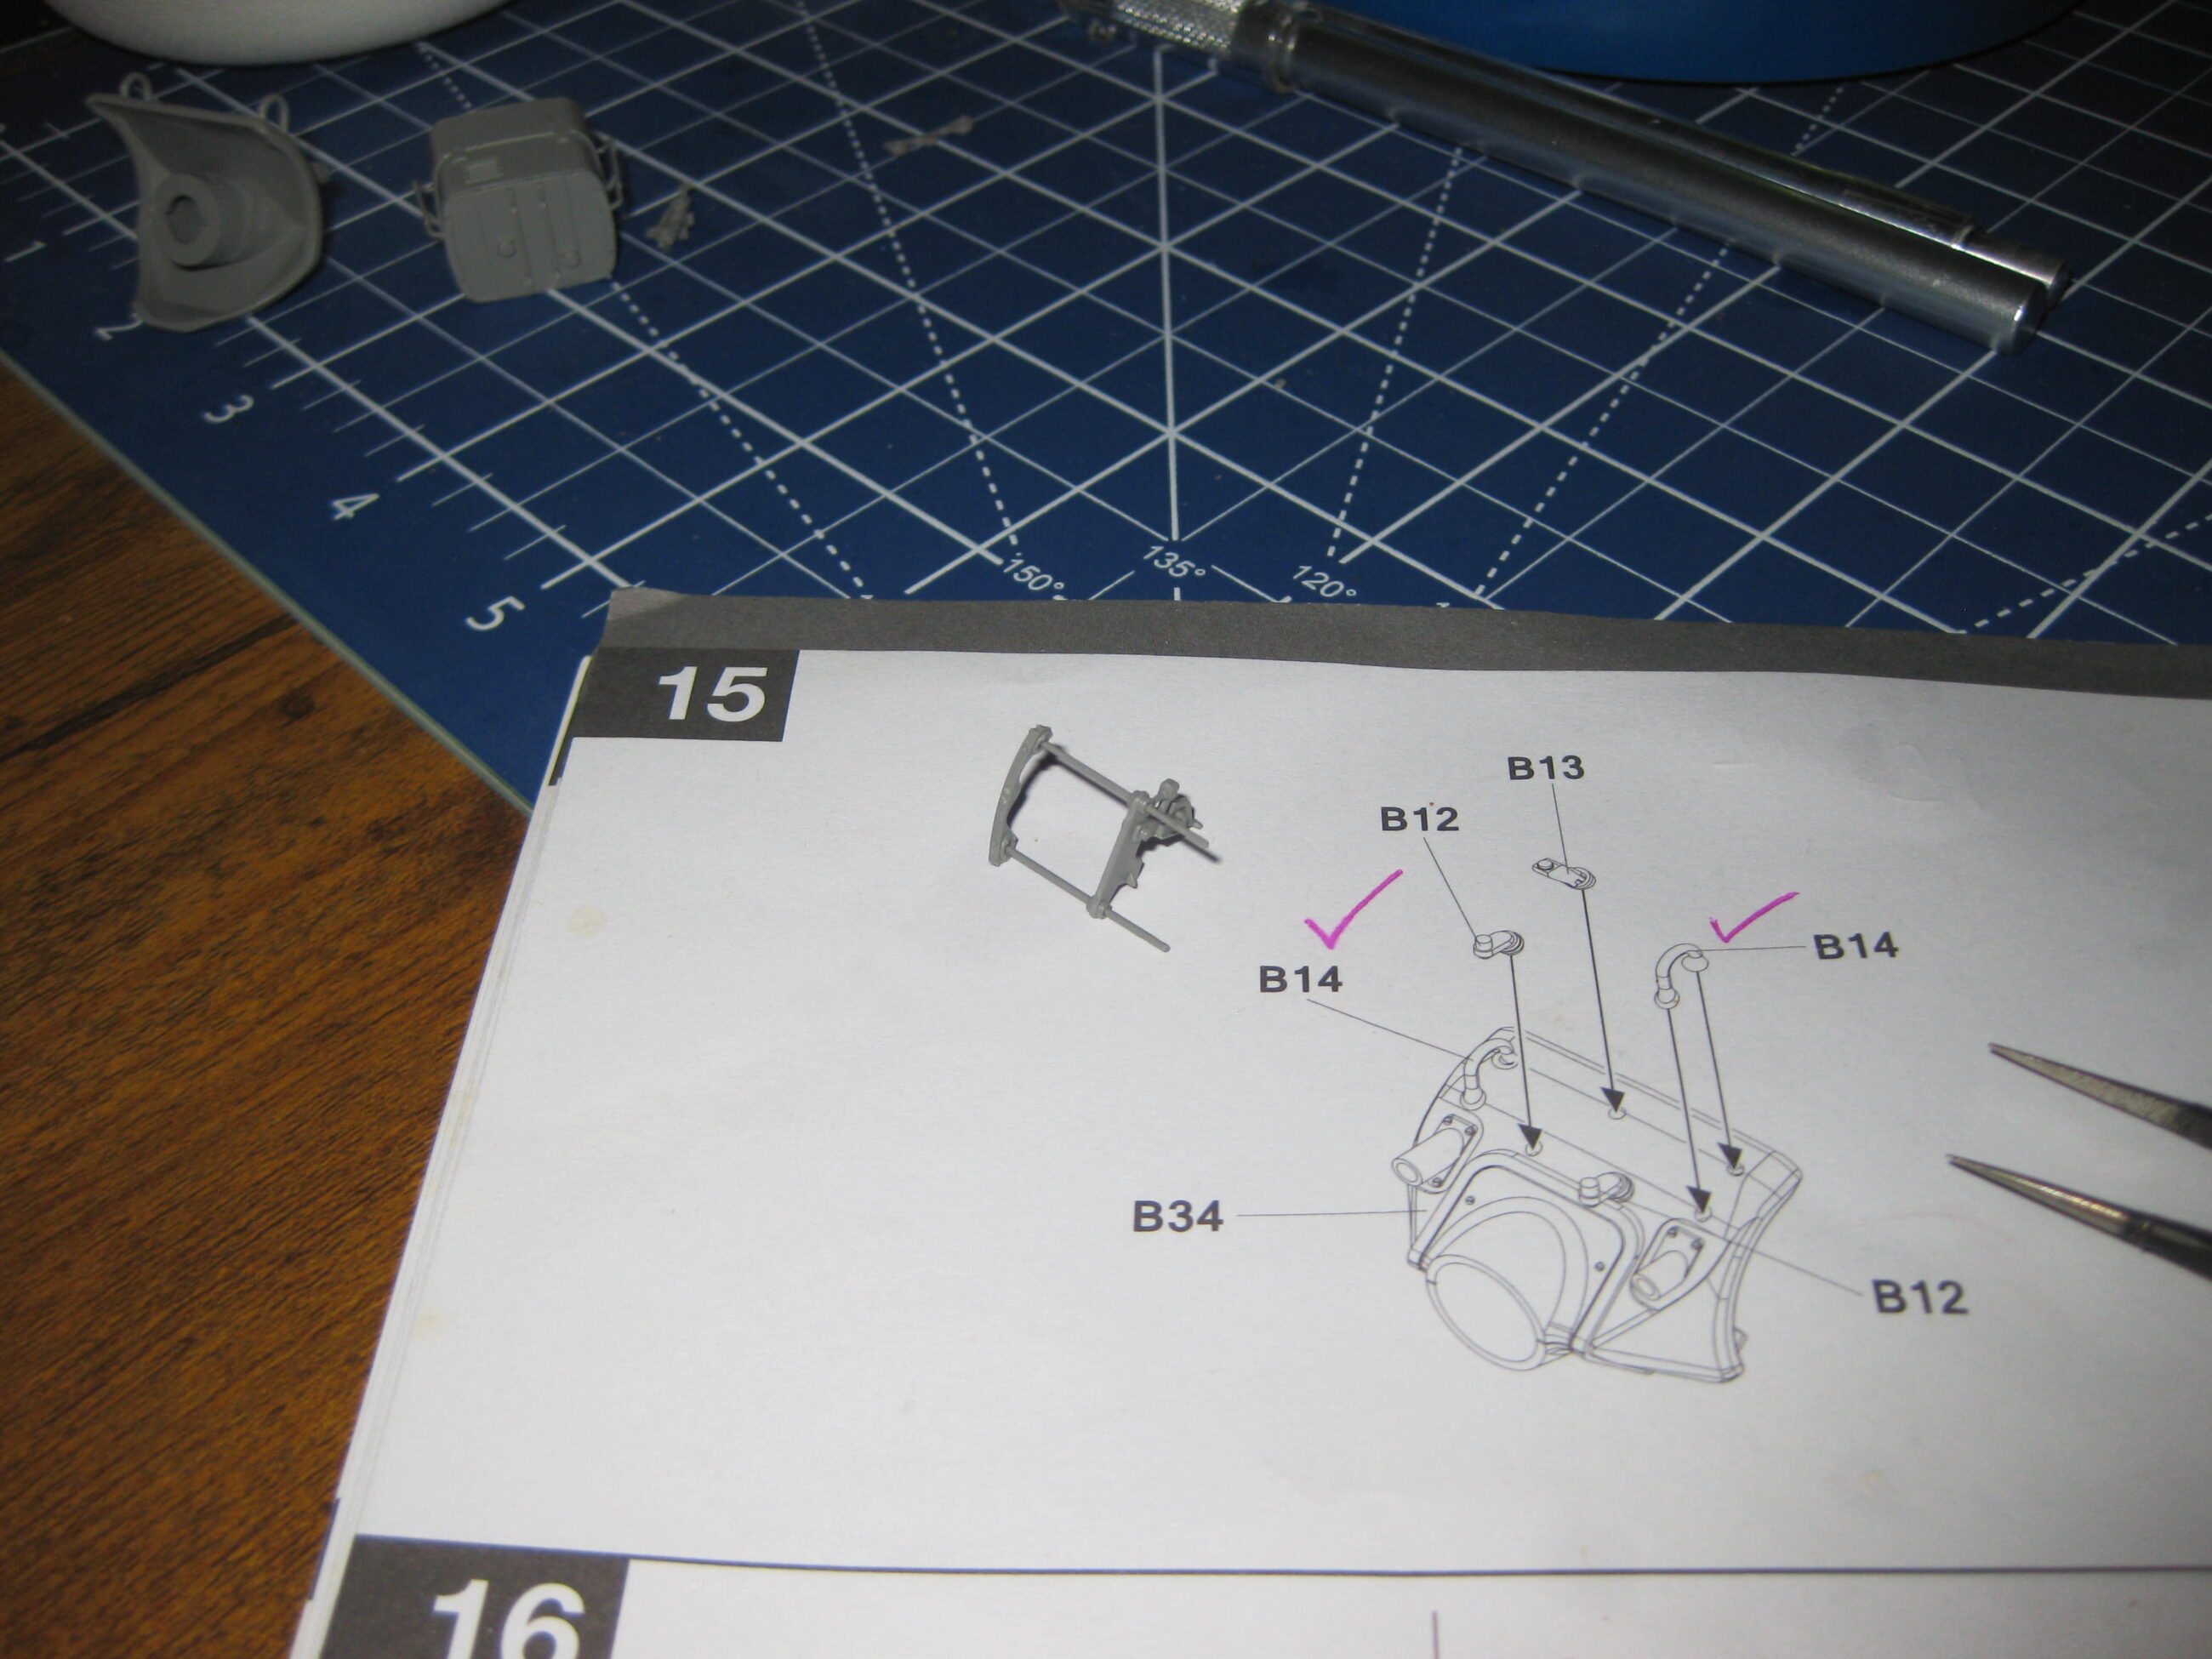
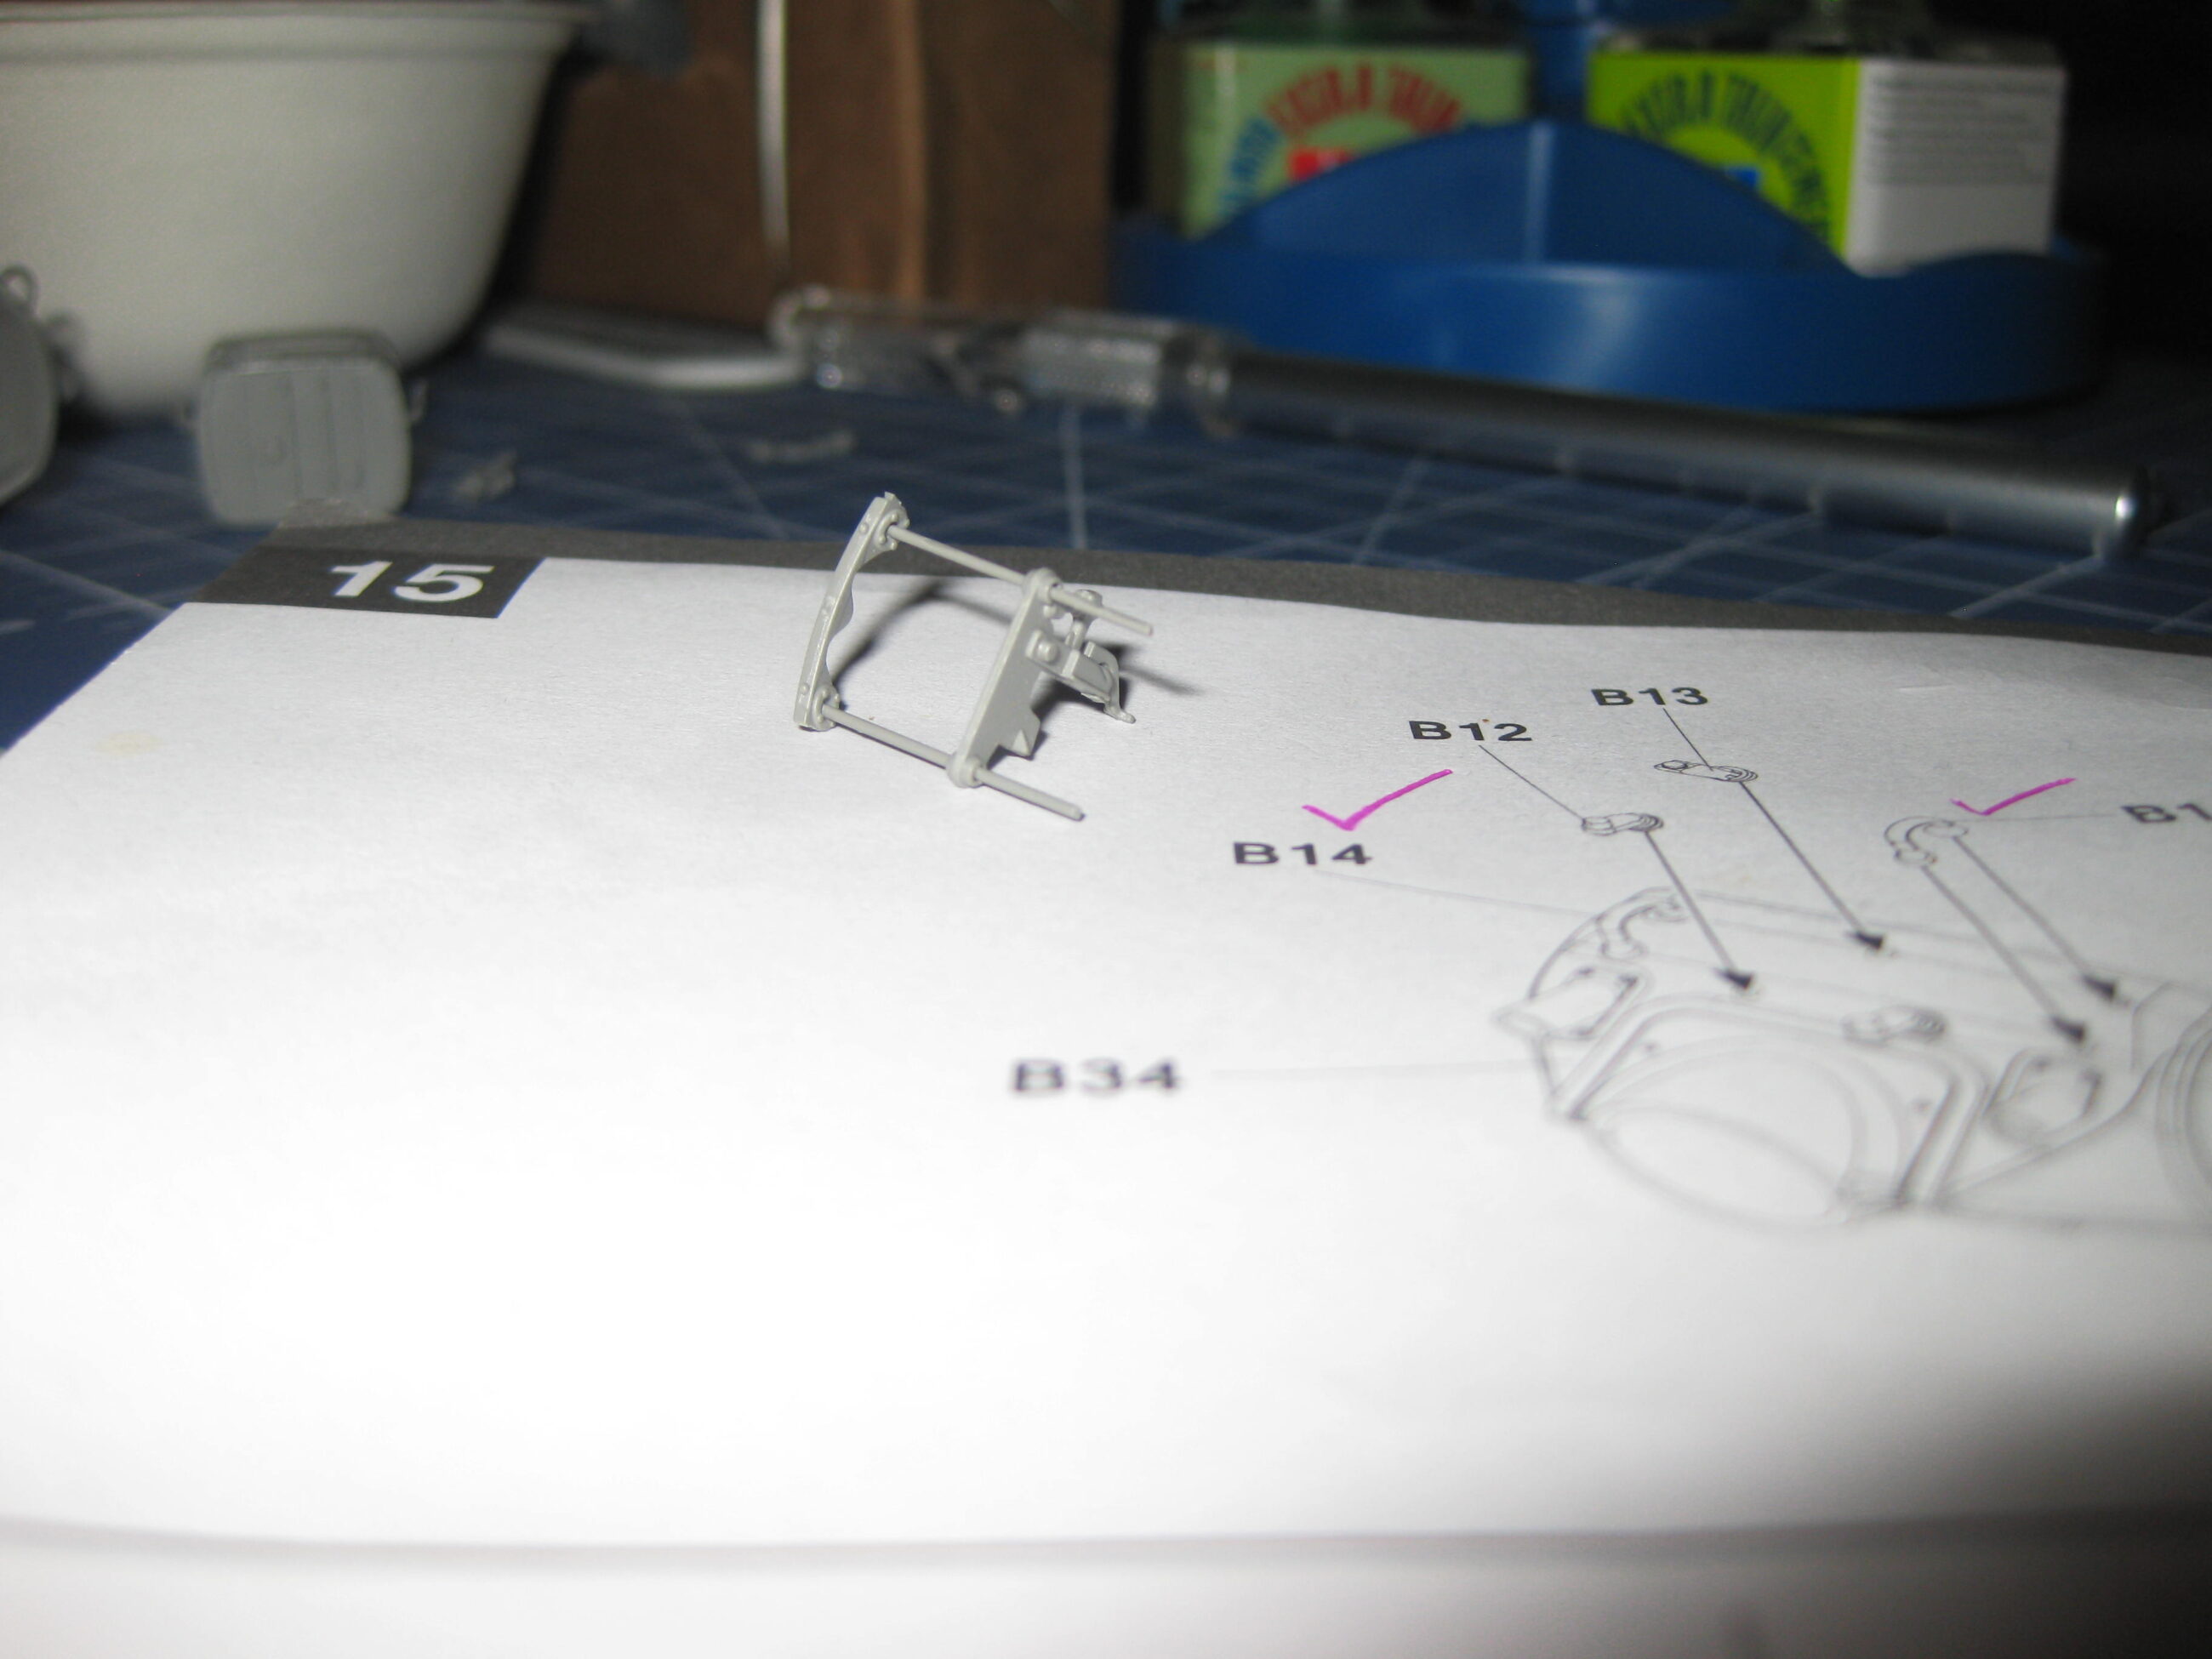
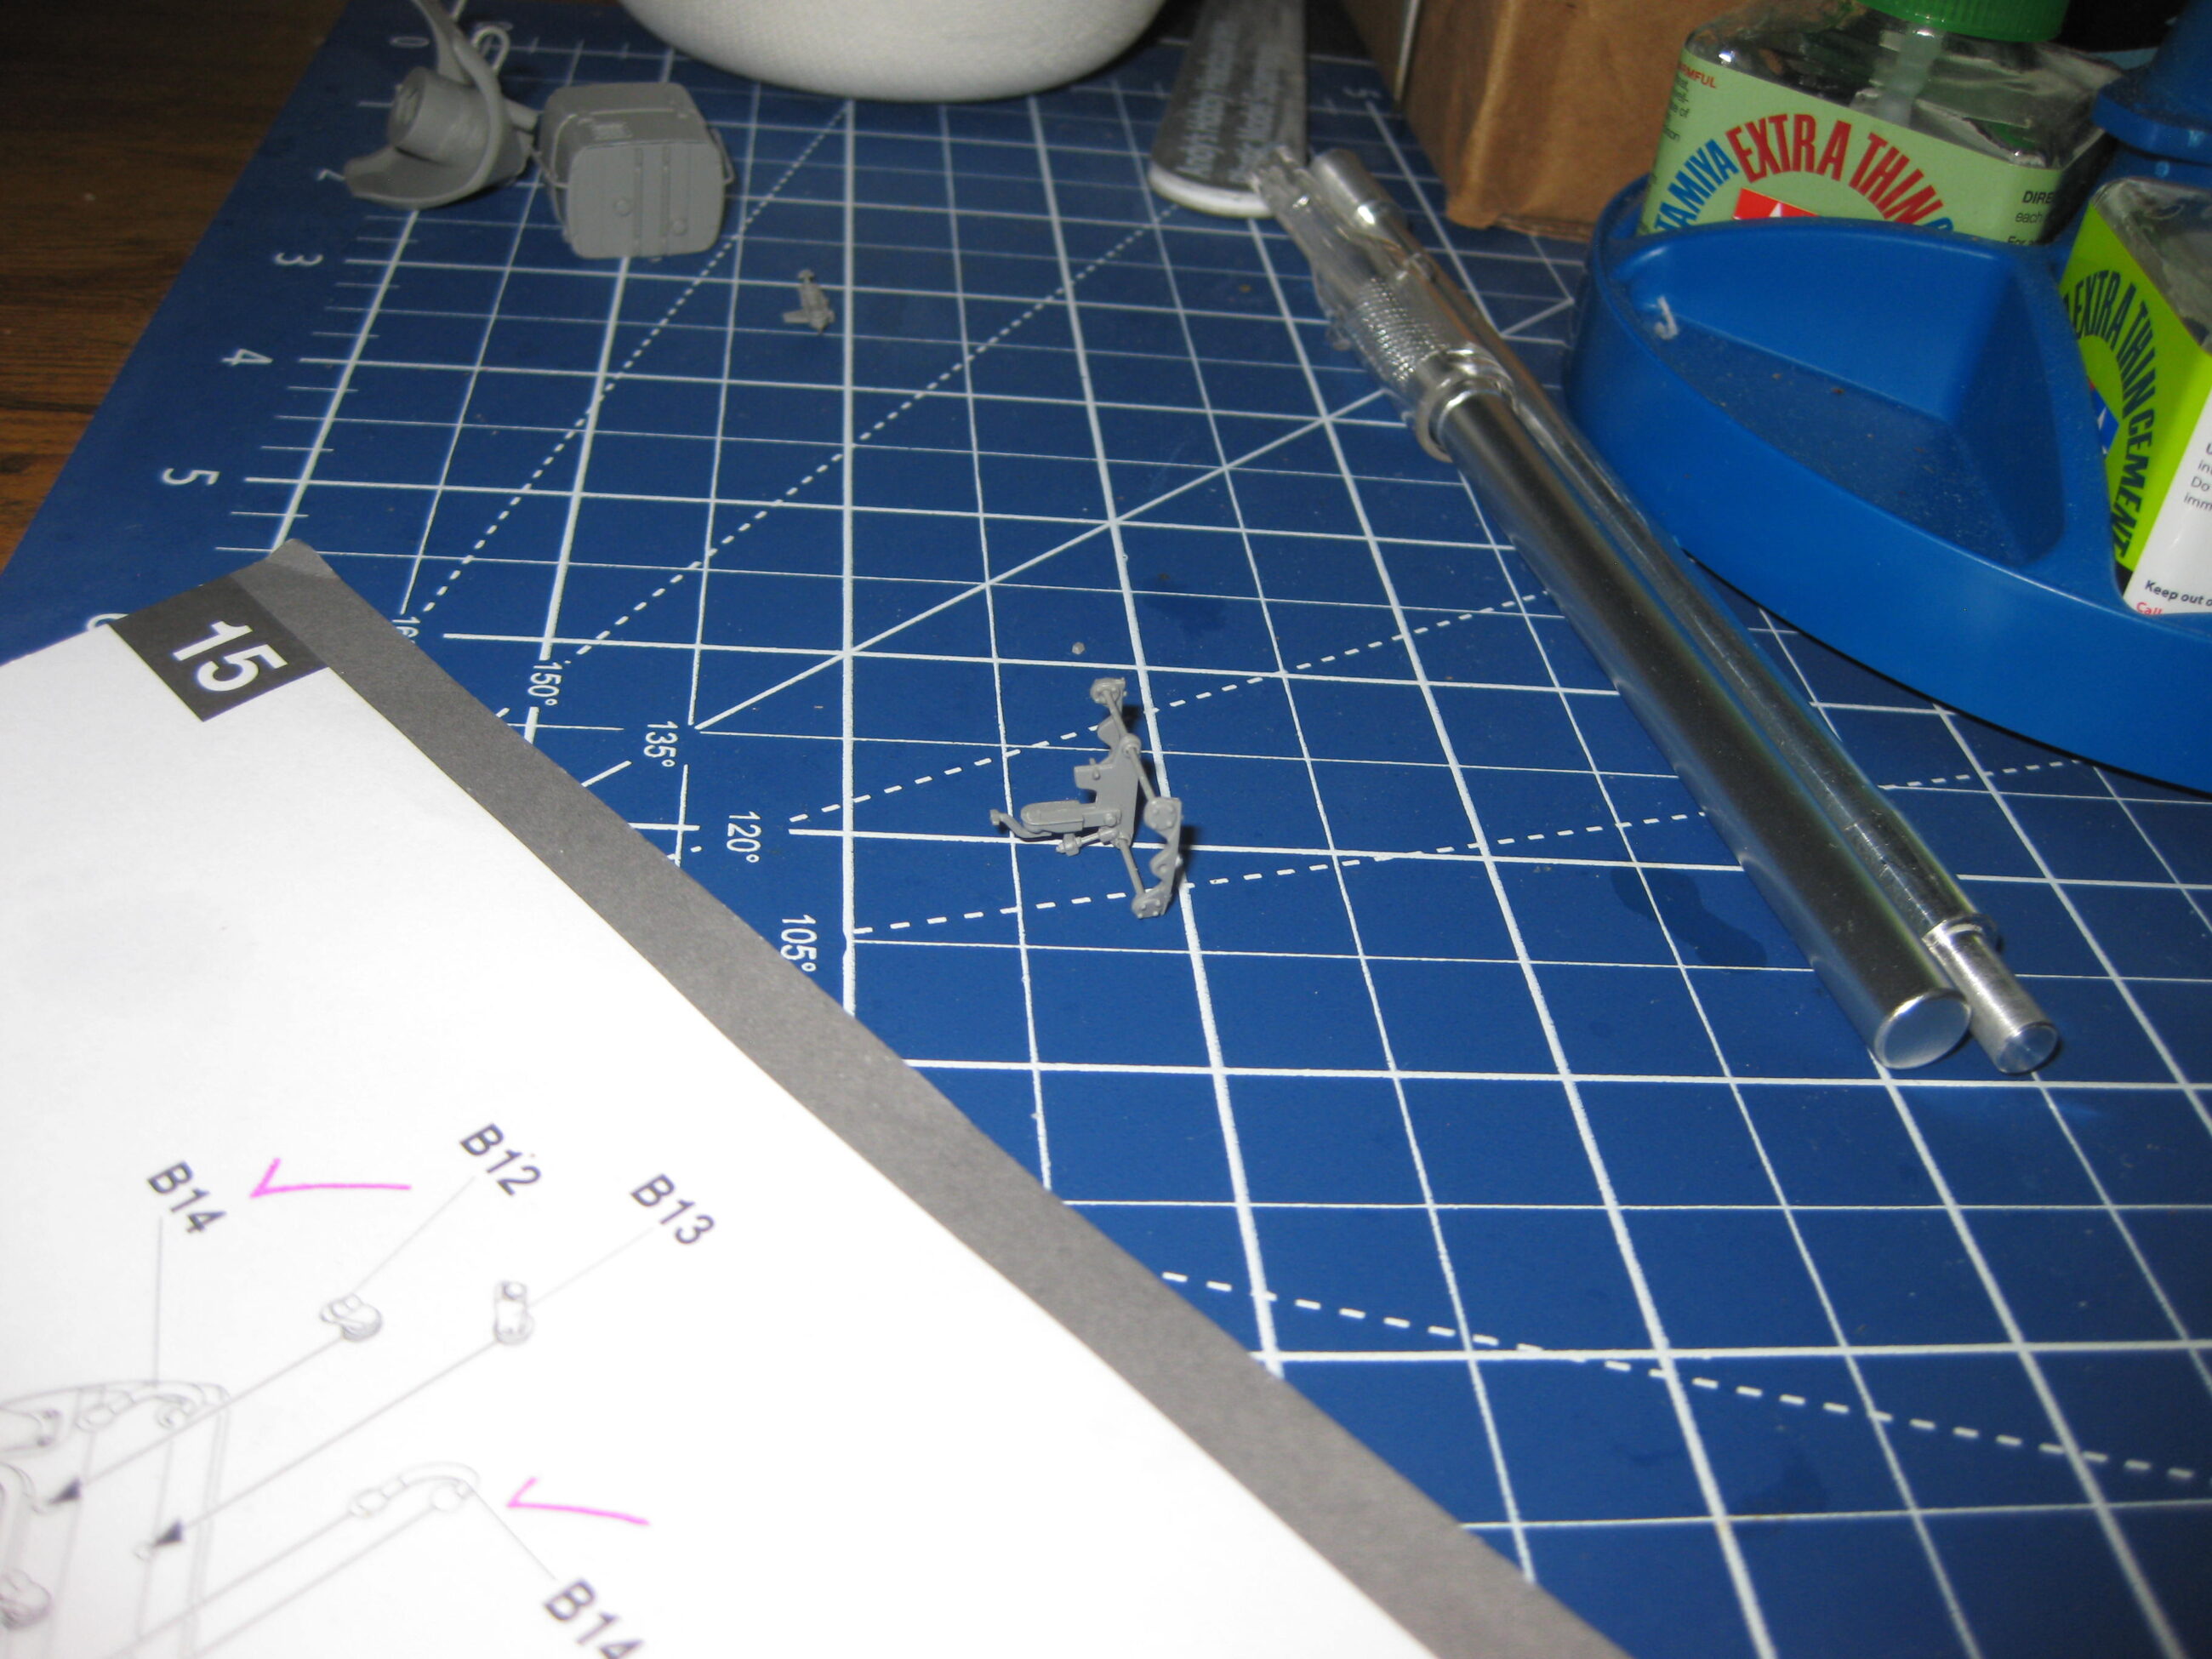
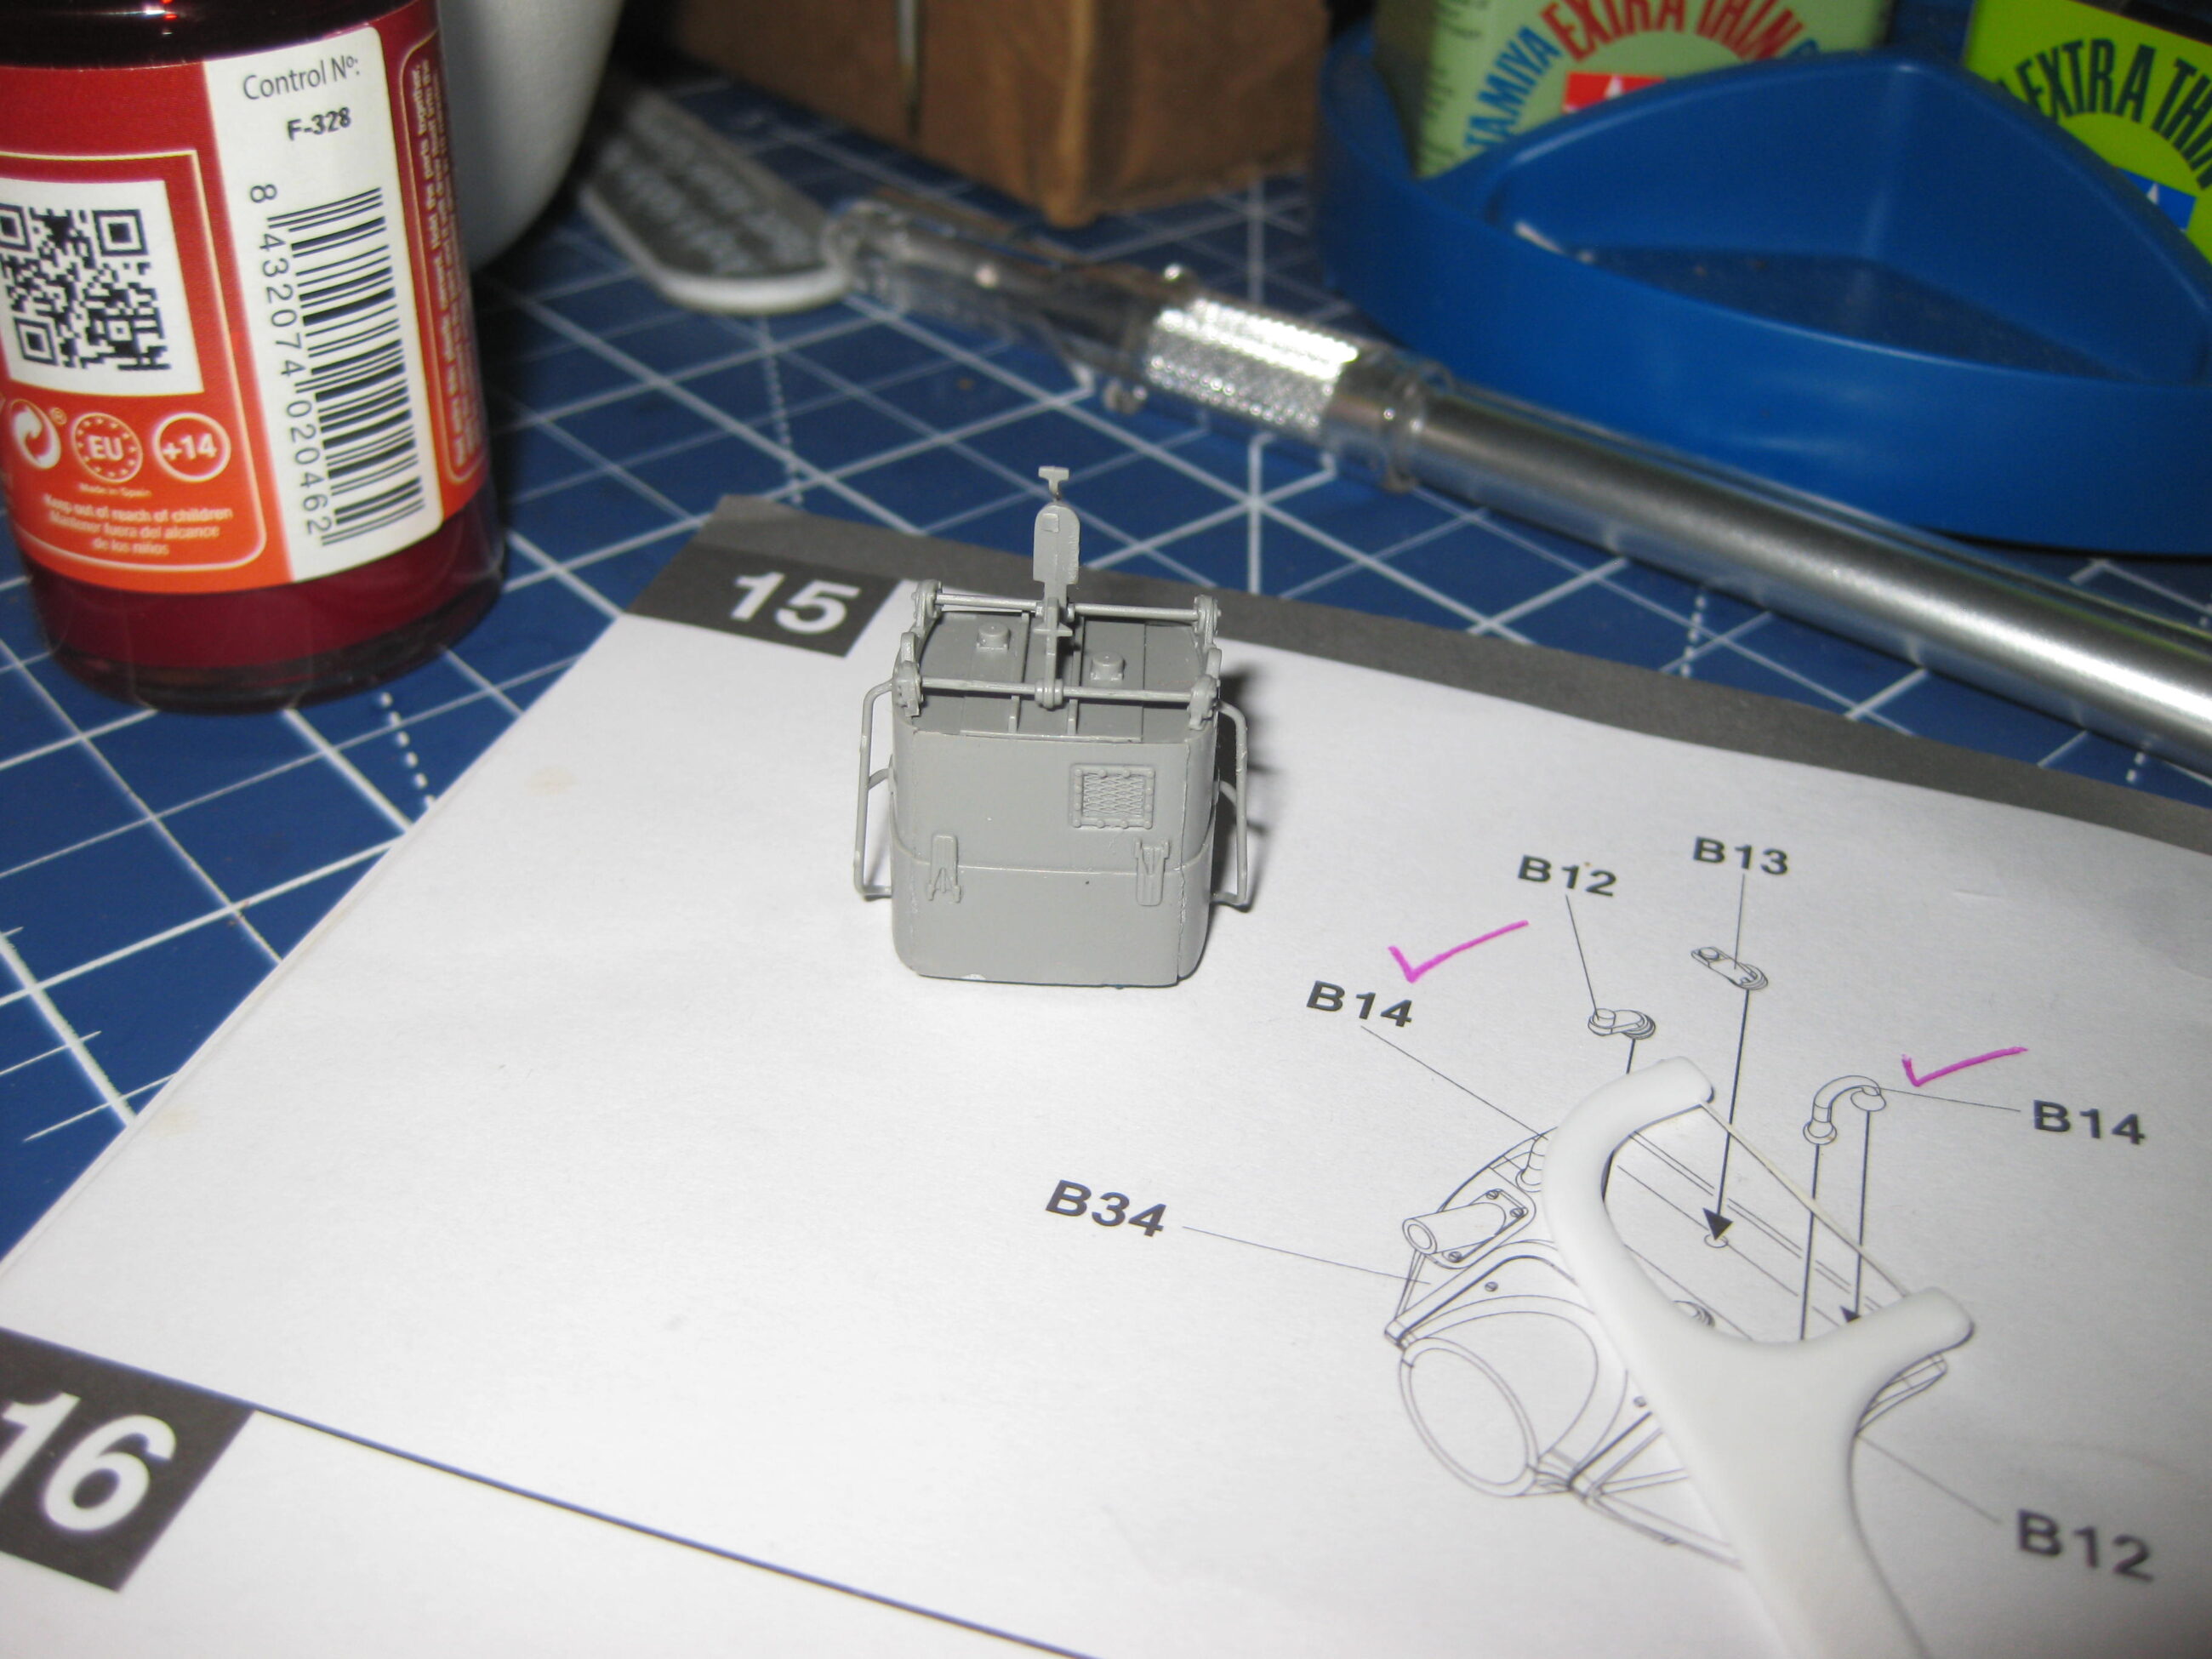
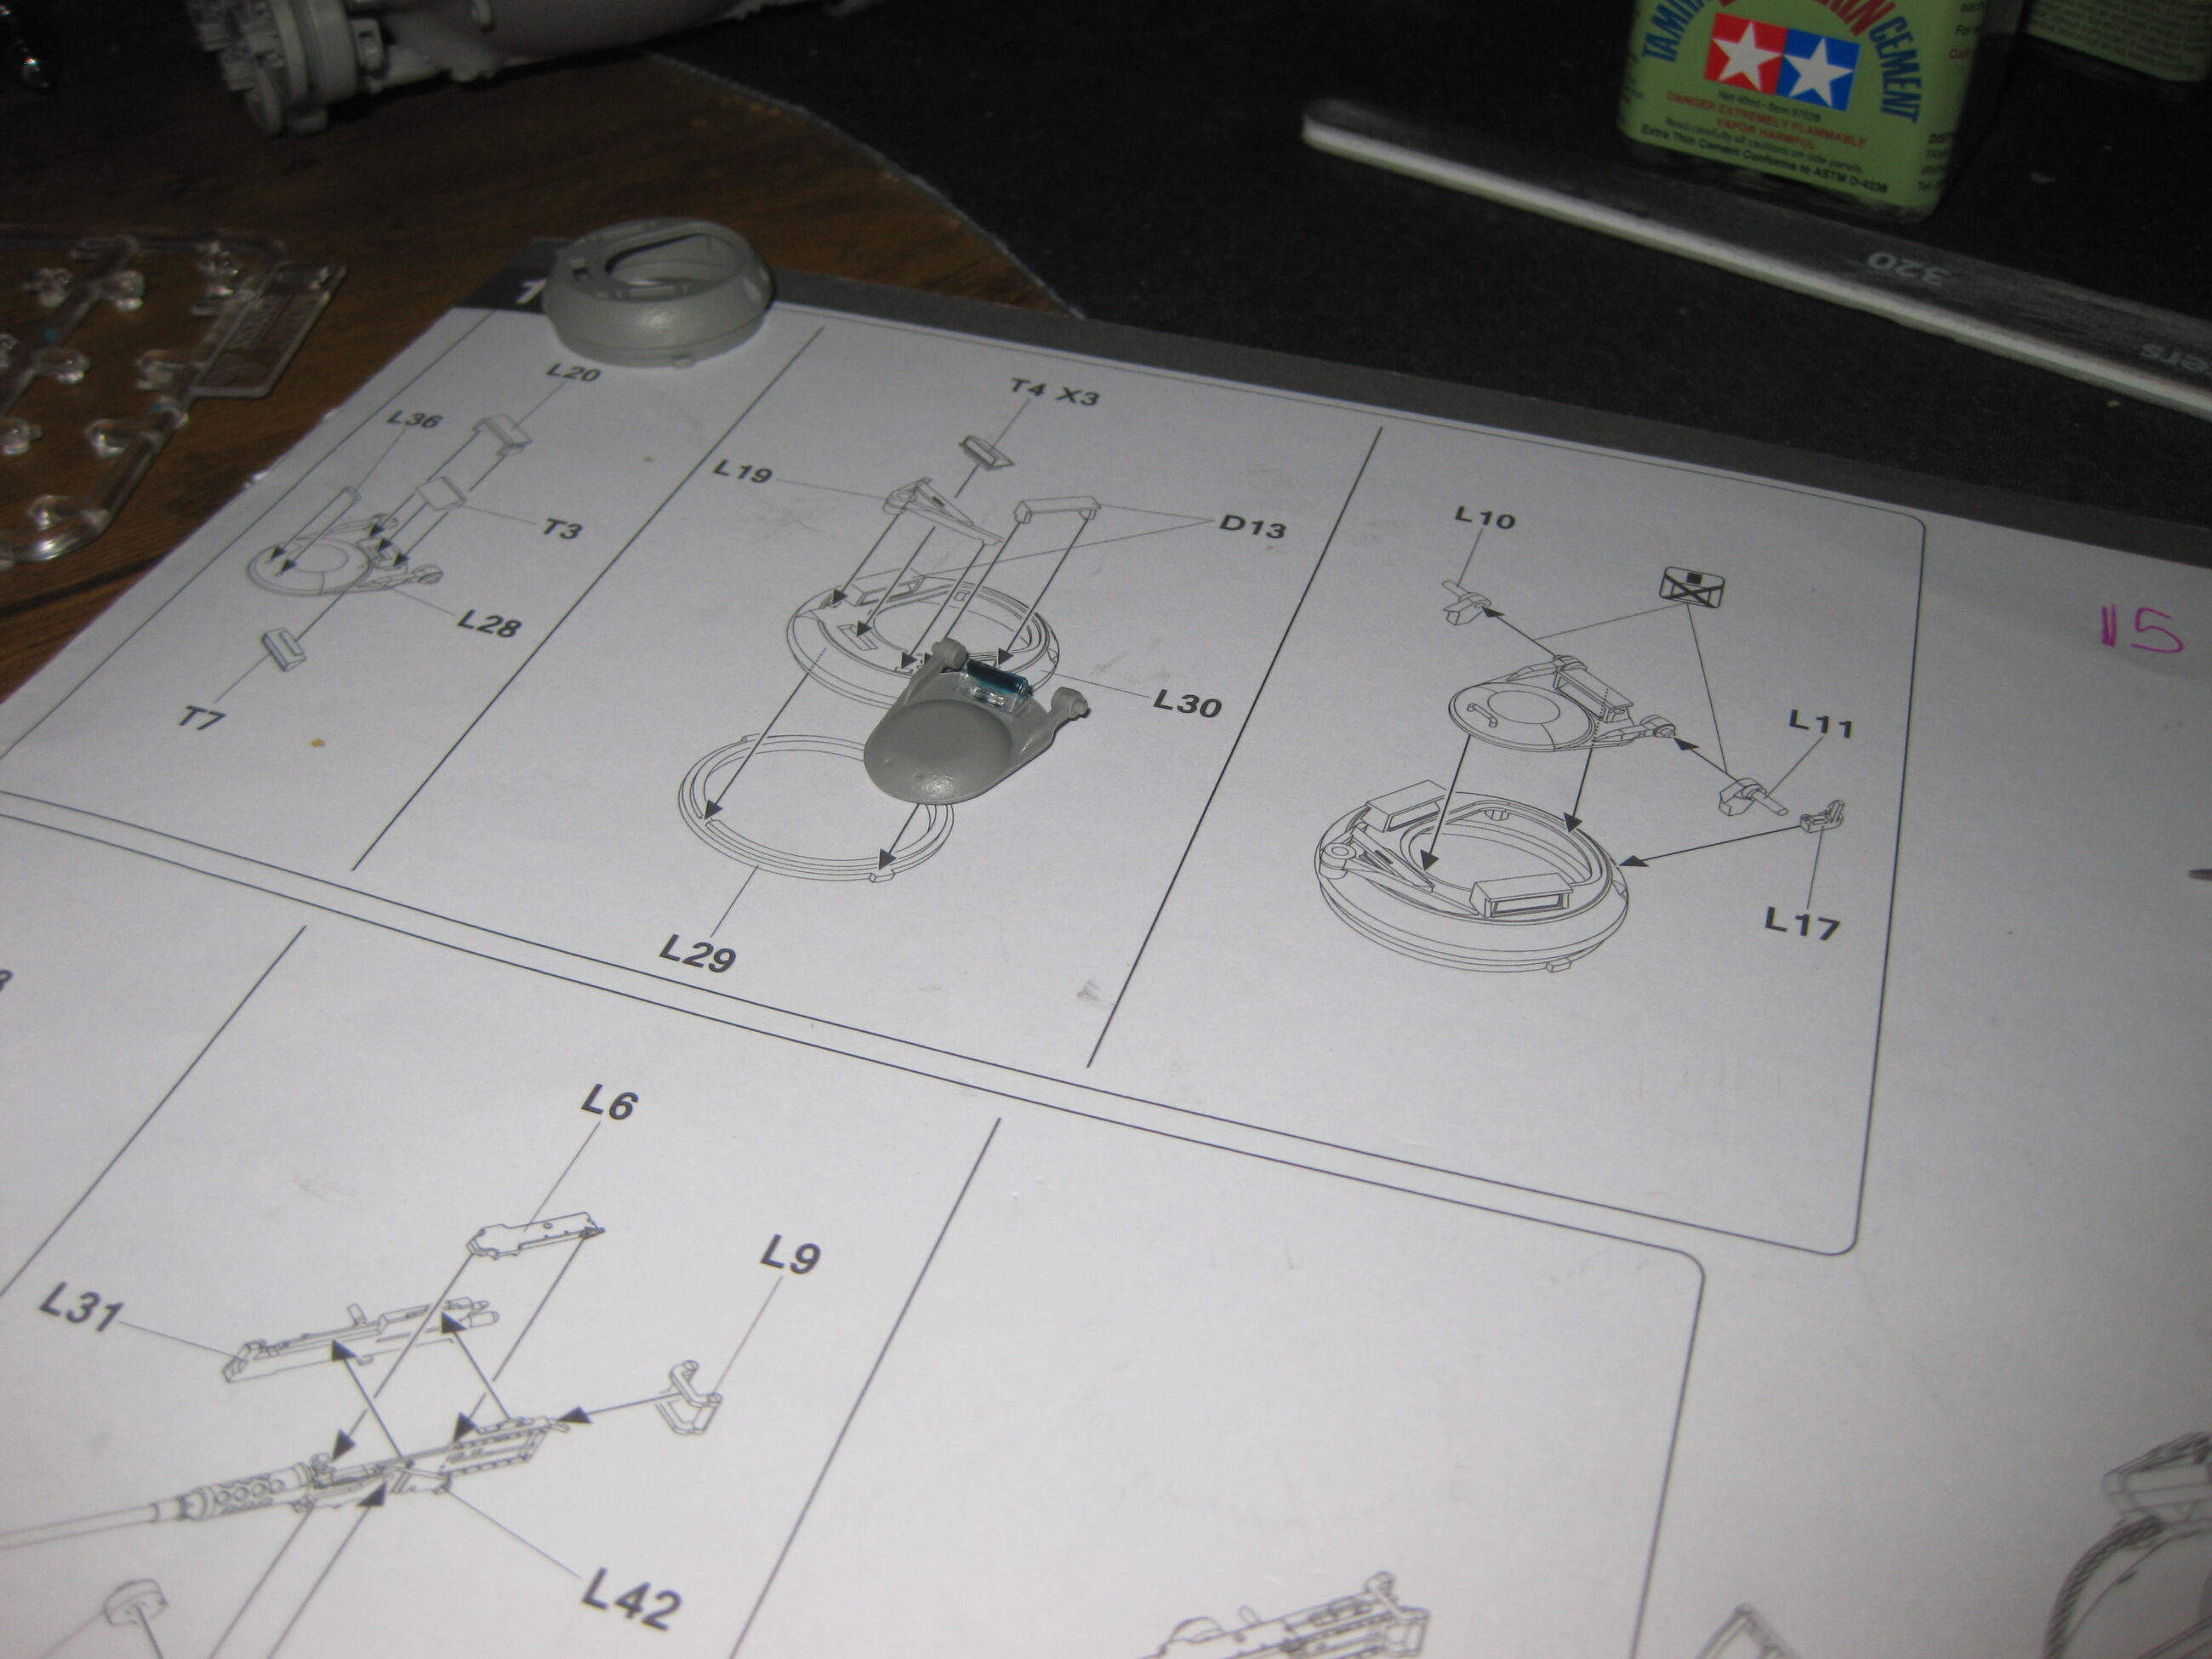
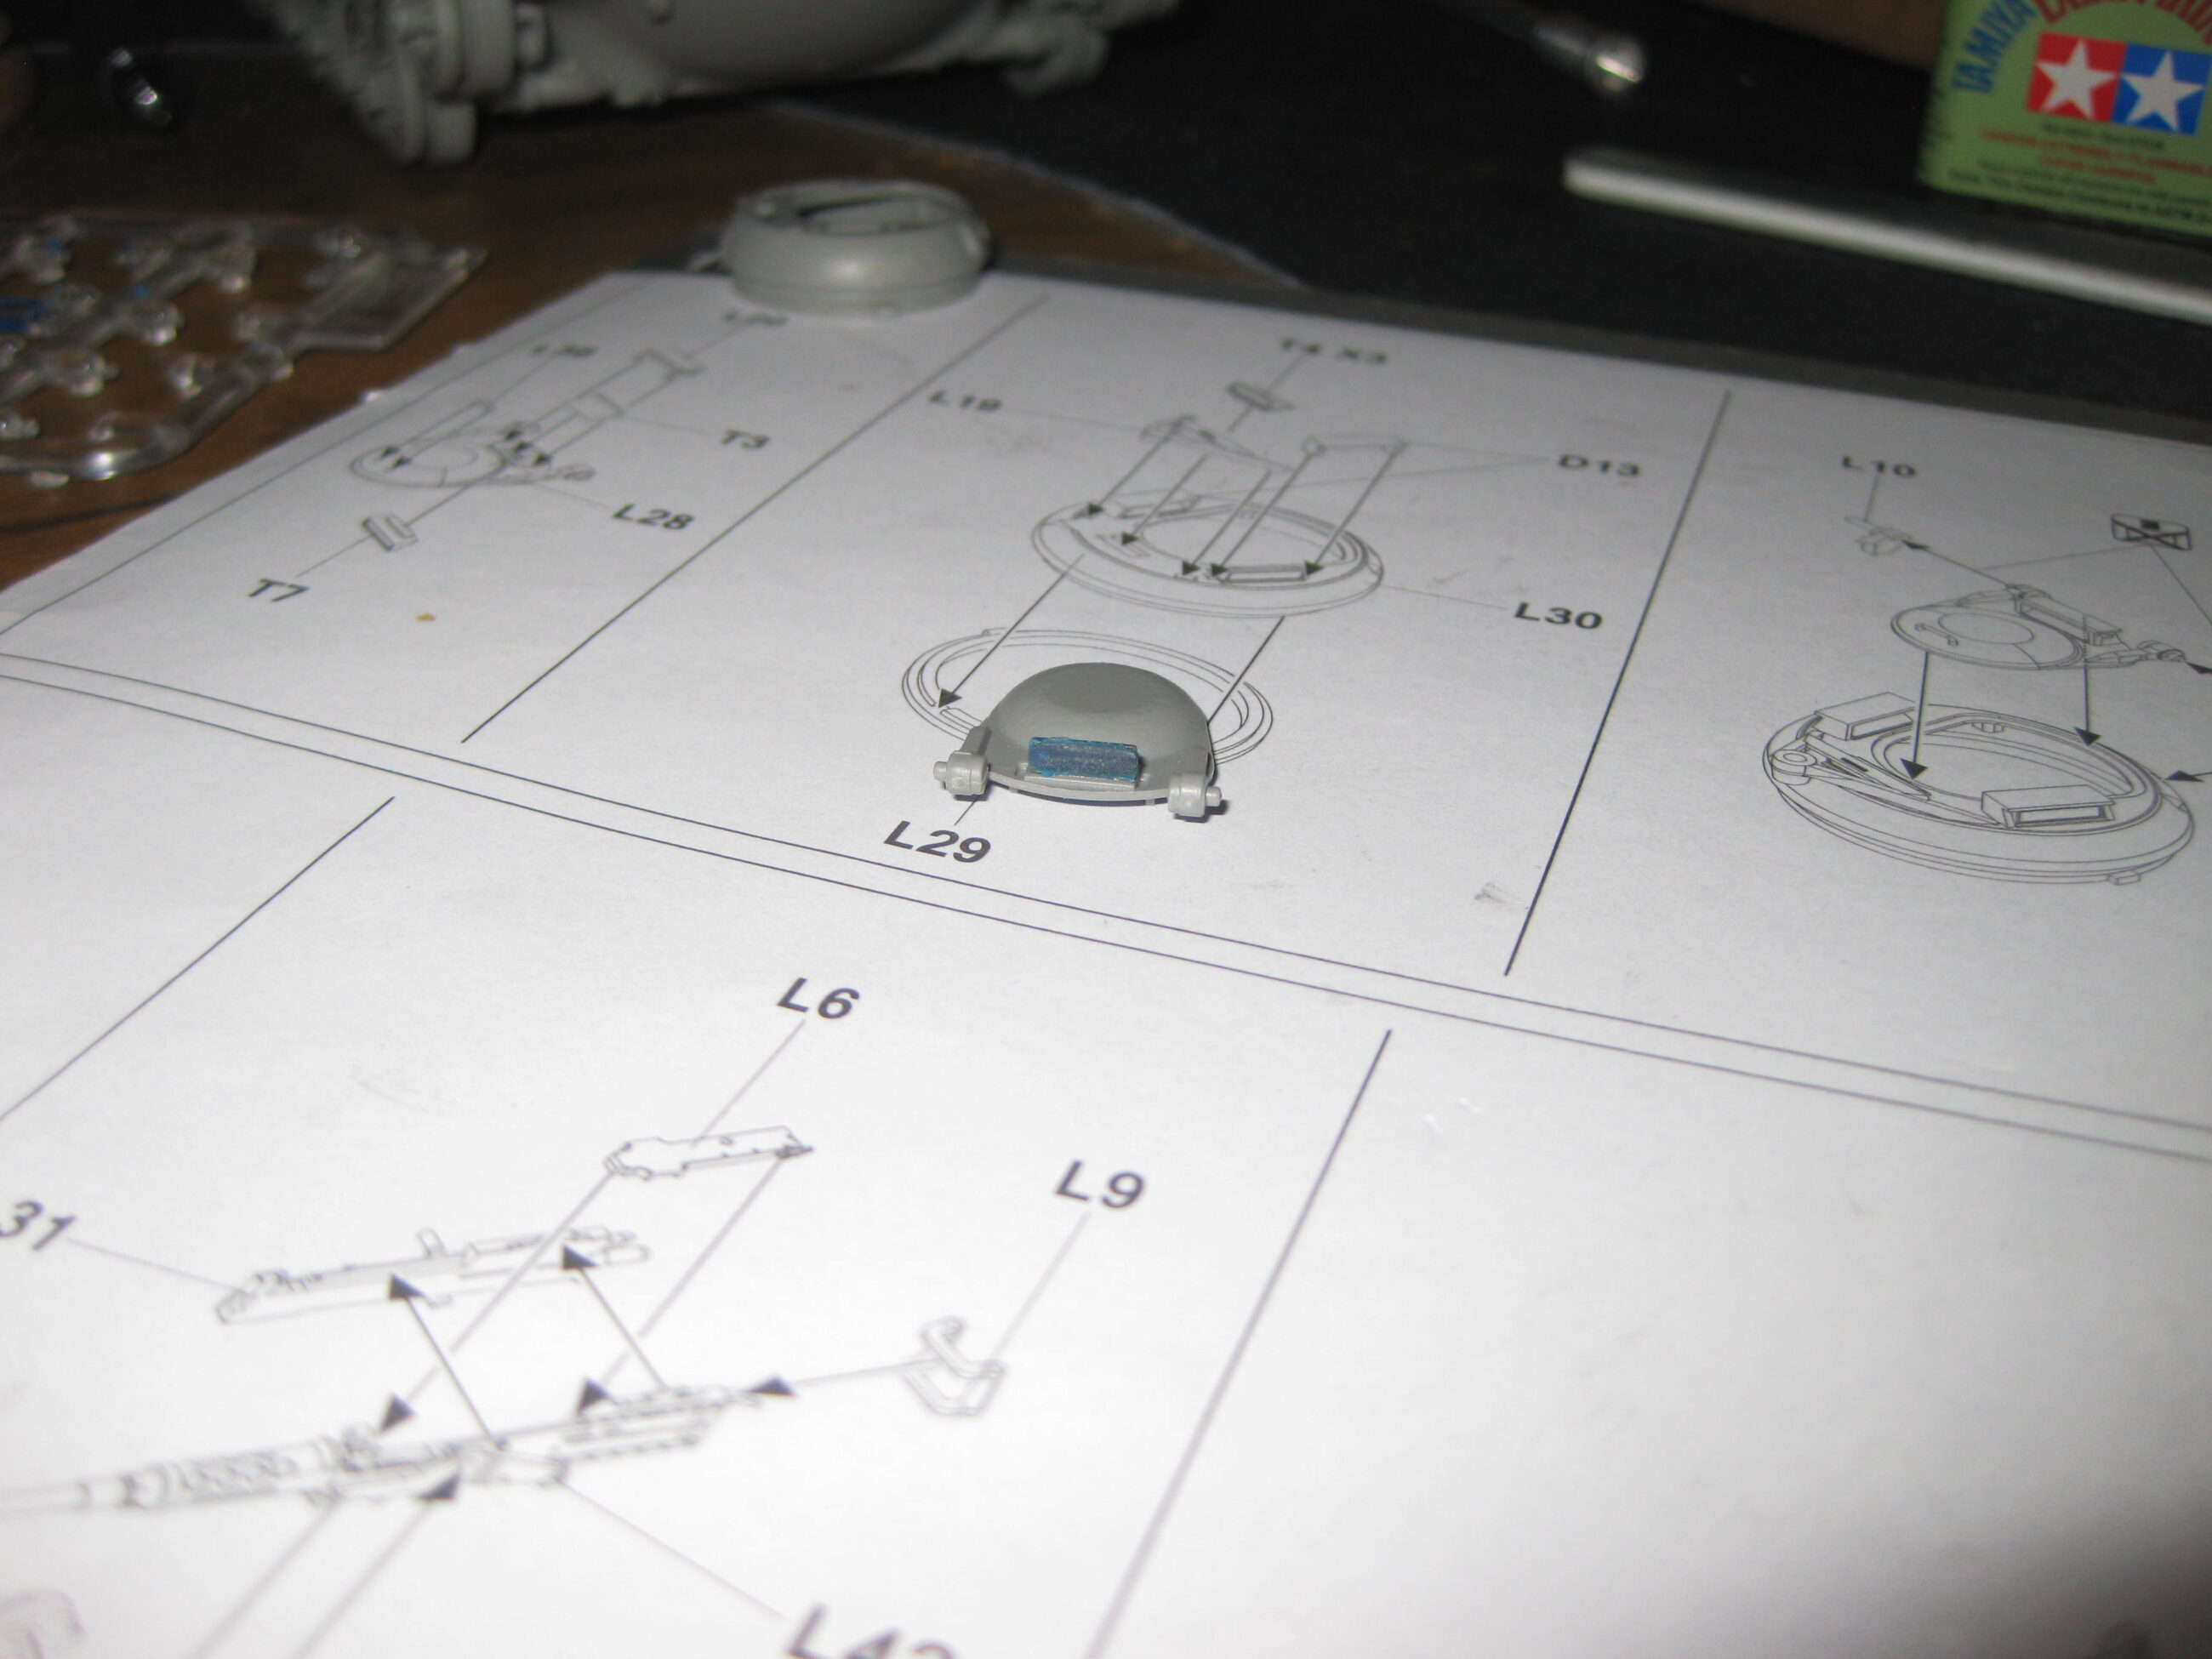
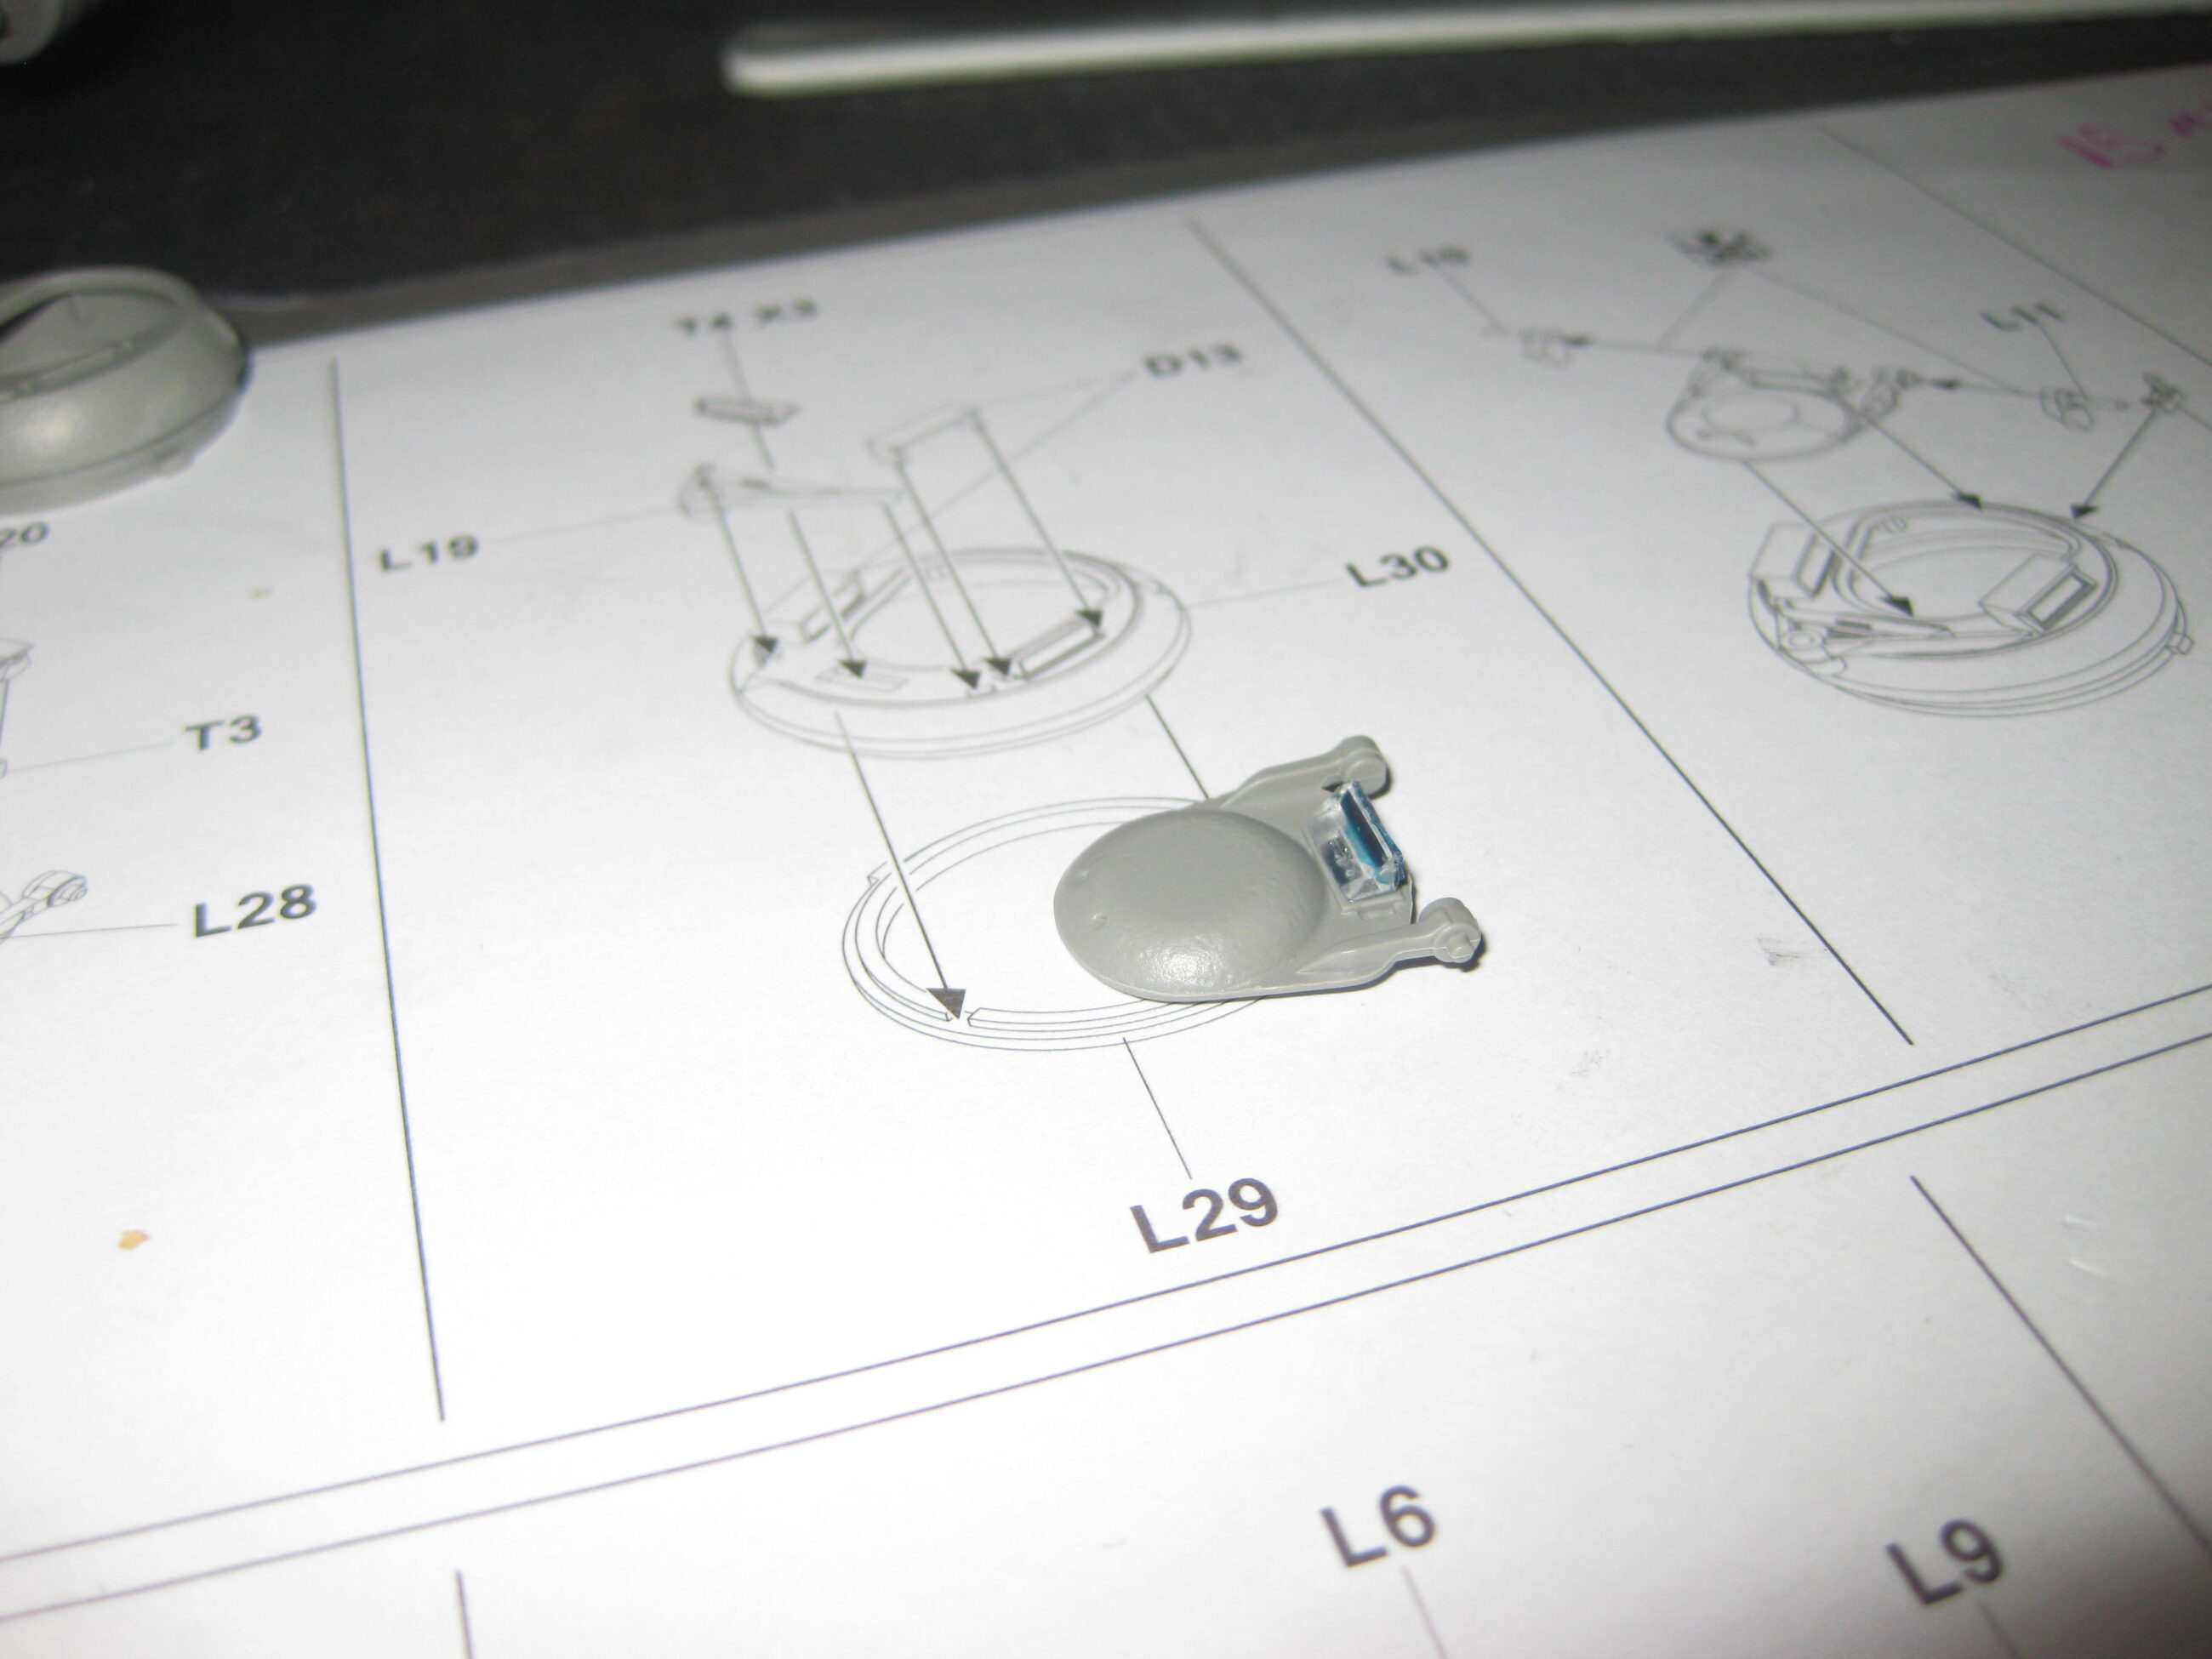
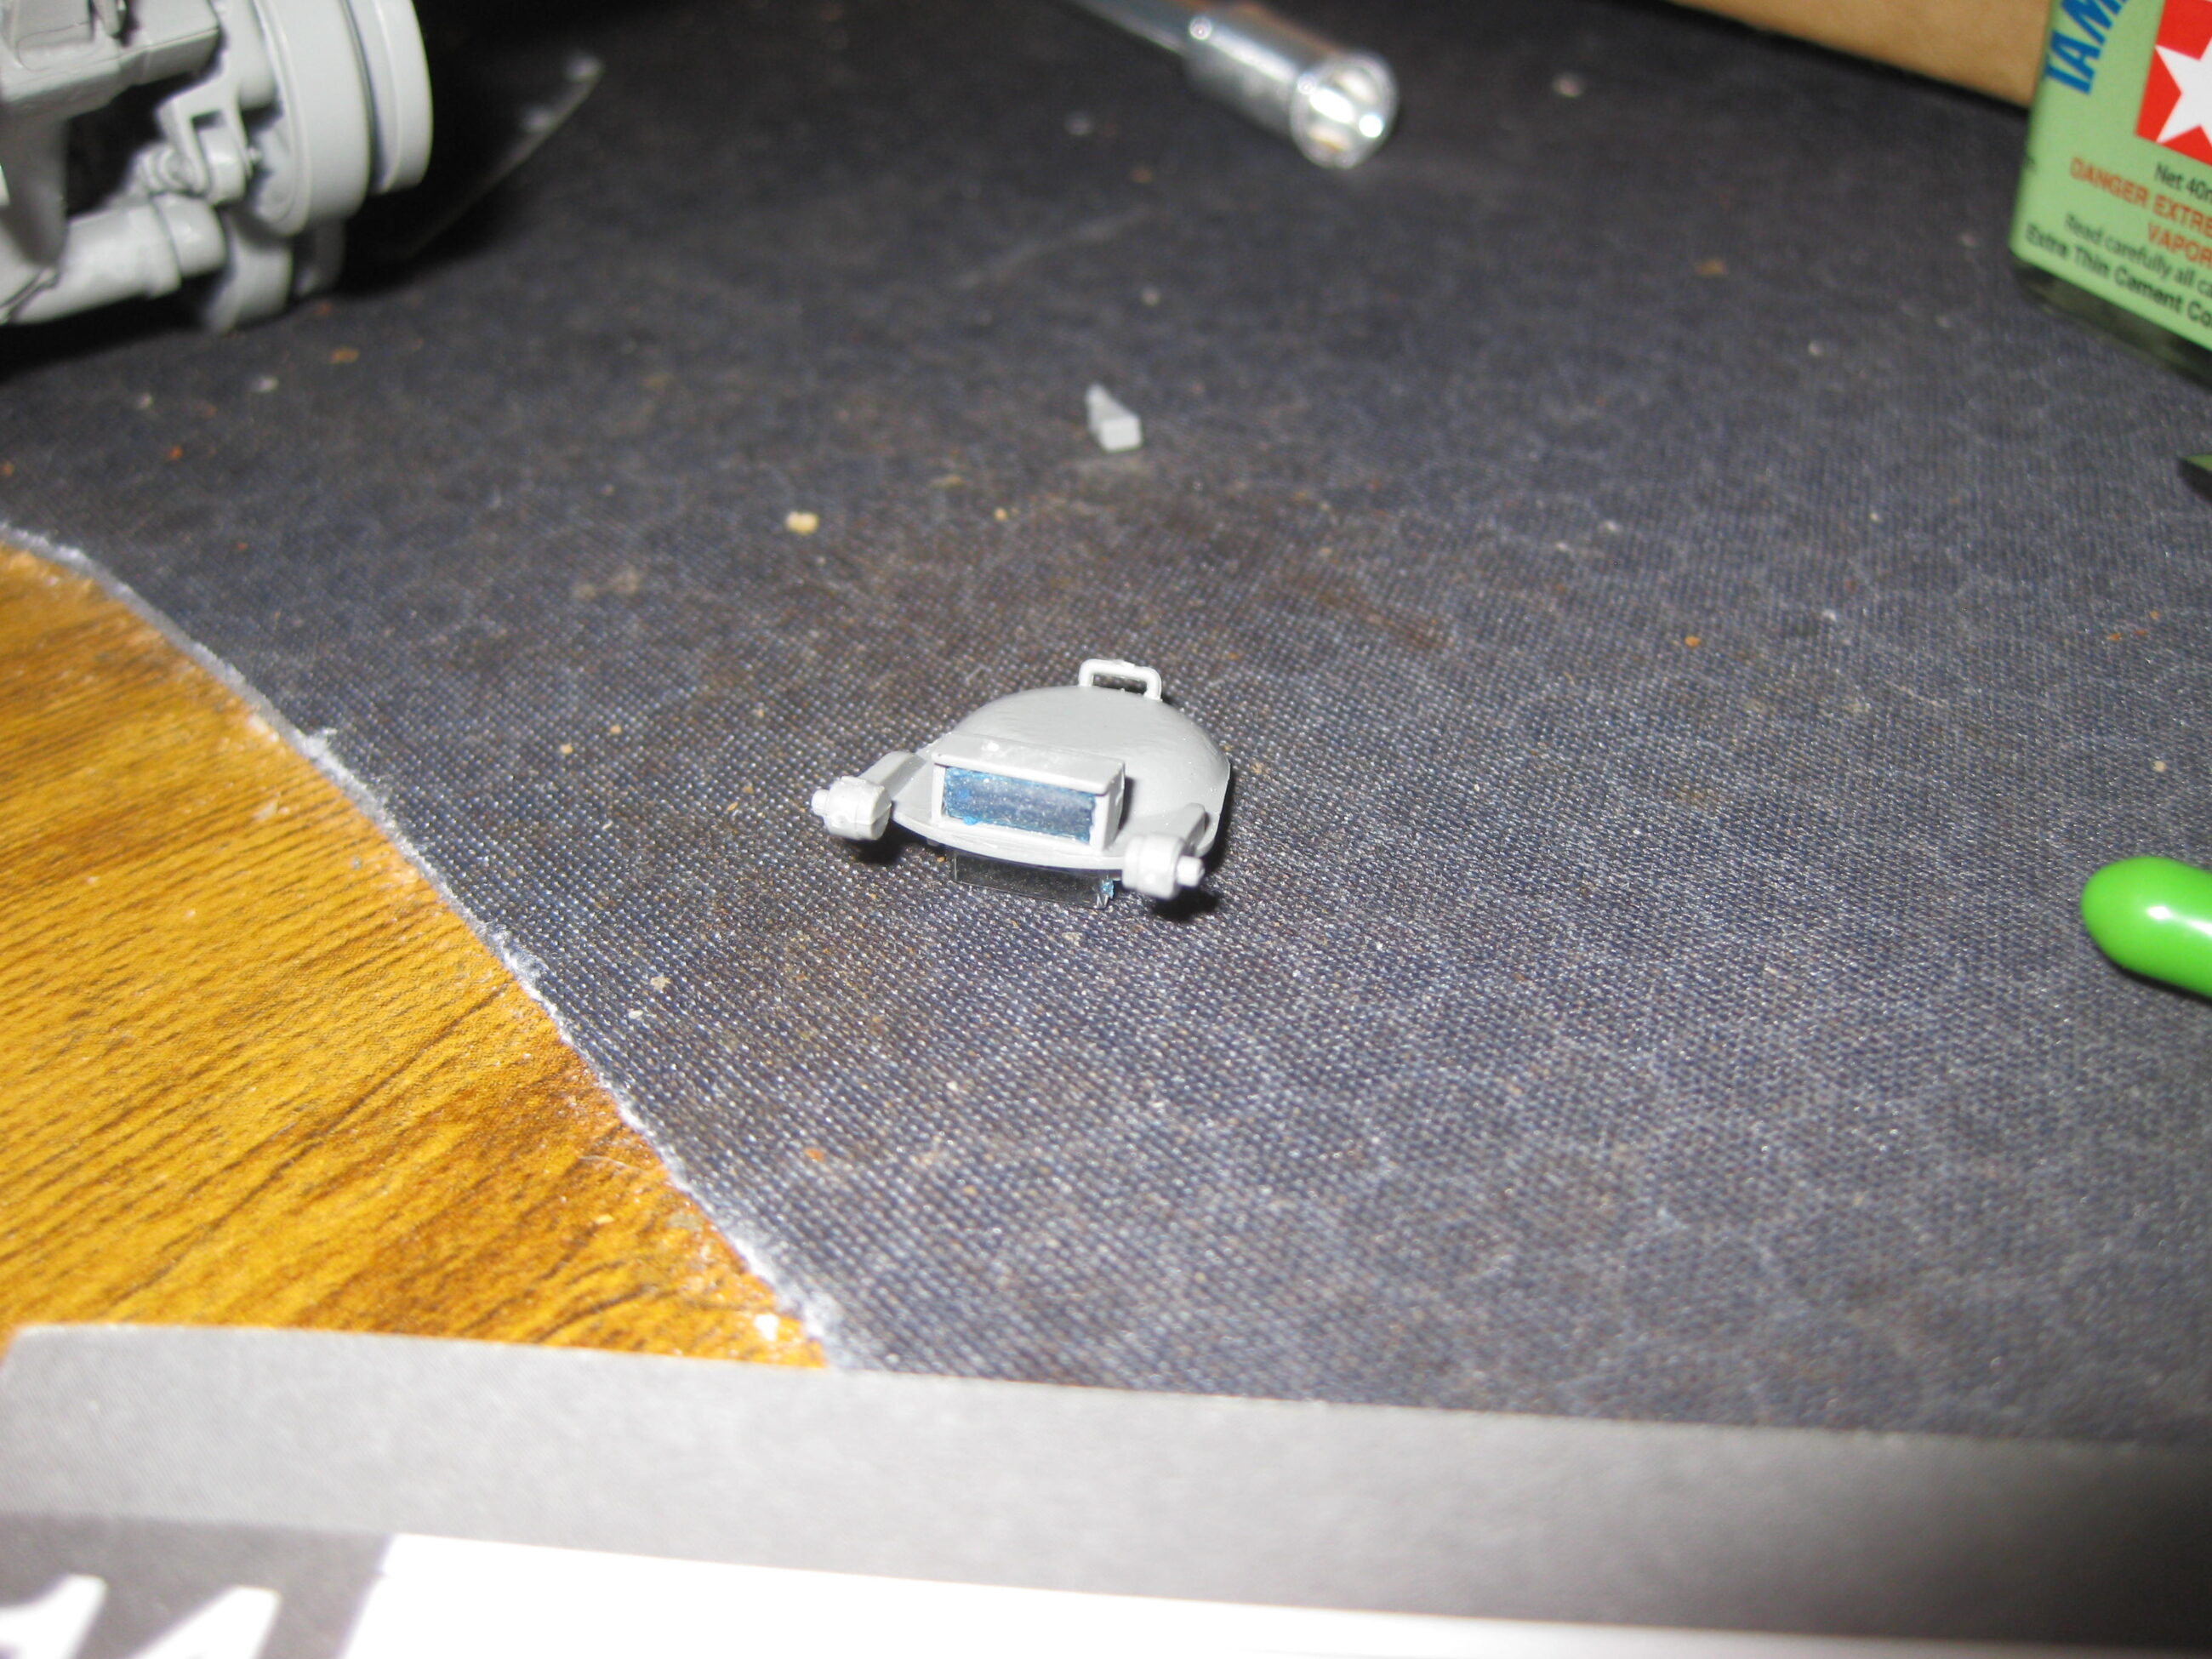
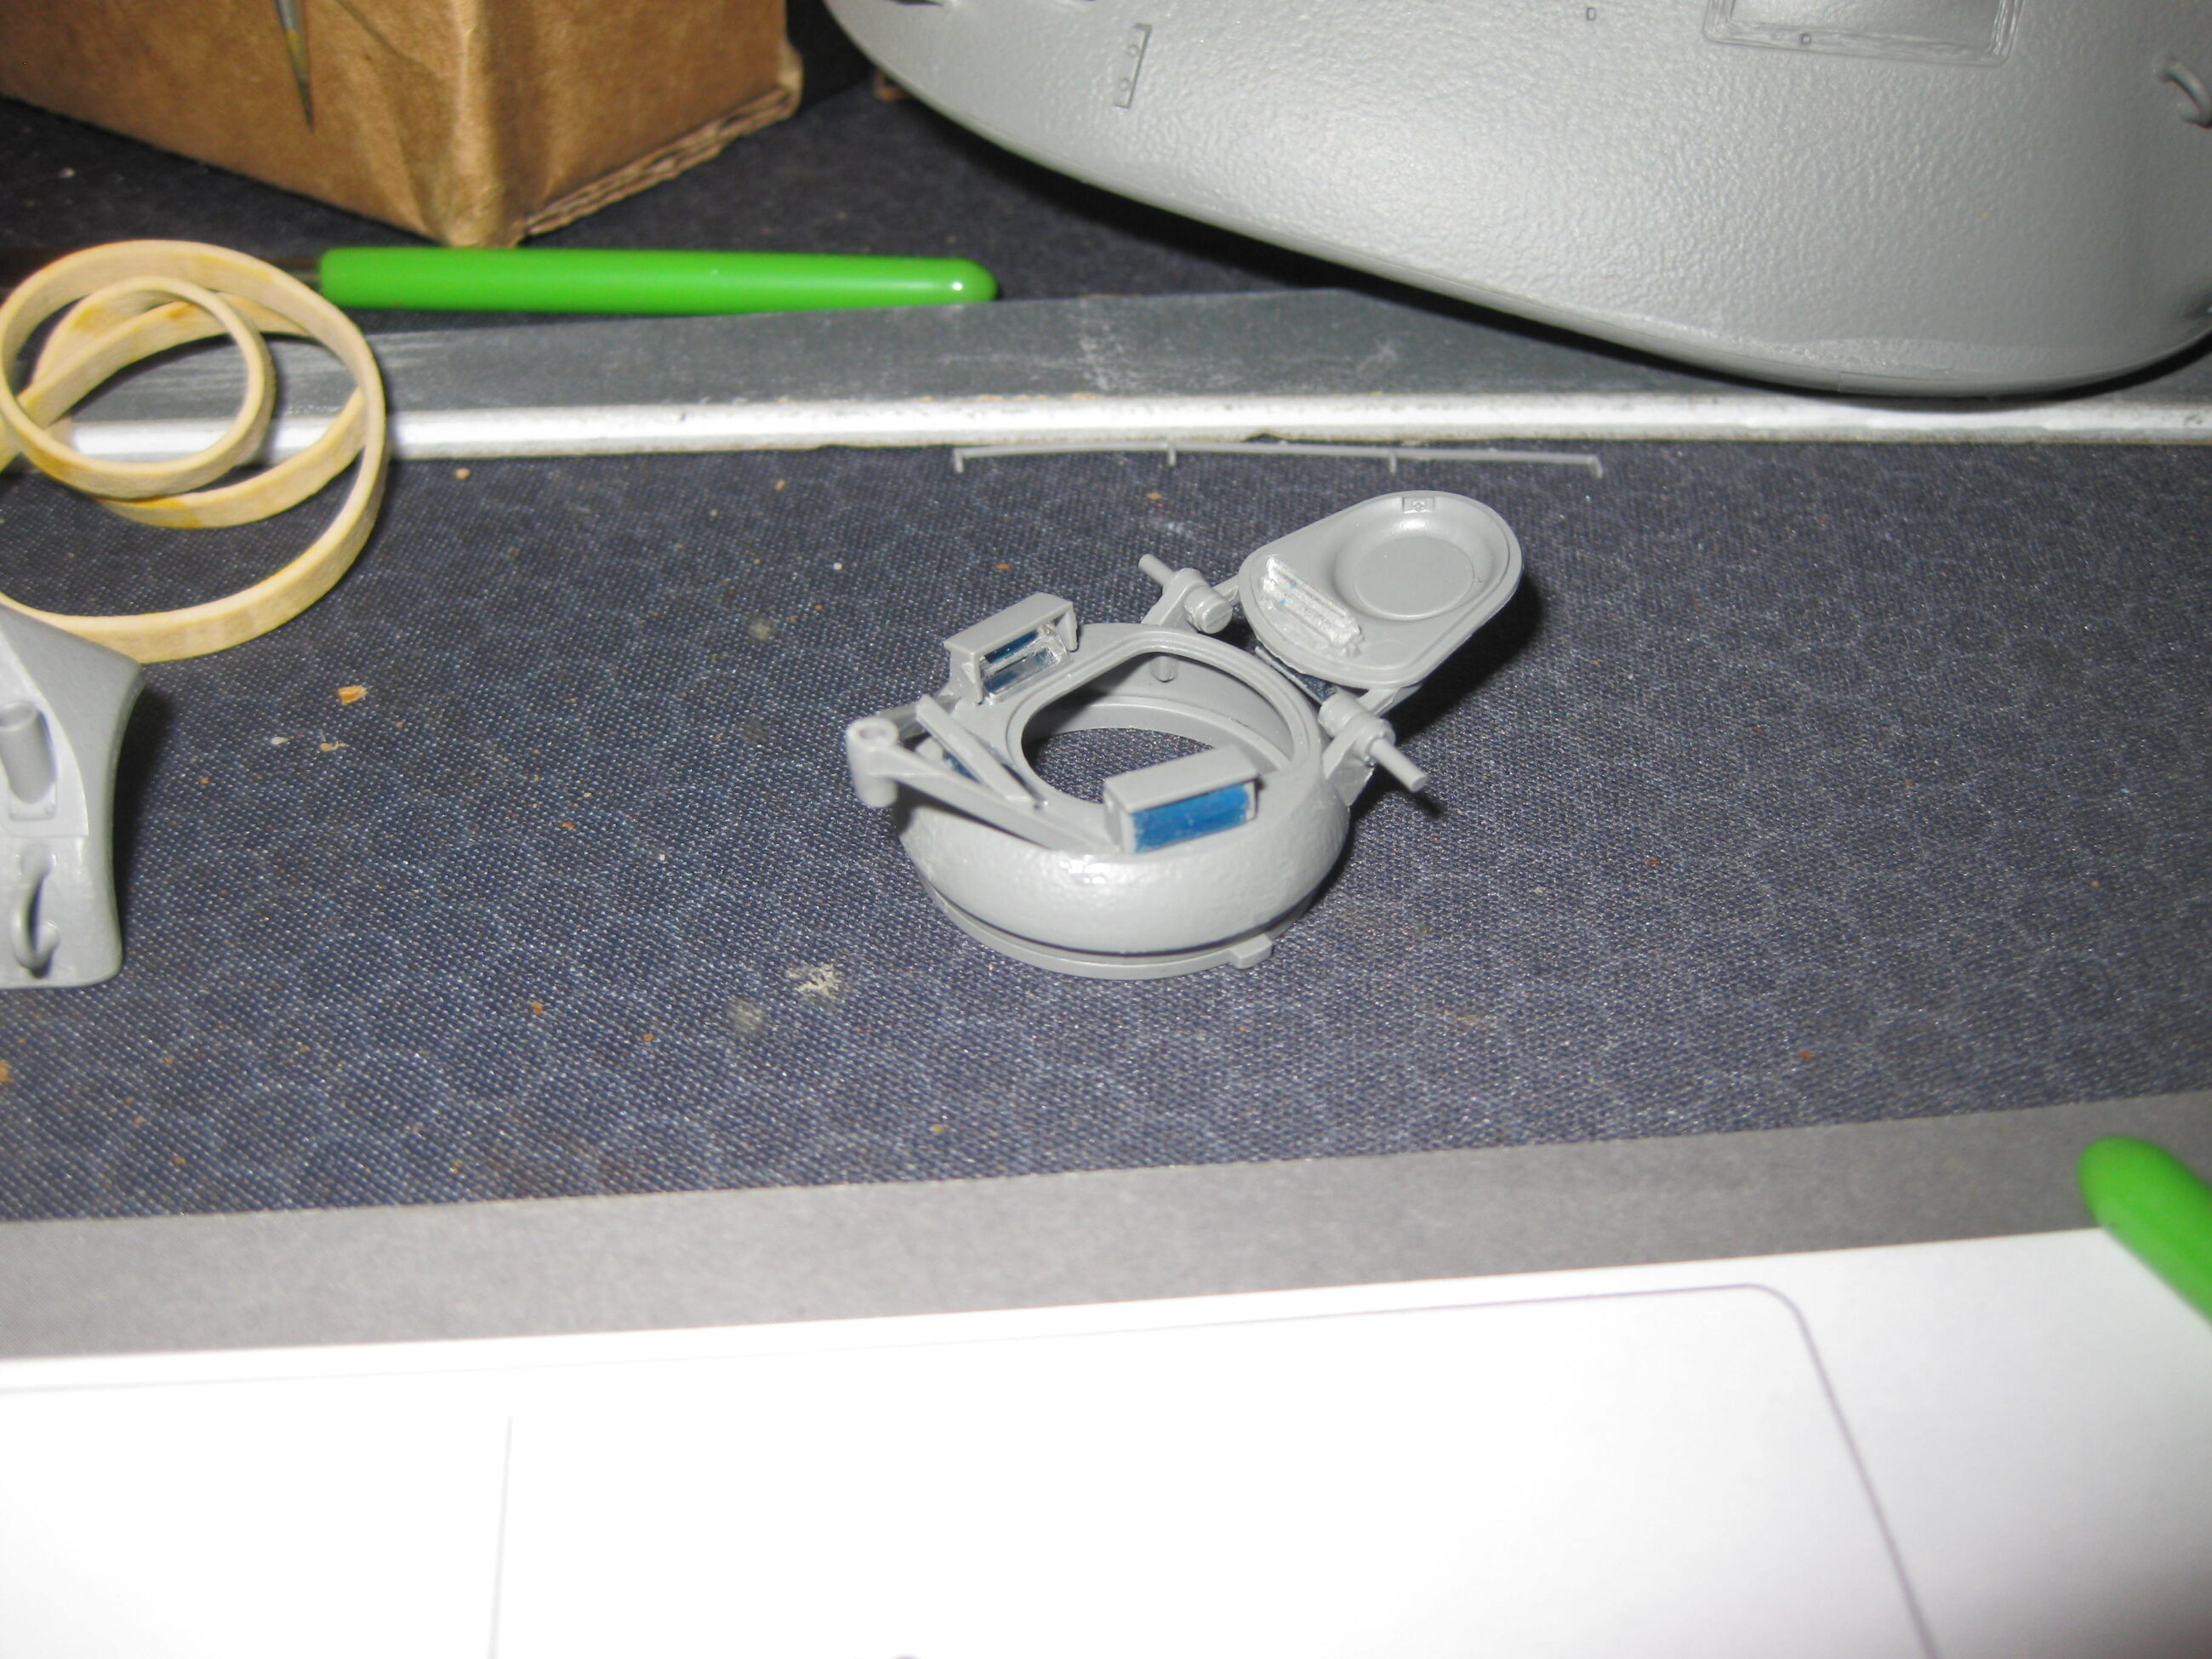
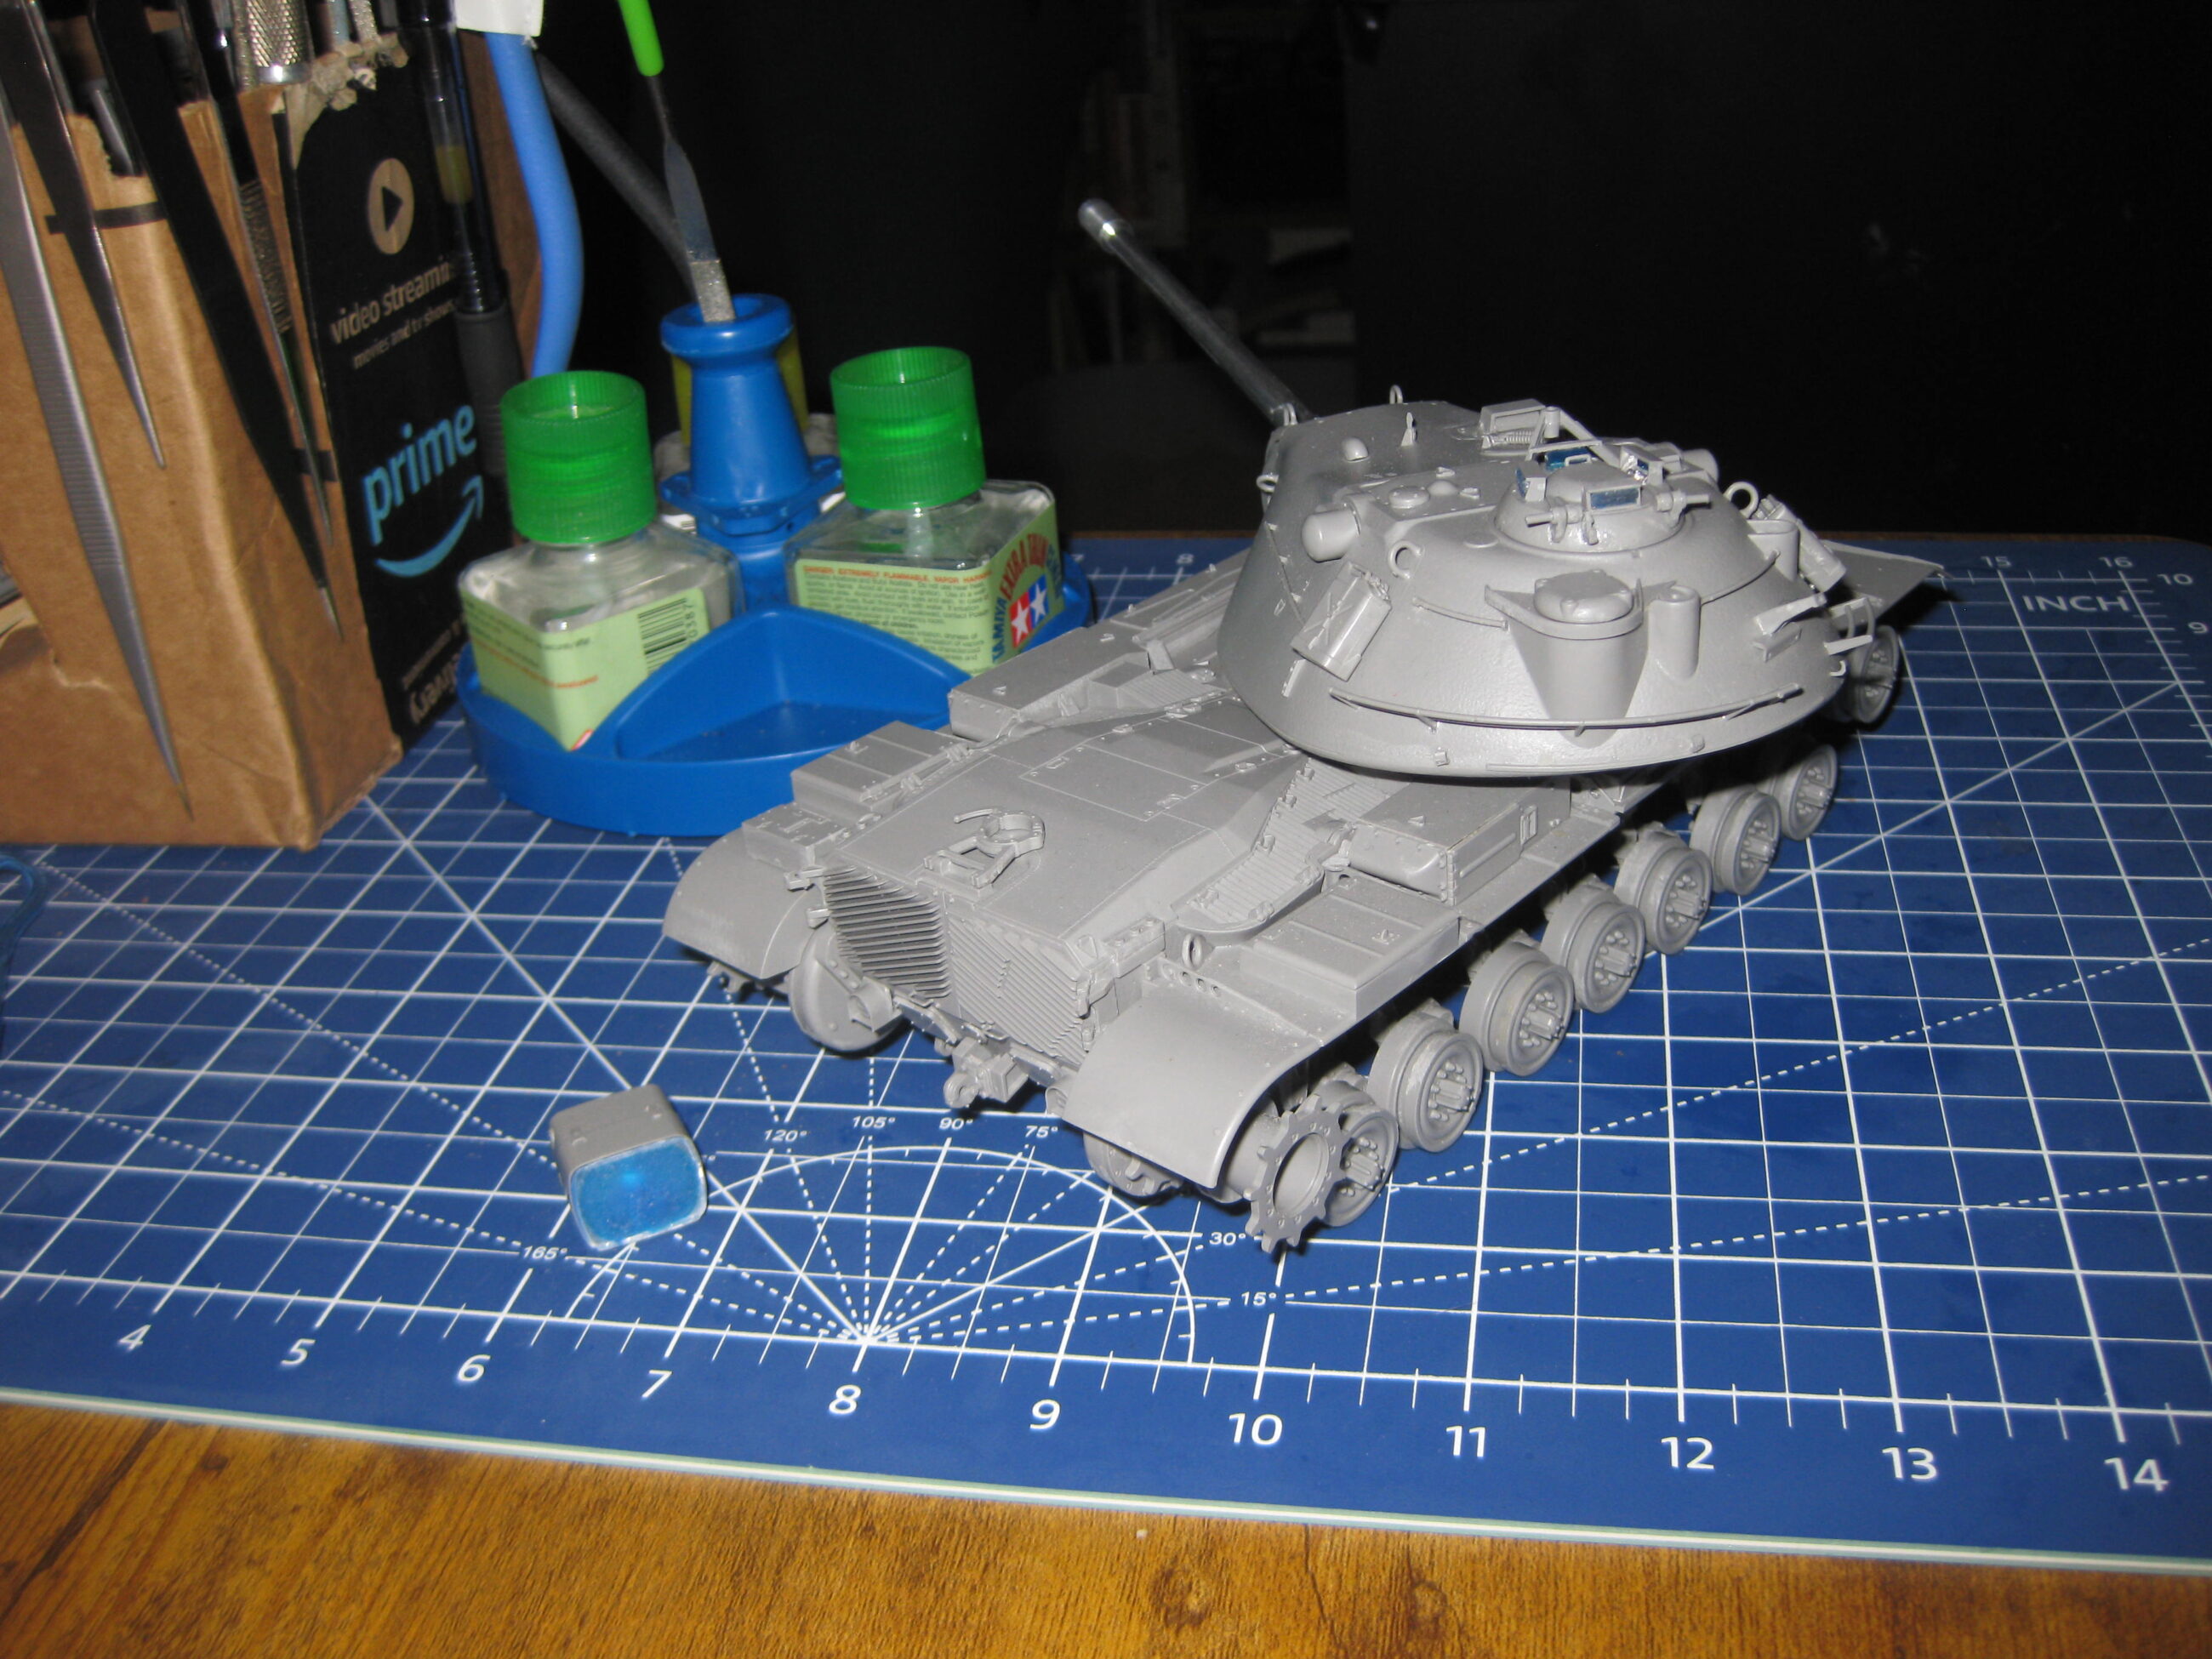
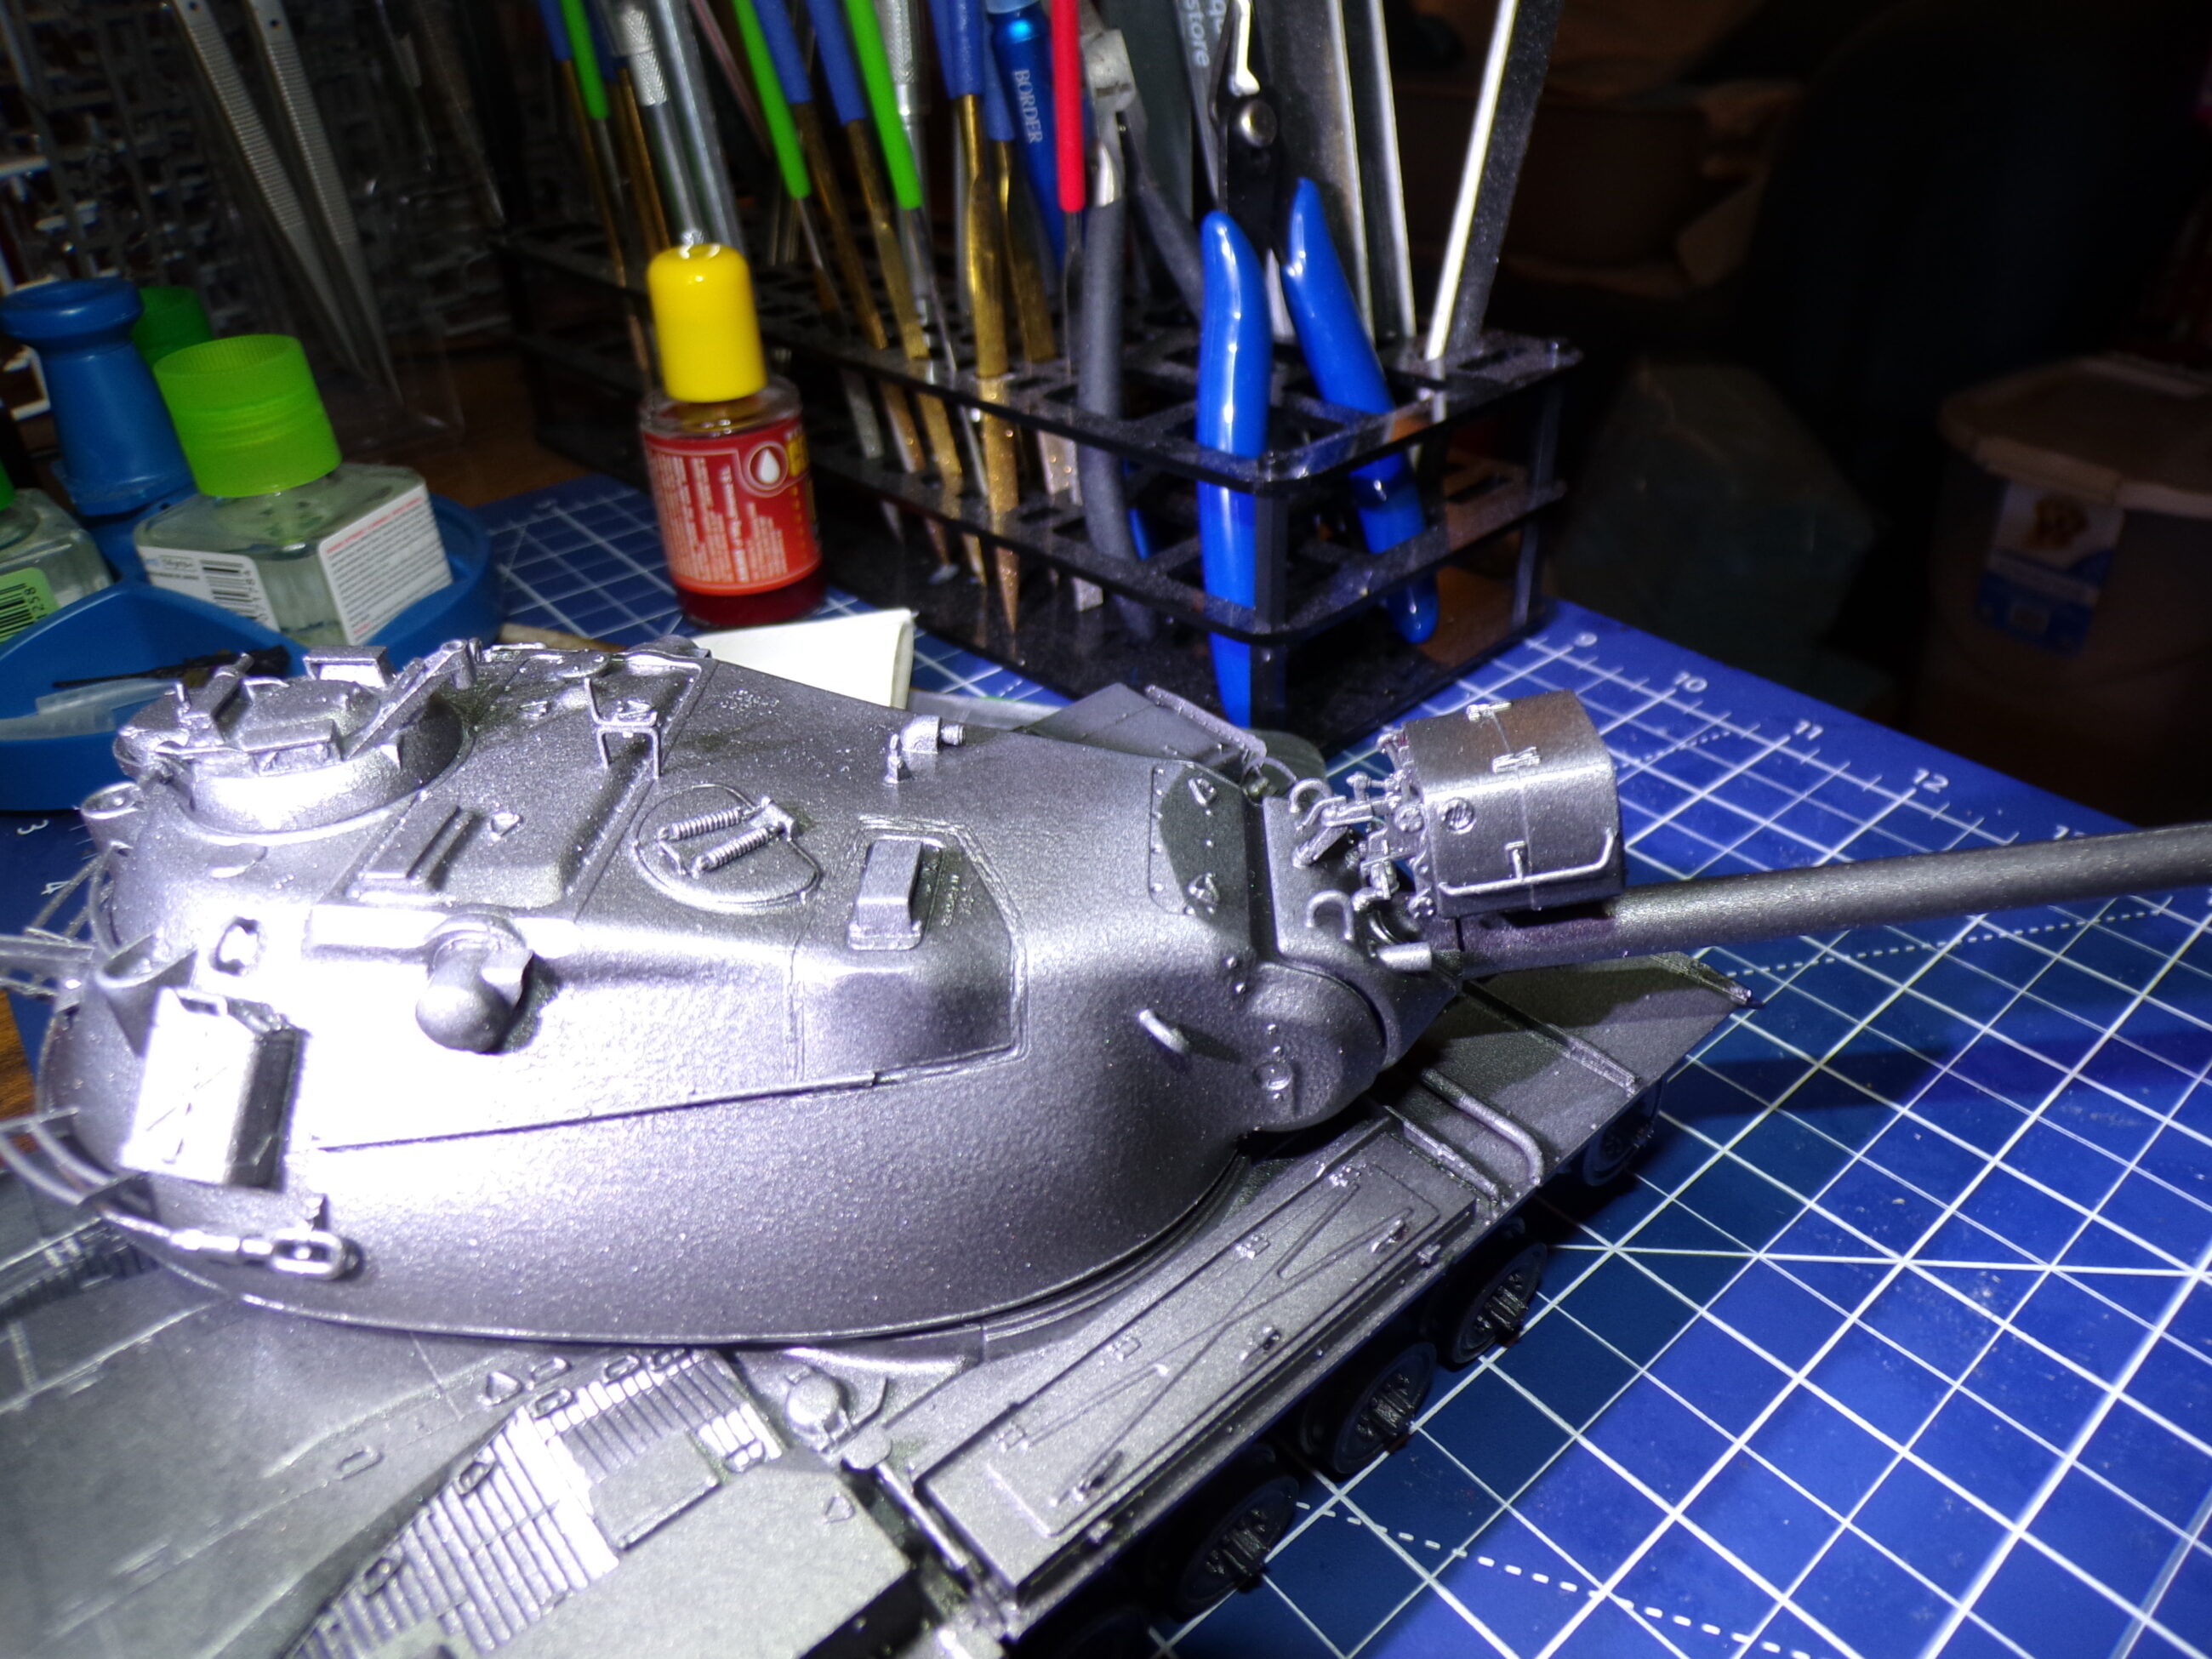
The Spotlight went together very easily, even the little rails, with no problems. The mount, on the other hand, was a bit of a nightmare, and it came out crooked—just slightly, but I’m fine with it. No, really, it does not secretly drive me nuts. That would be crazy.
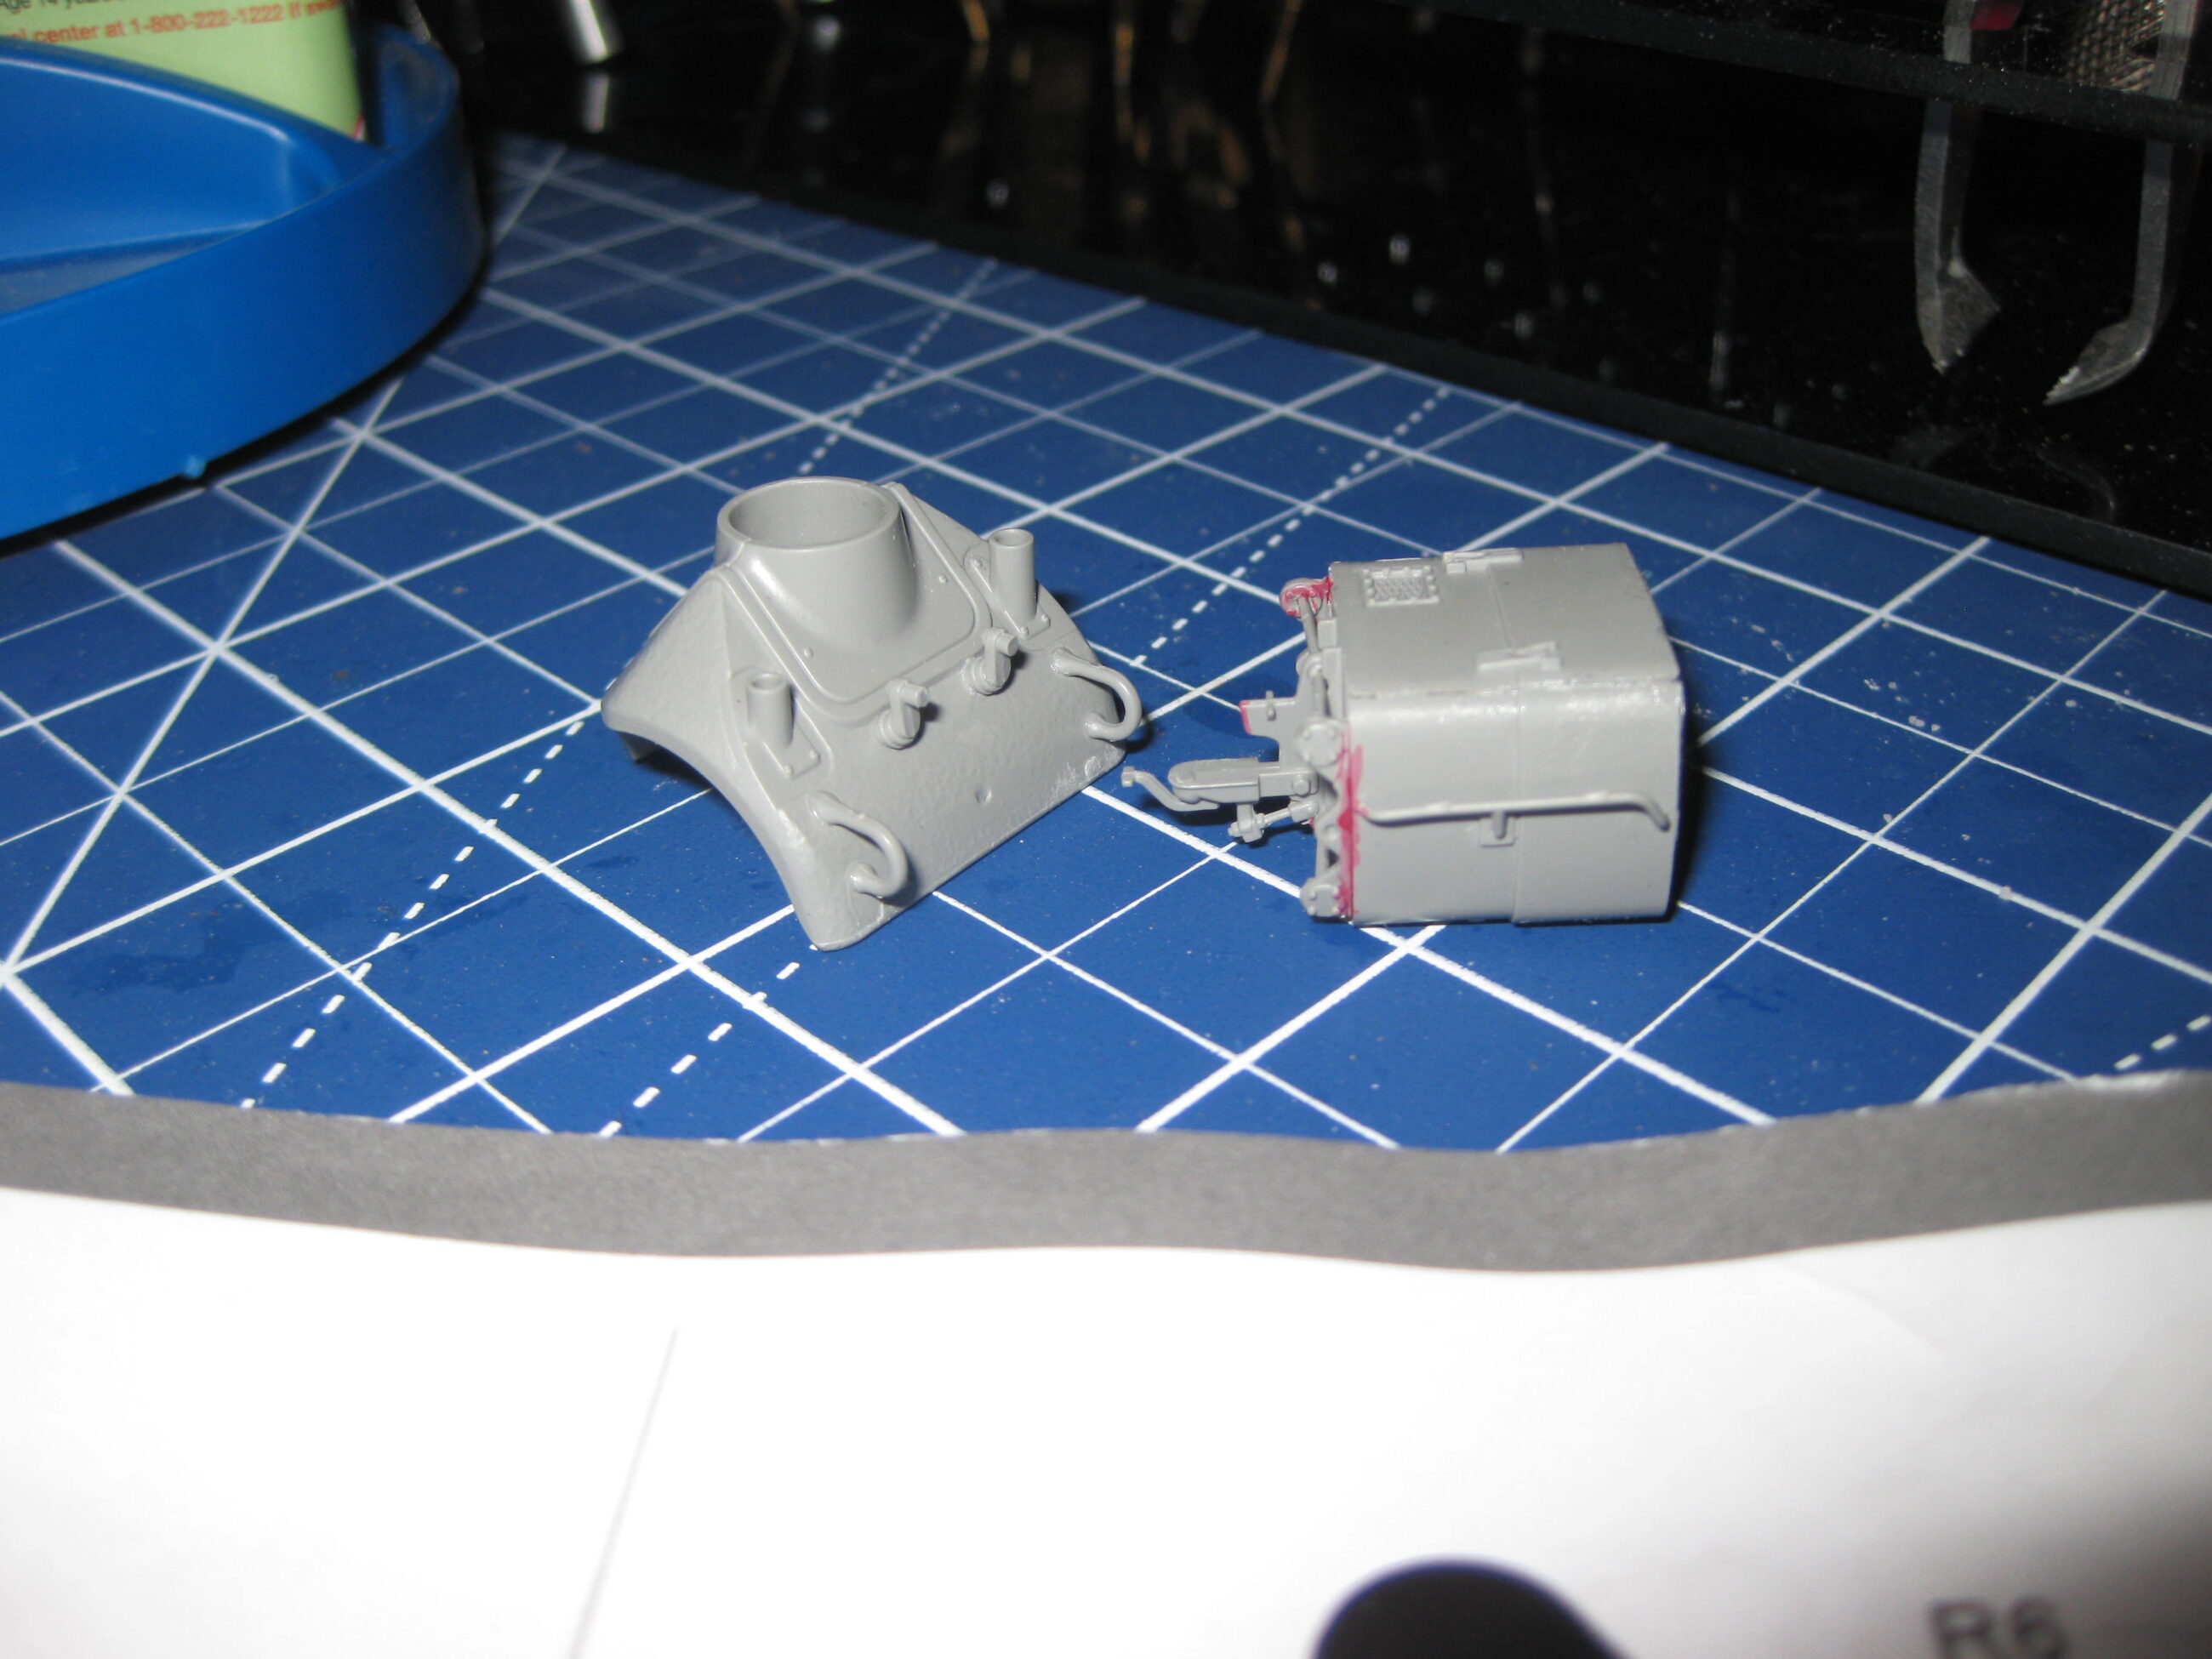
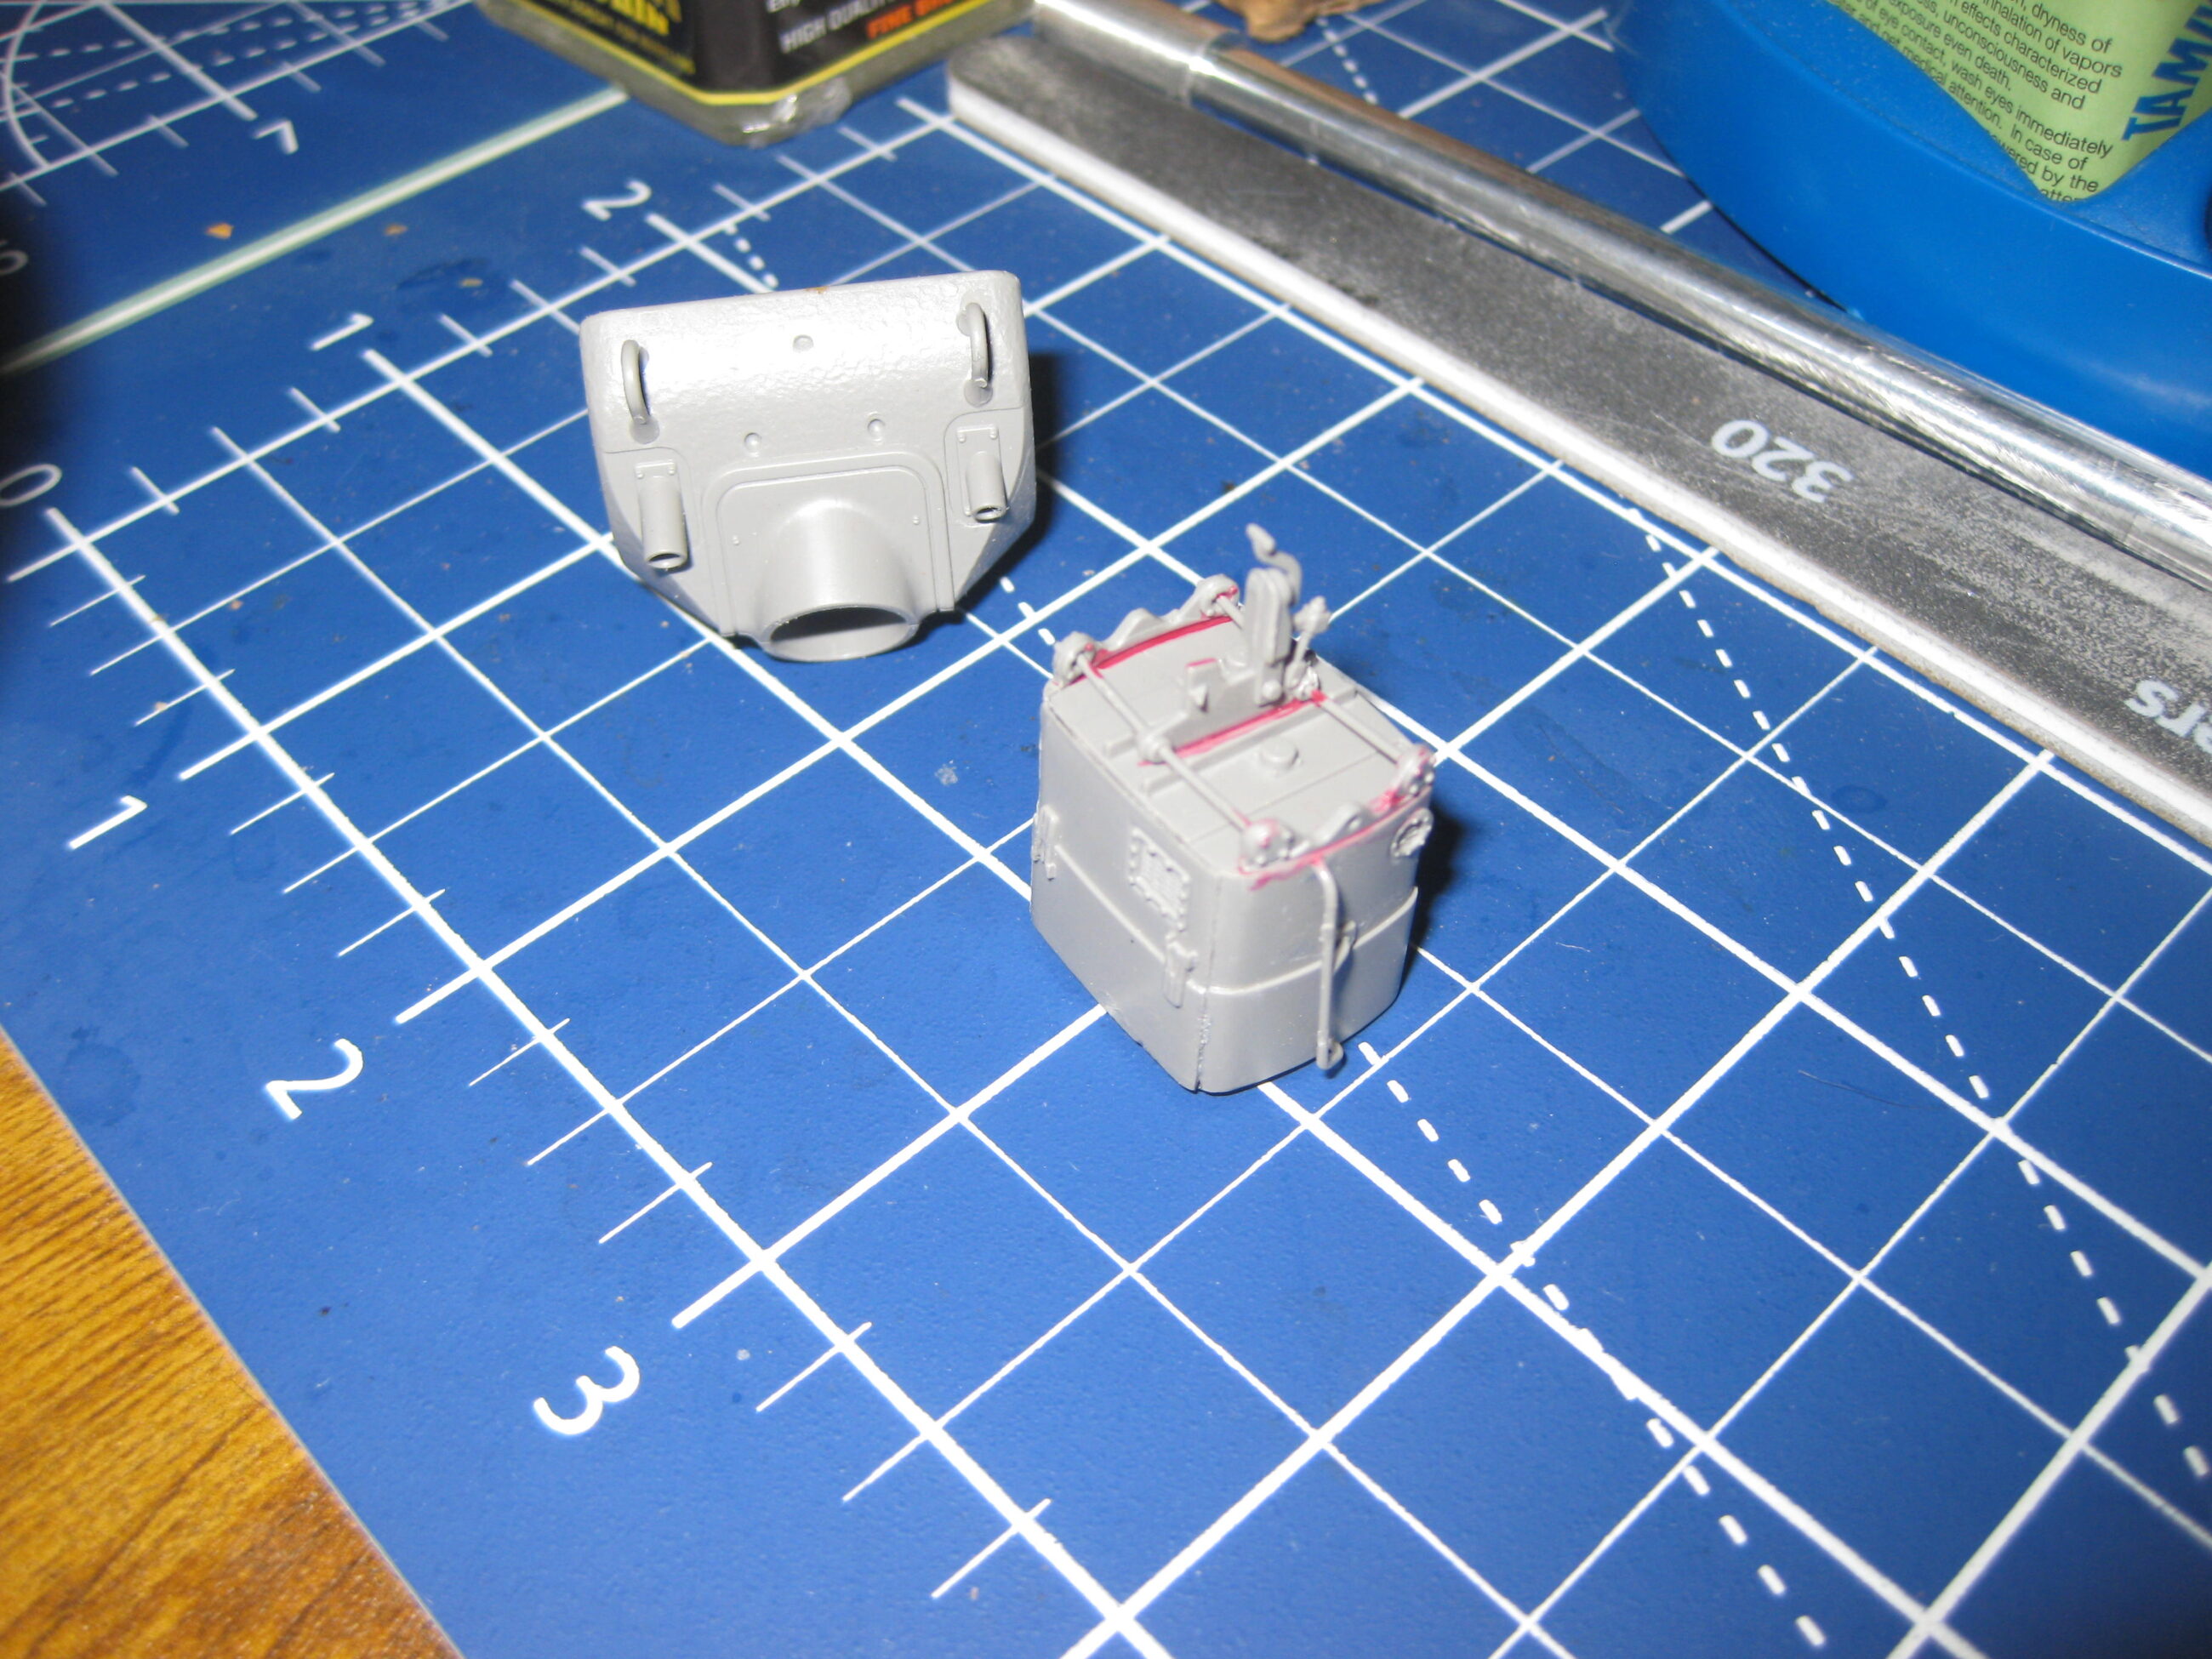
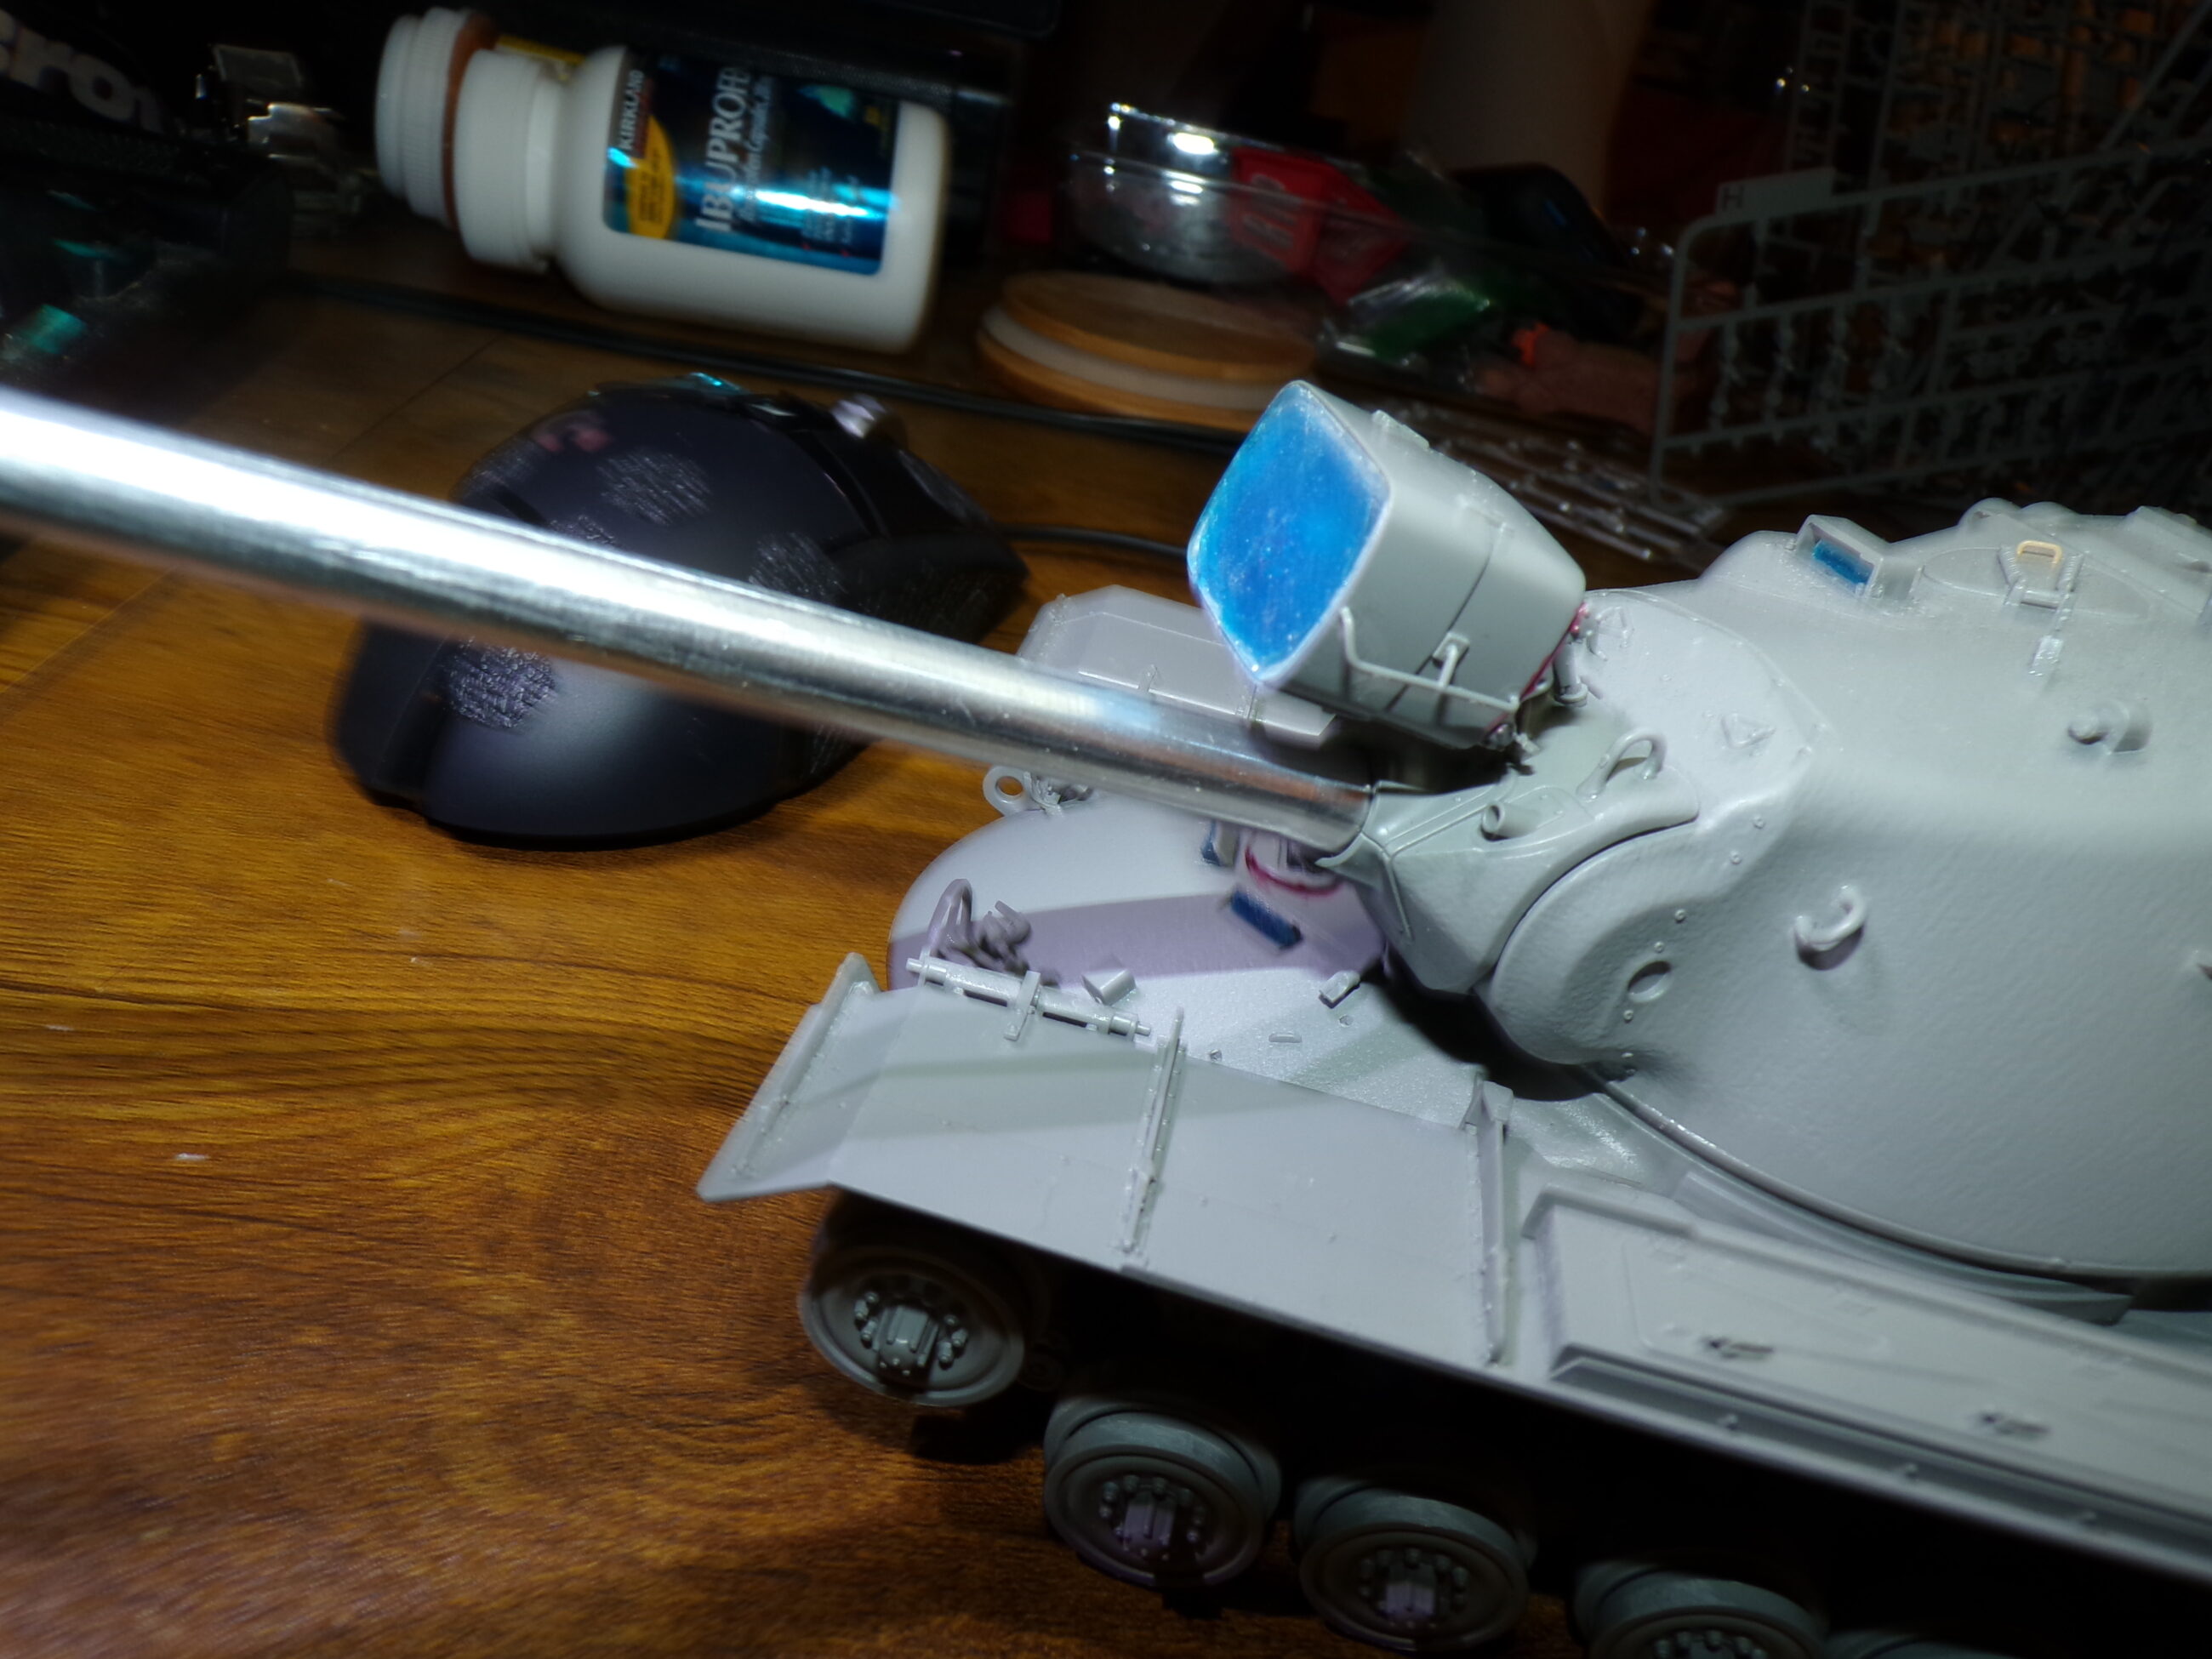
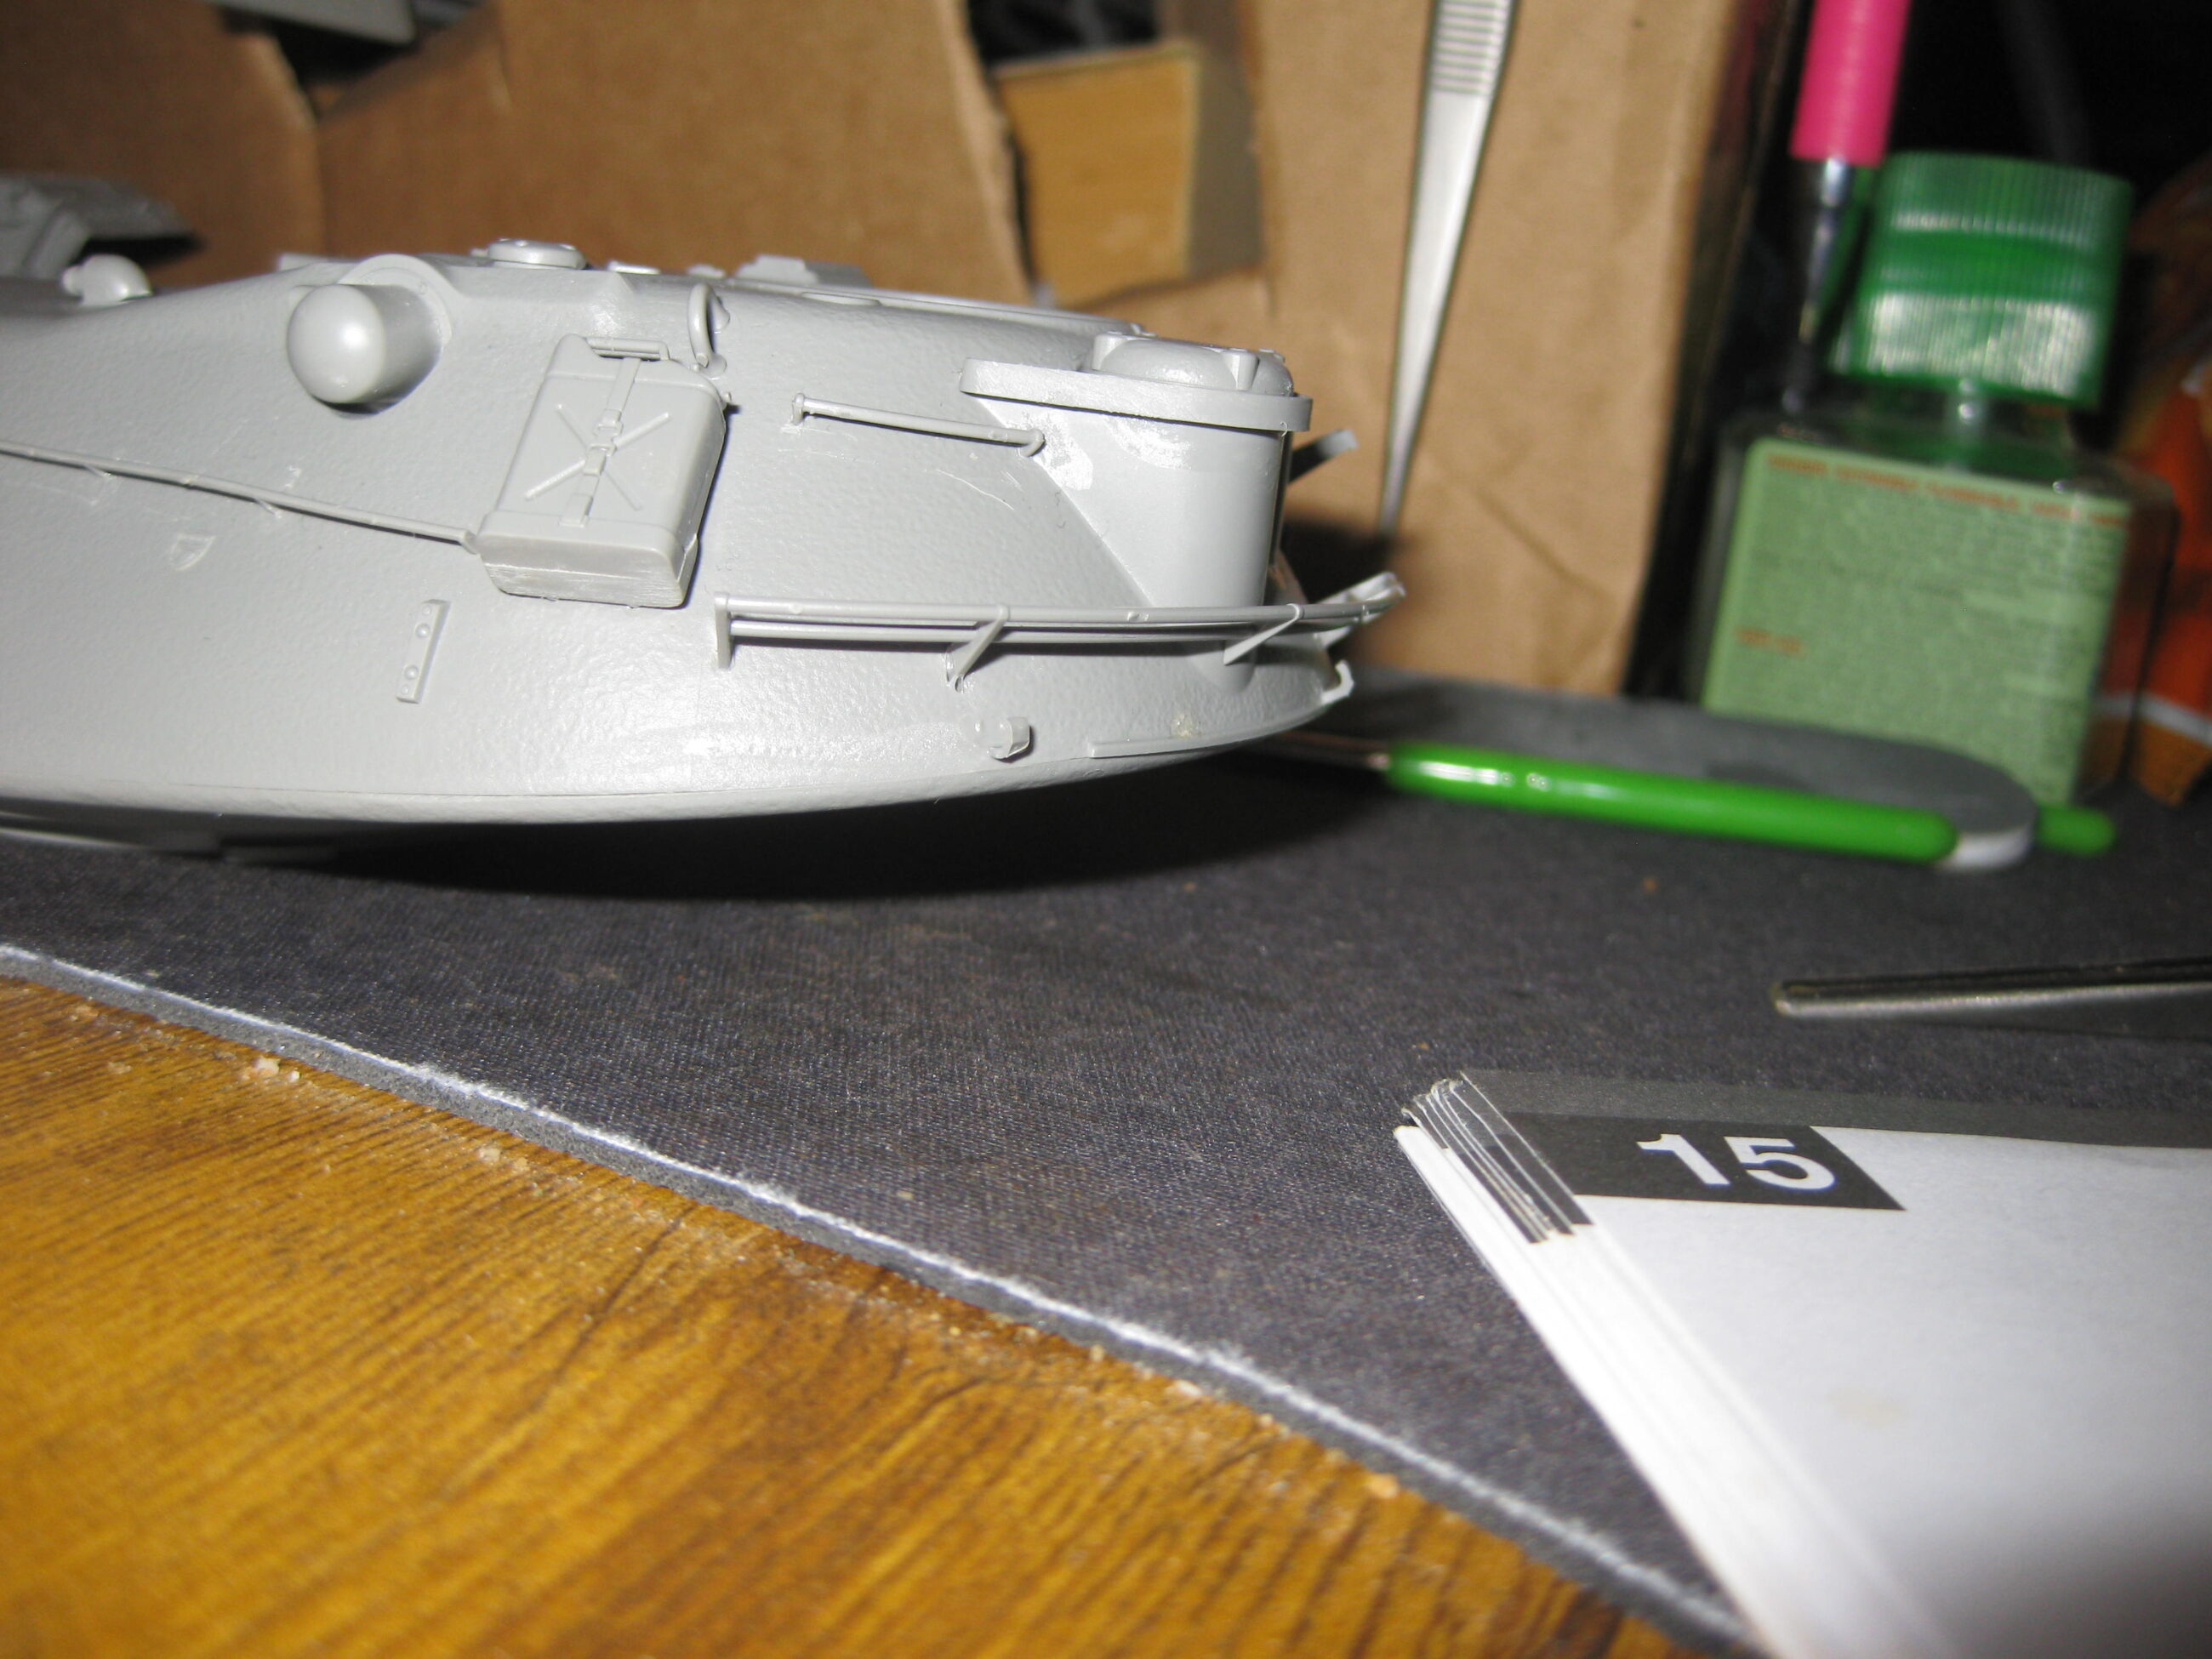
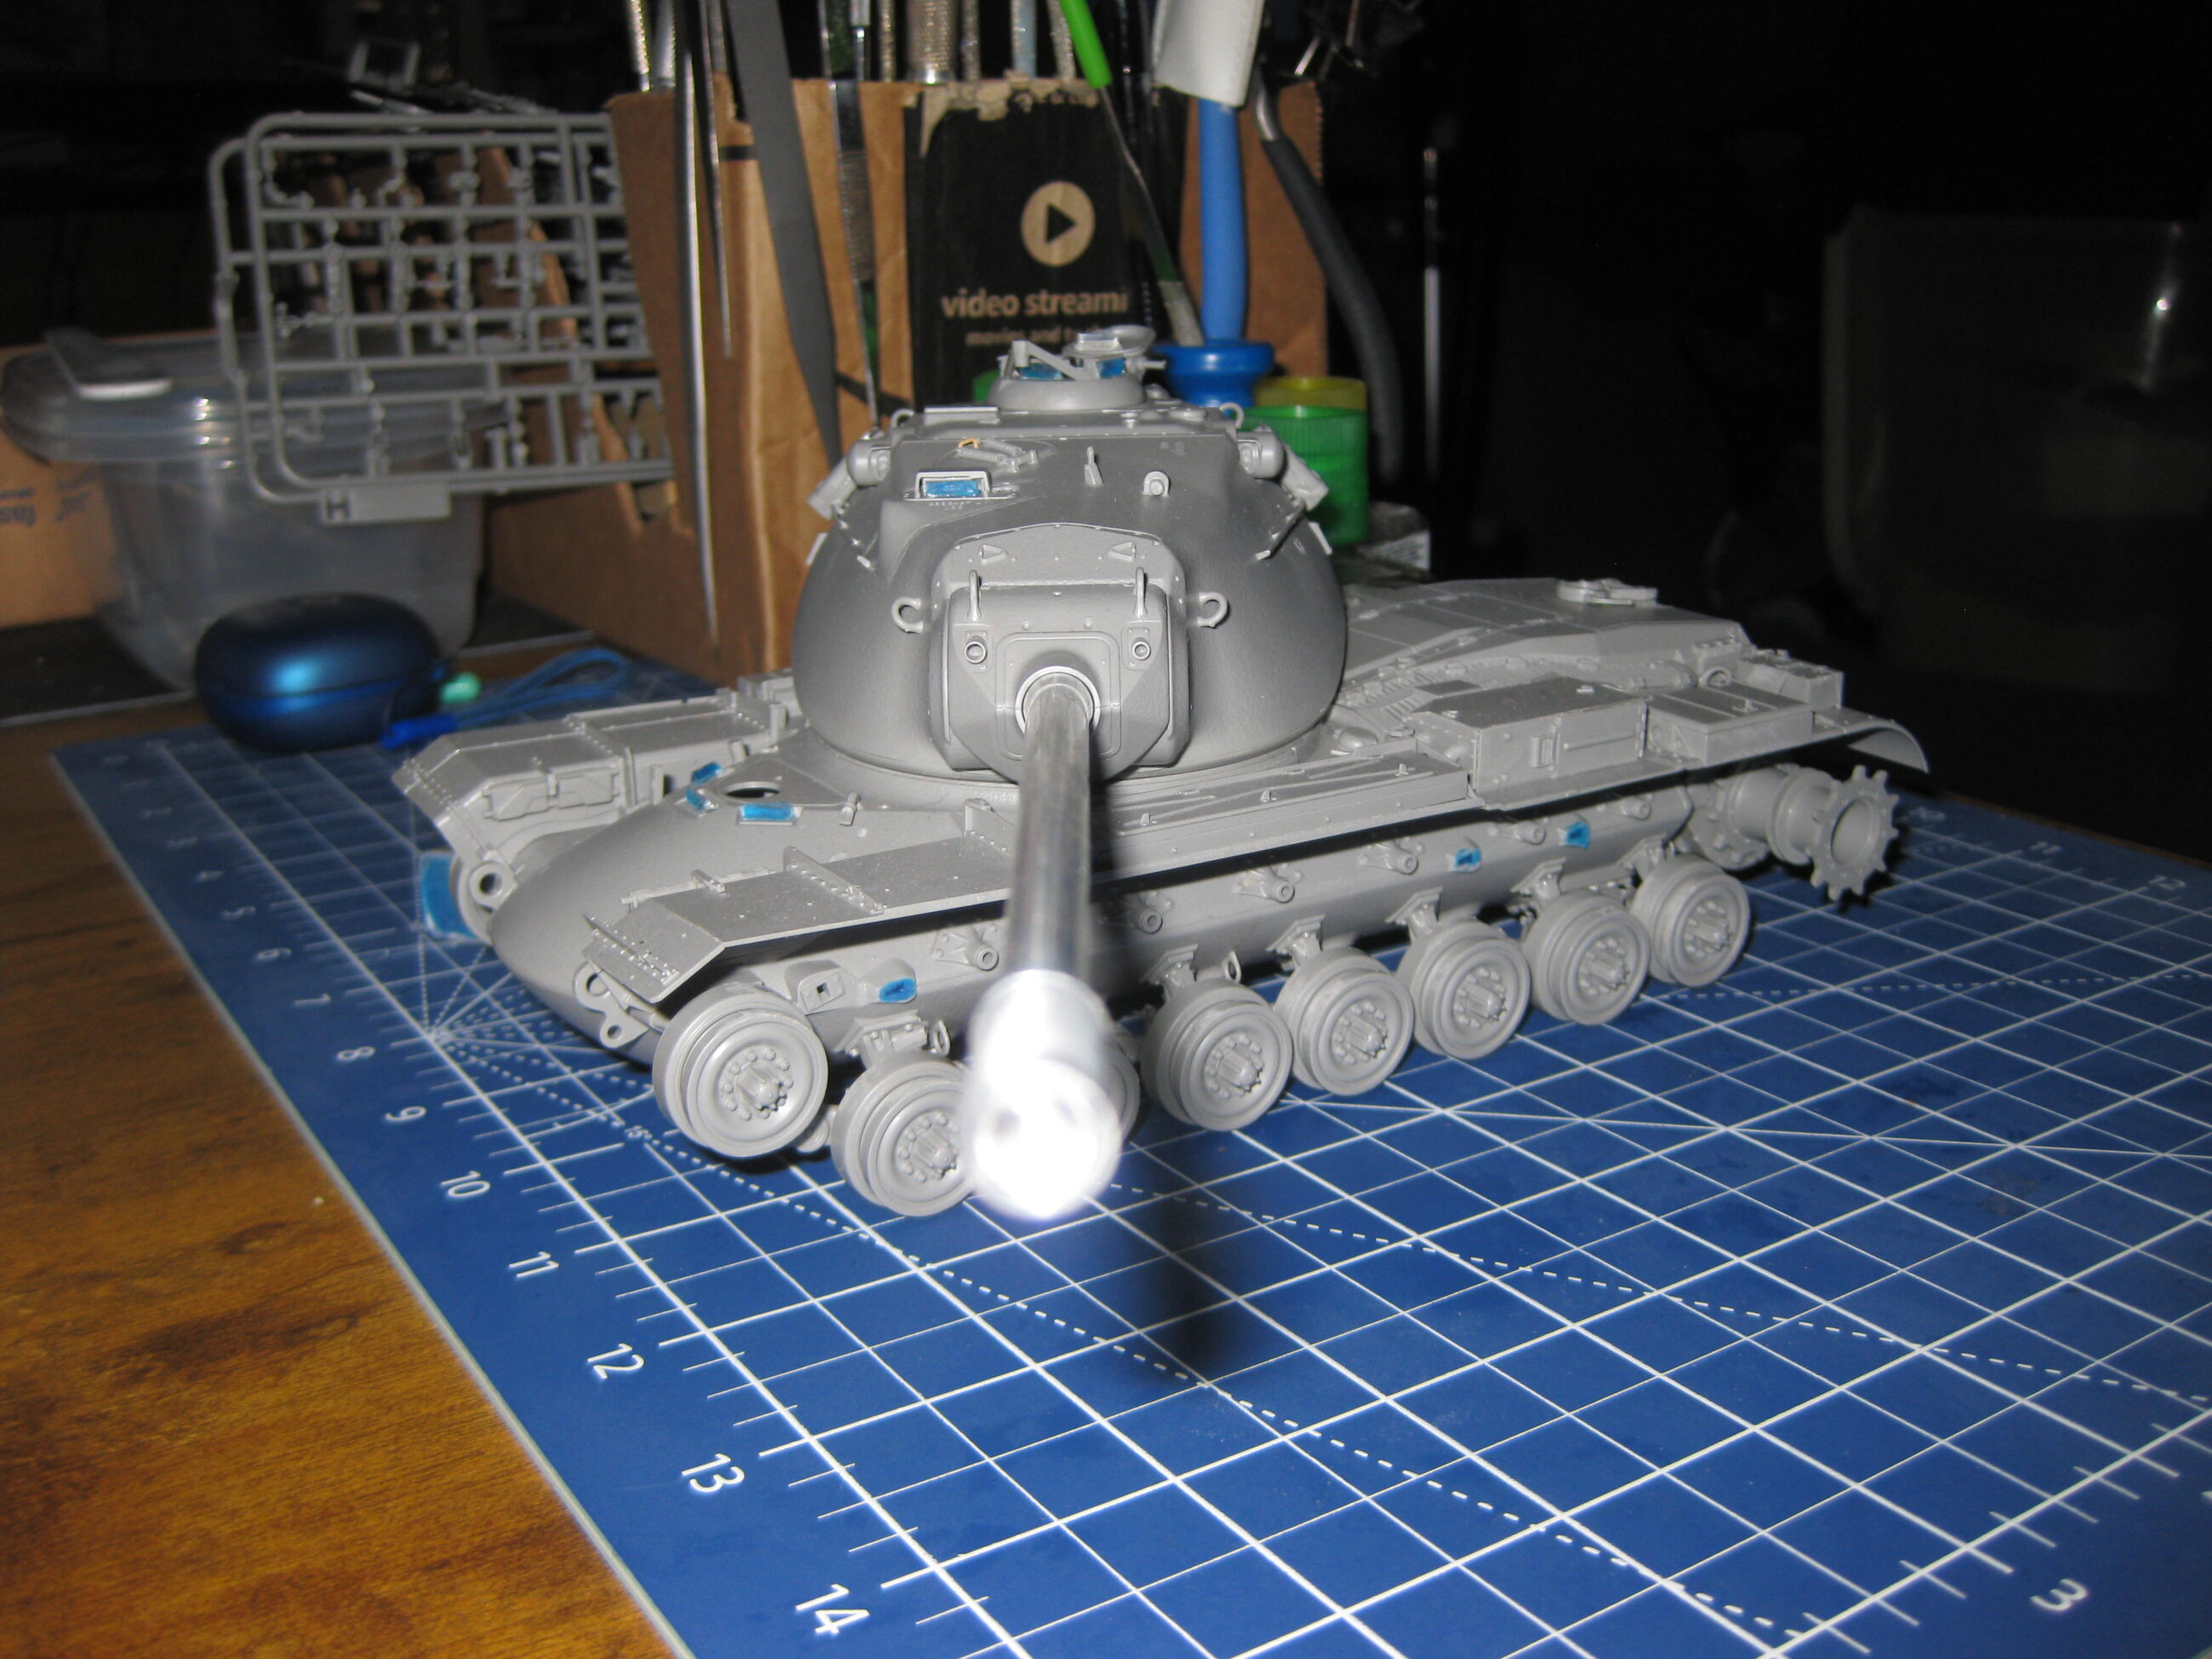
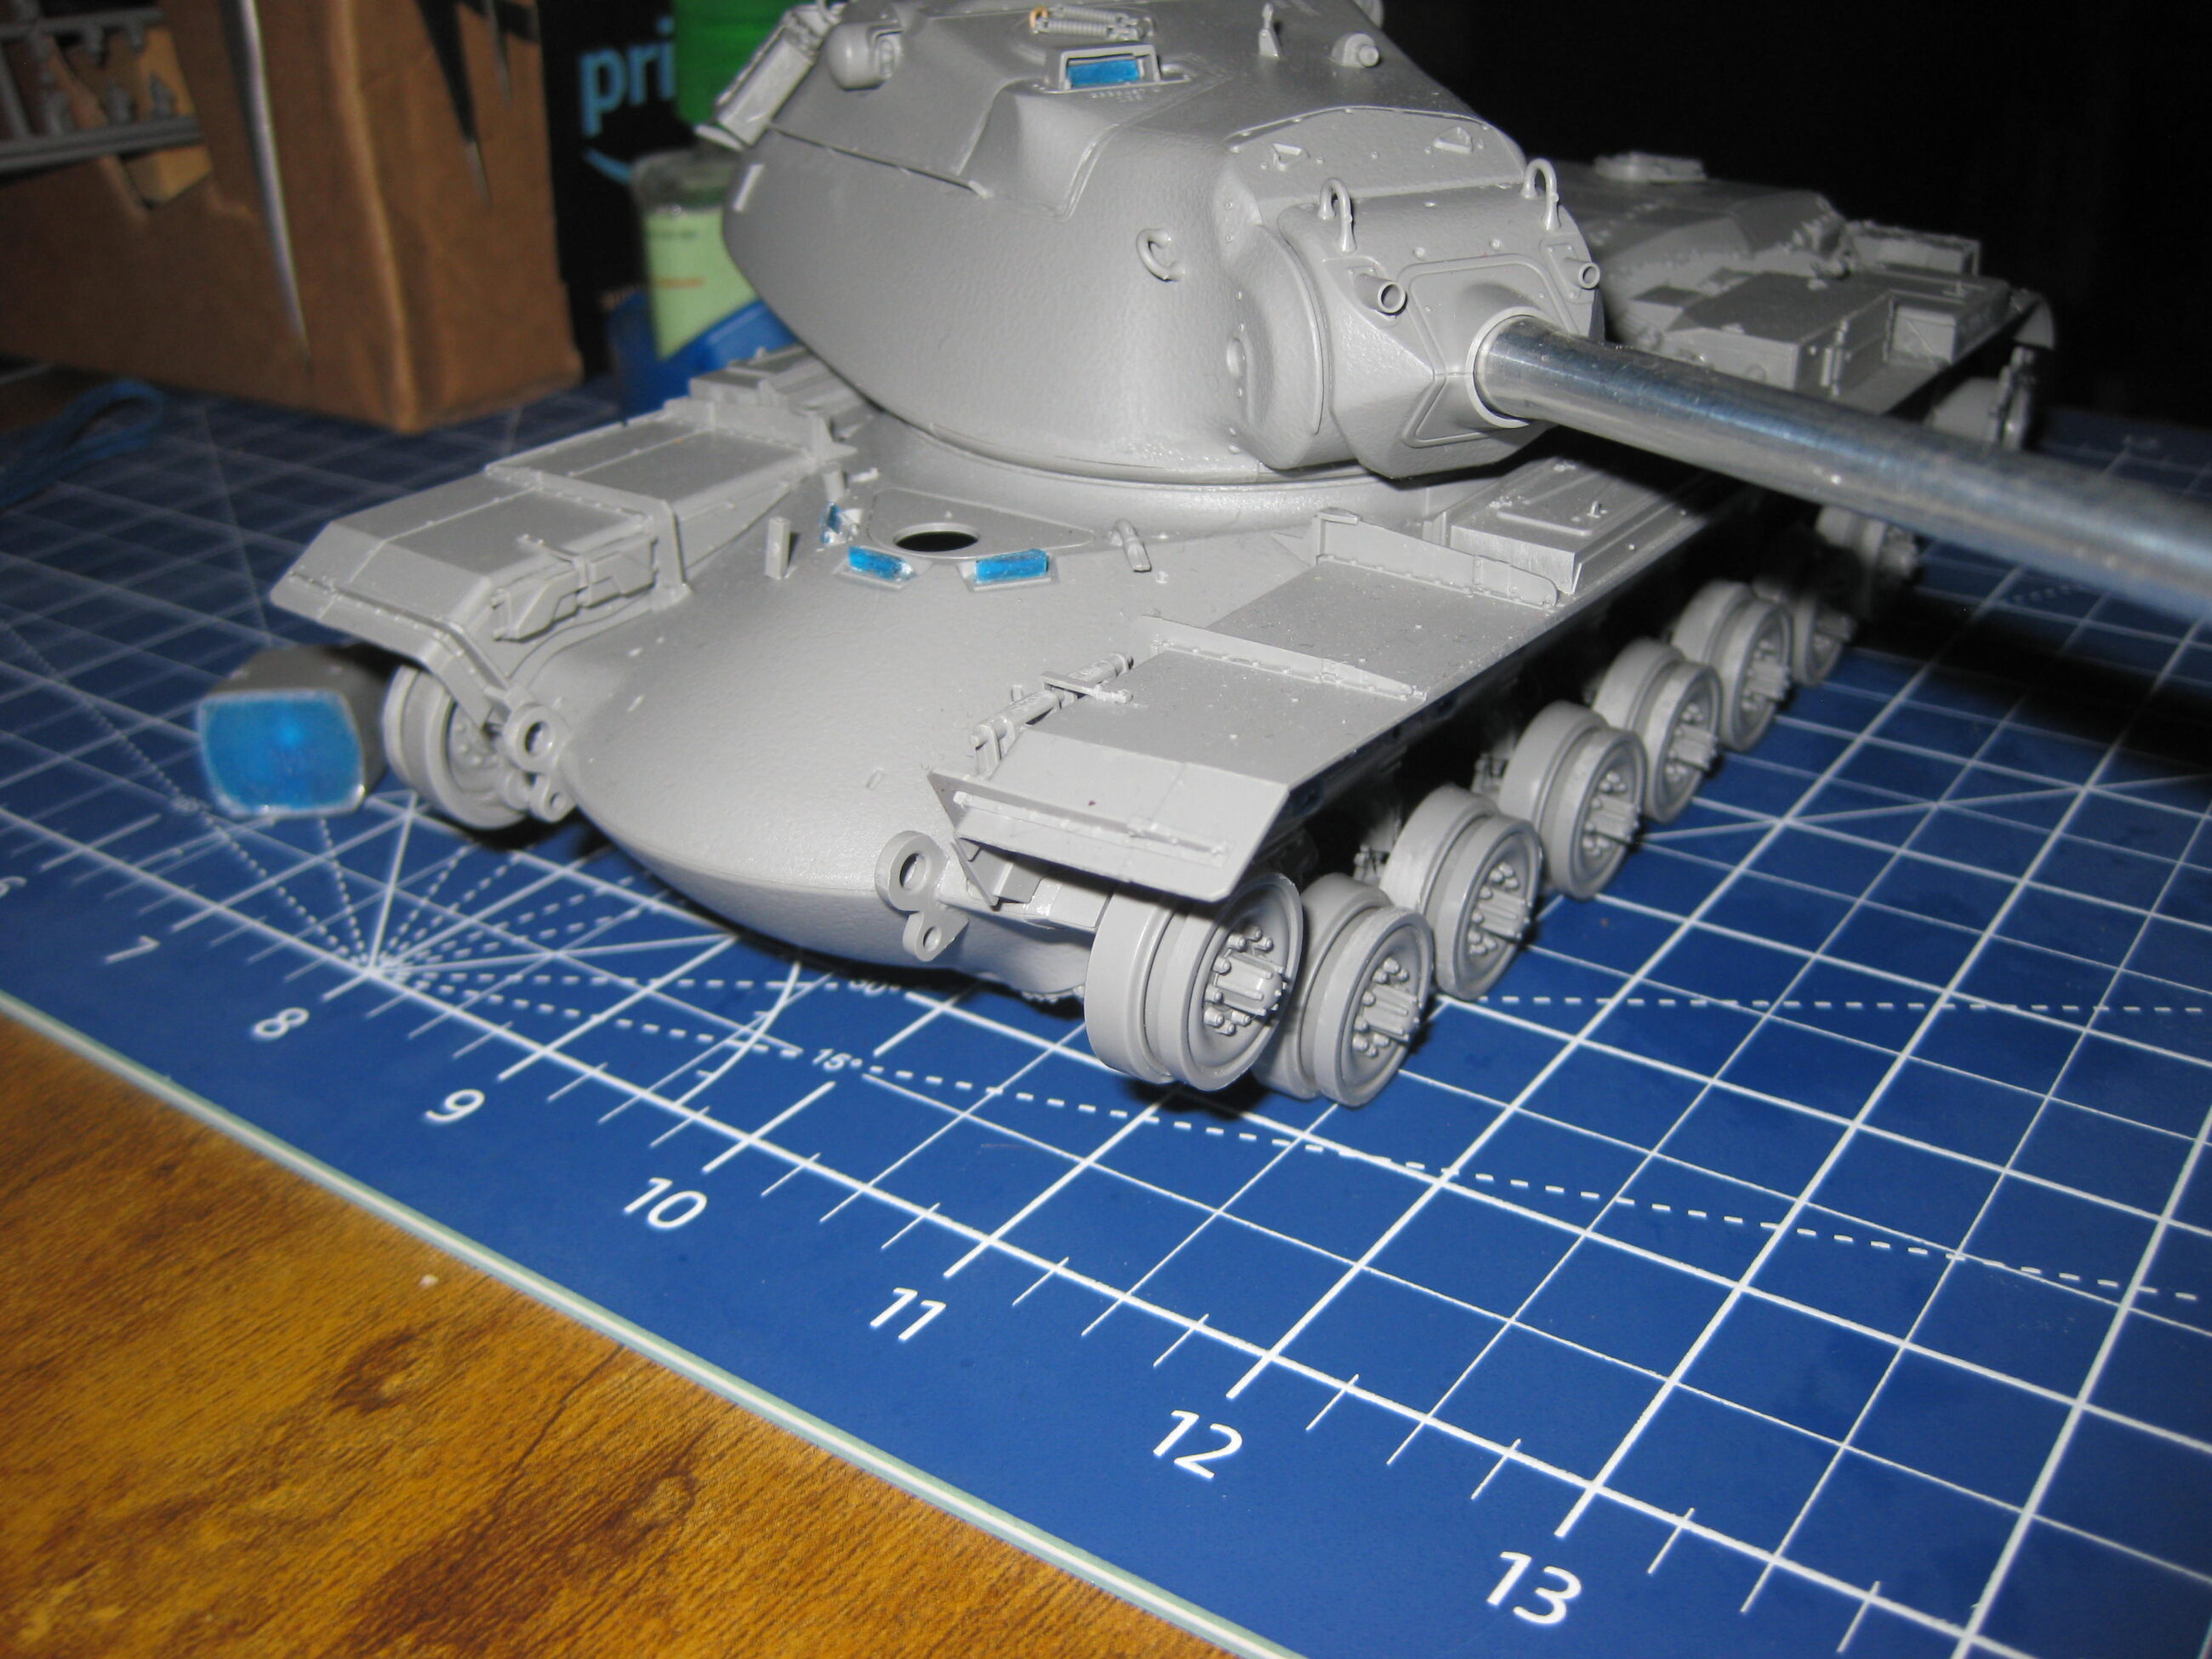
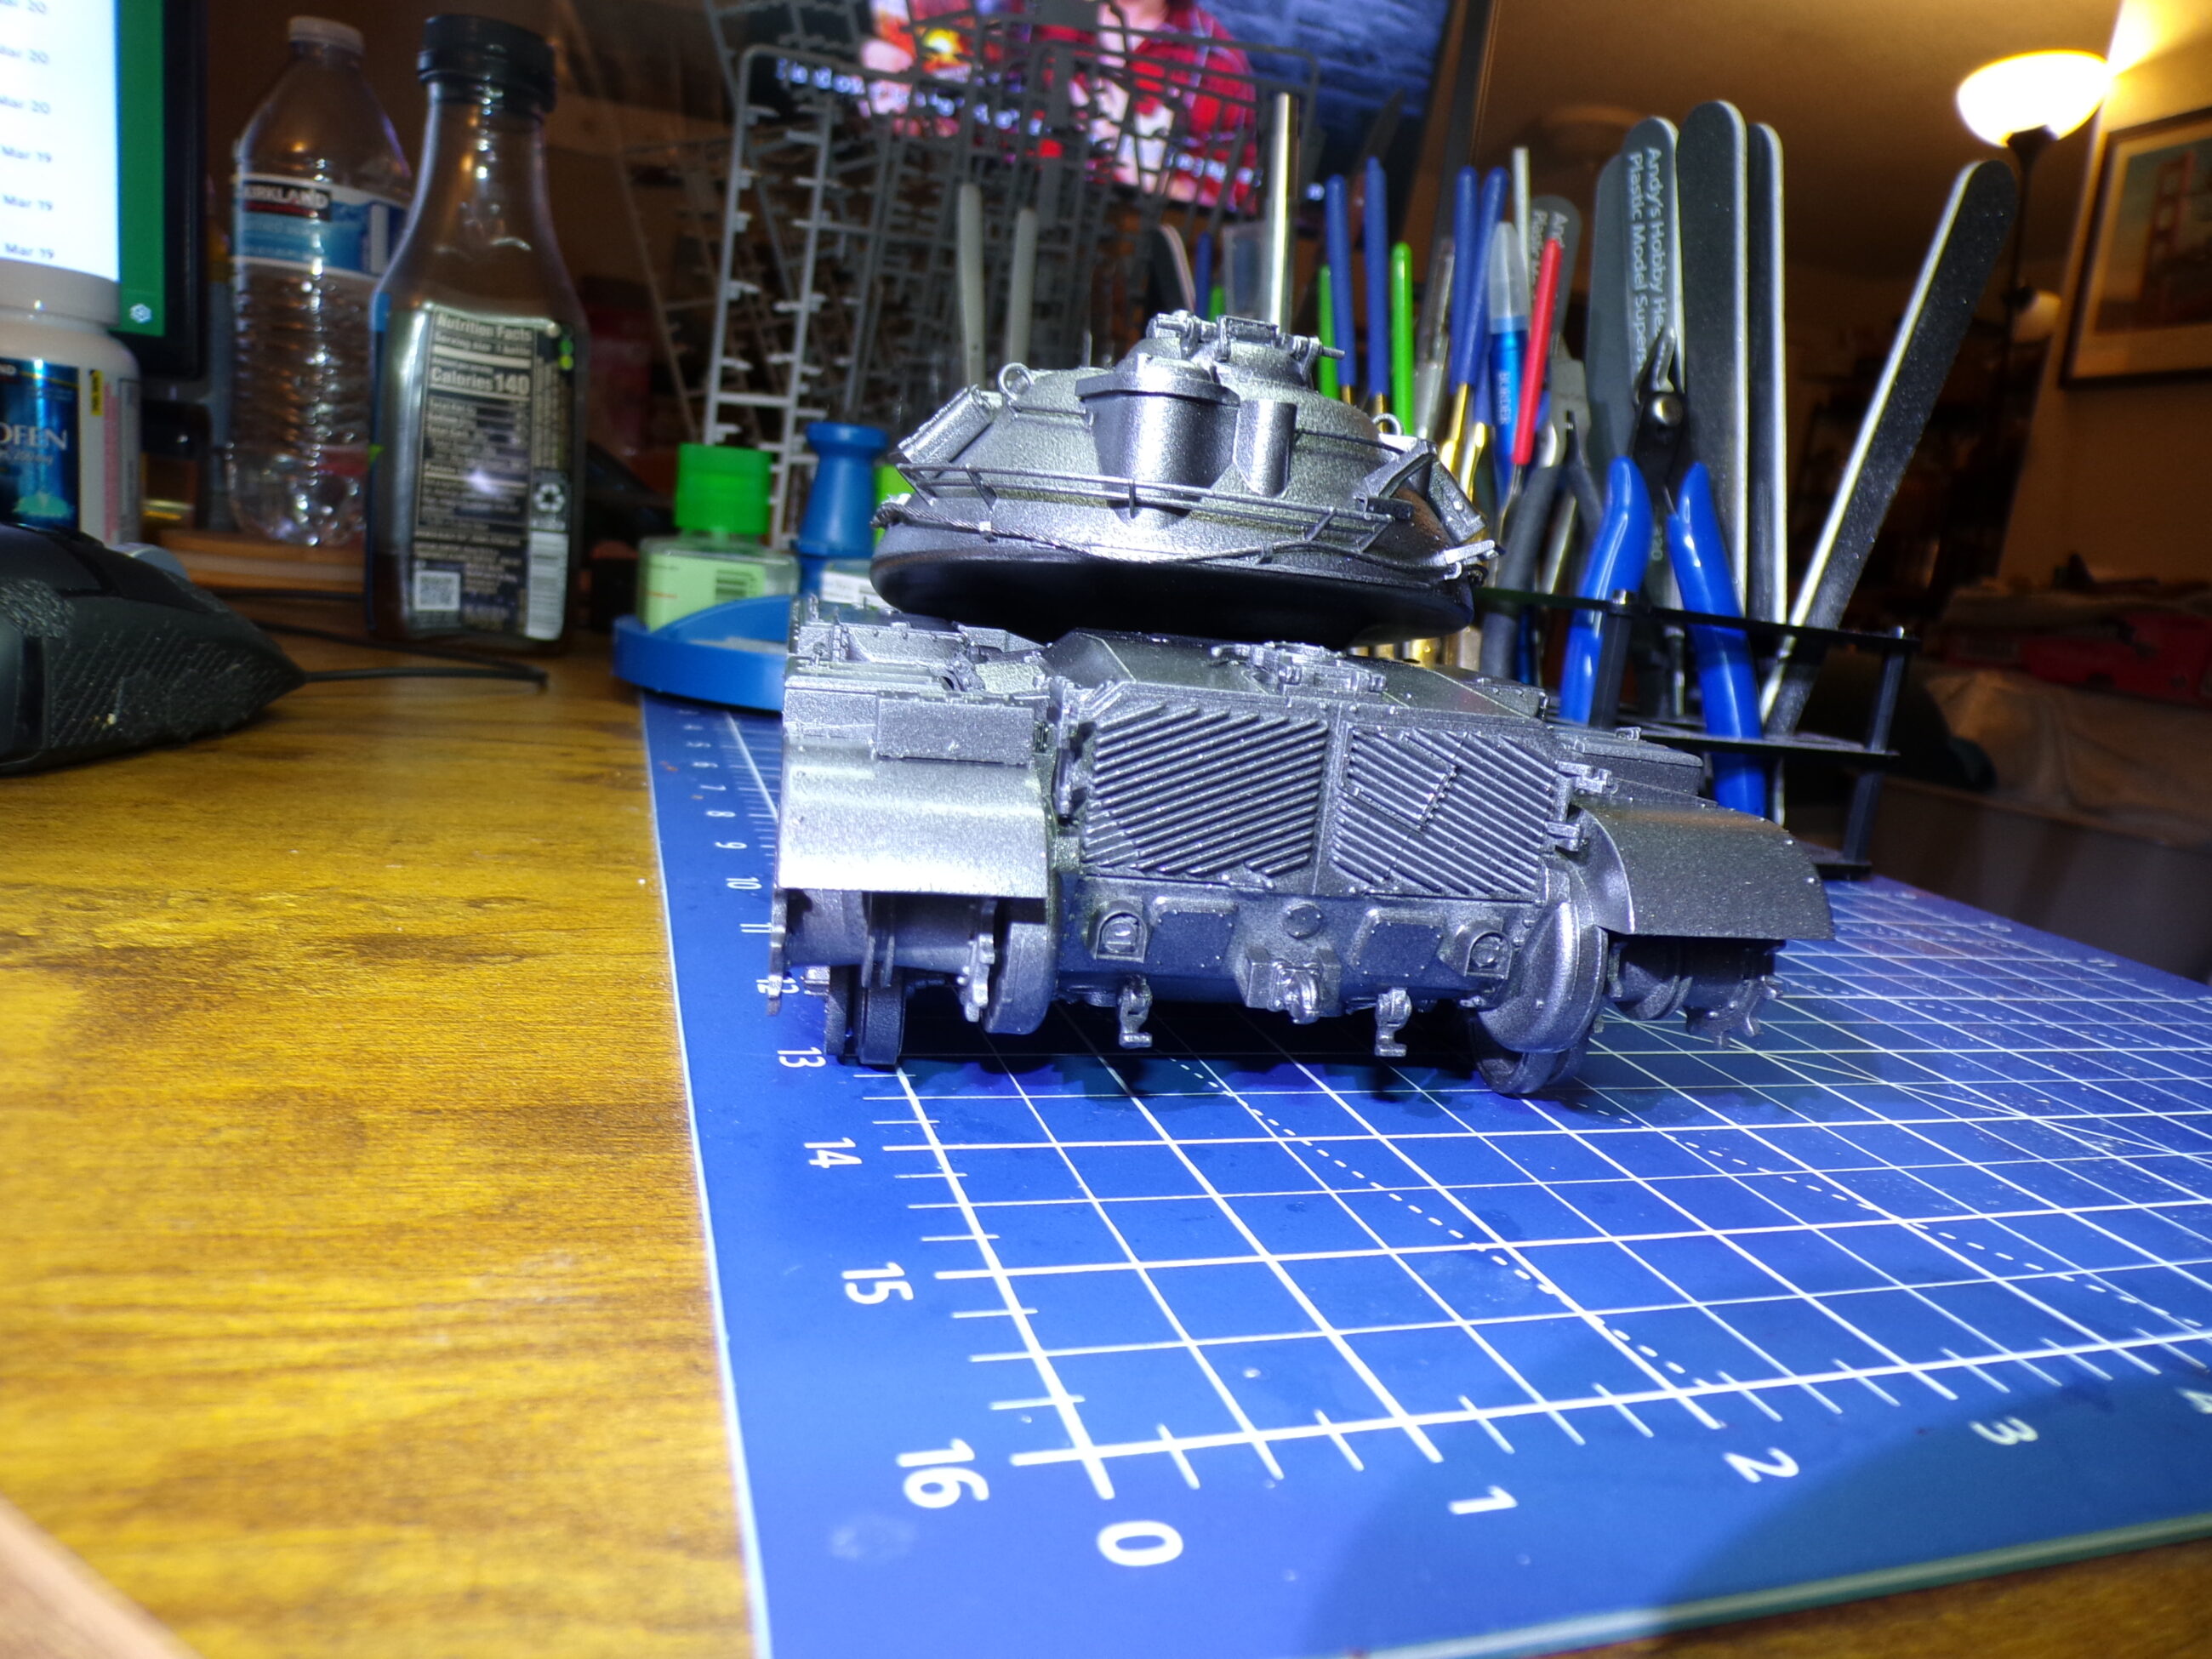
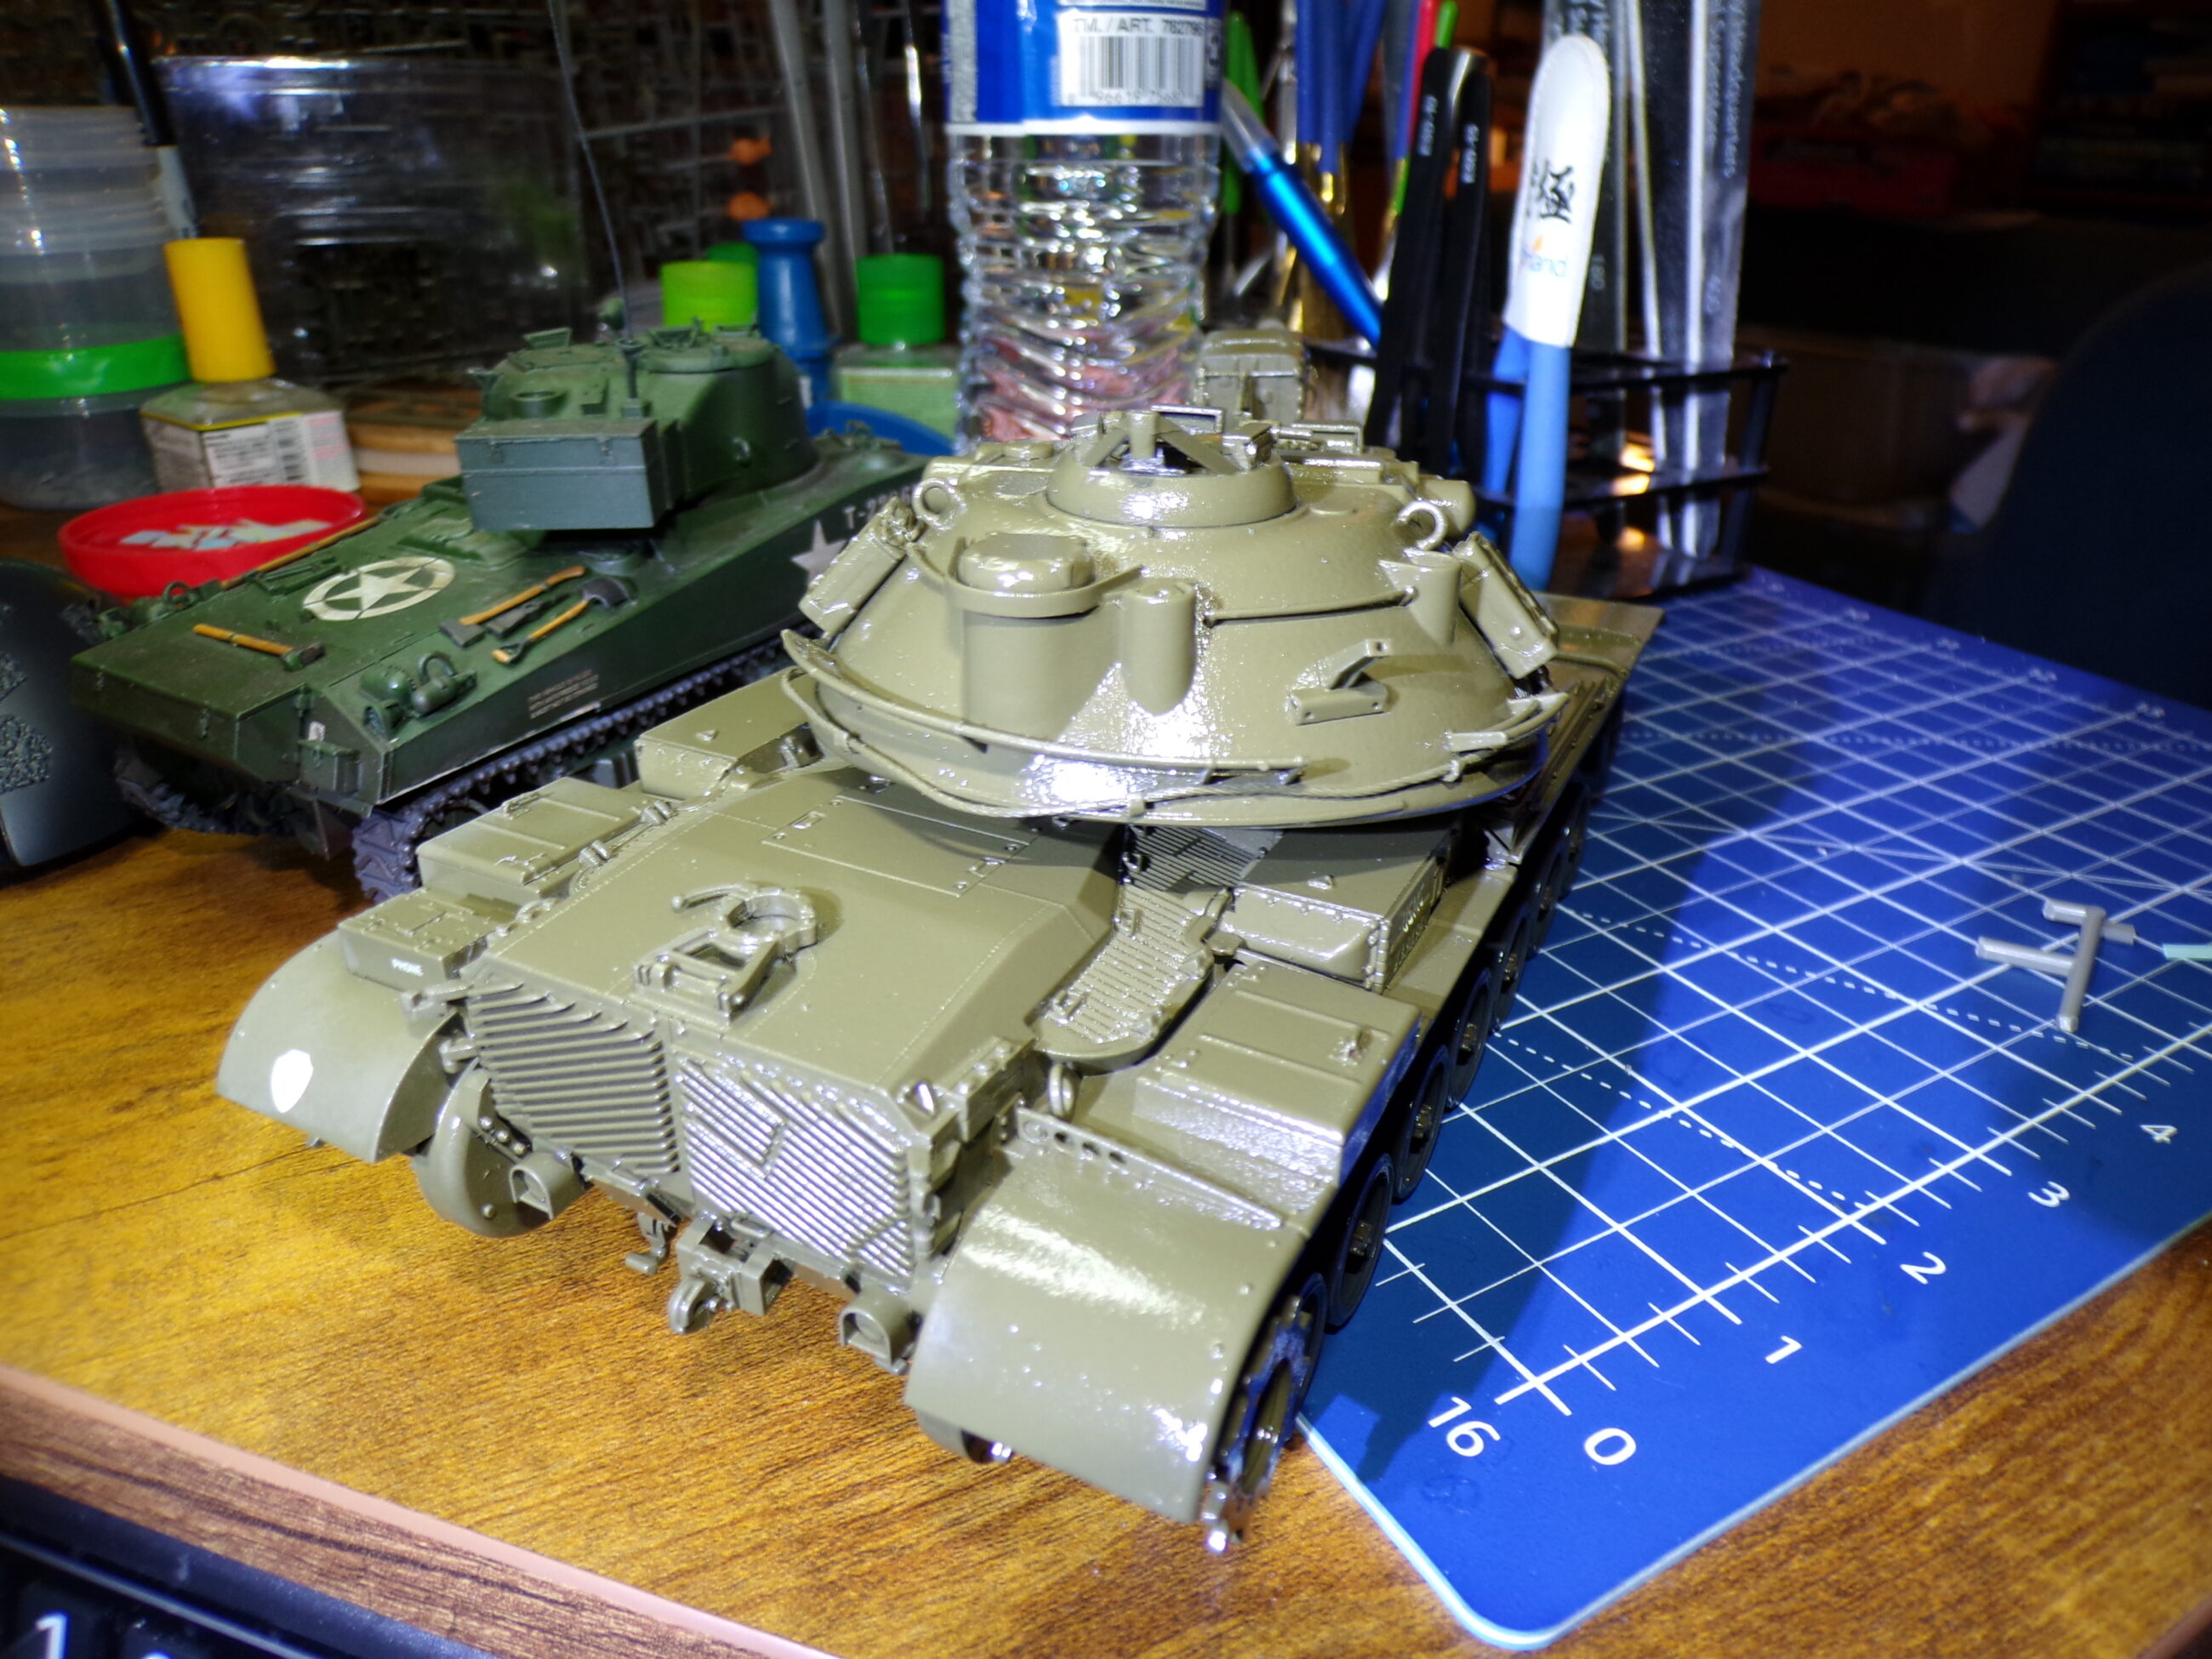
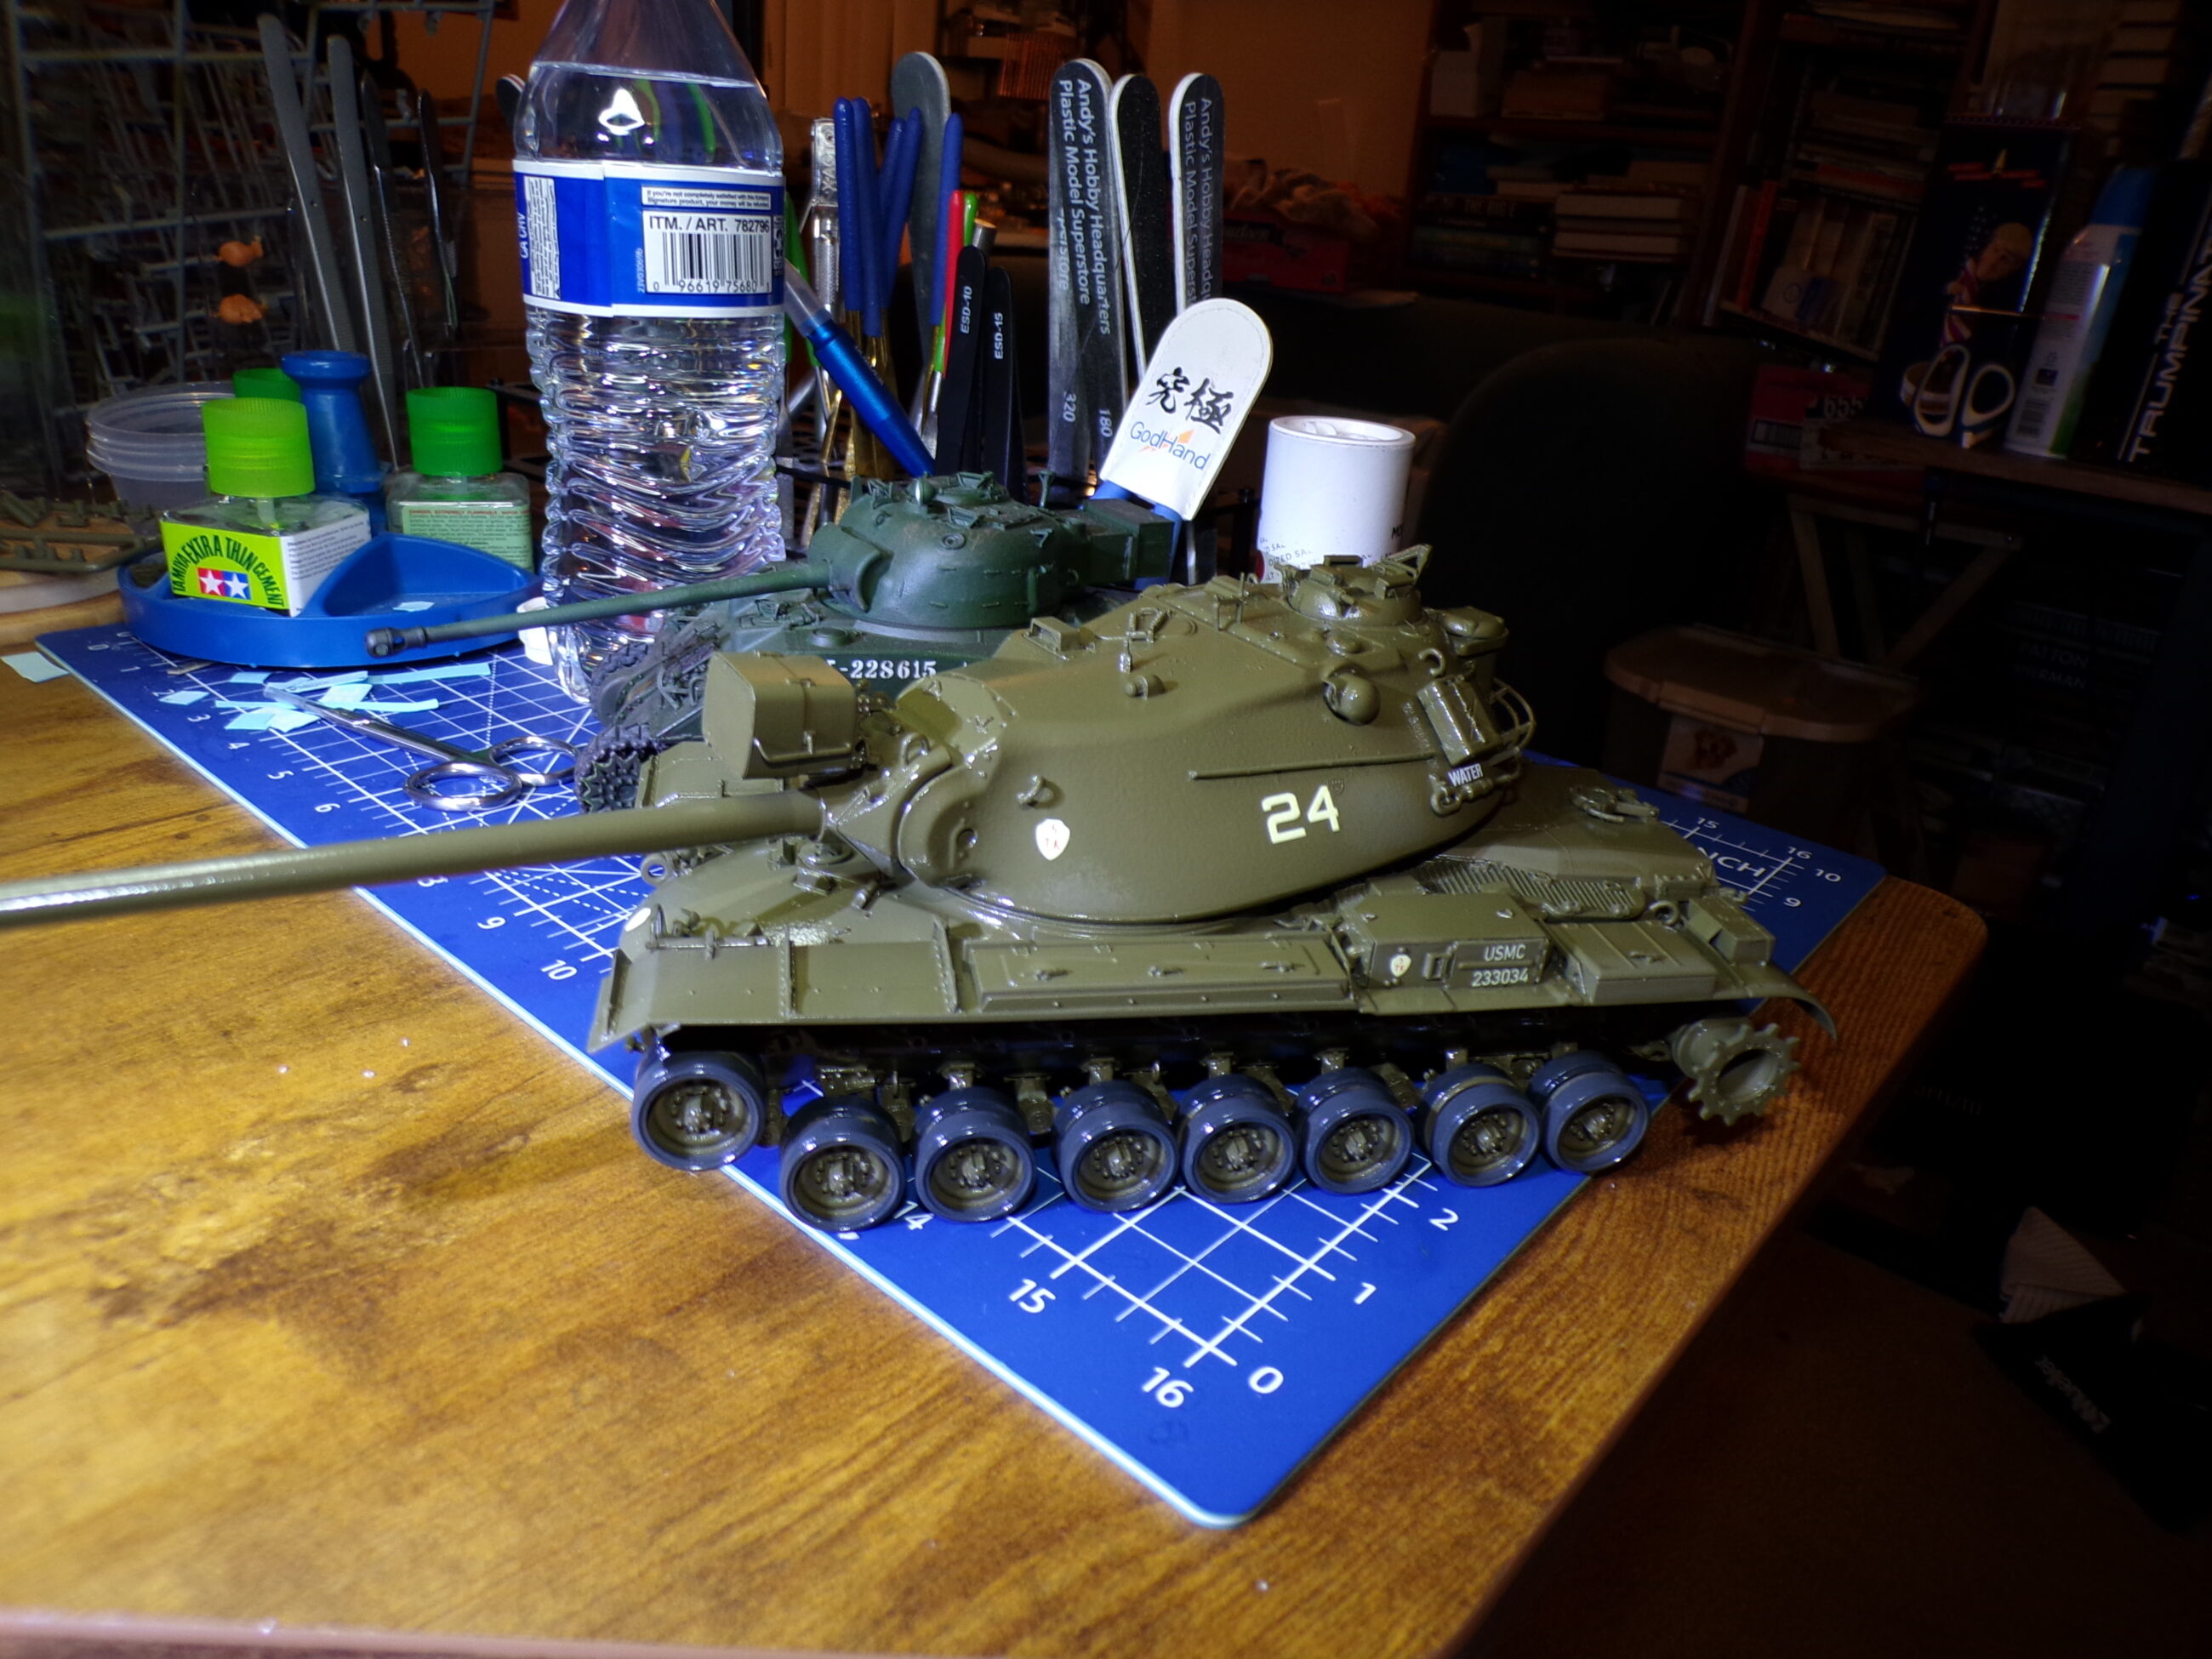
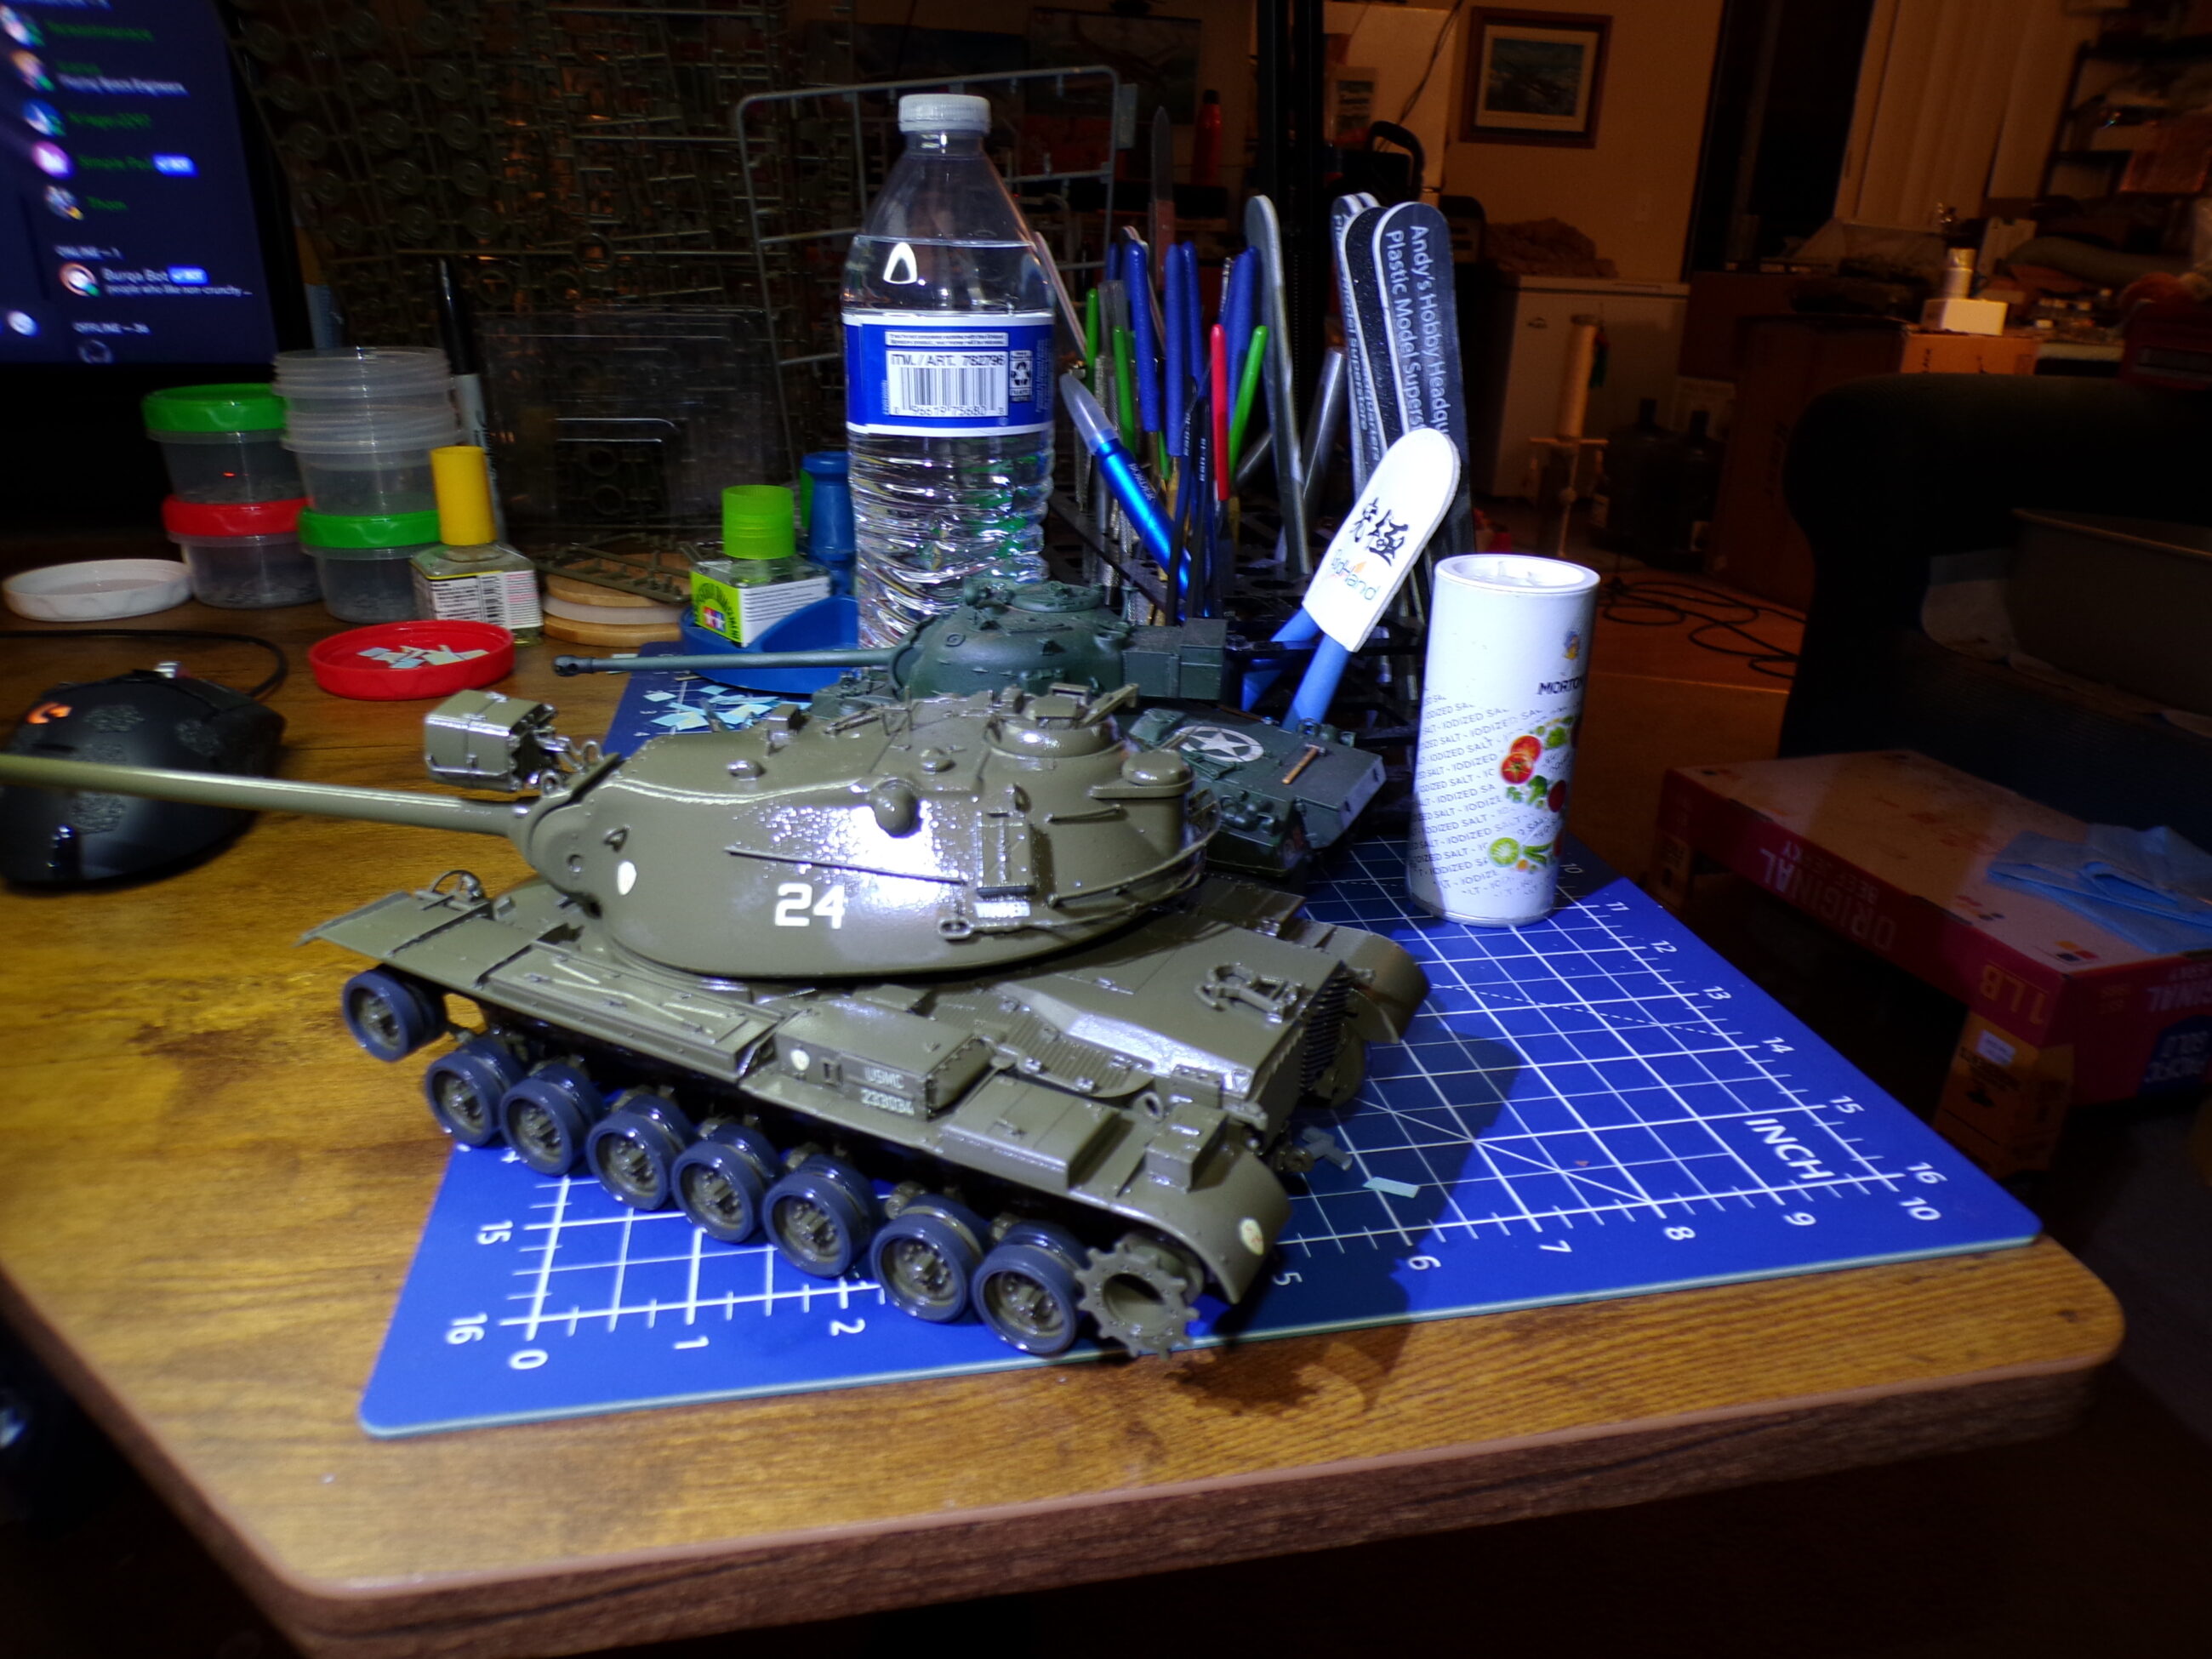
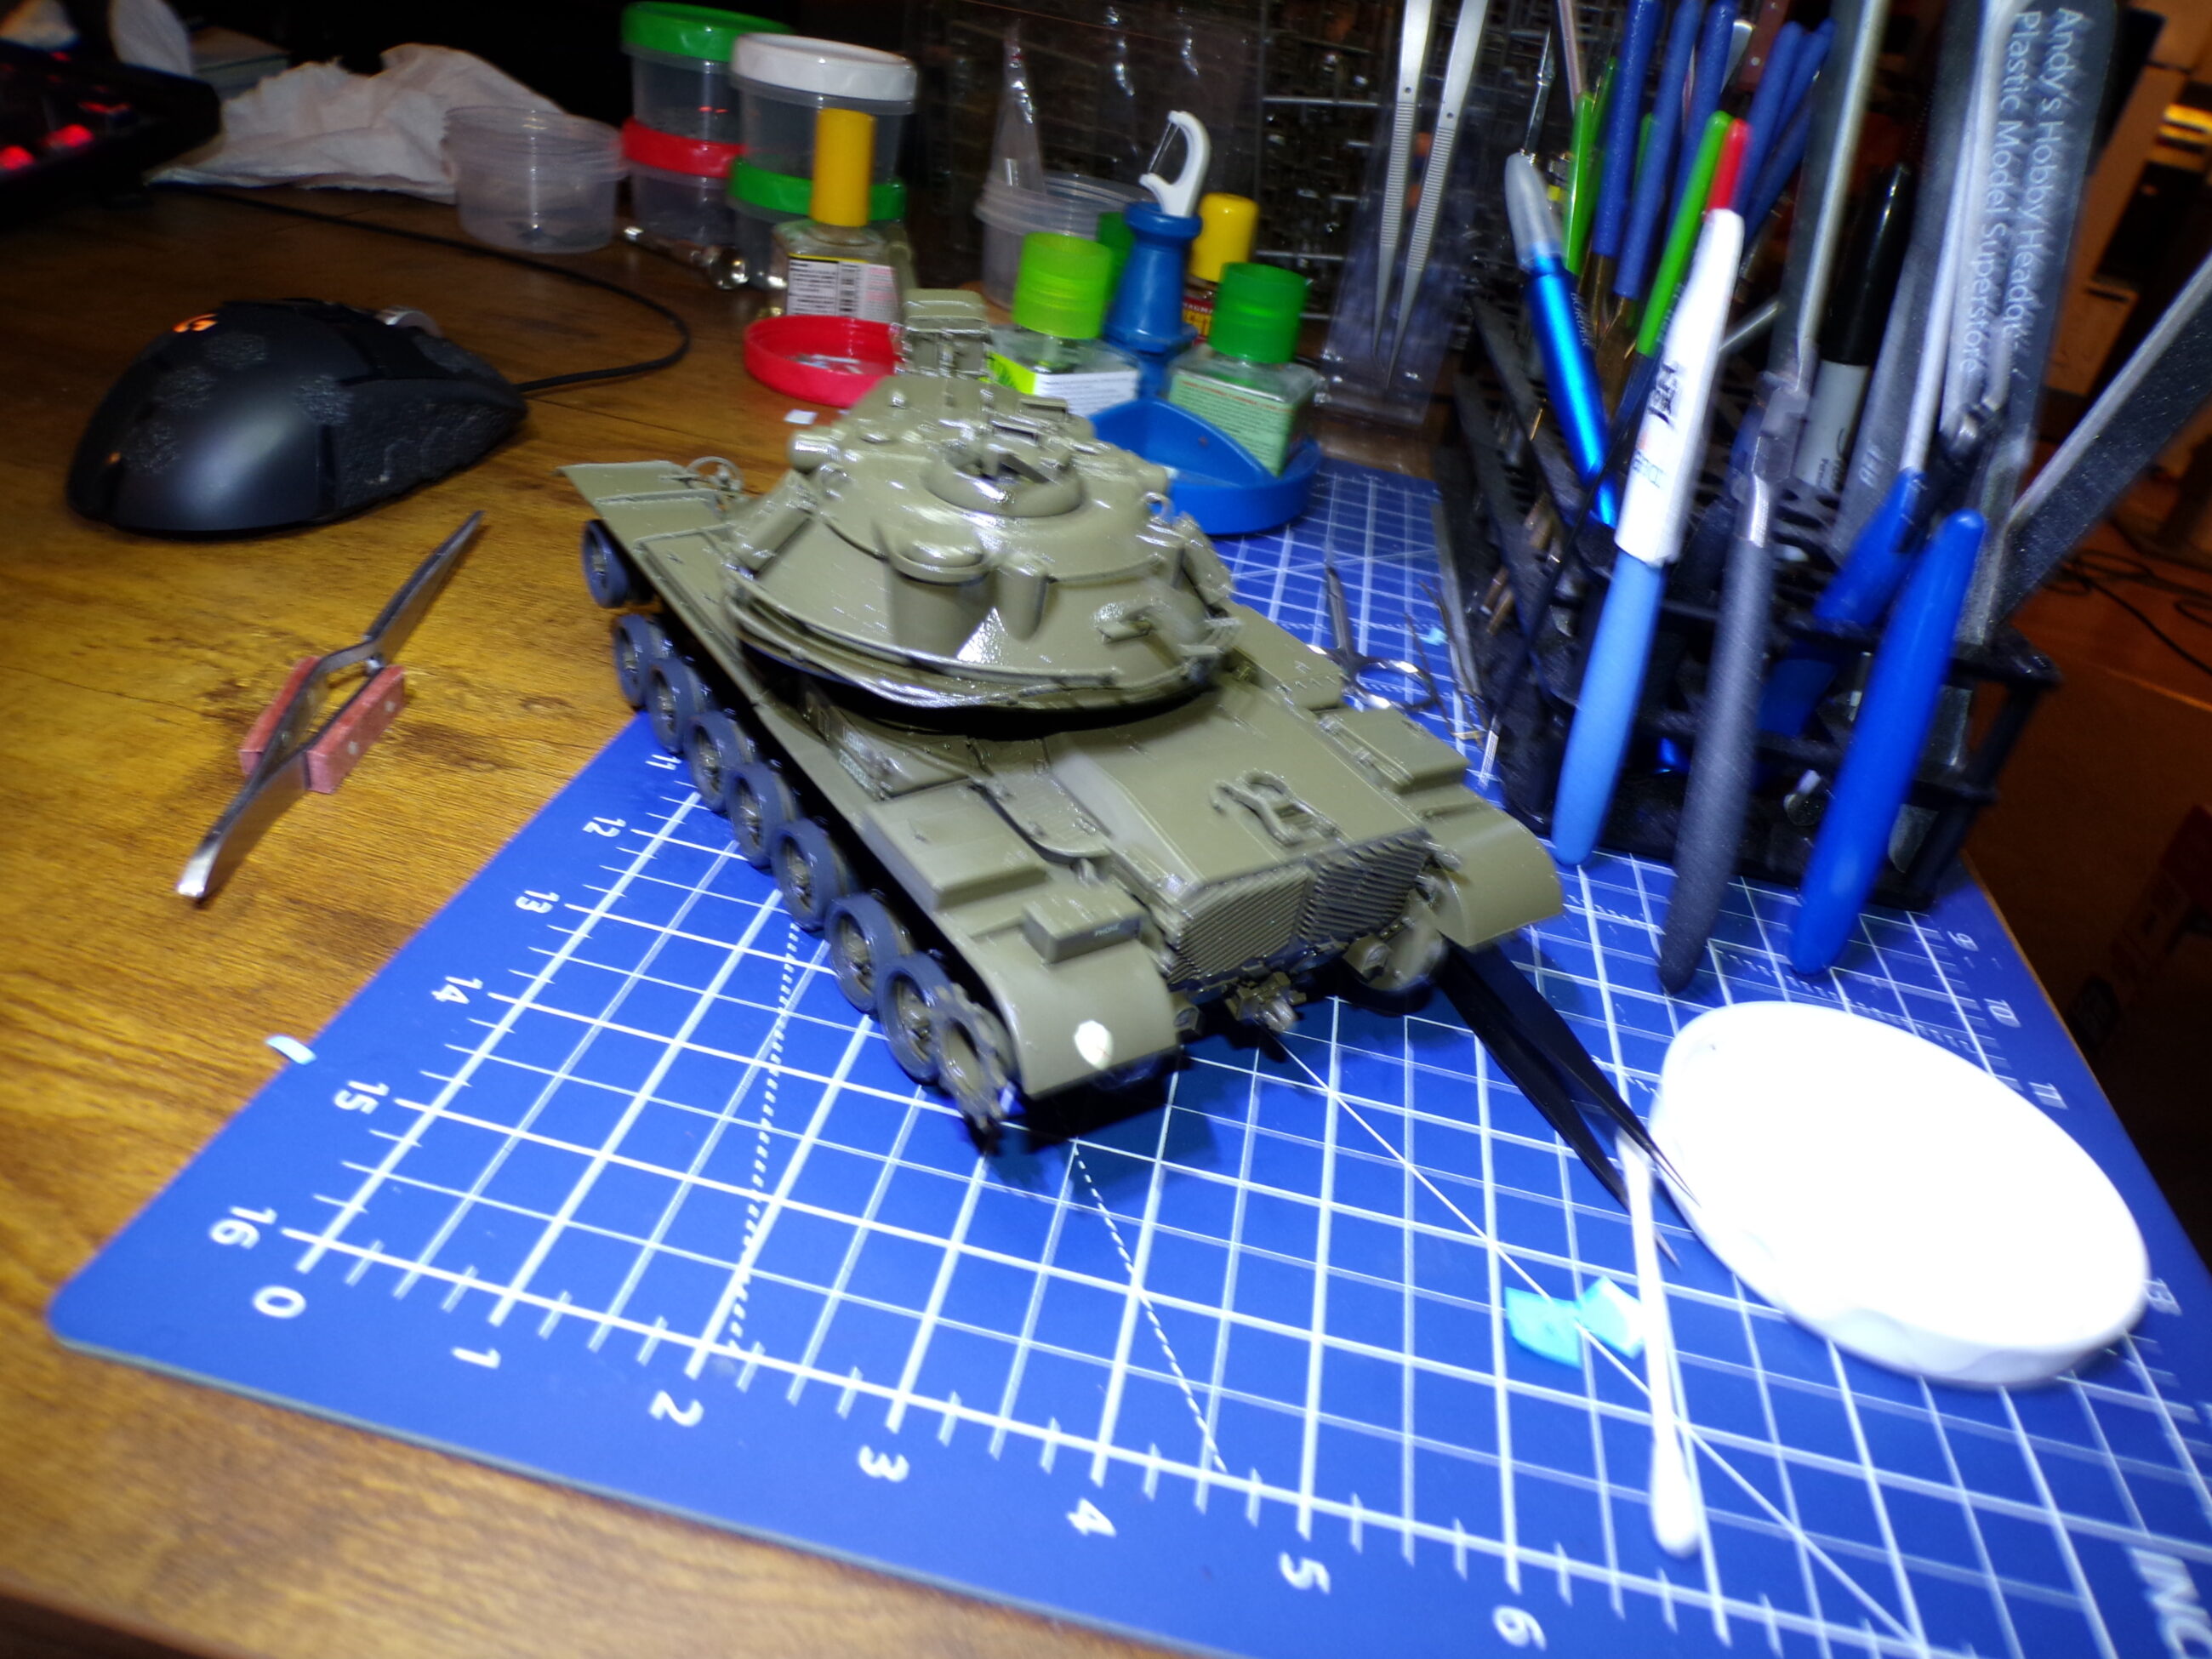
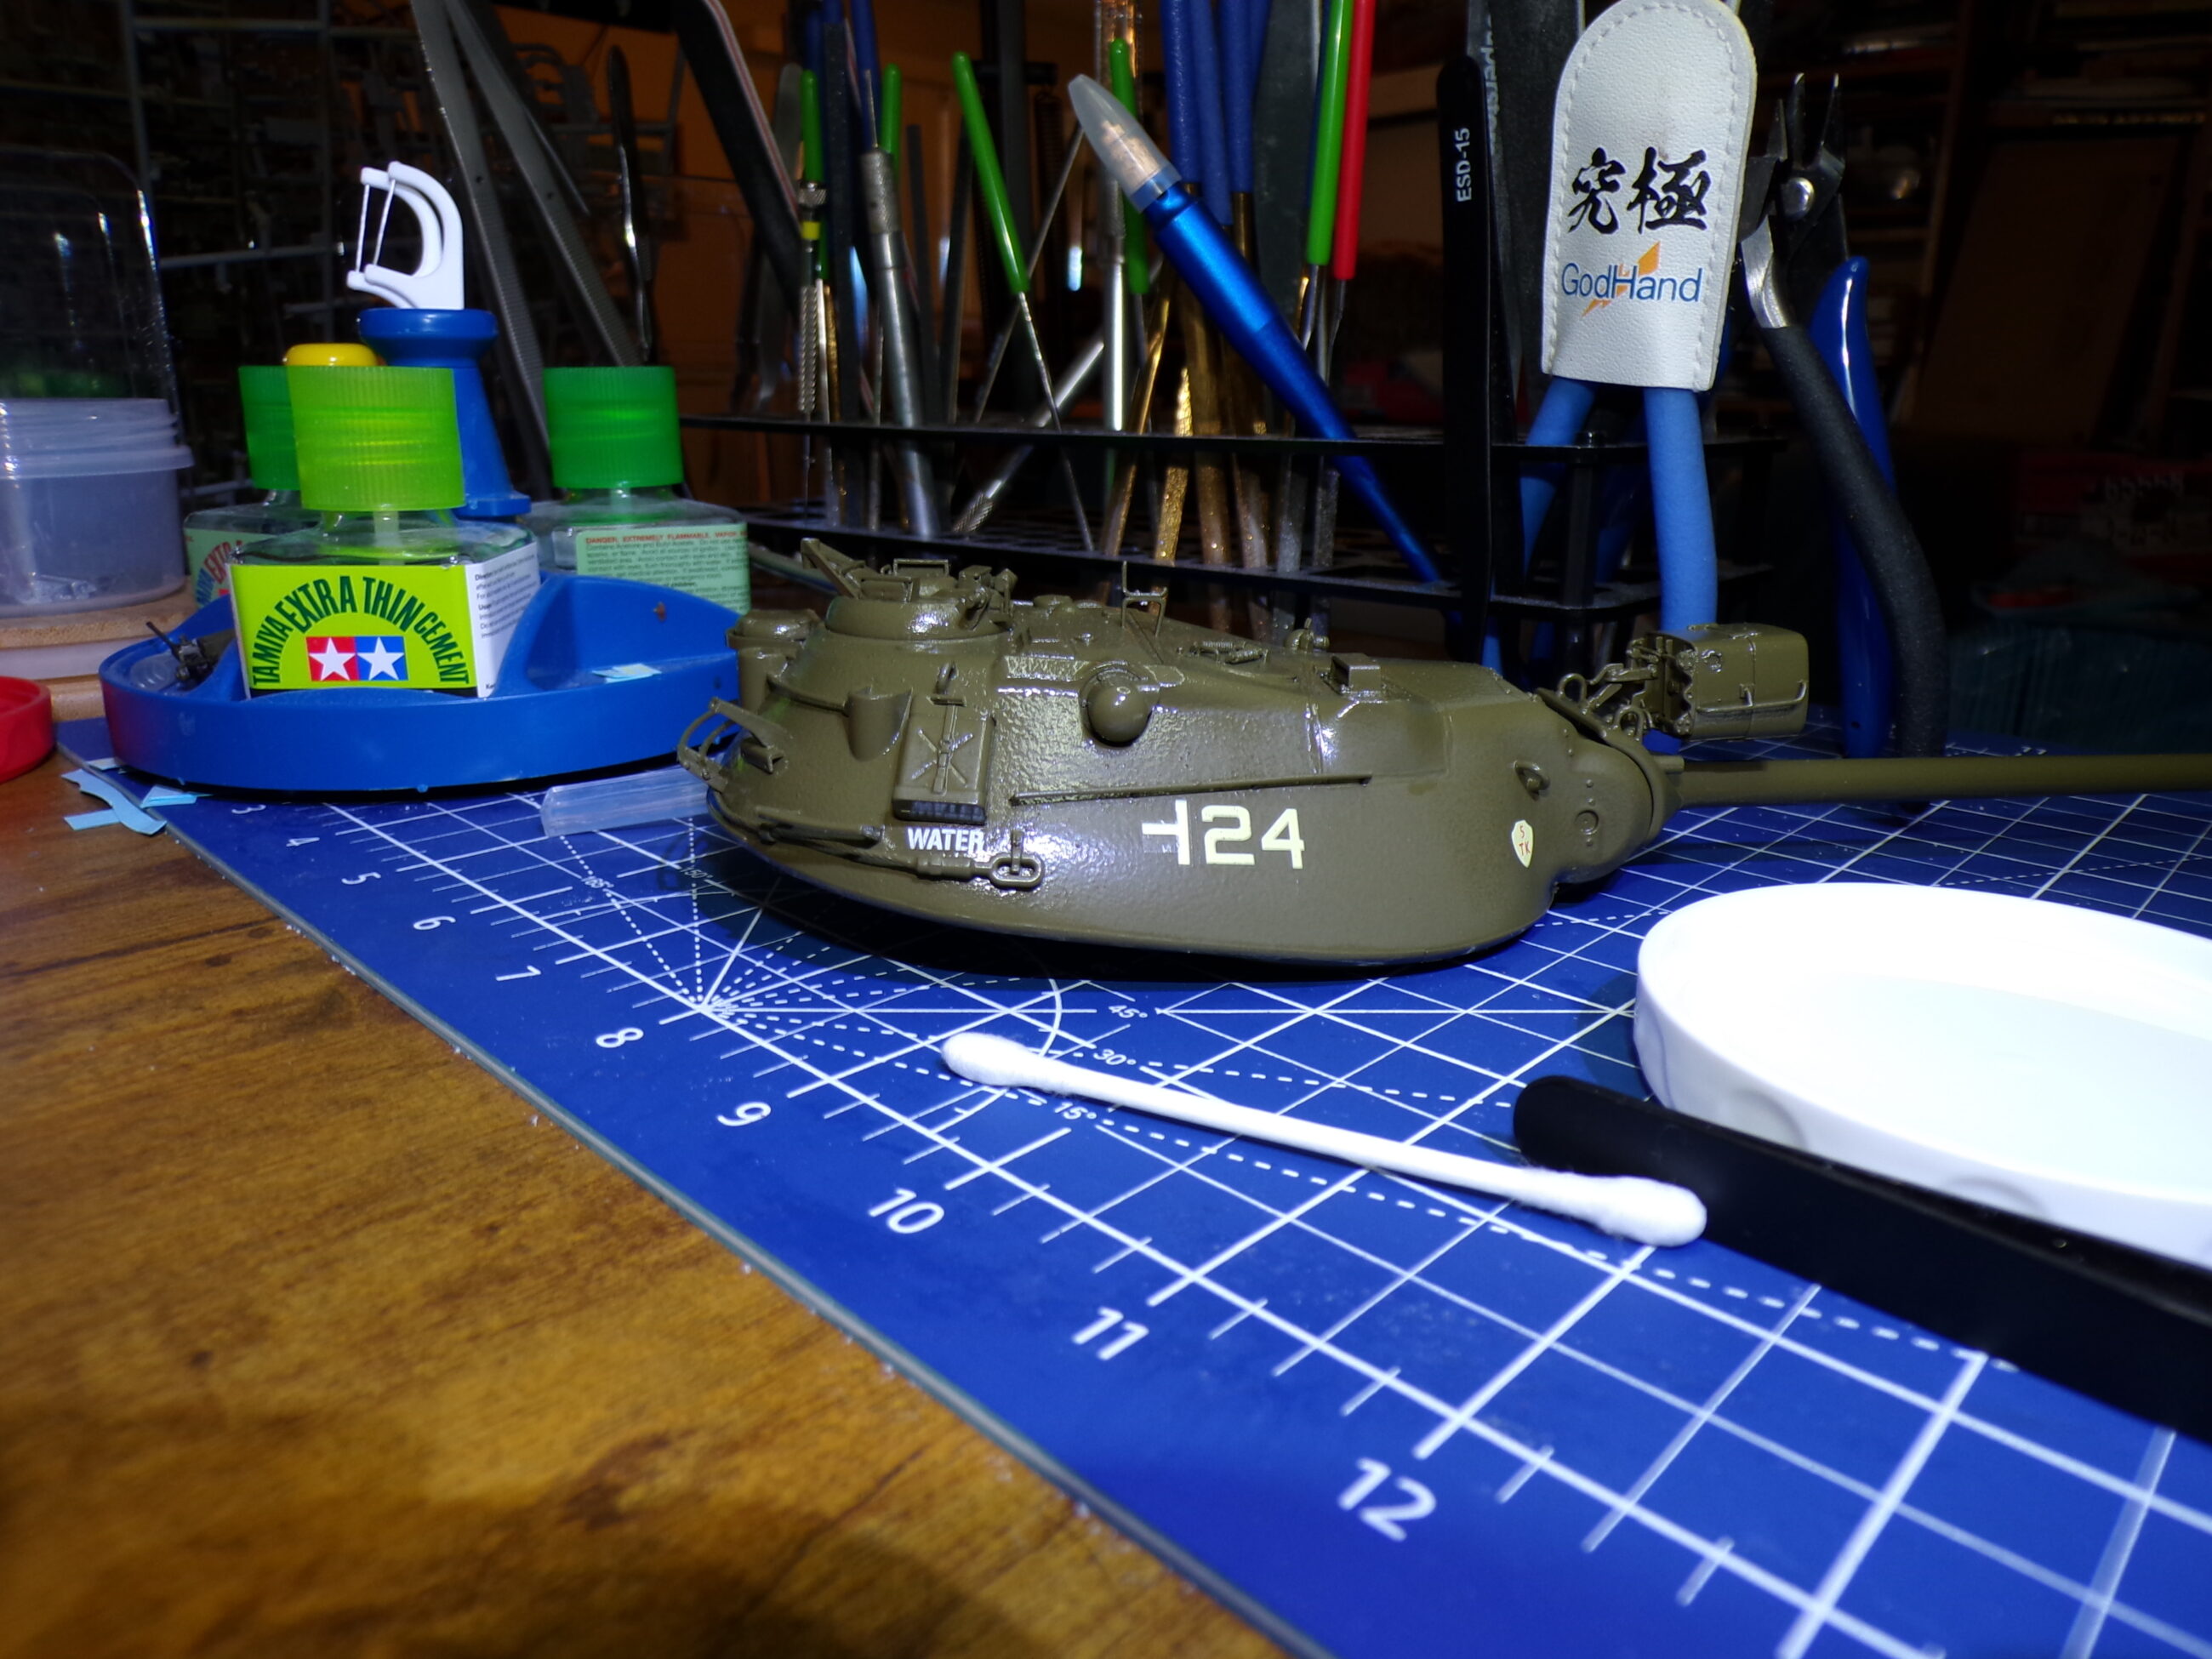
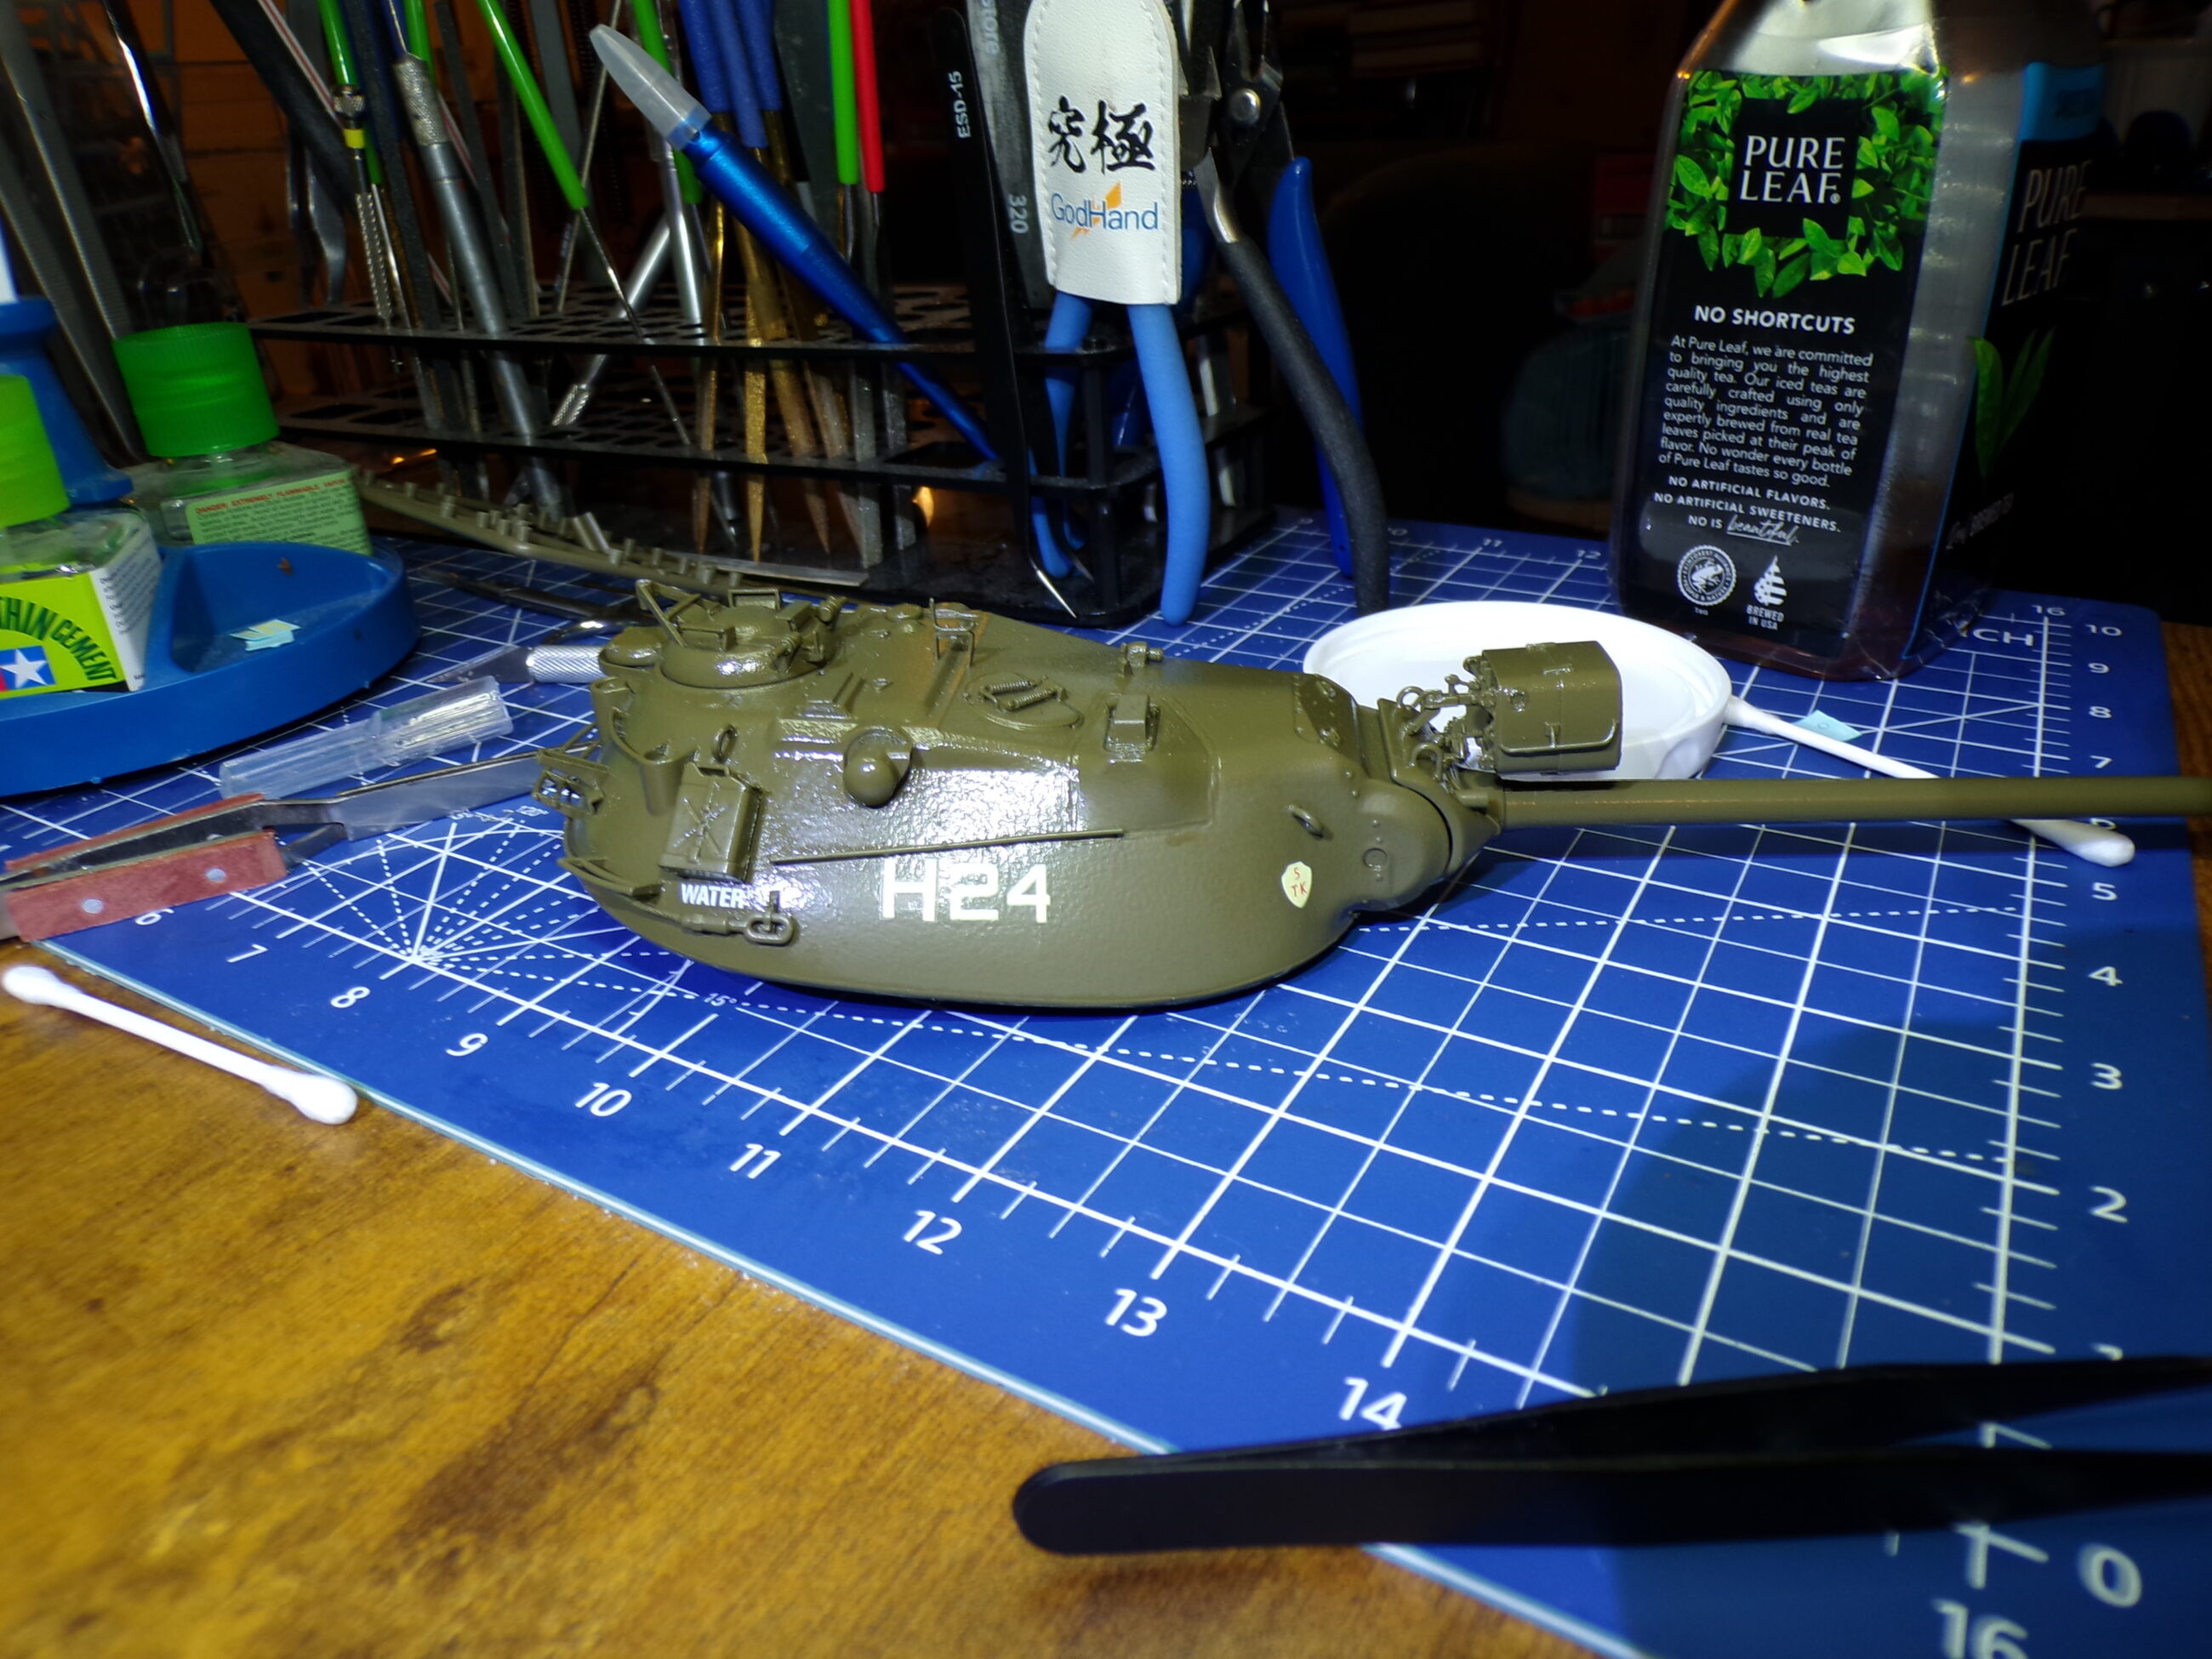
This is the light mounted, along with all the detail parts going on for paint. You can see the headlights in the final shot. They were also very challenging but not as bad as the spotlight.
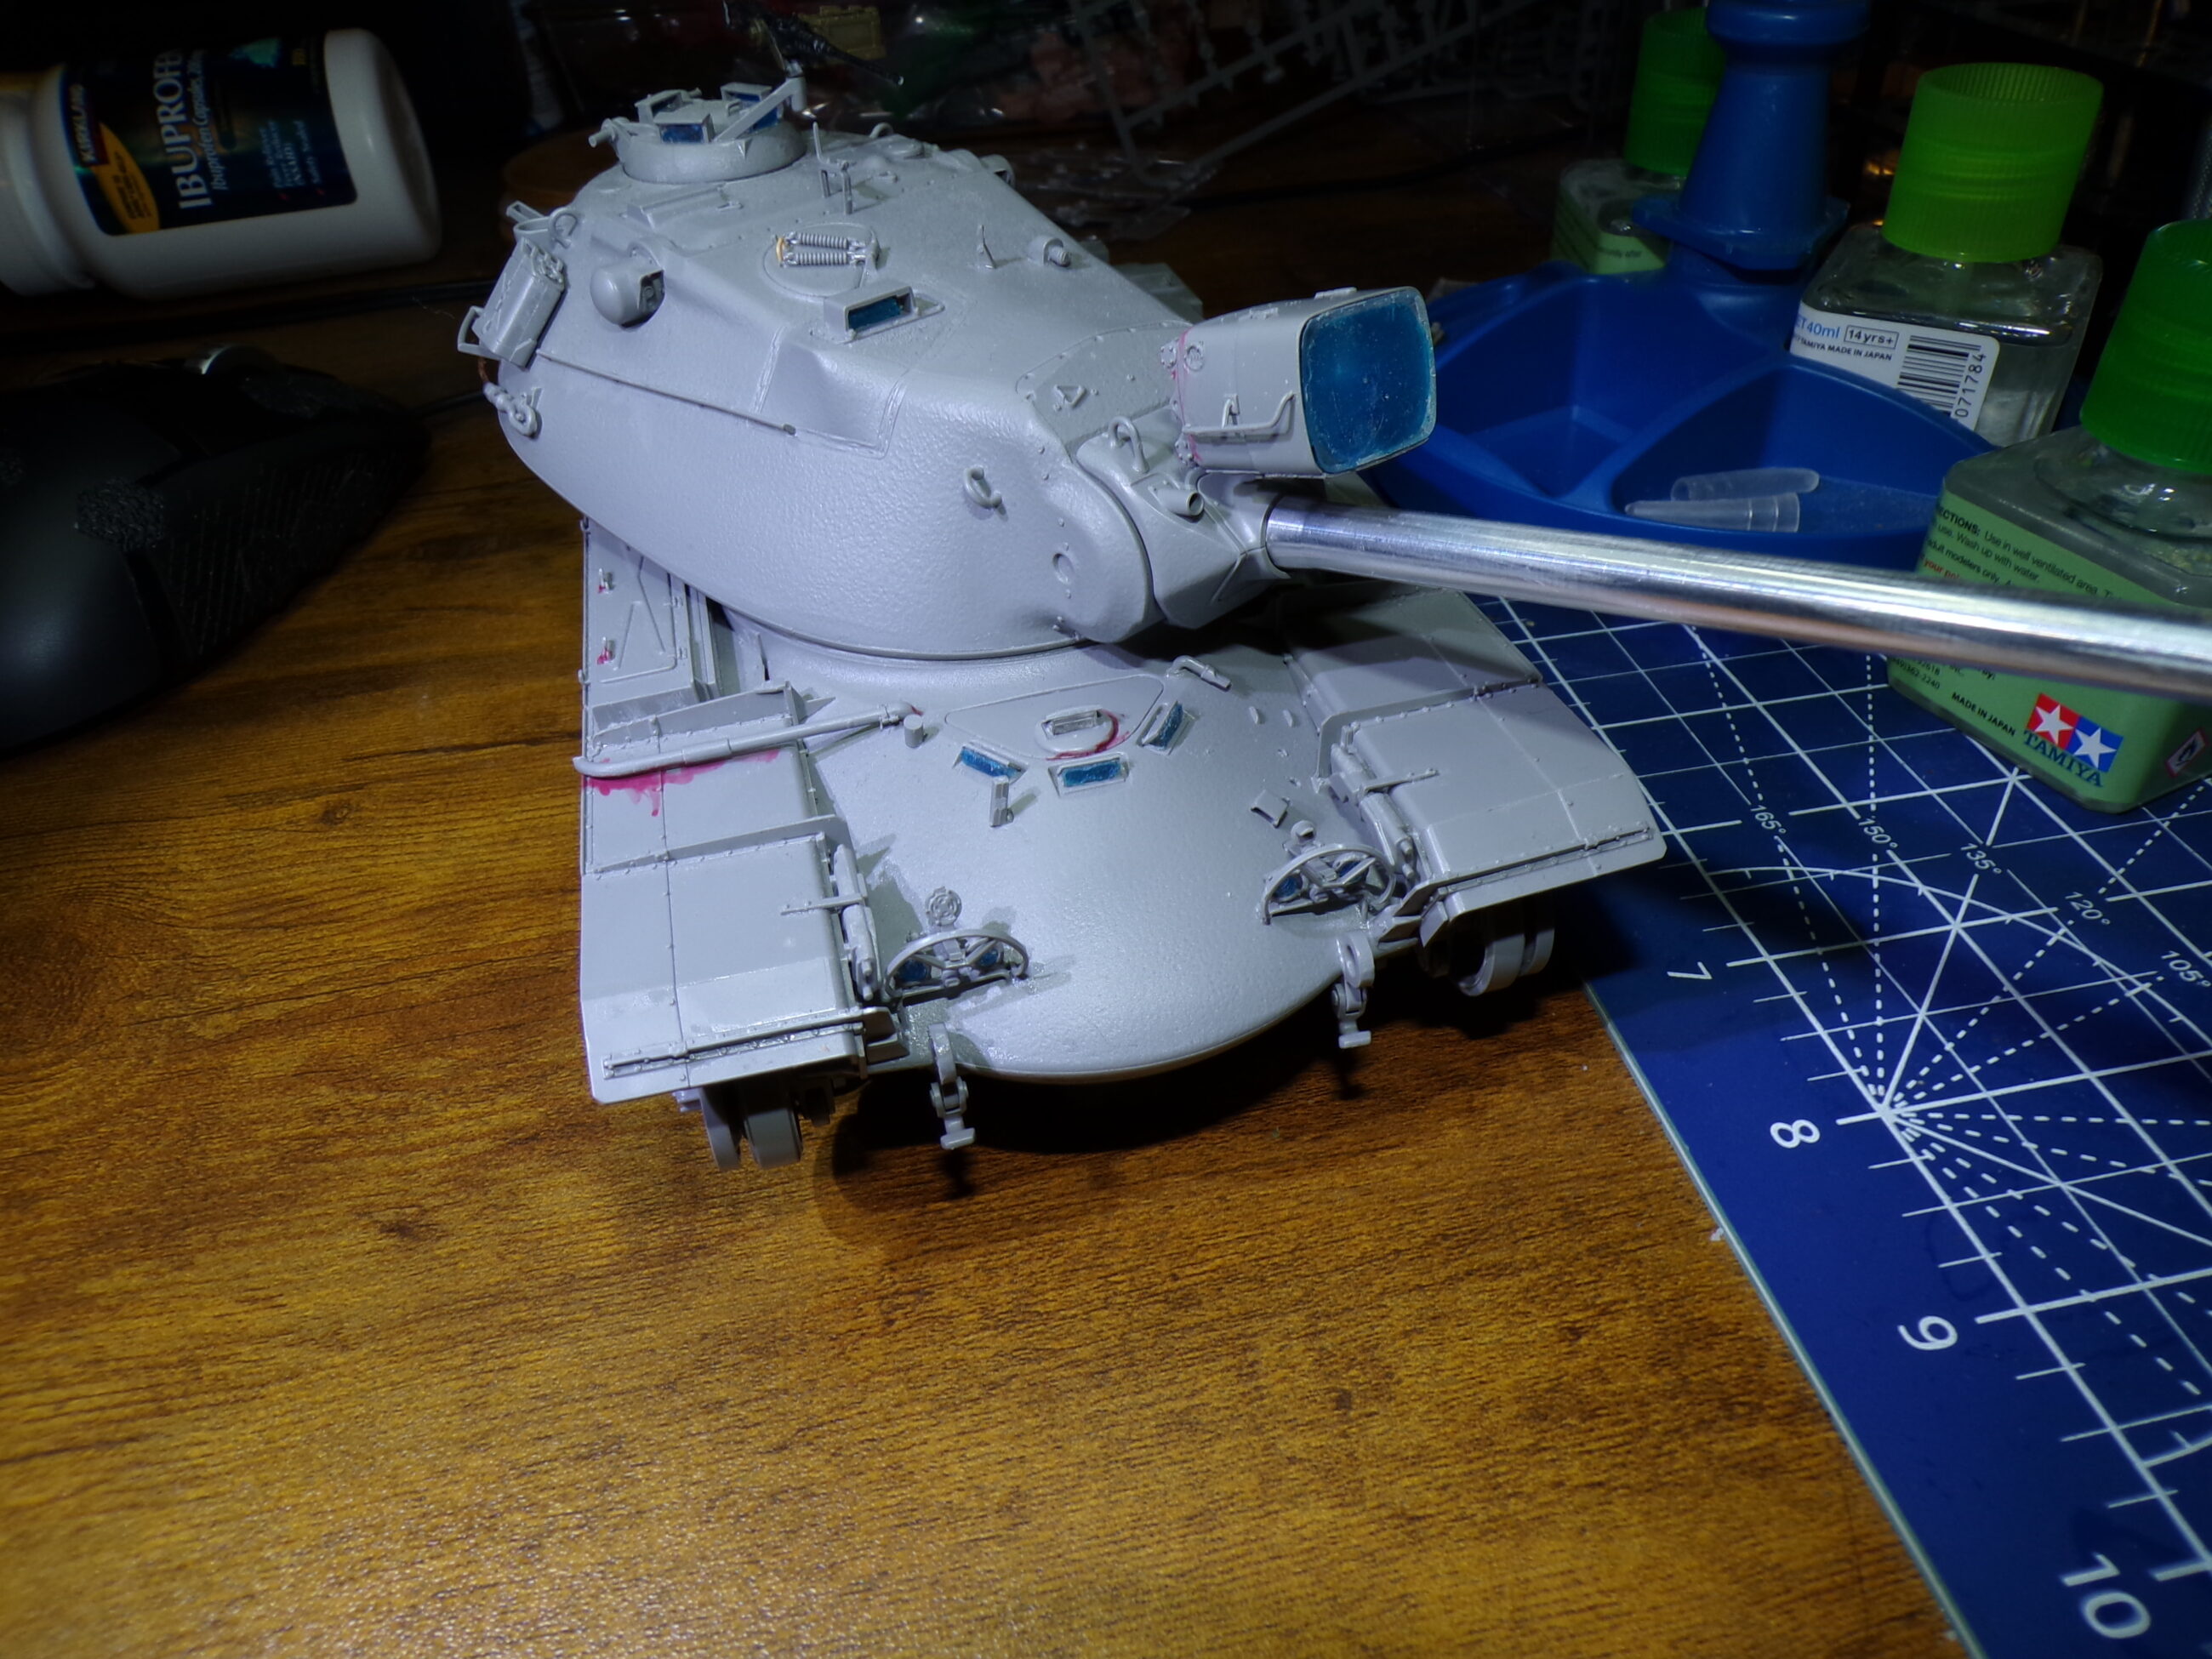
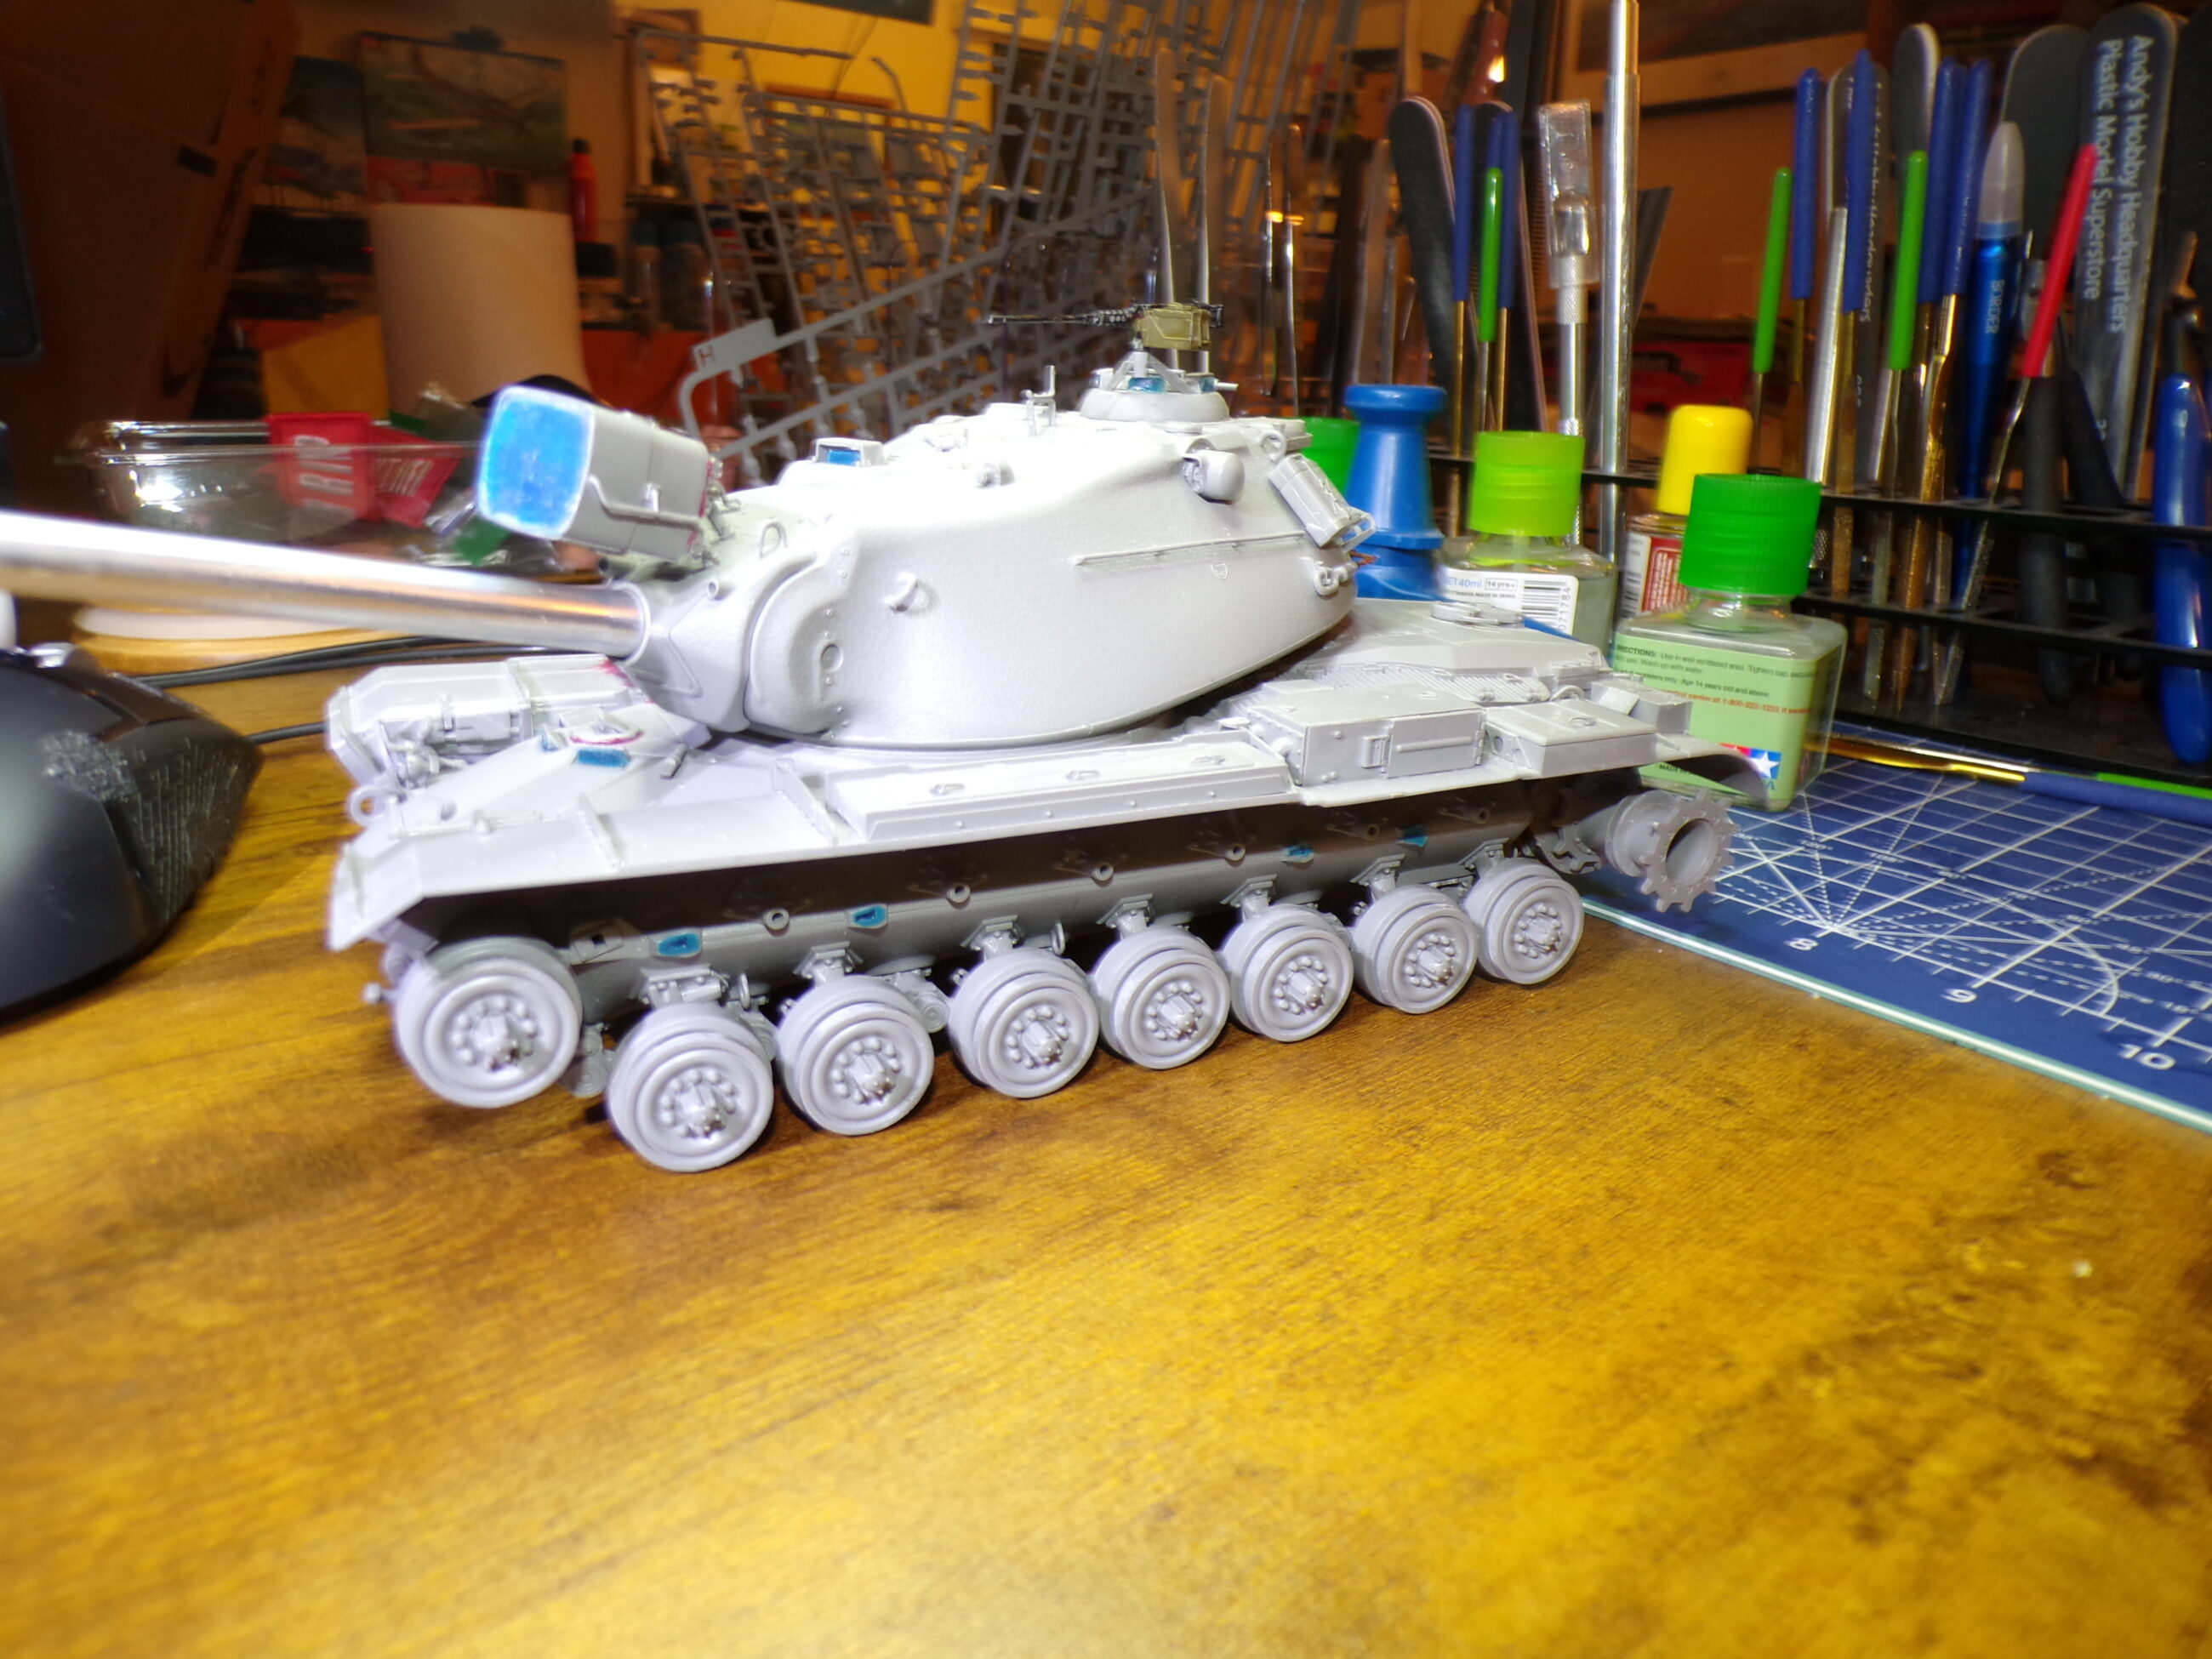
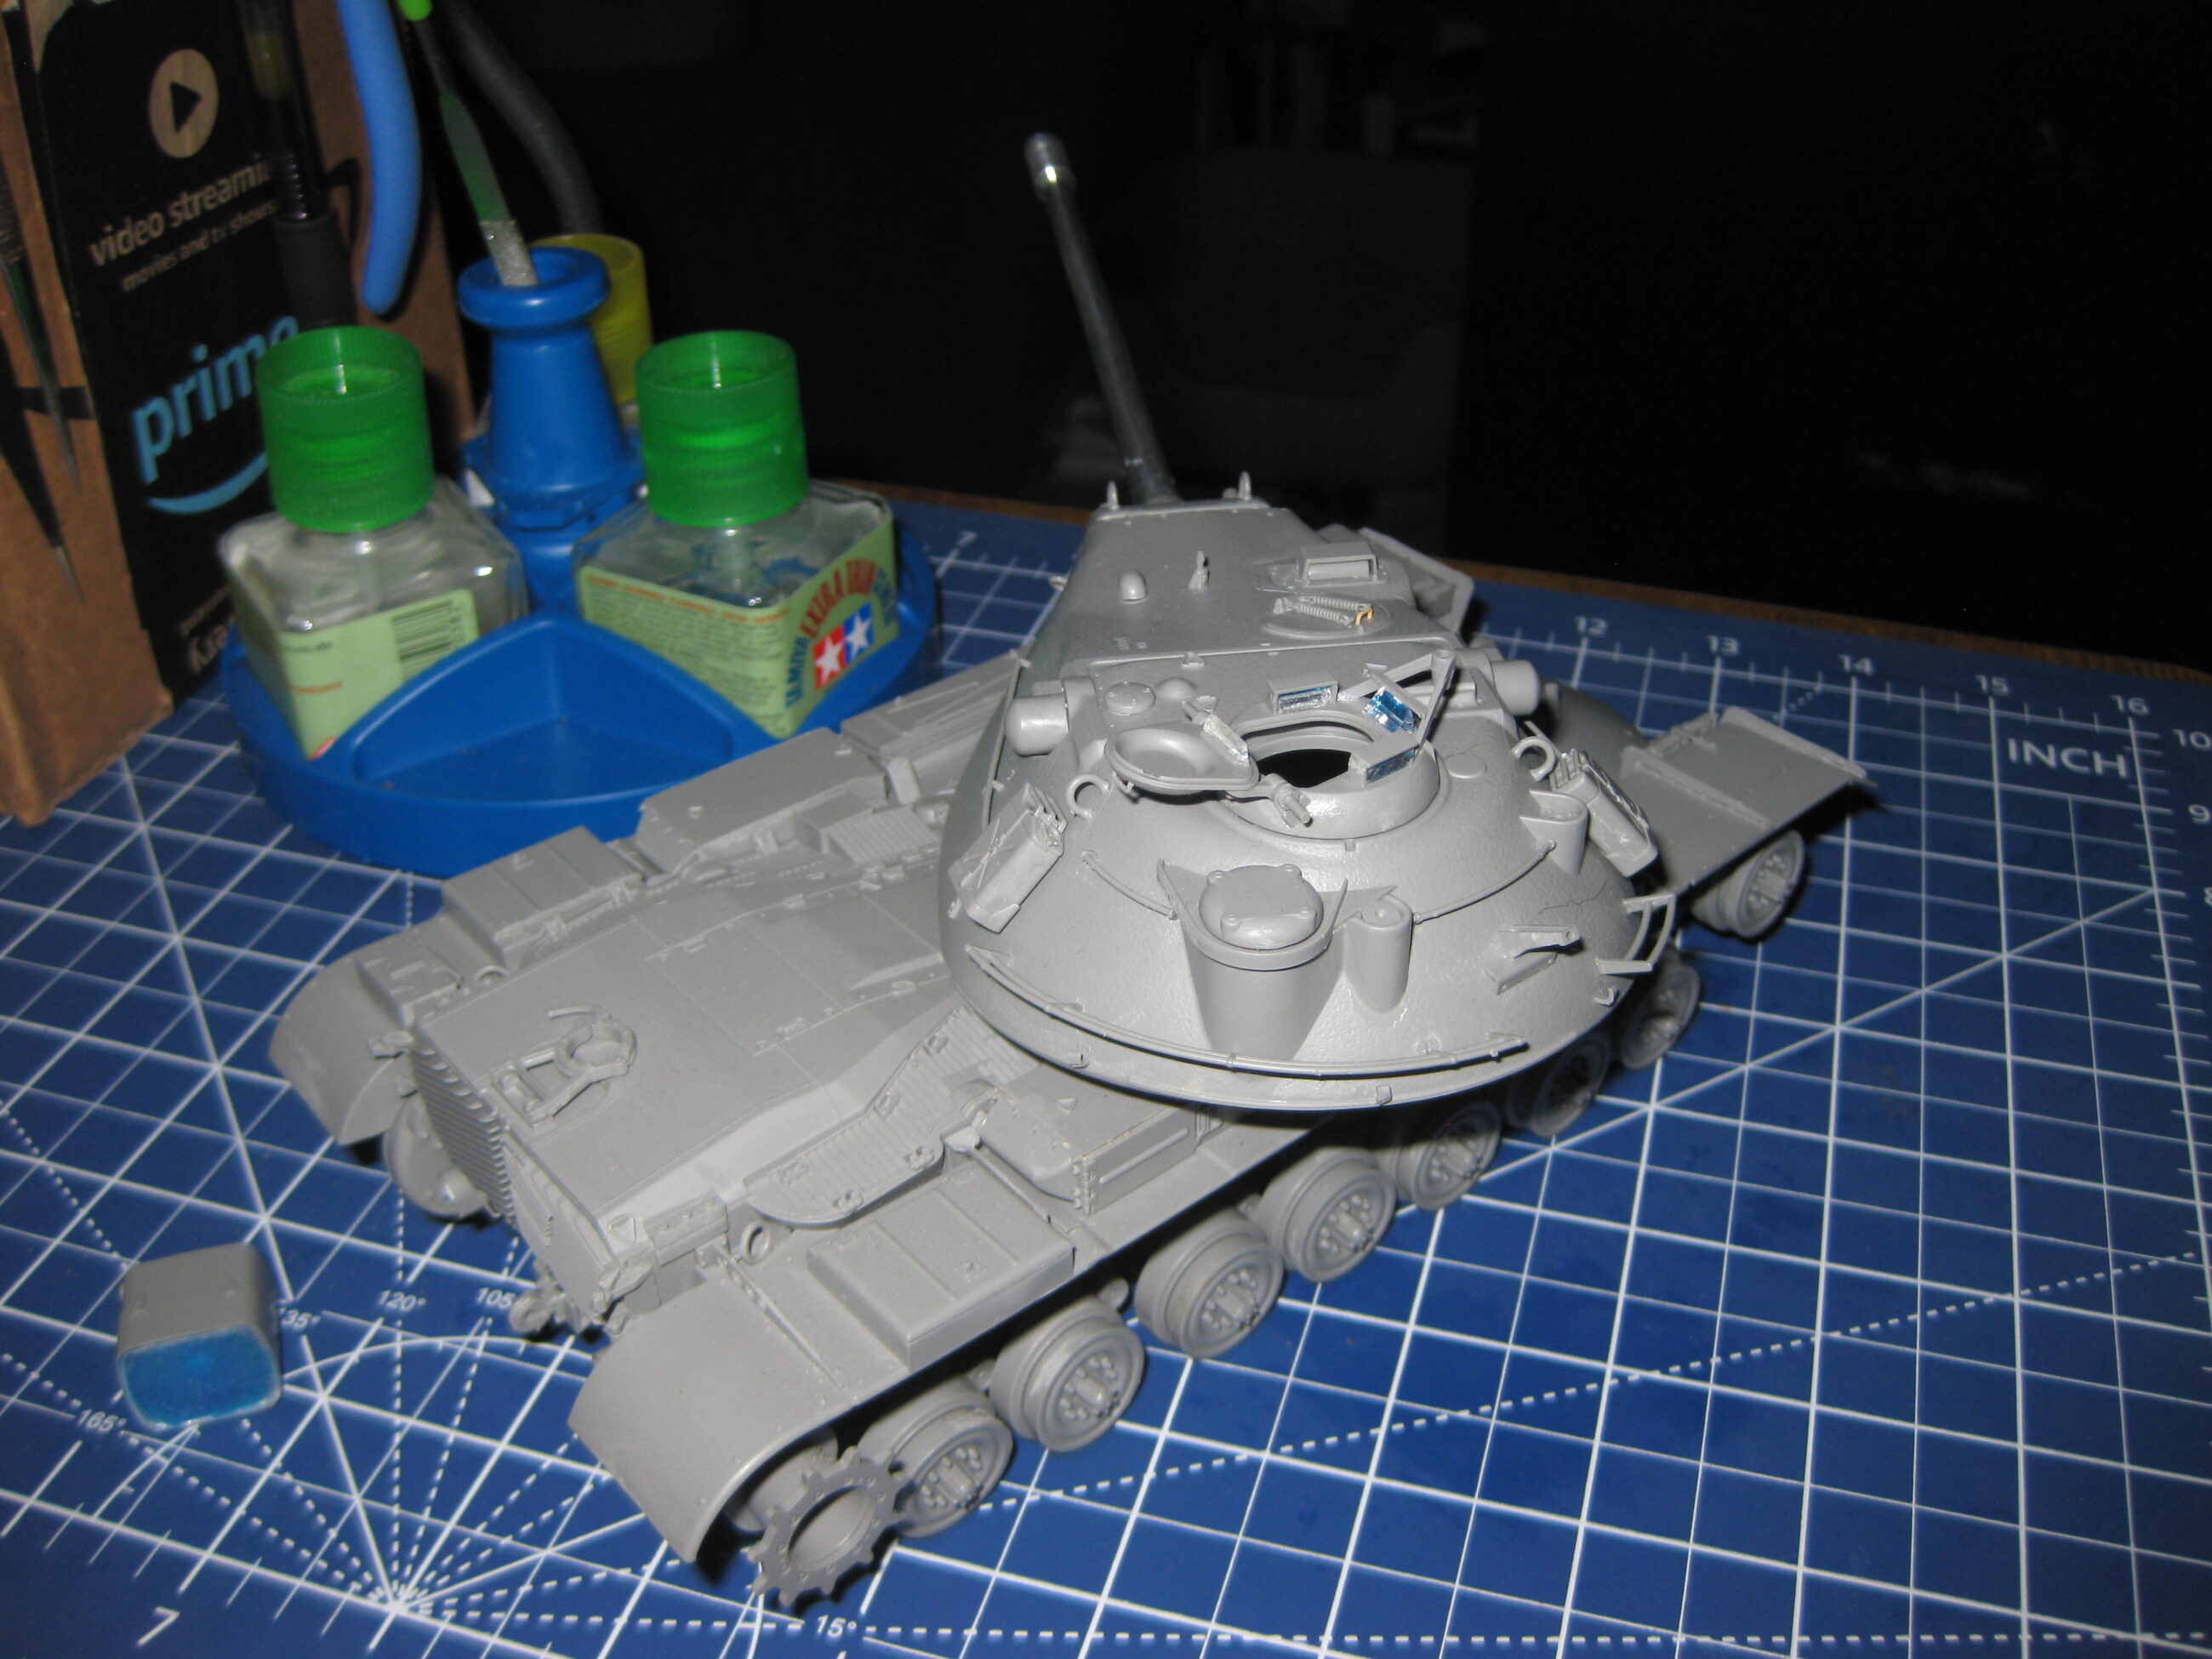
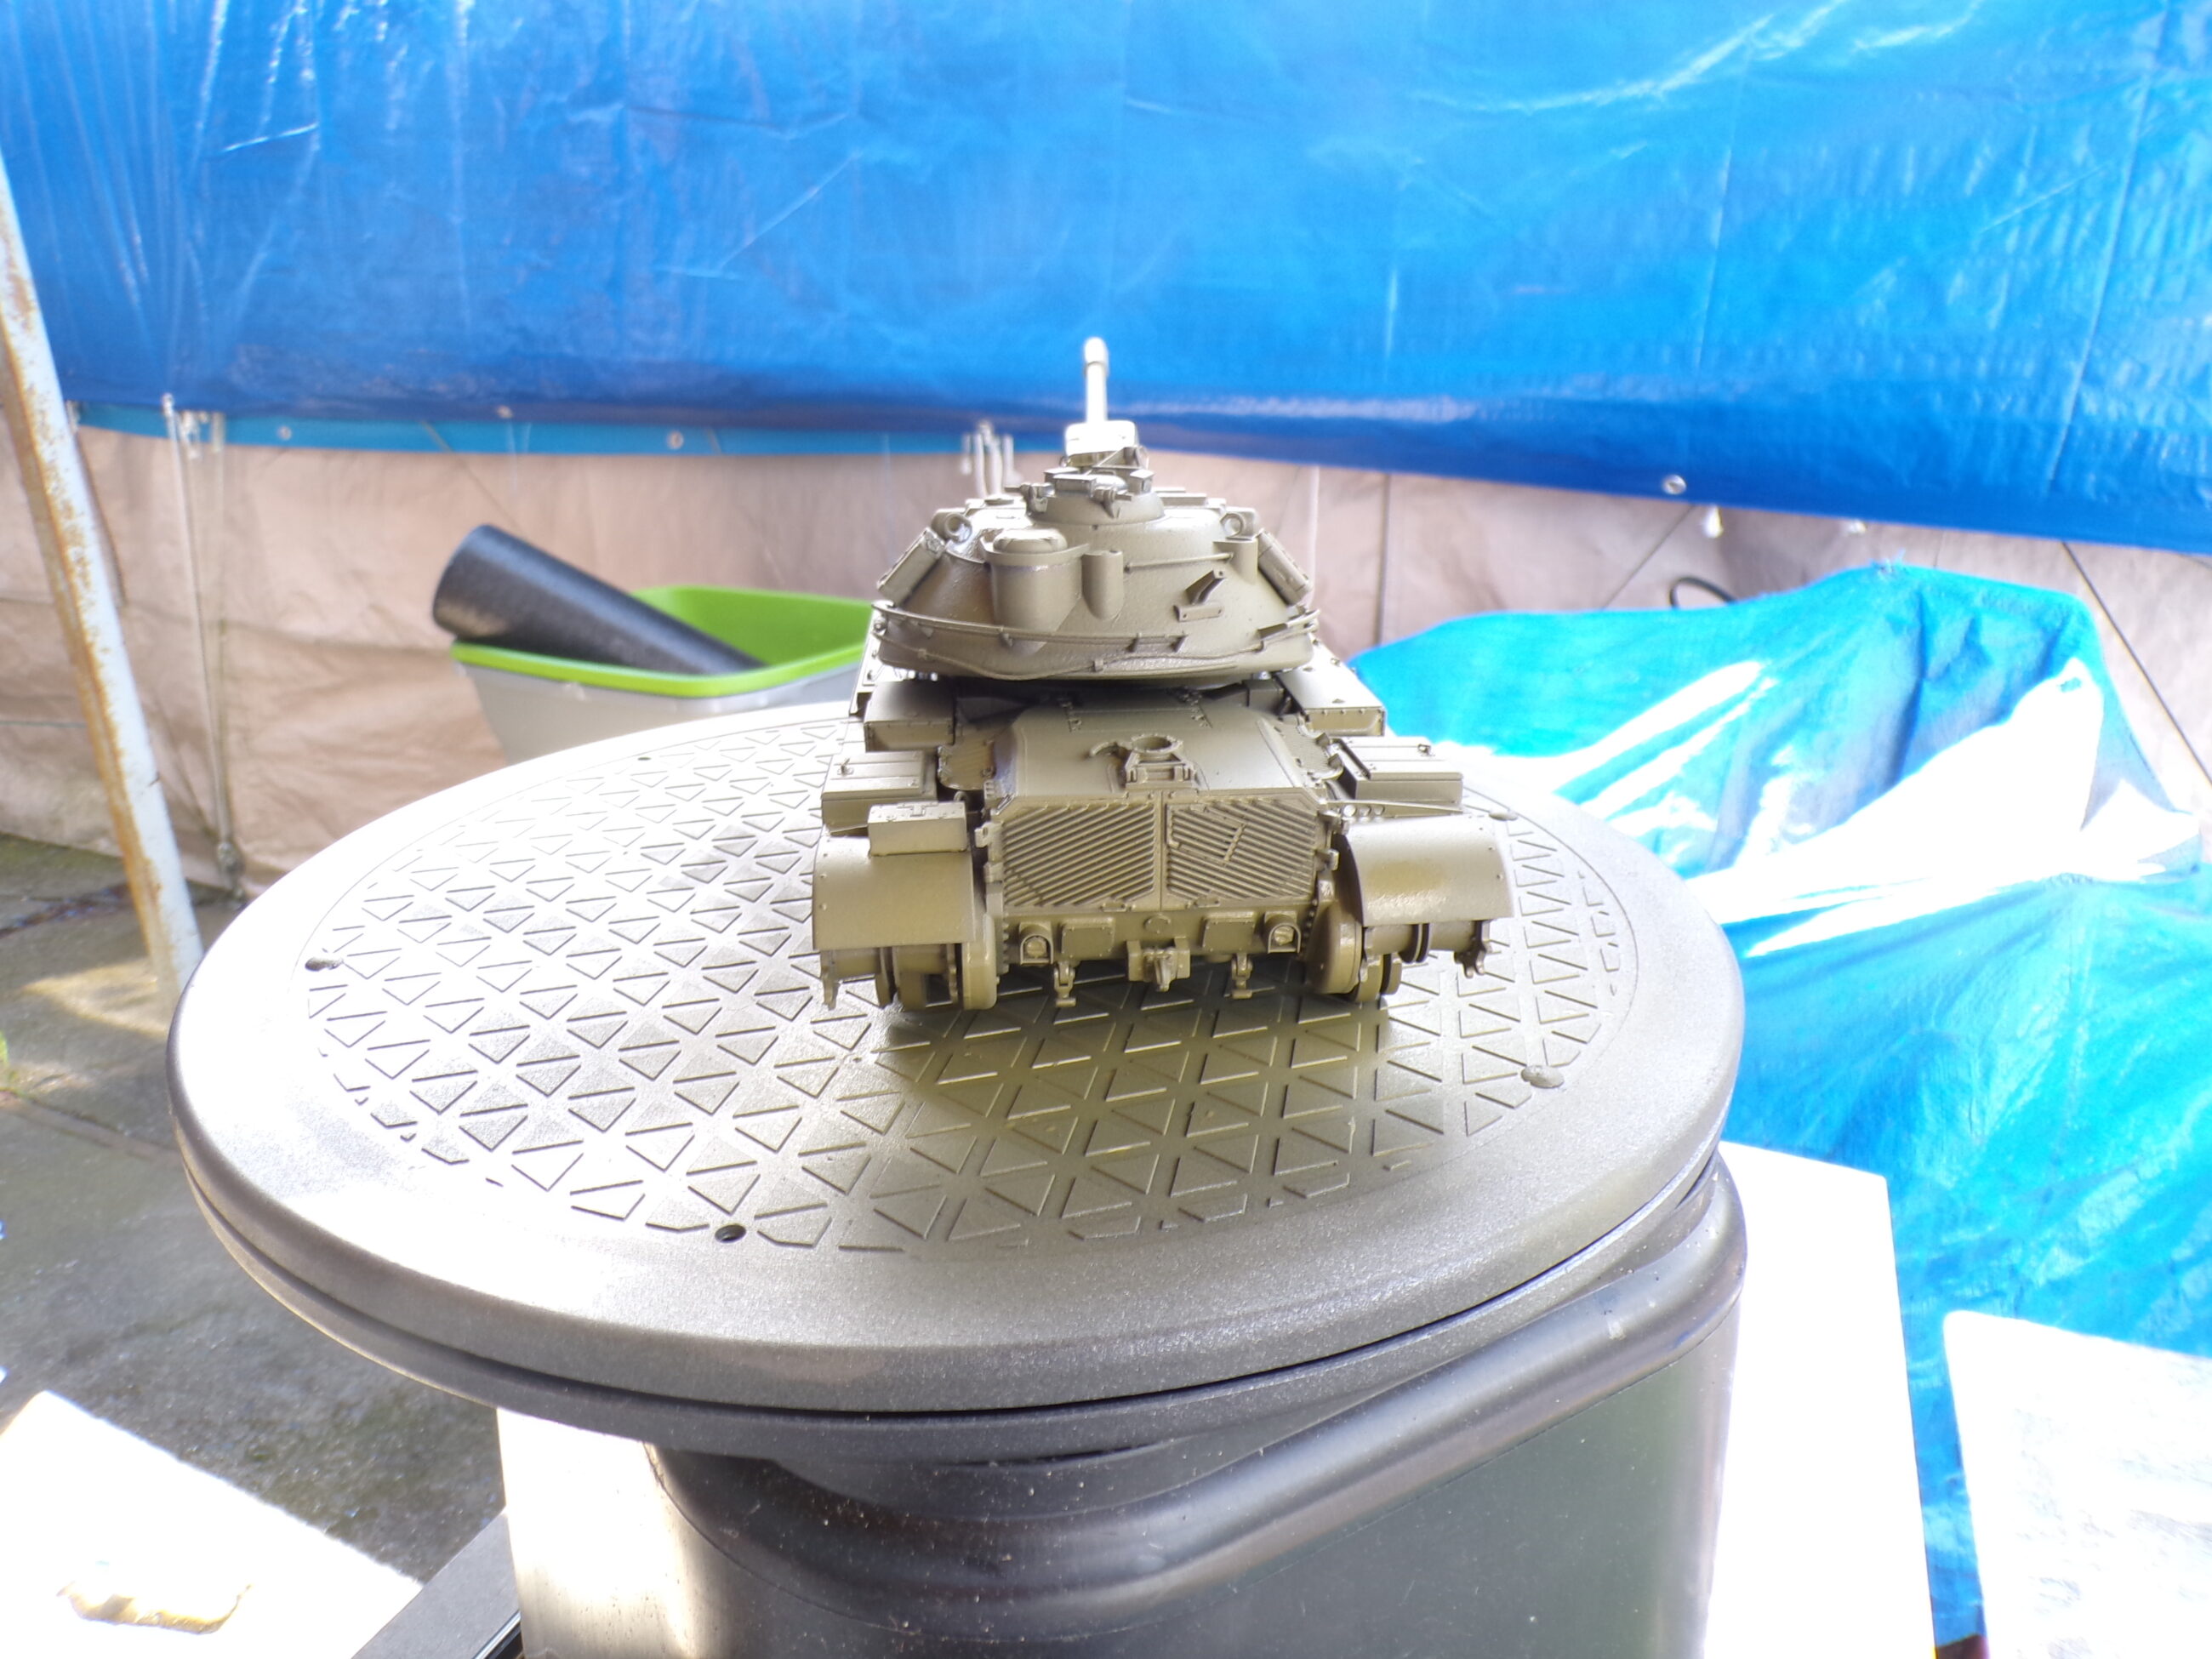
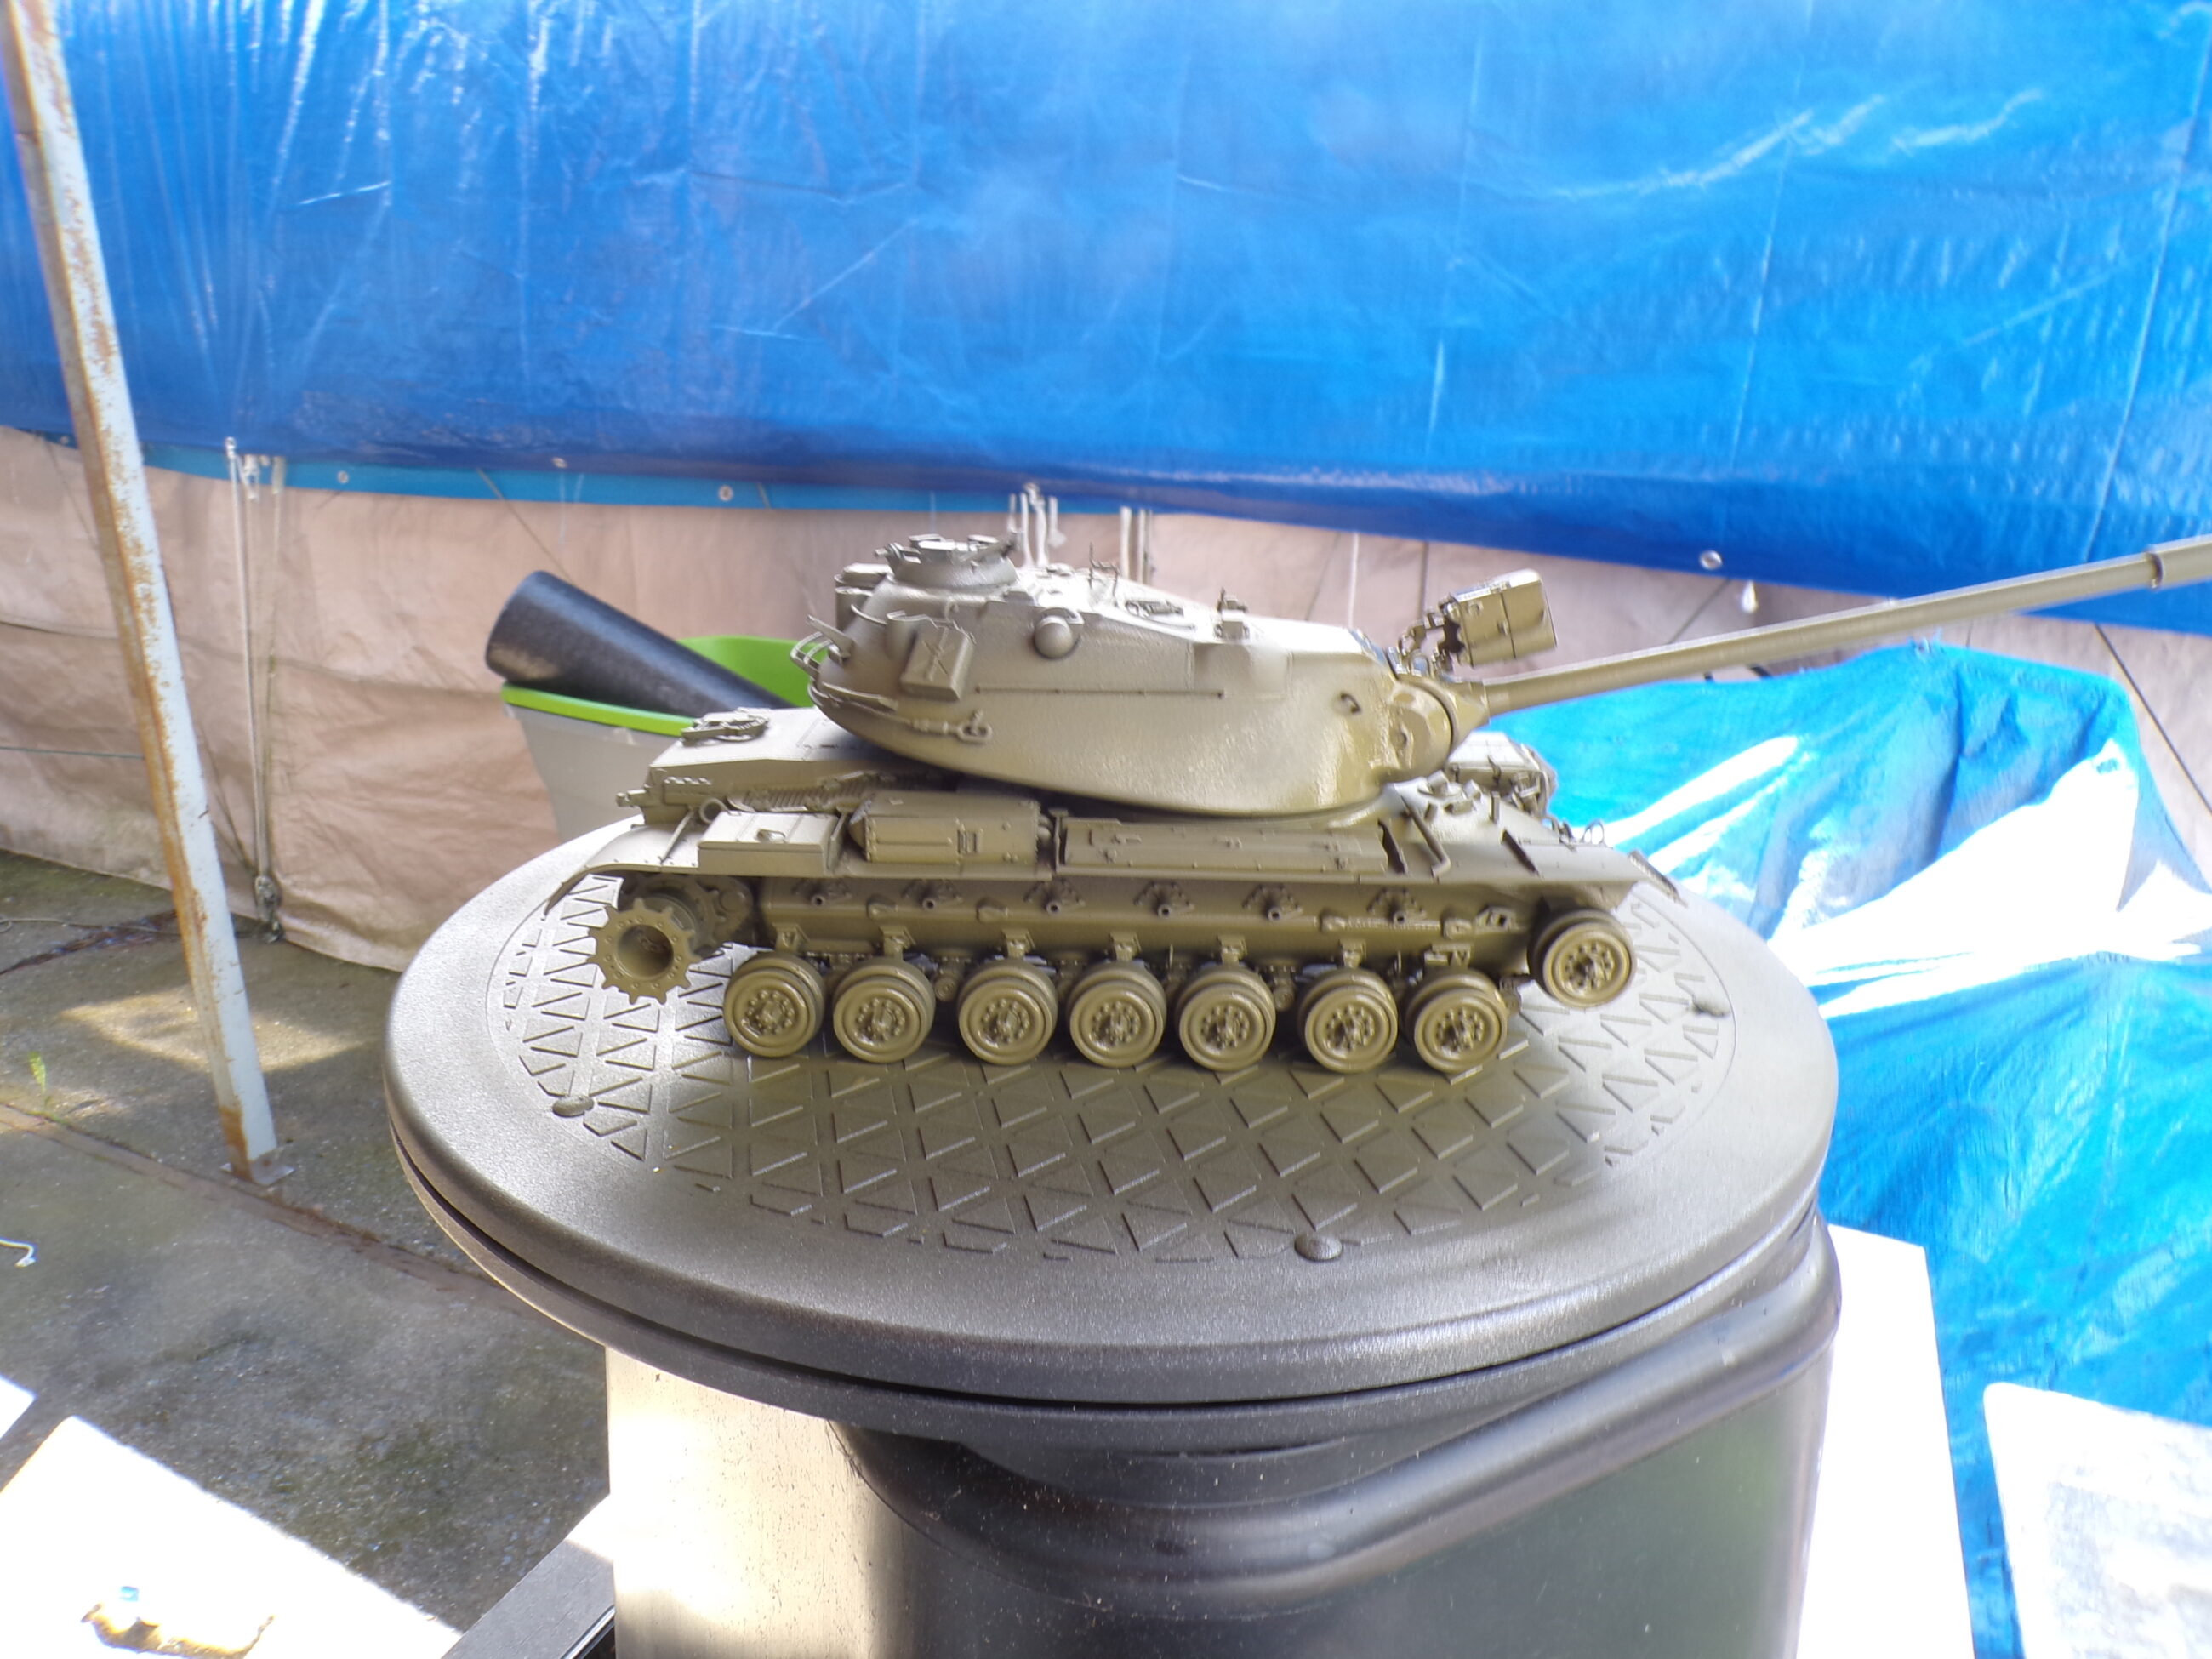
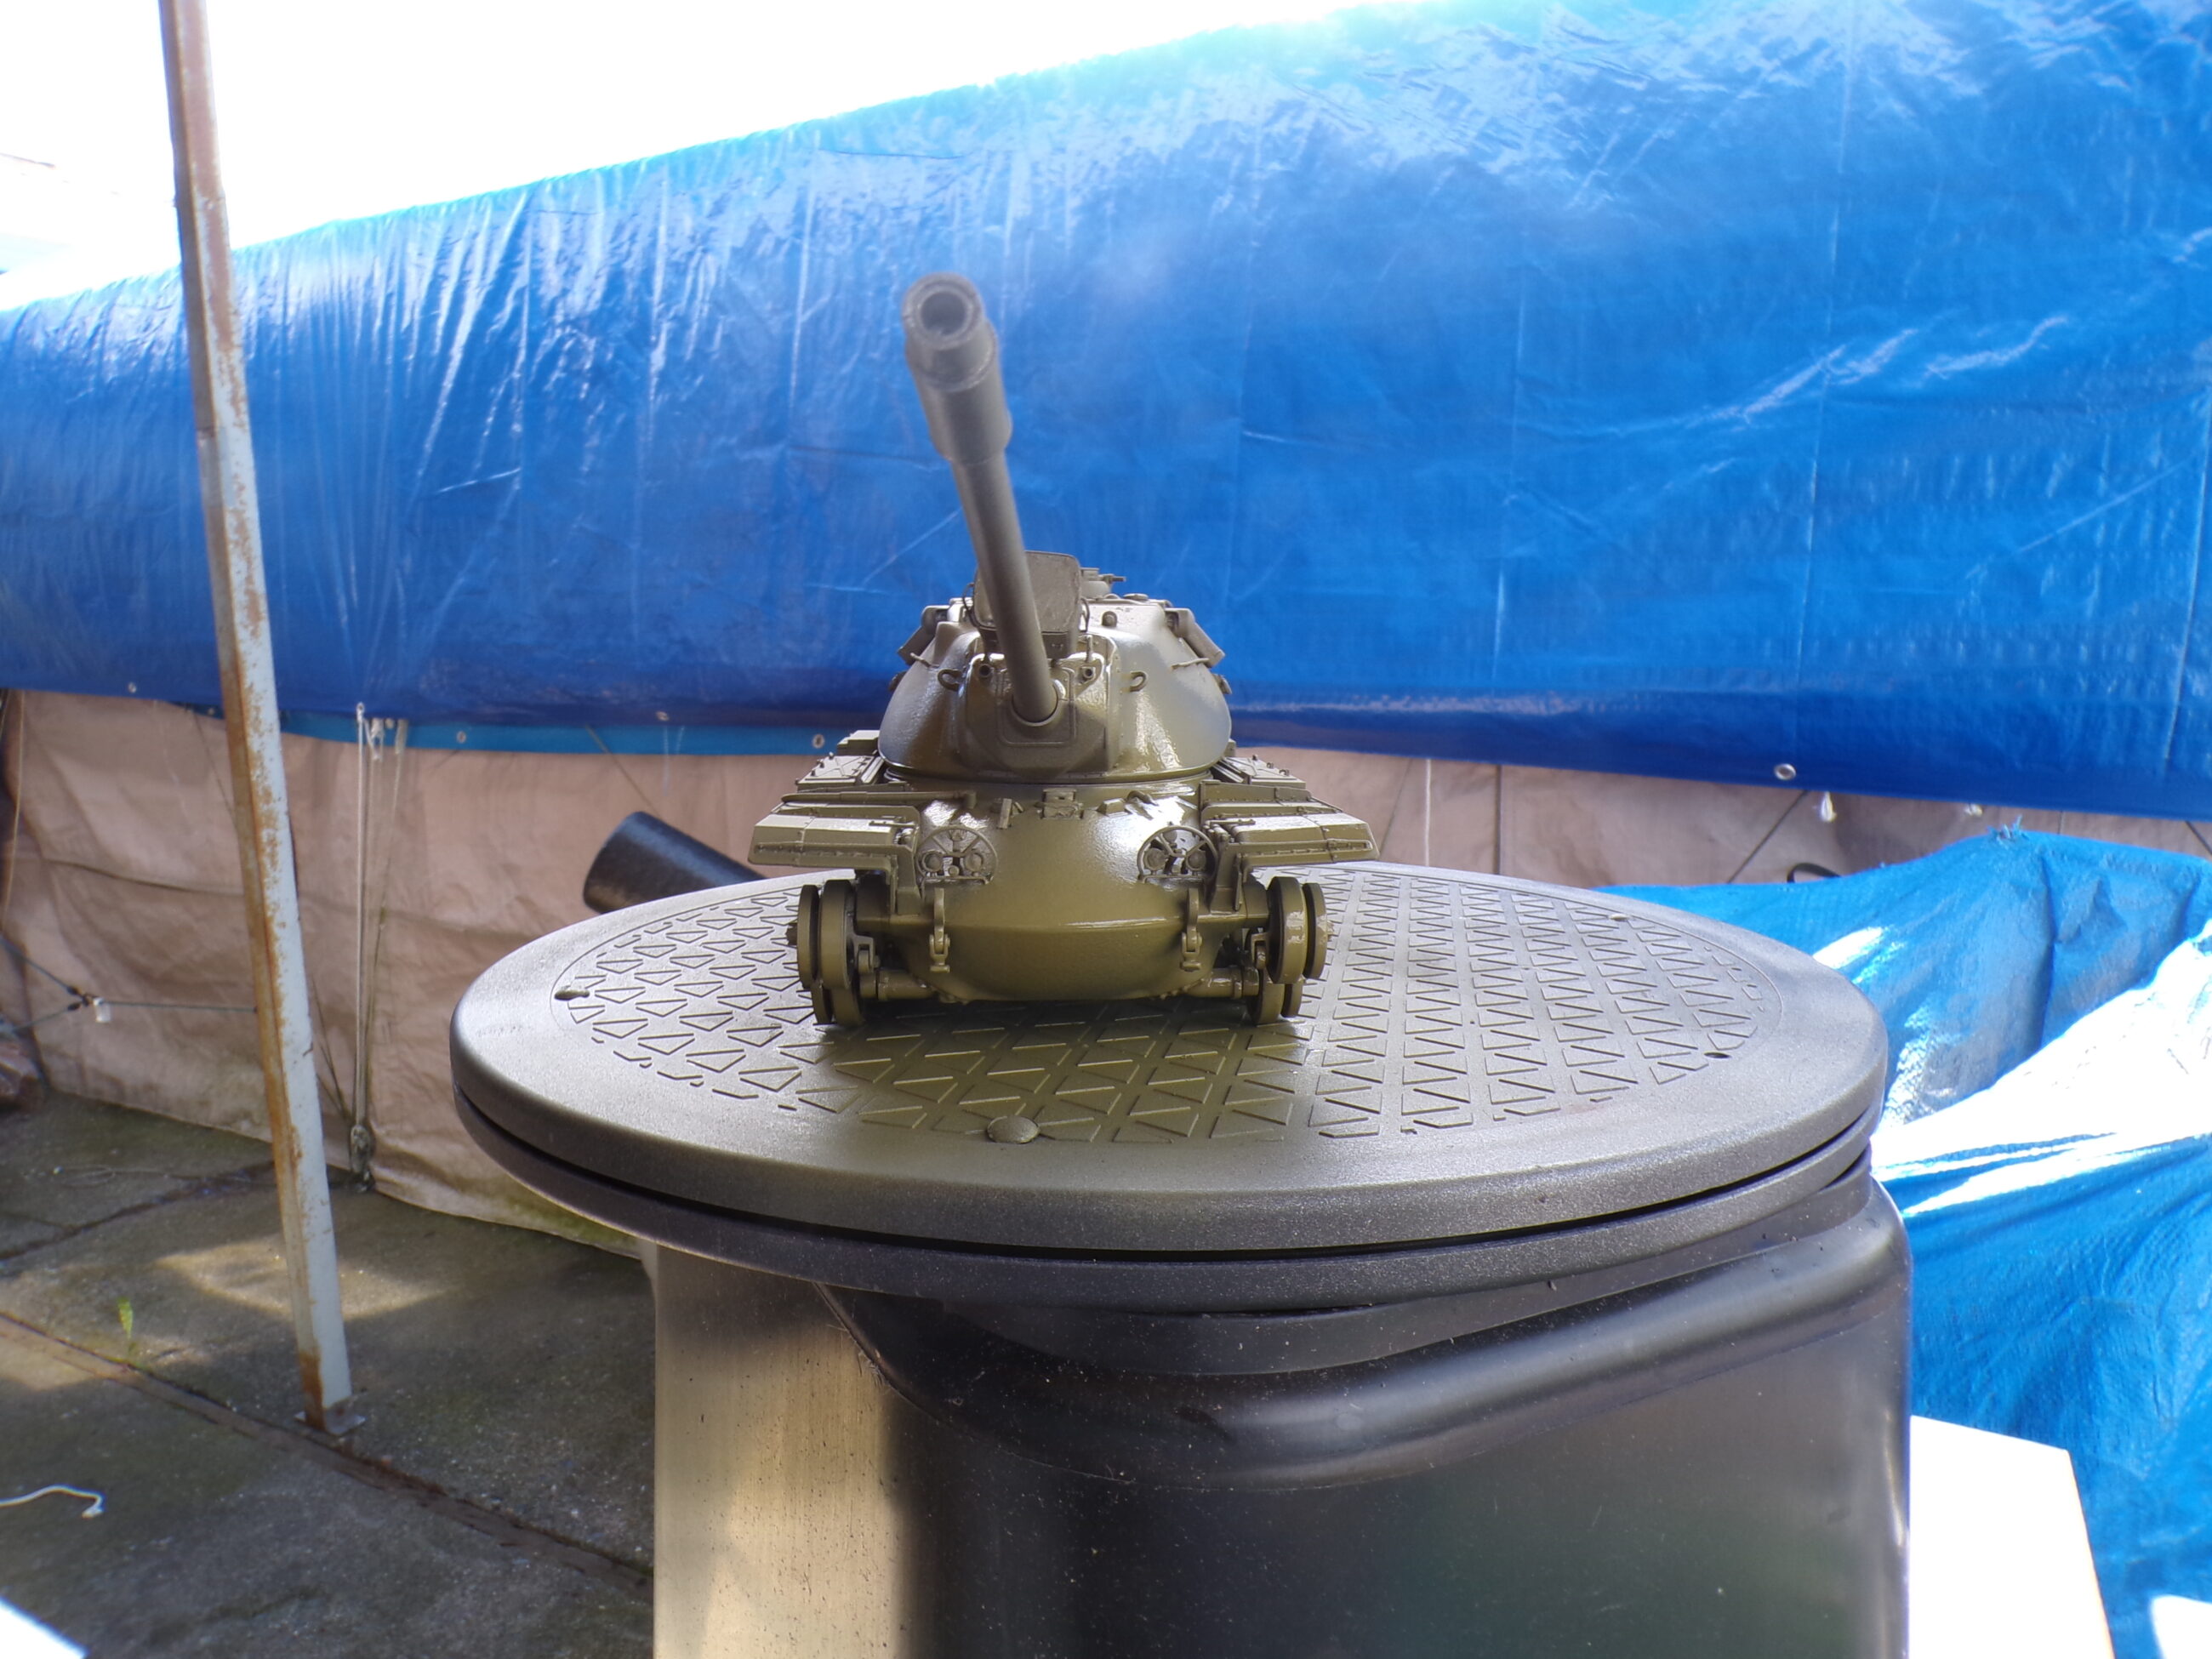
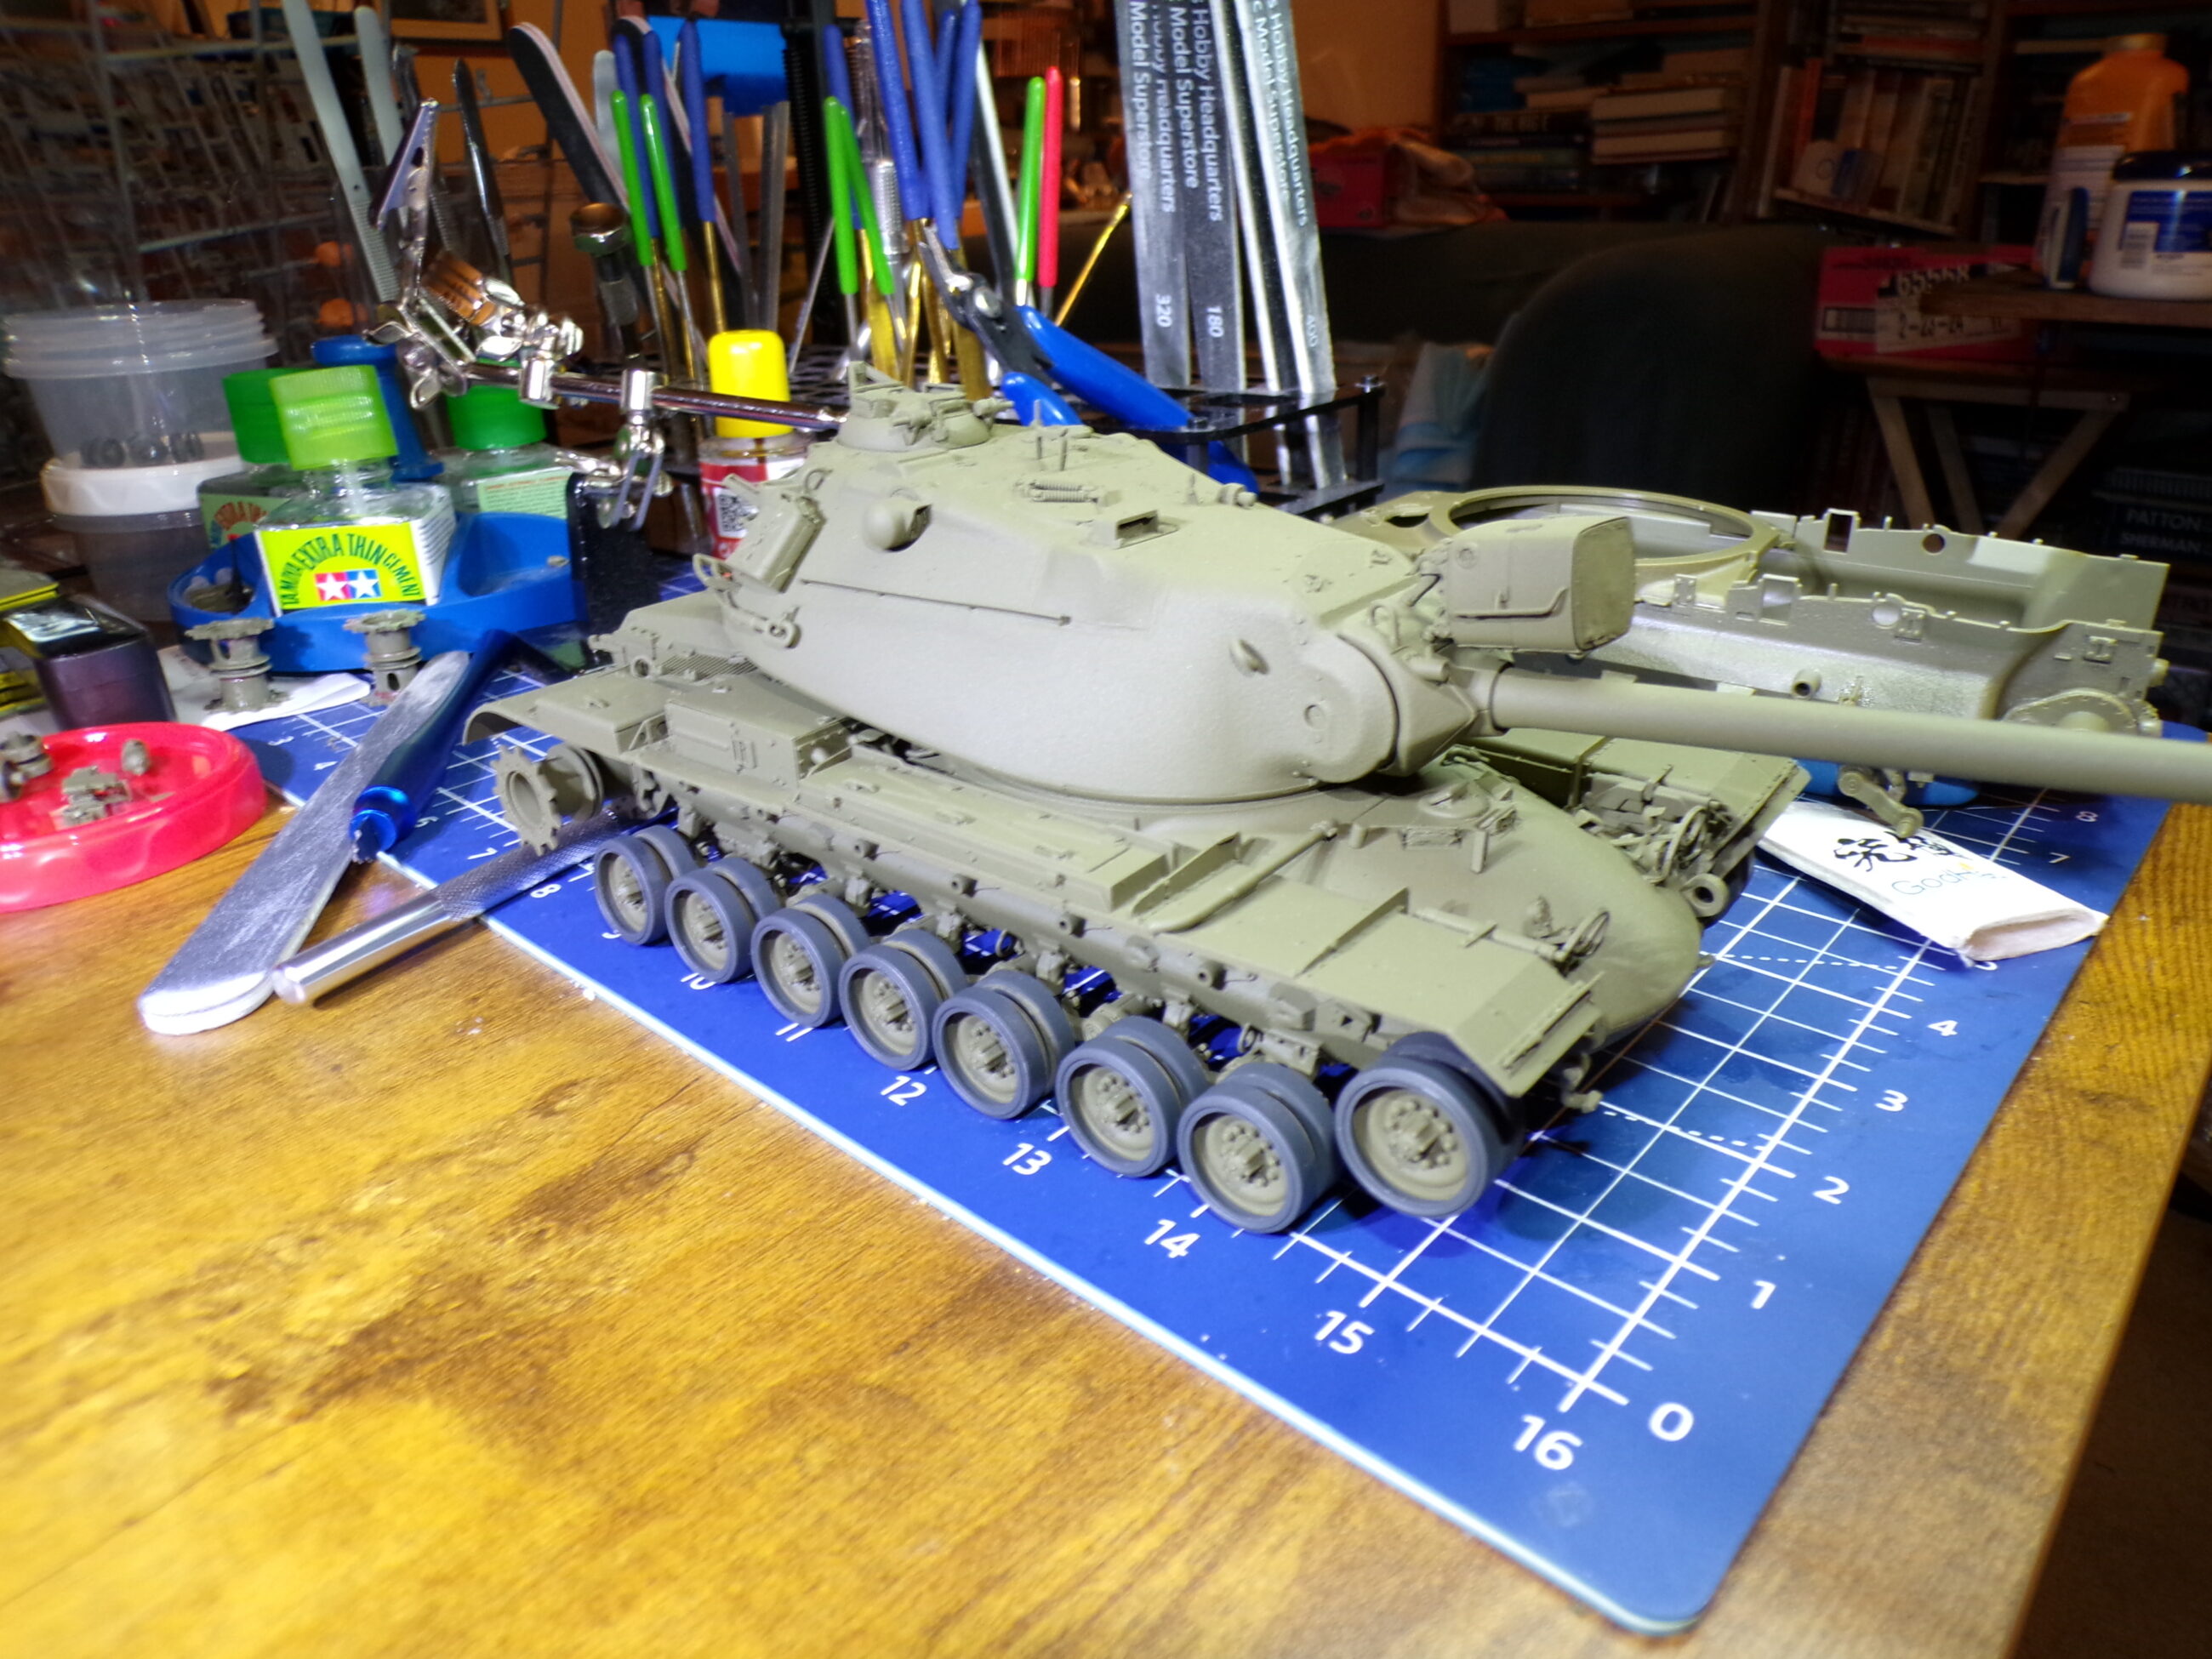
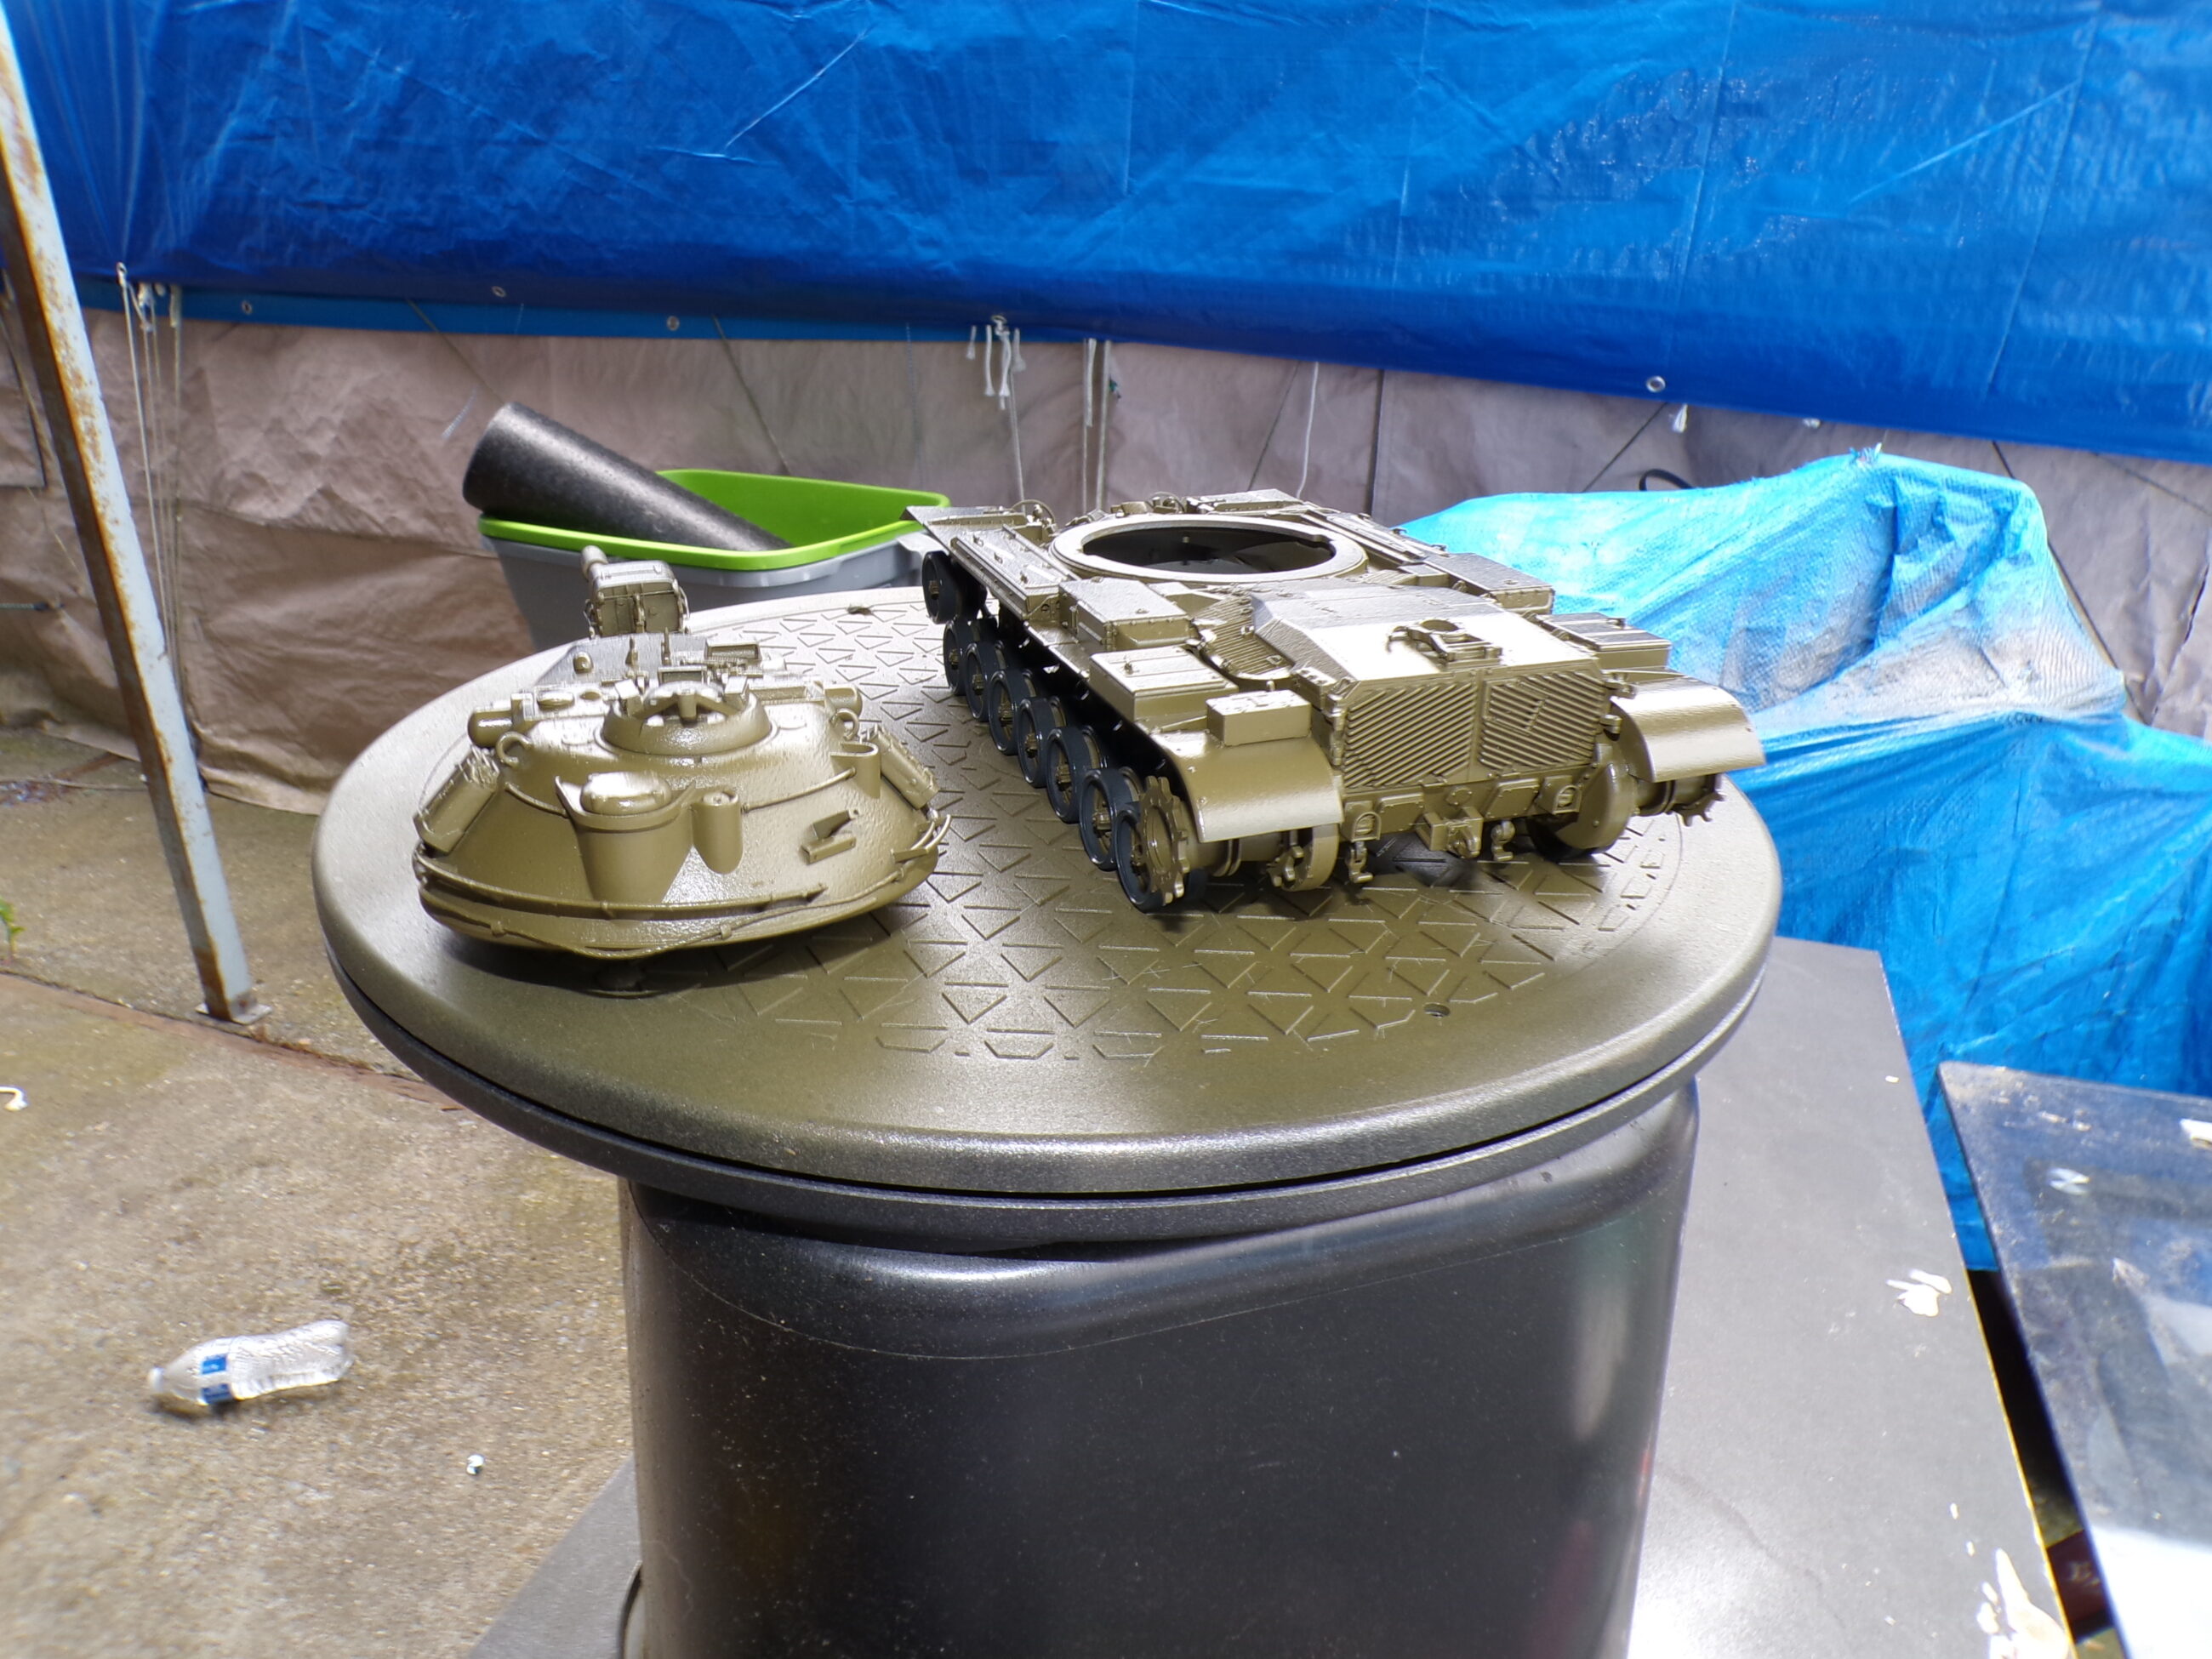
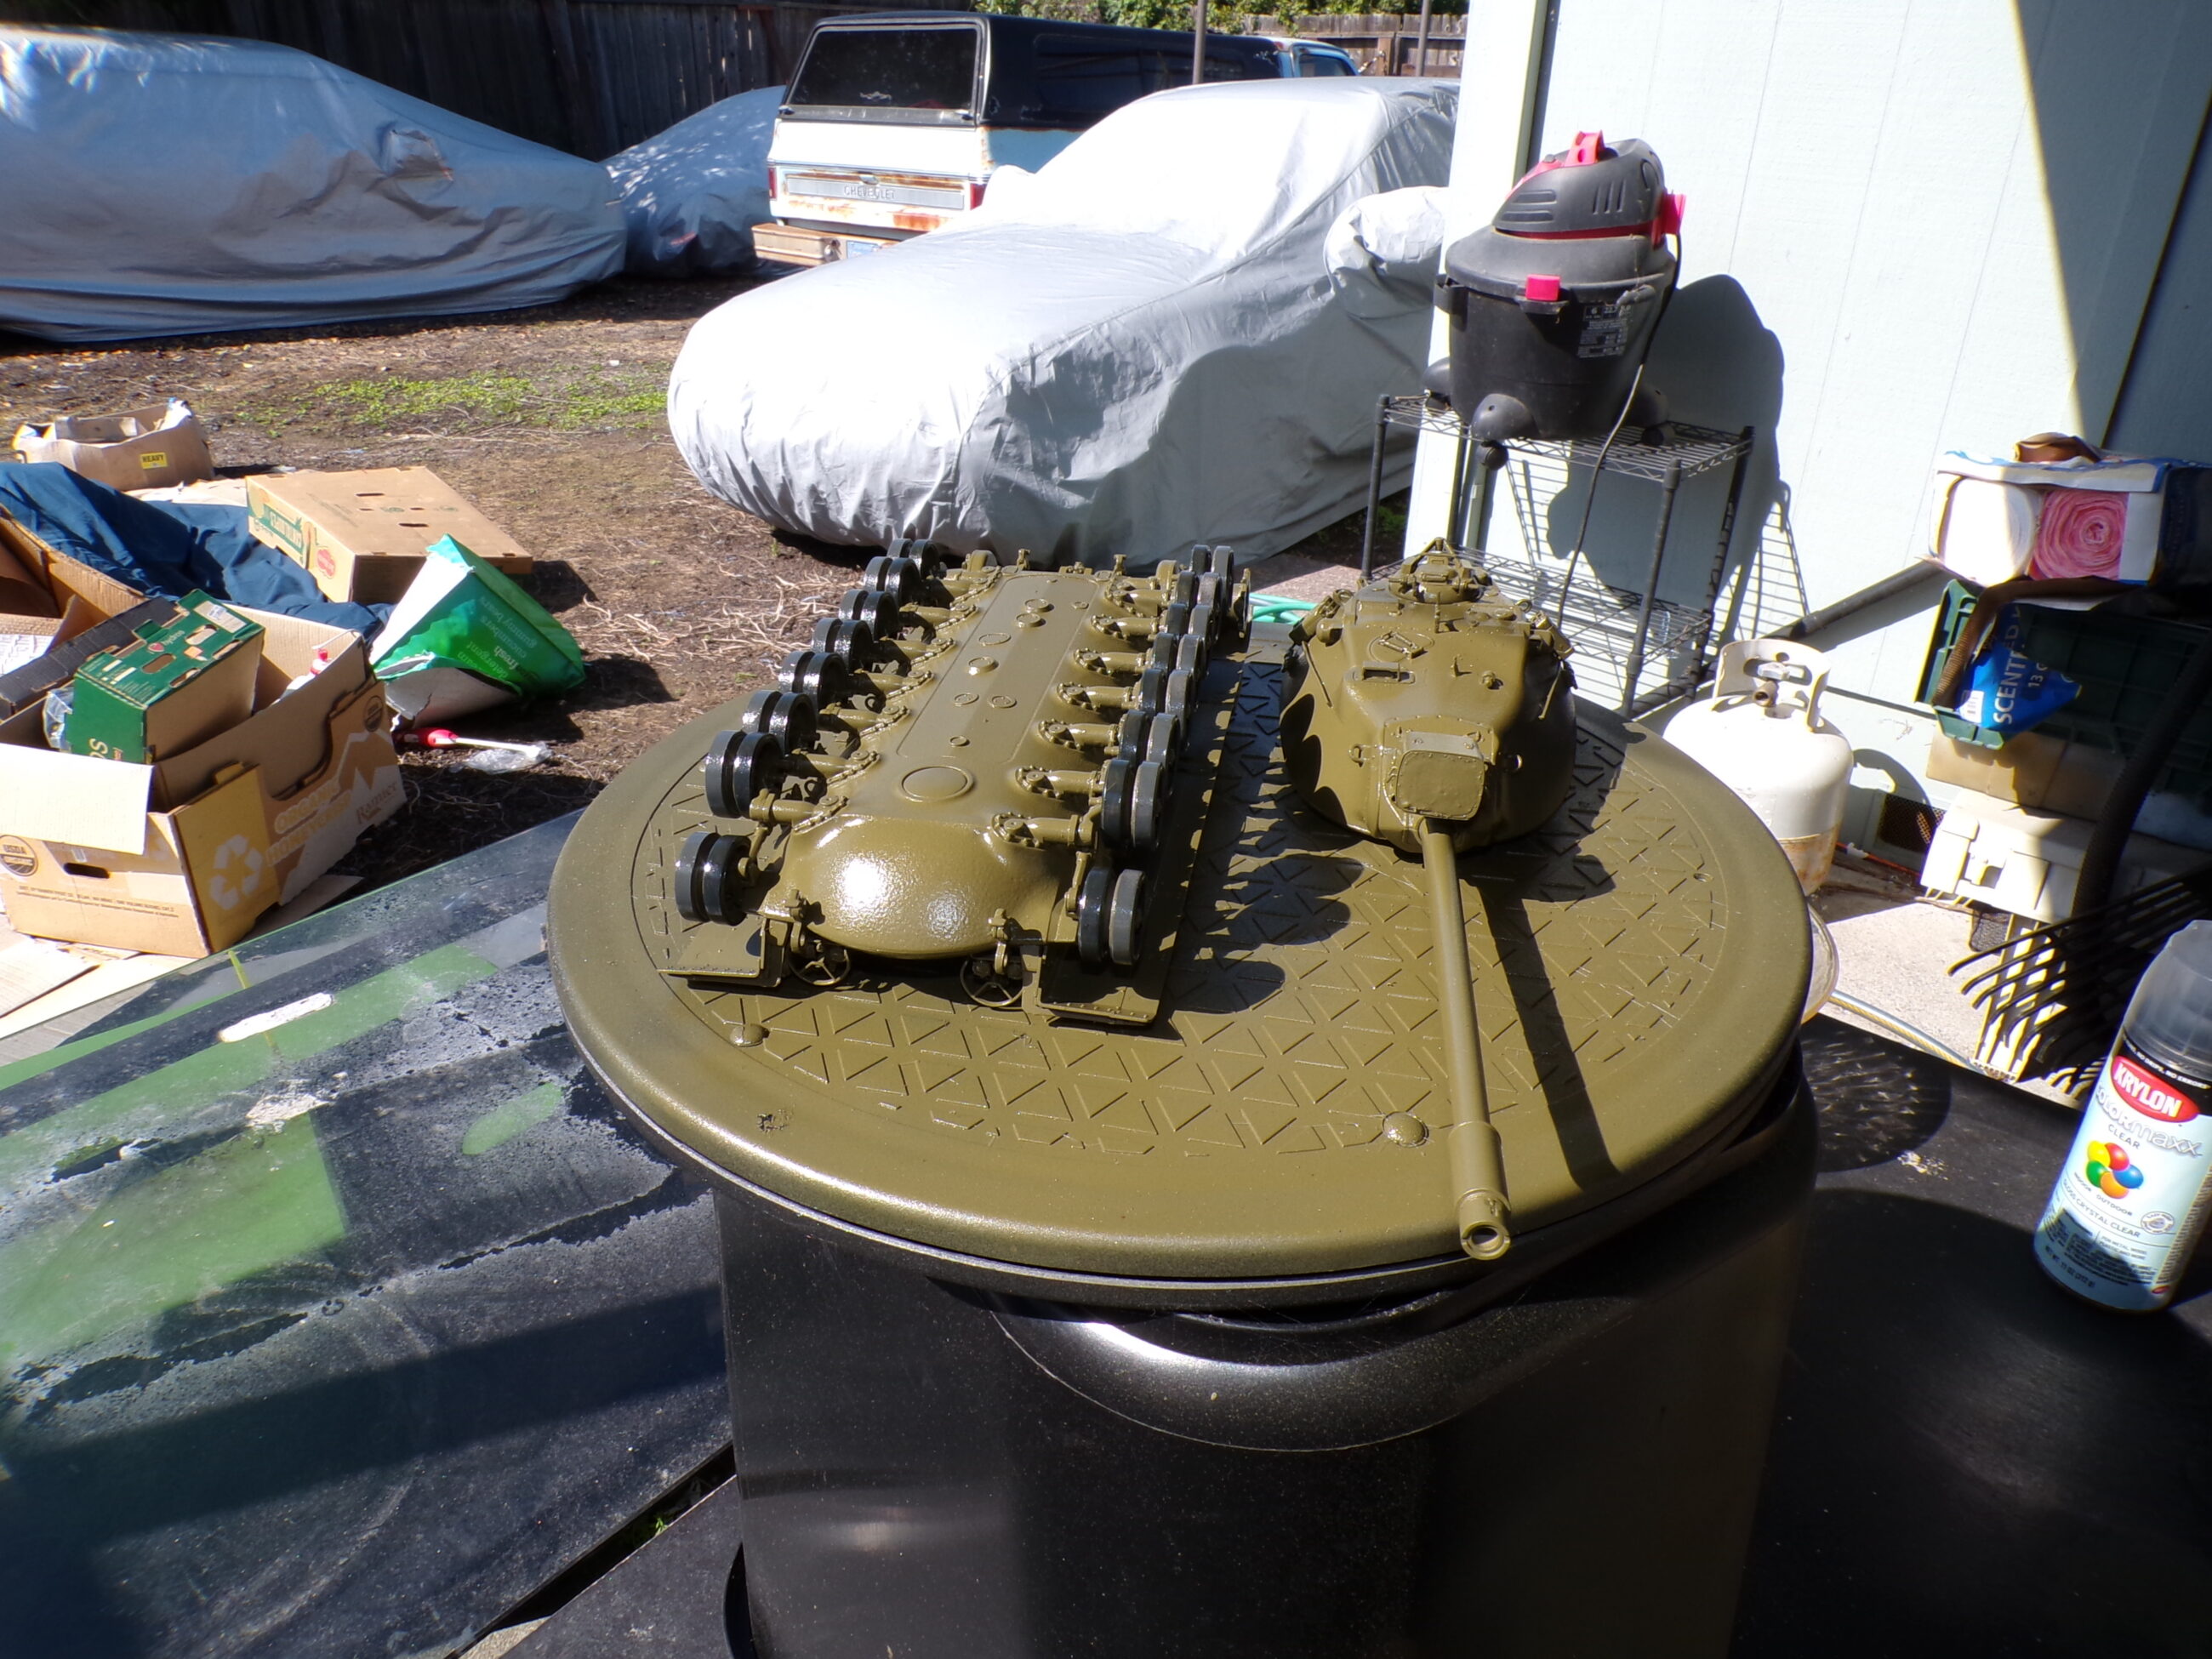
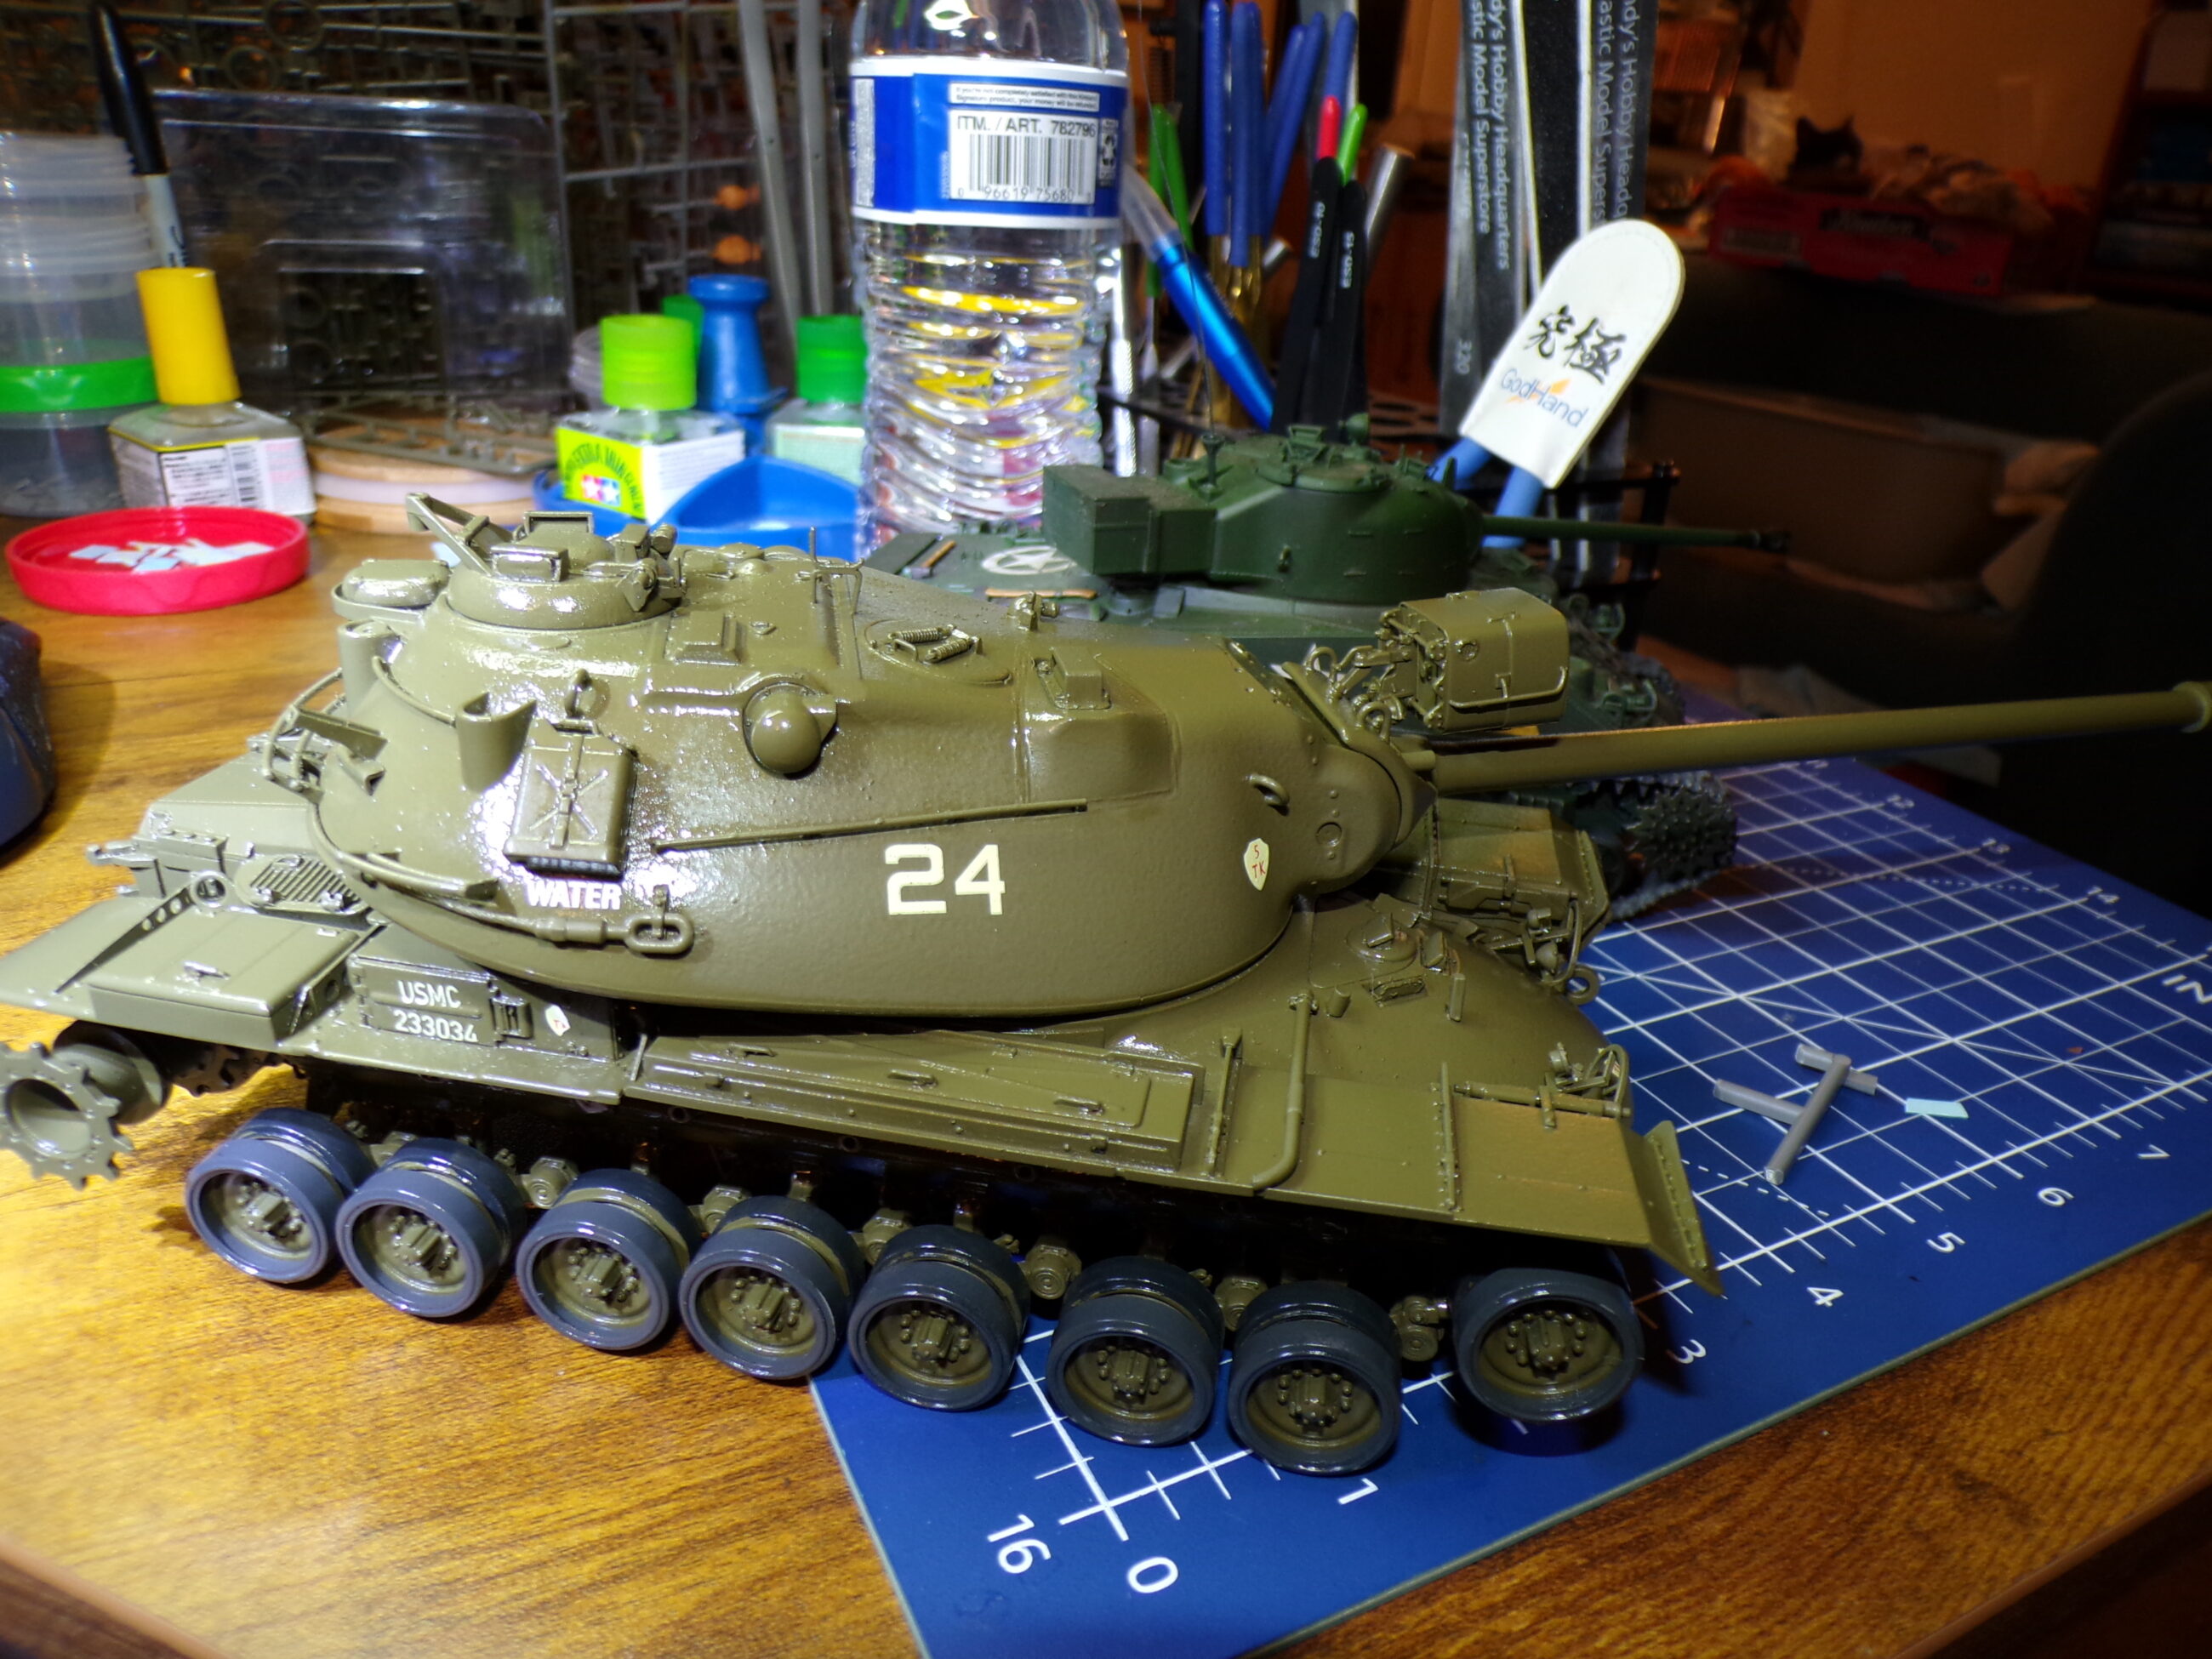
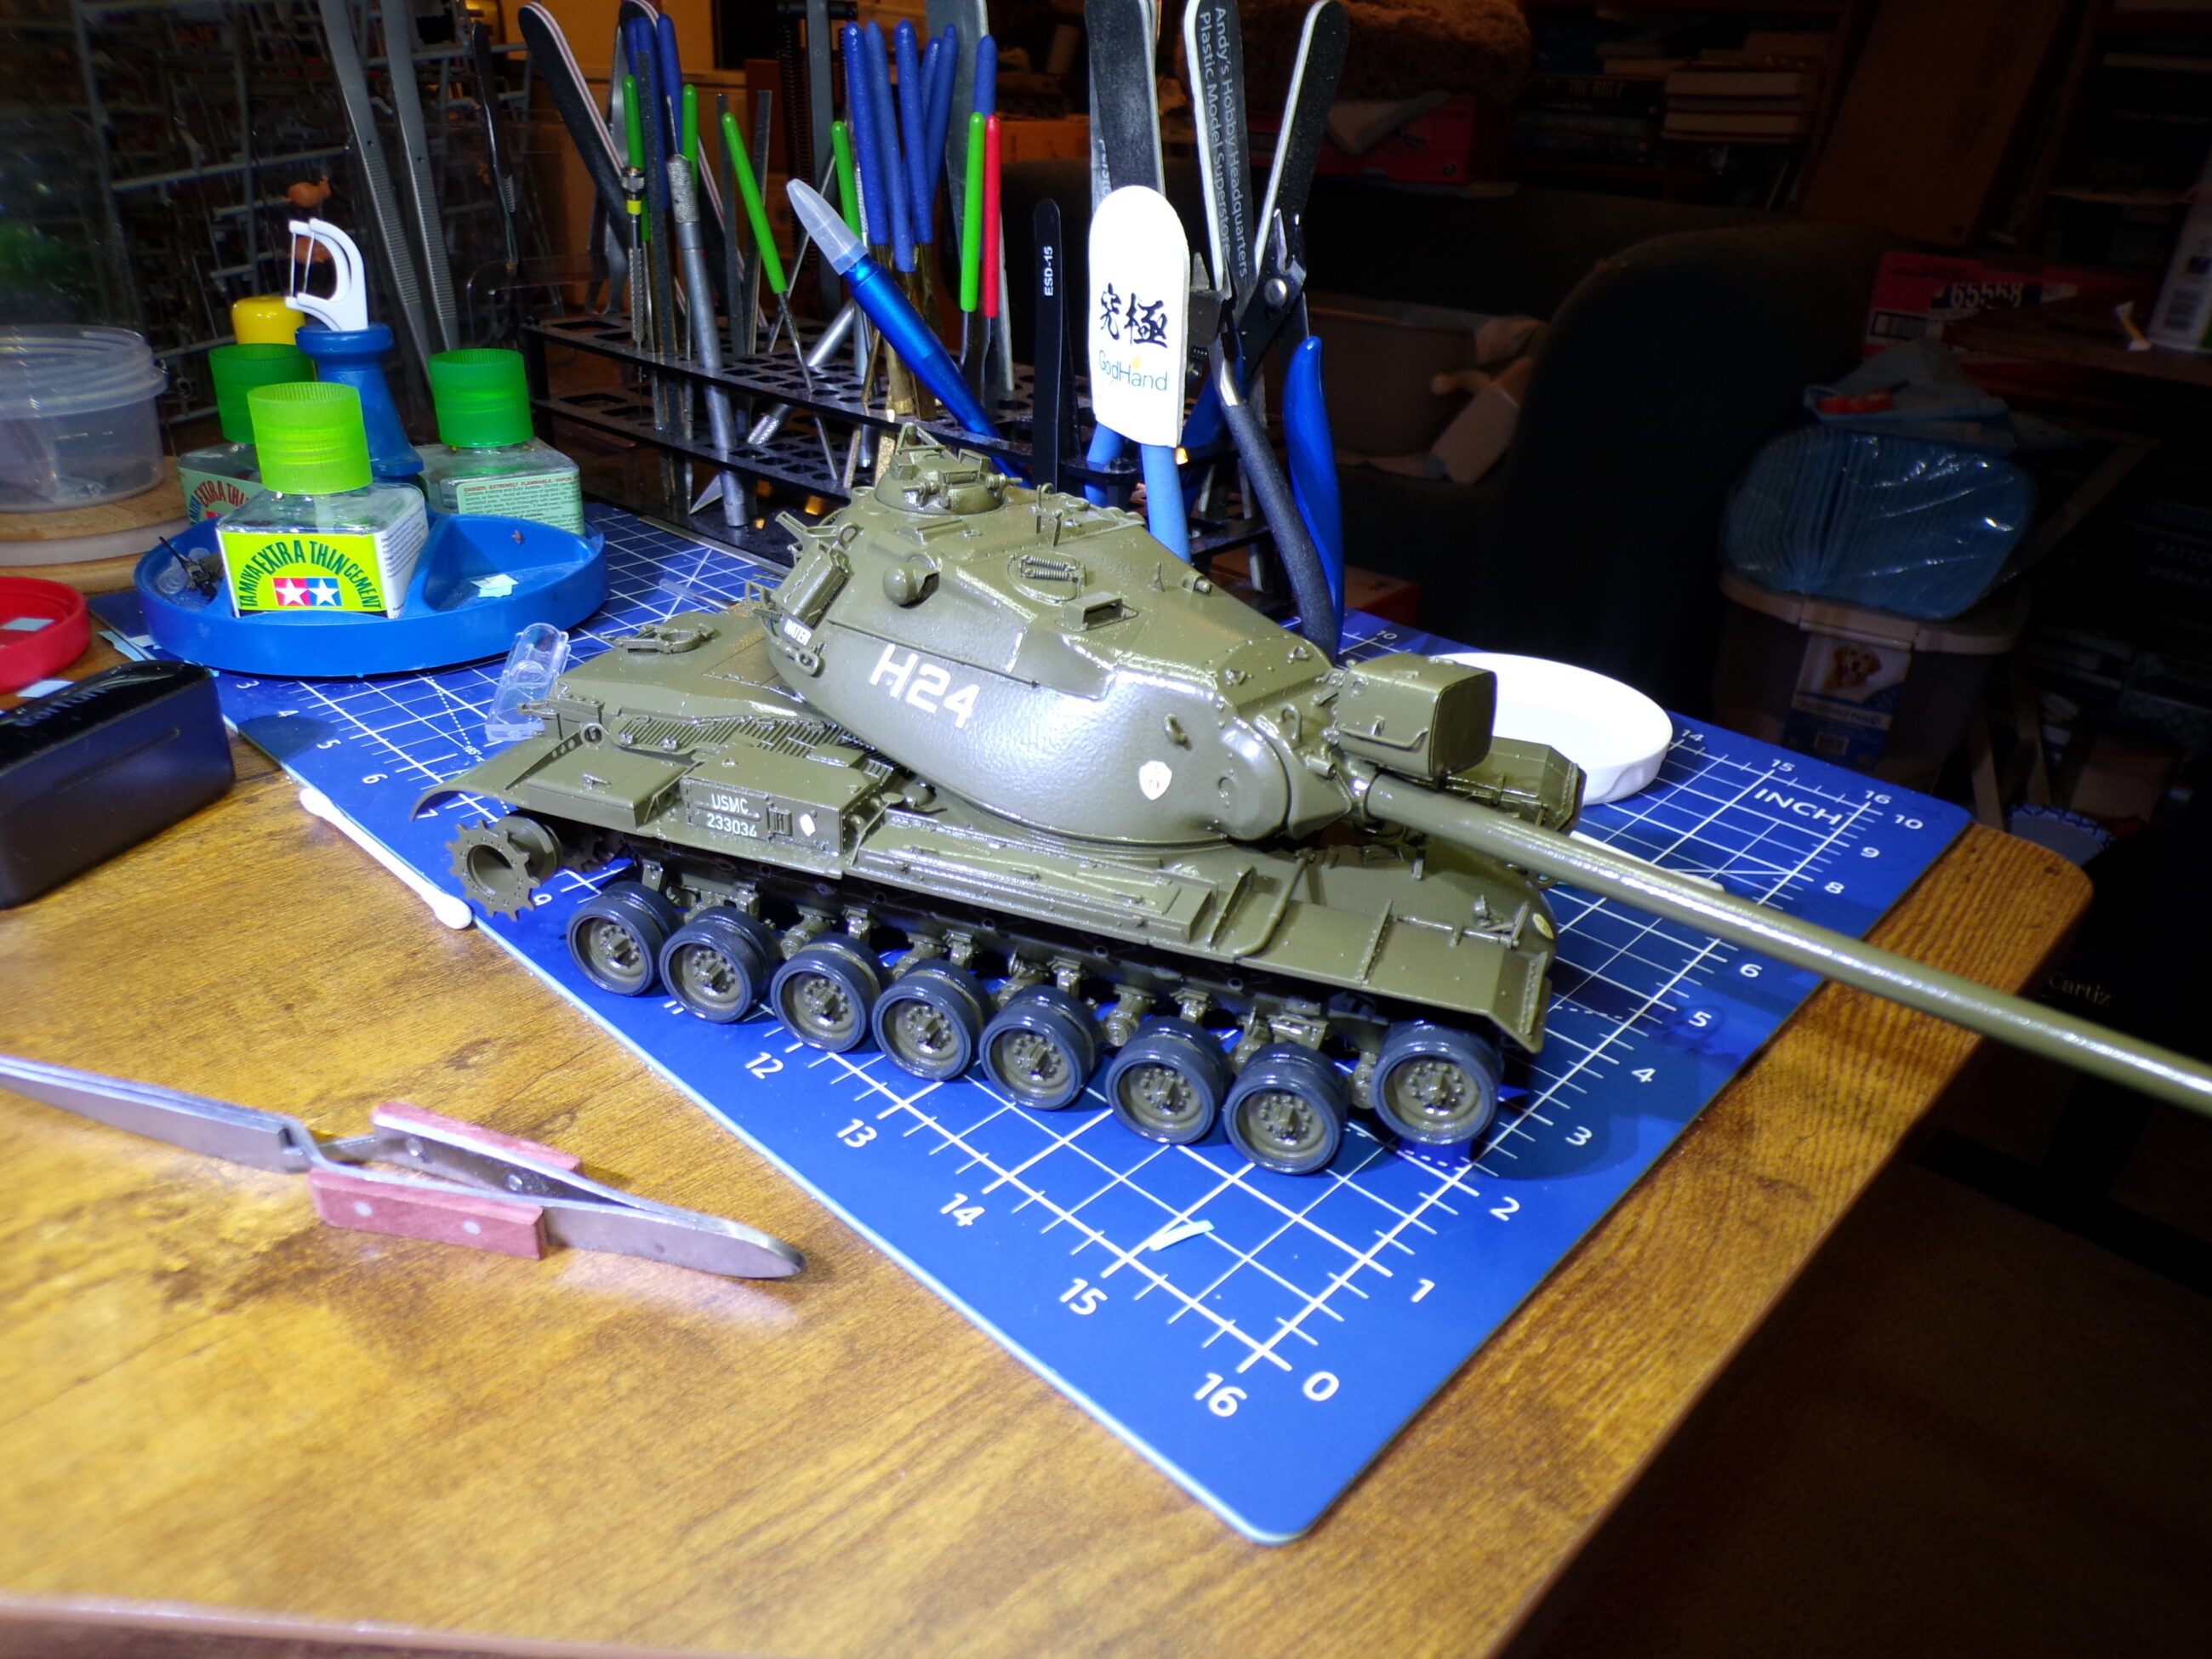
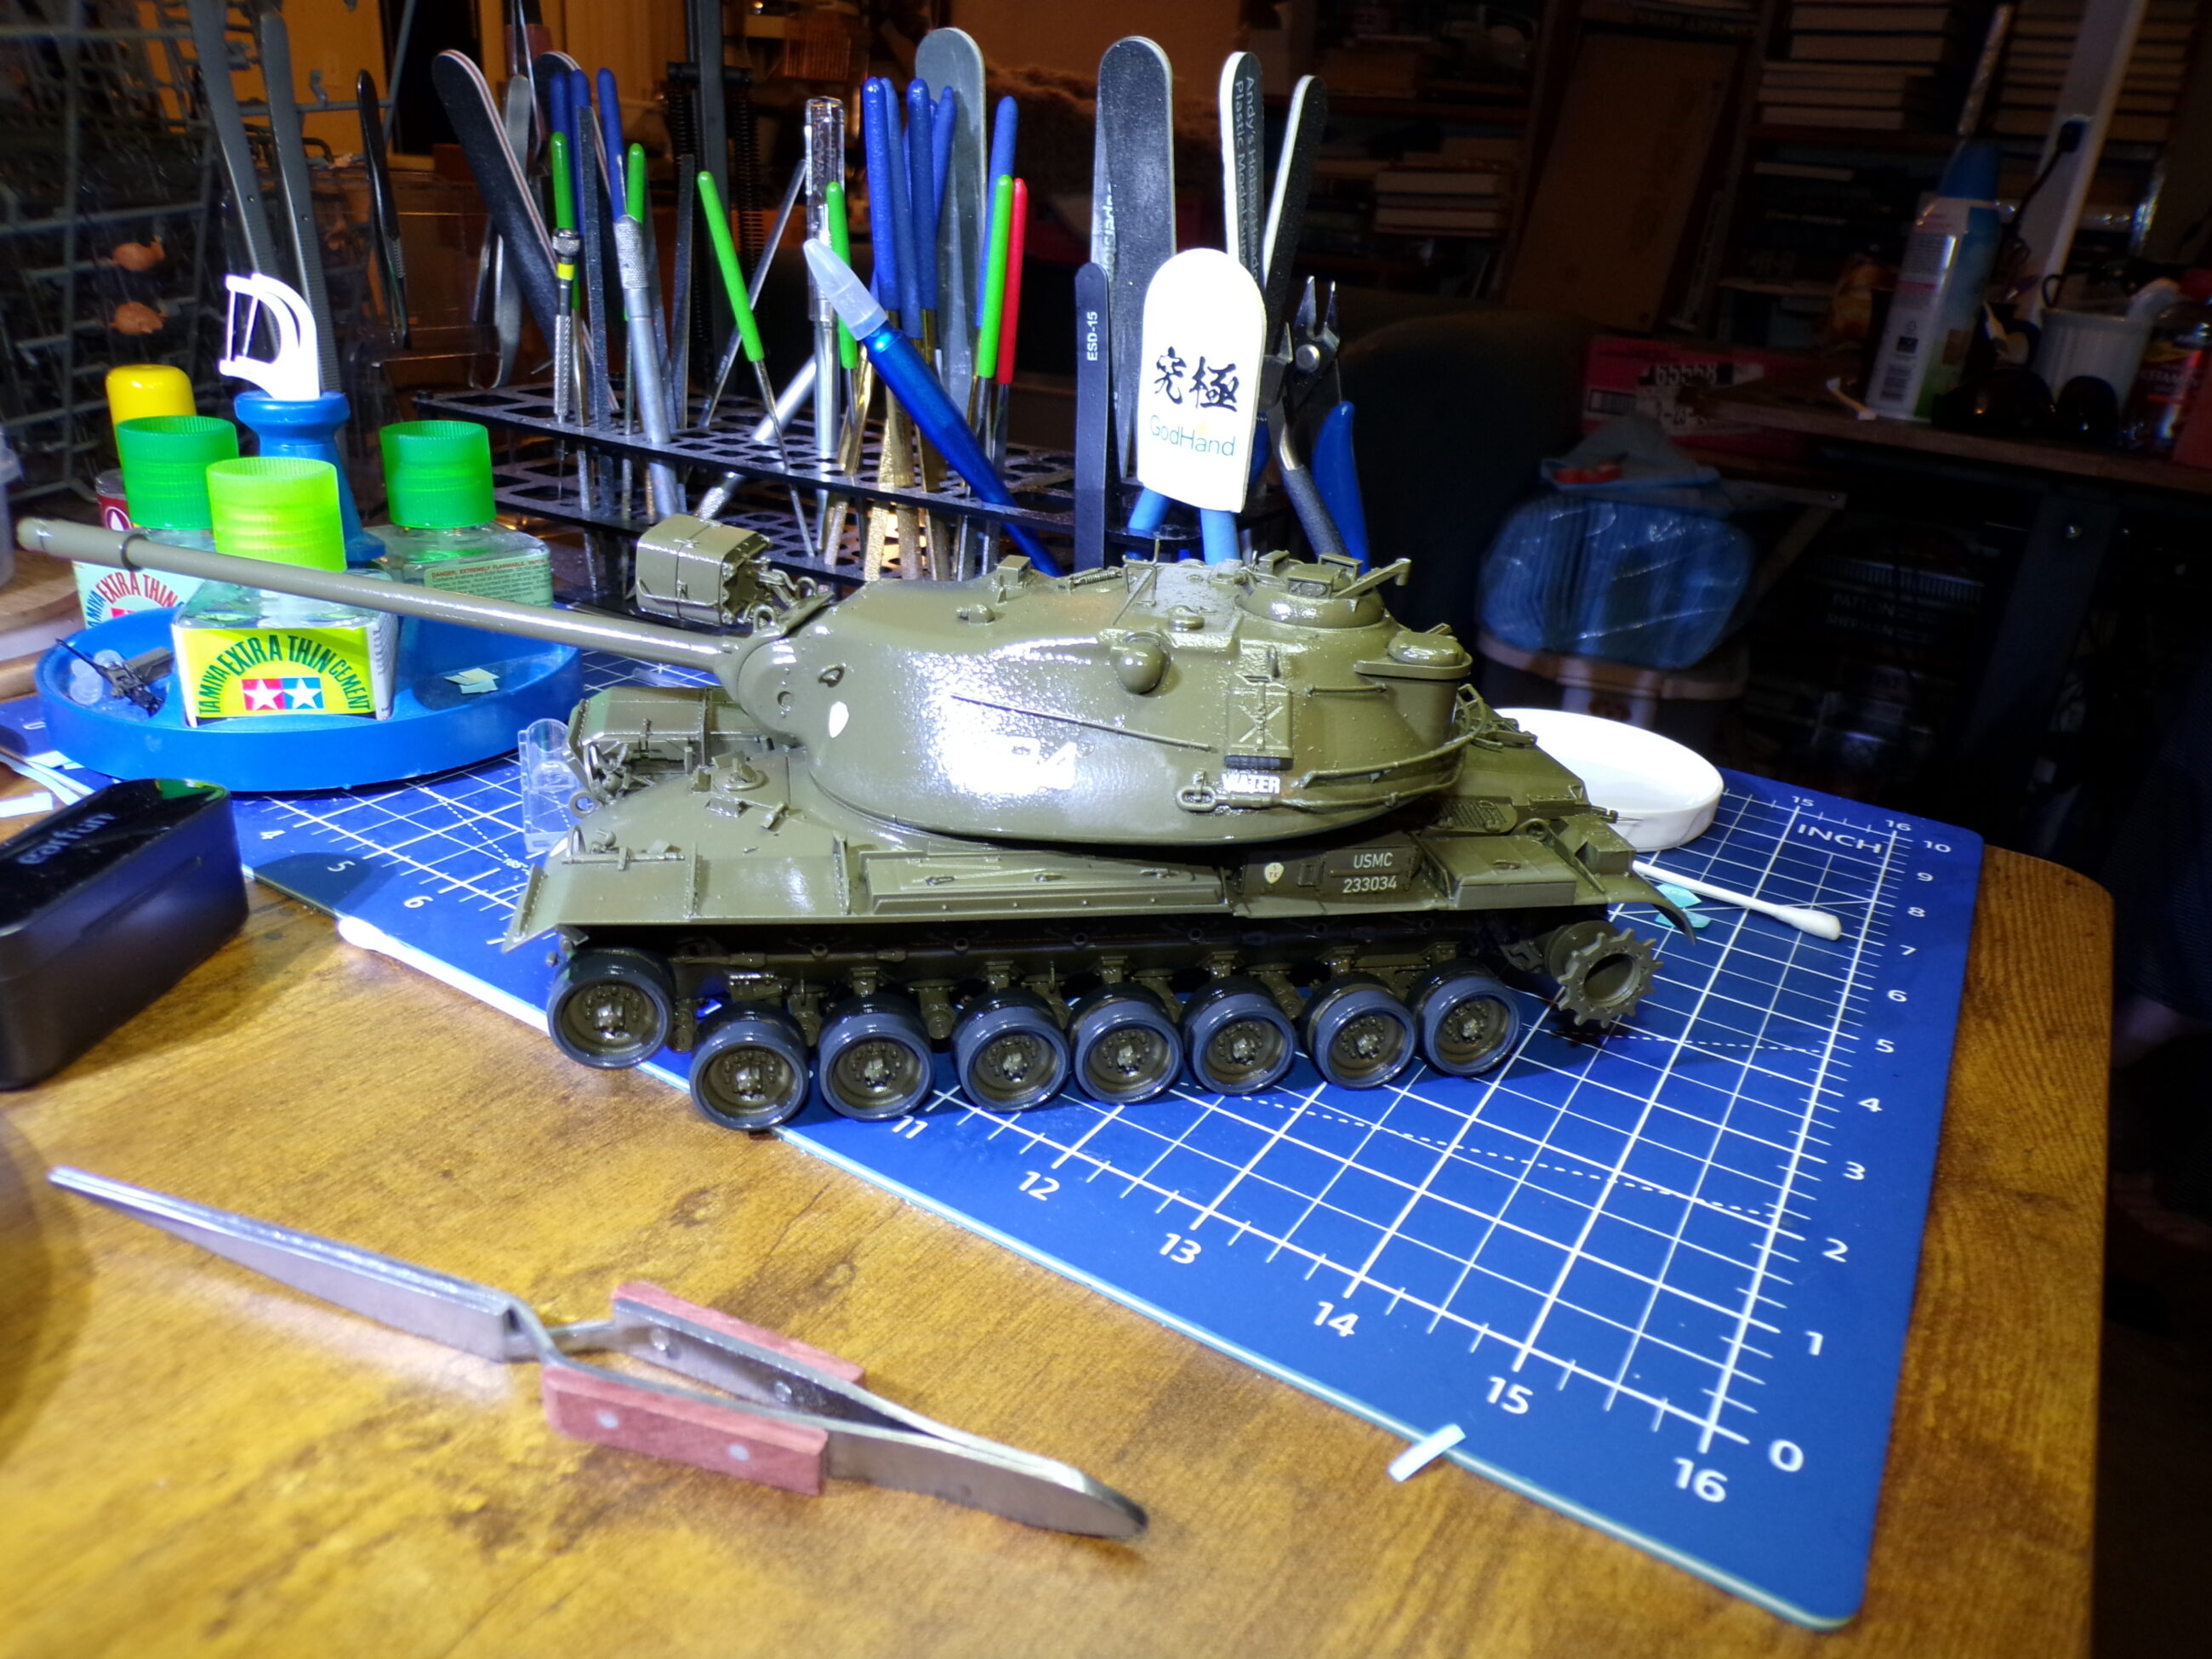
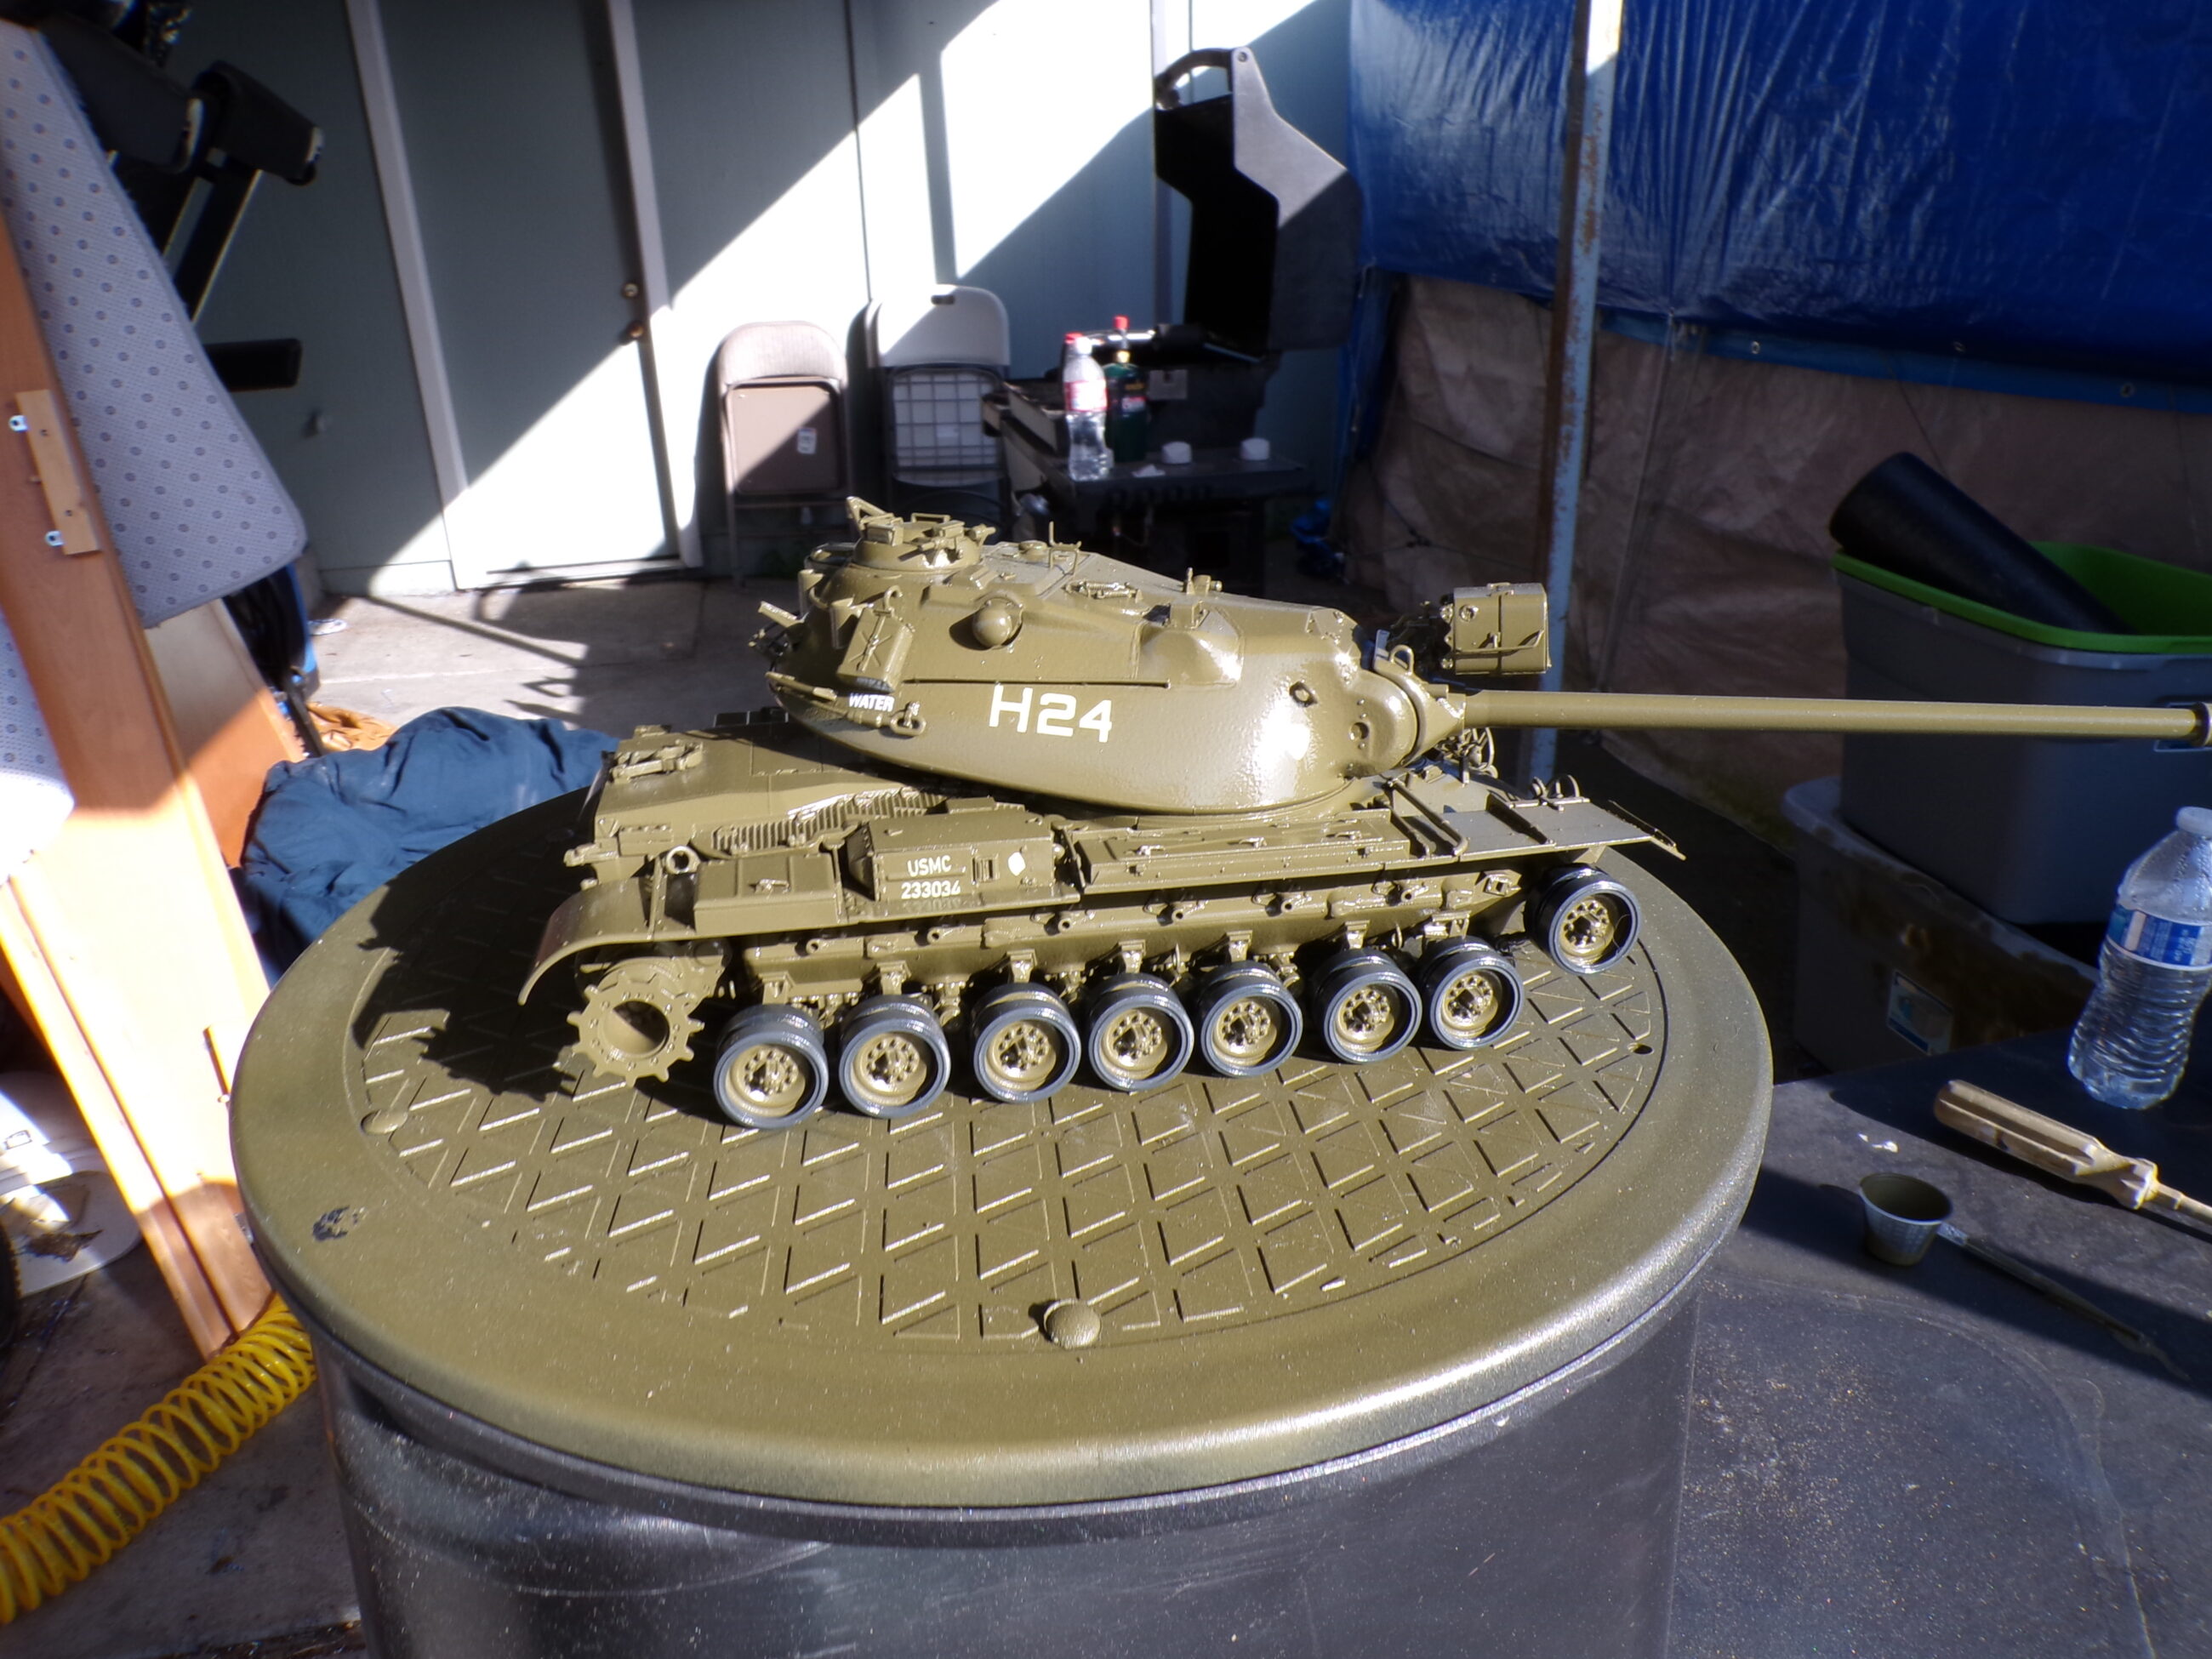
The M103A2 is ready for paint. All that’s left to go on is the tools, antenna, and tires. They are all being painted separately. The shocks are being painted by hand as well.

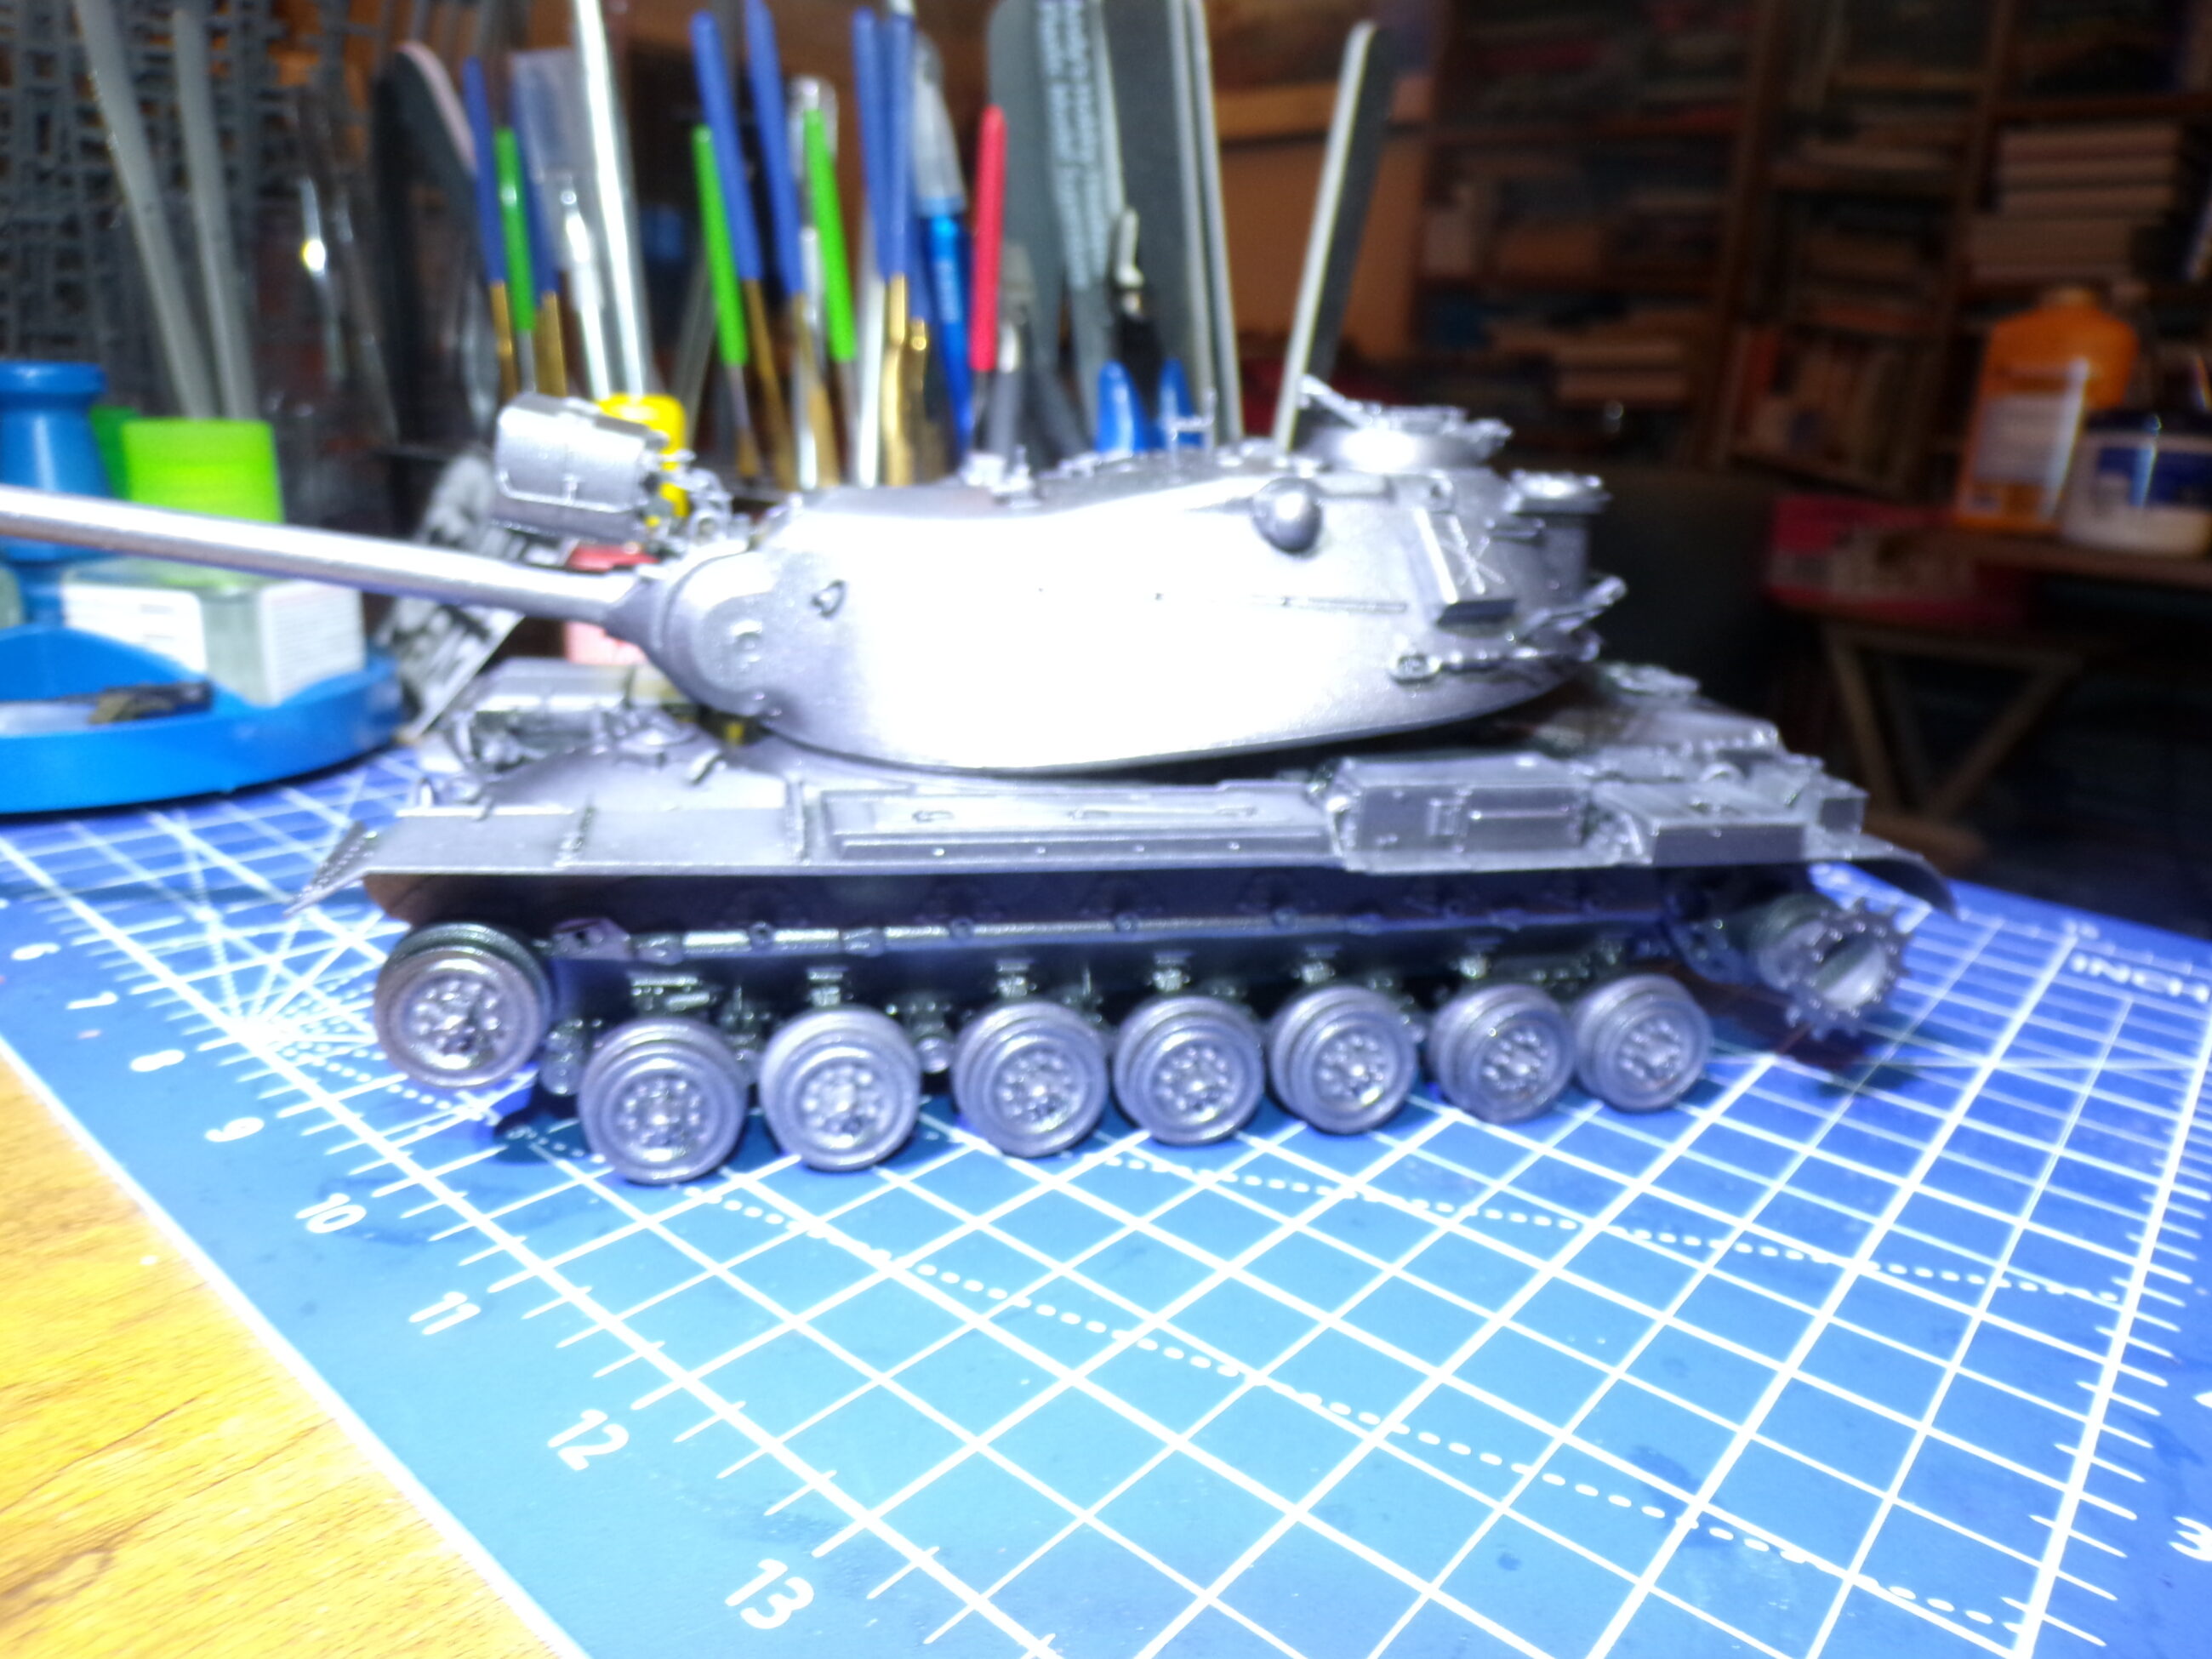
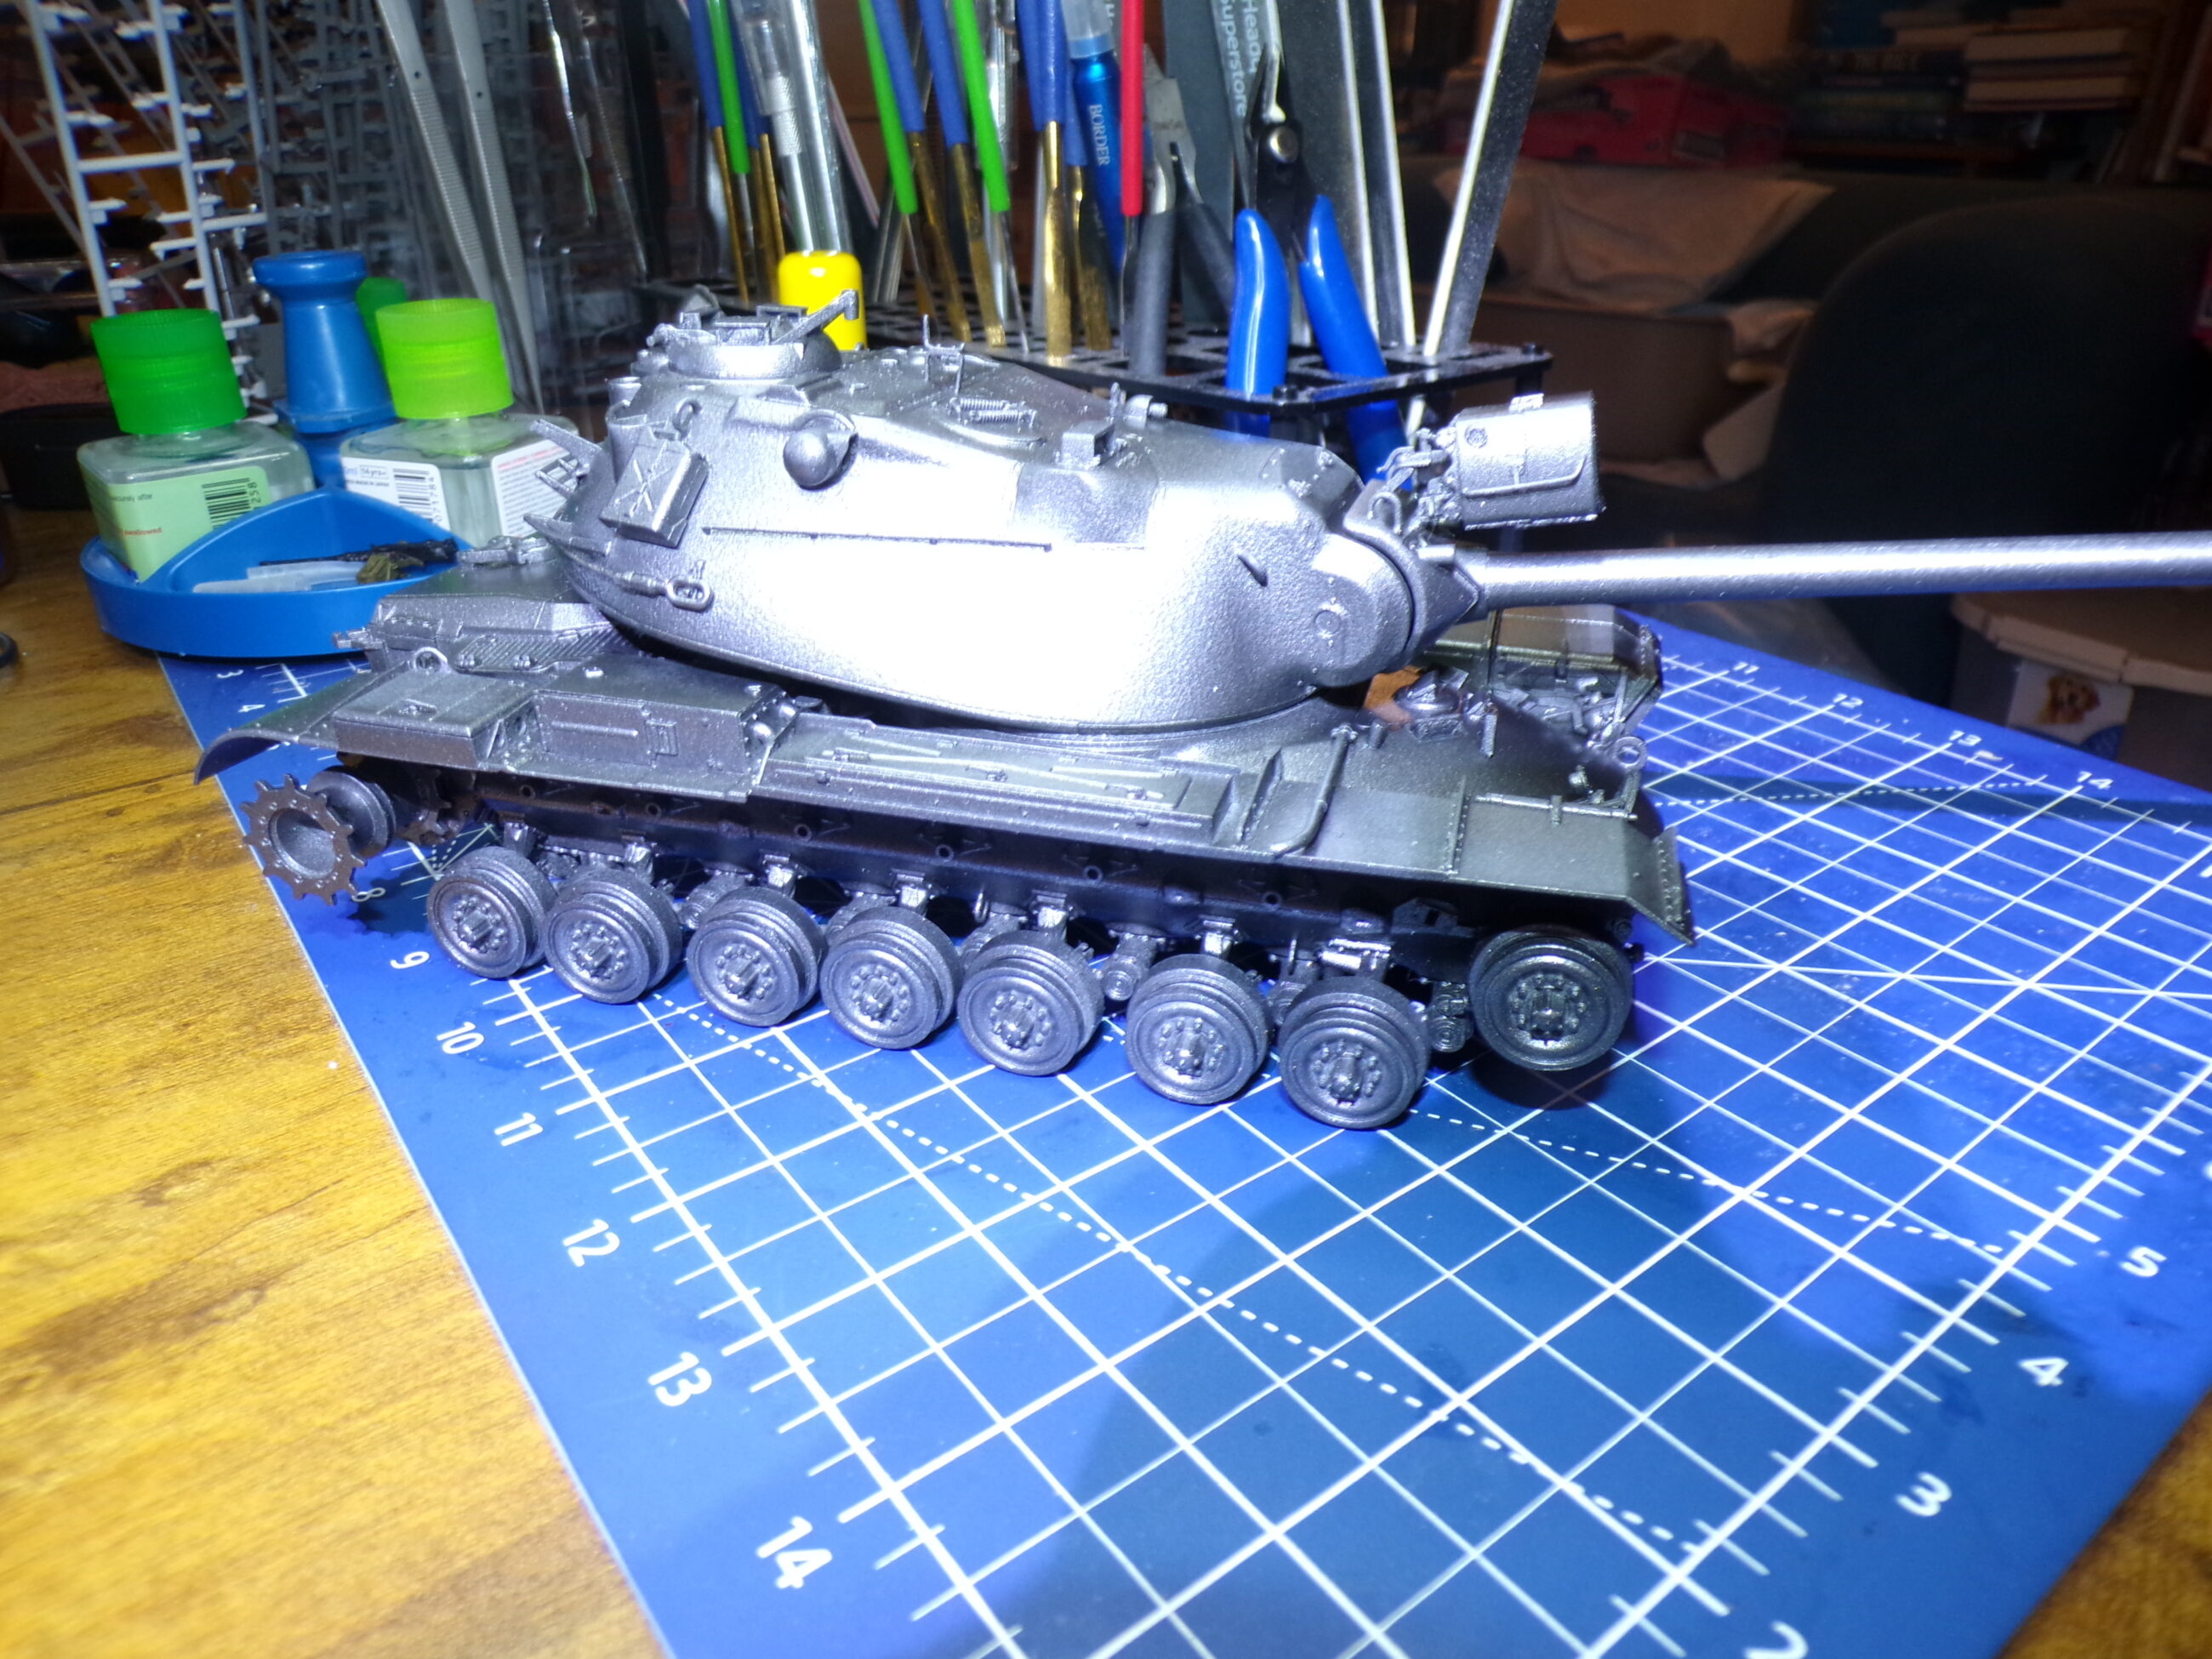
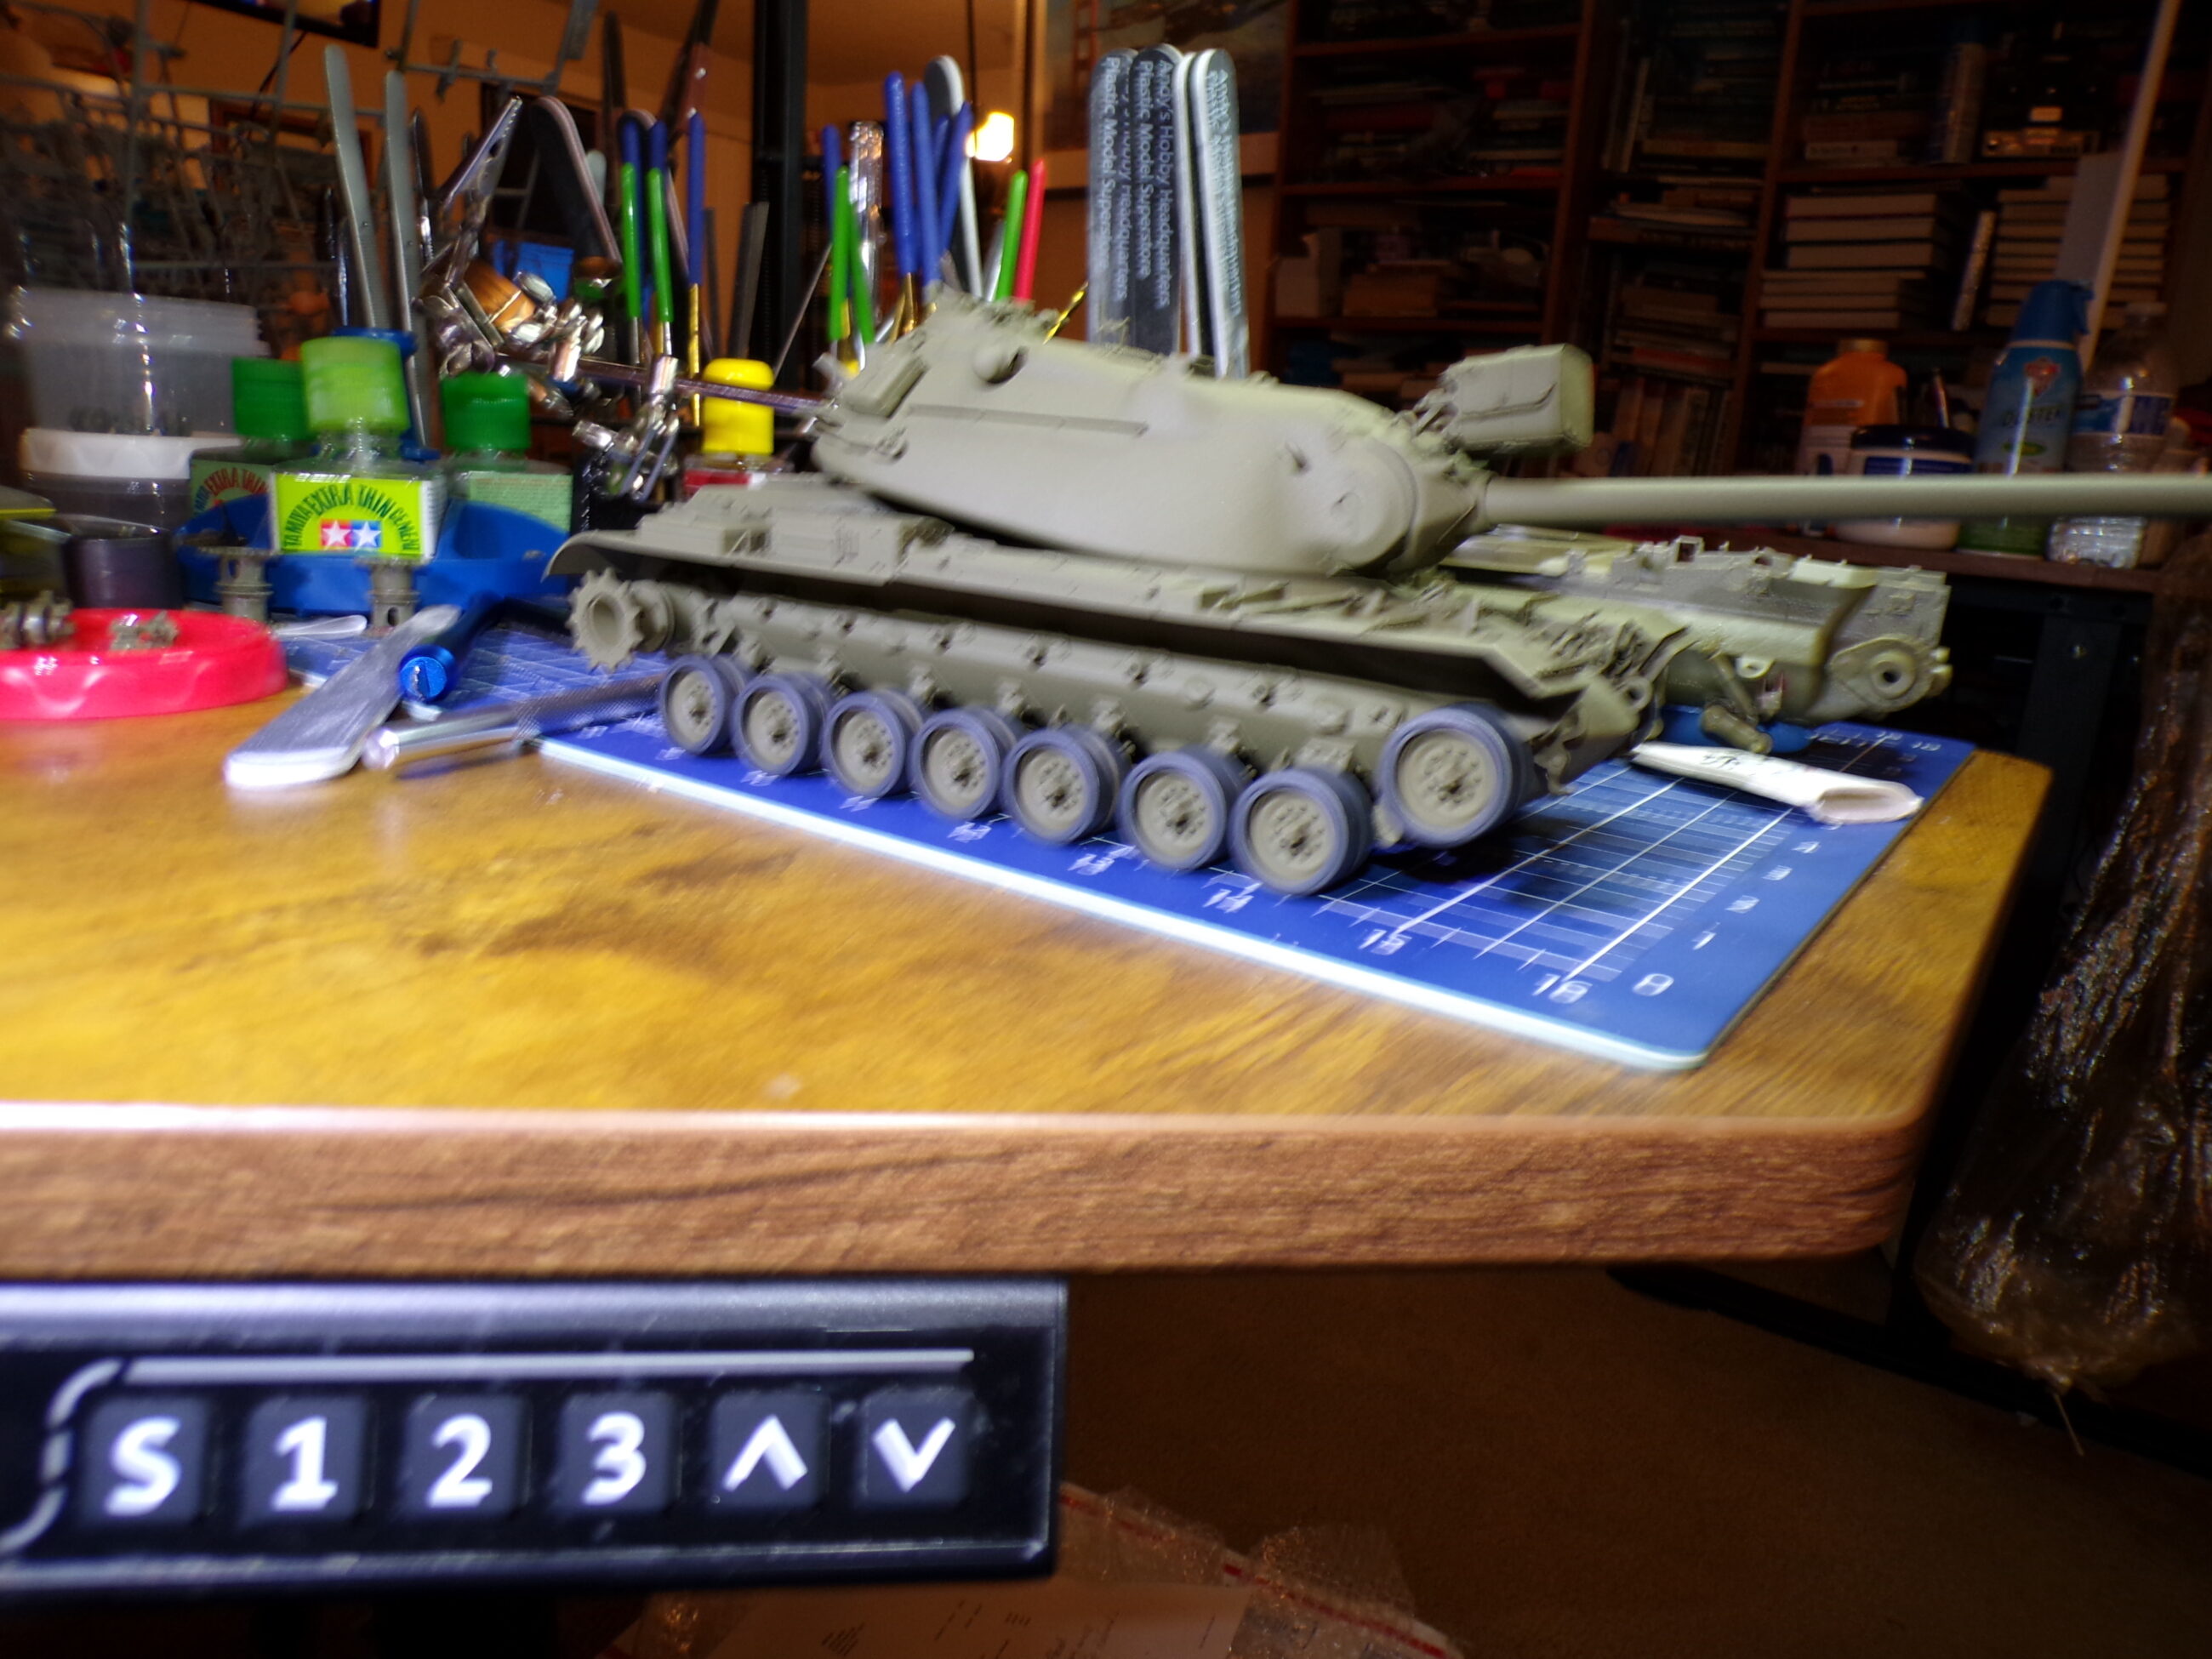
Primed and waiting for paint. I paint outside, and California is having some very early spring storms, so no dice so far. Maybe today.
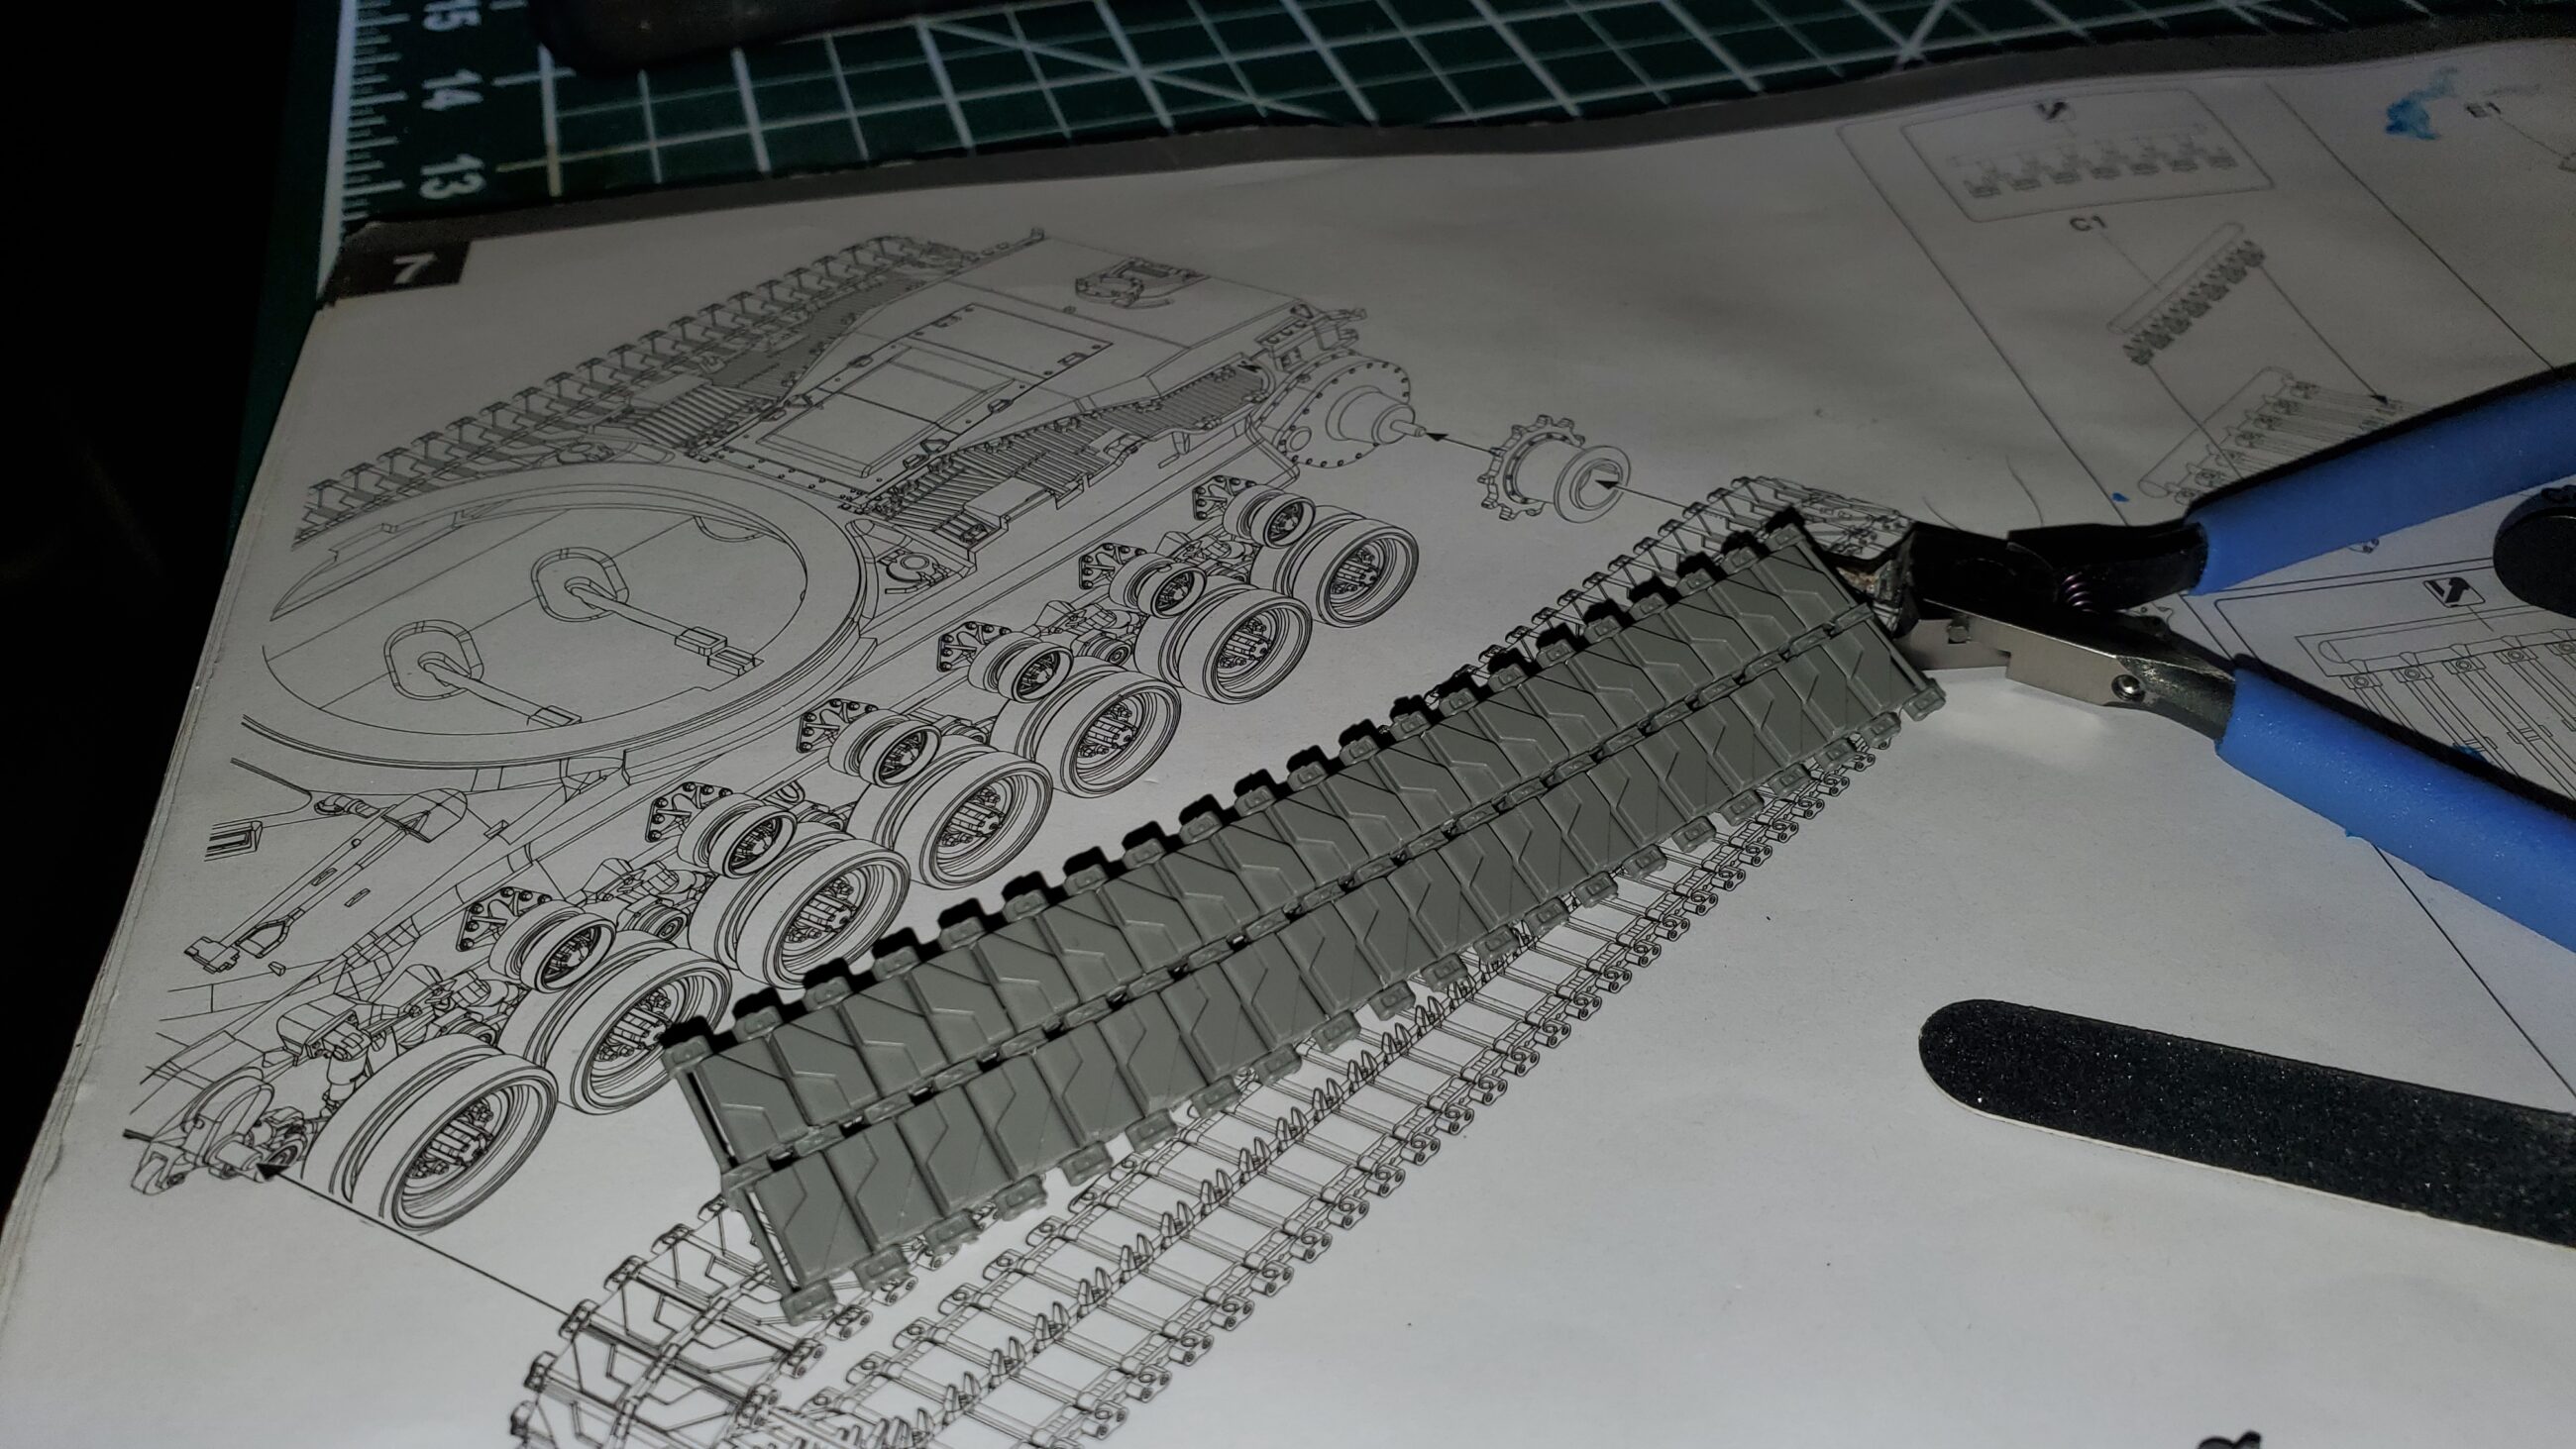
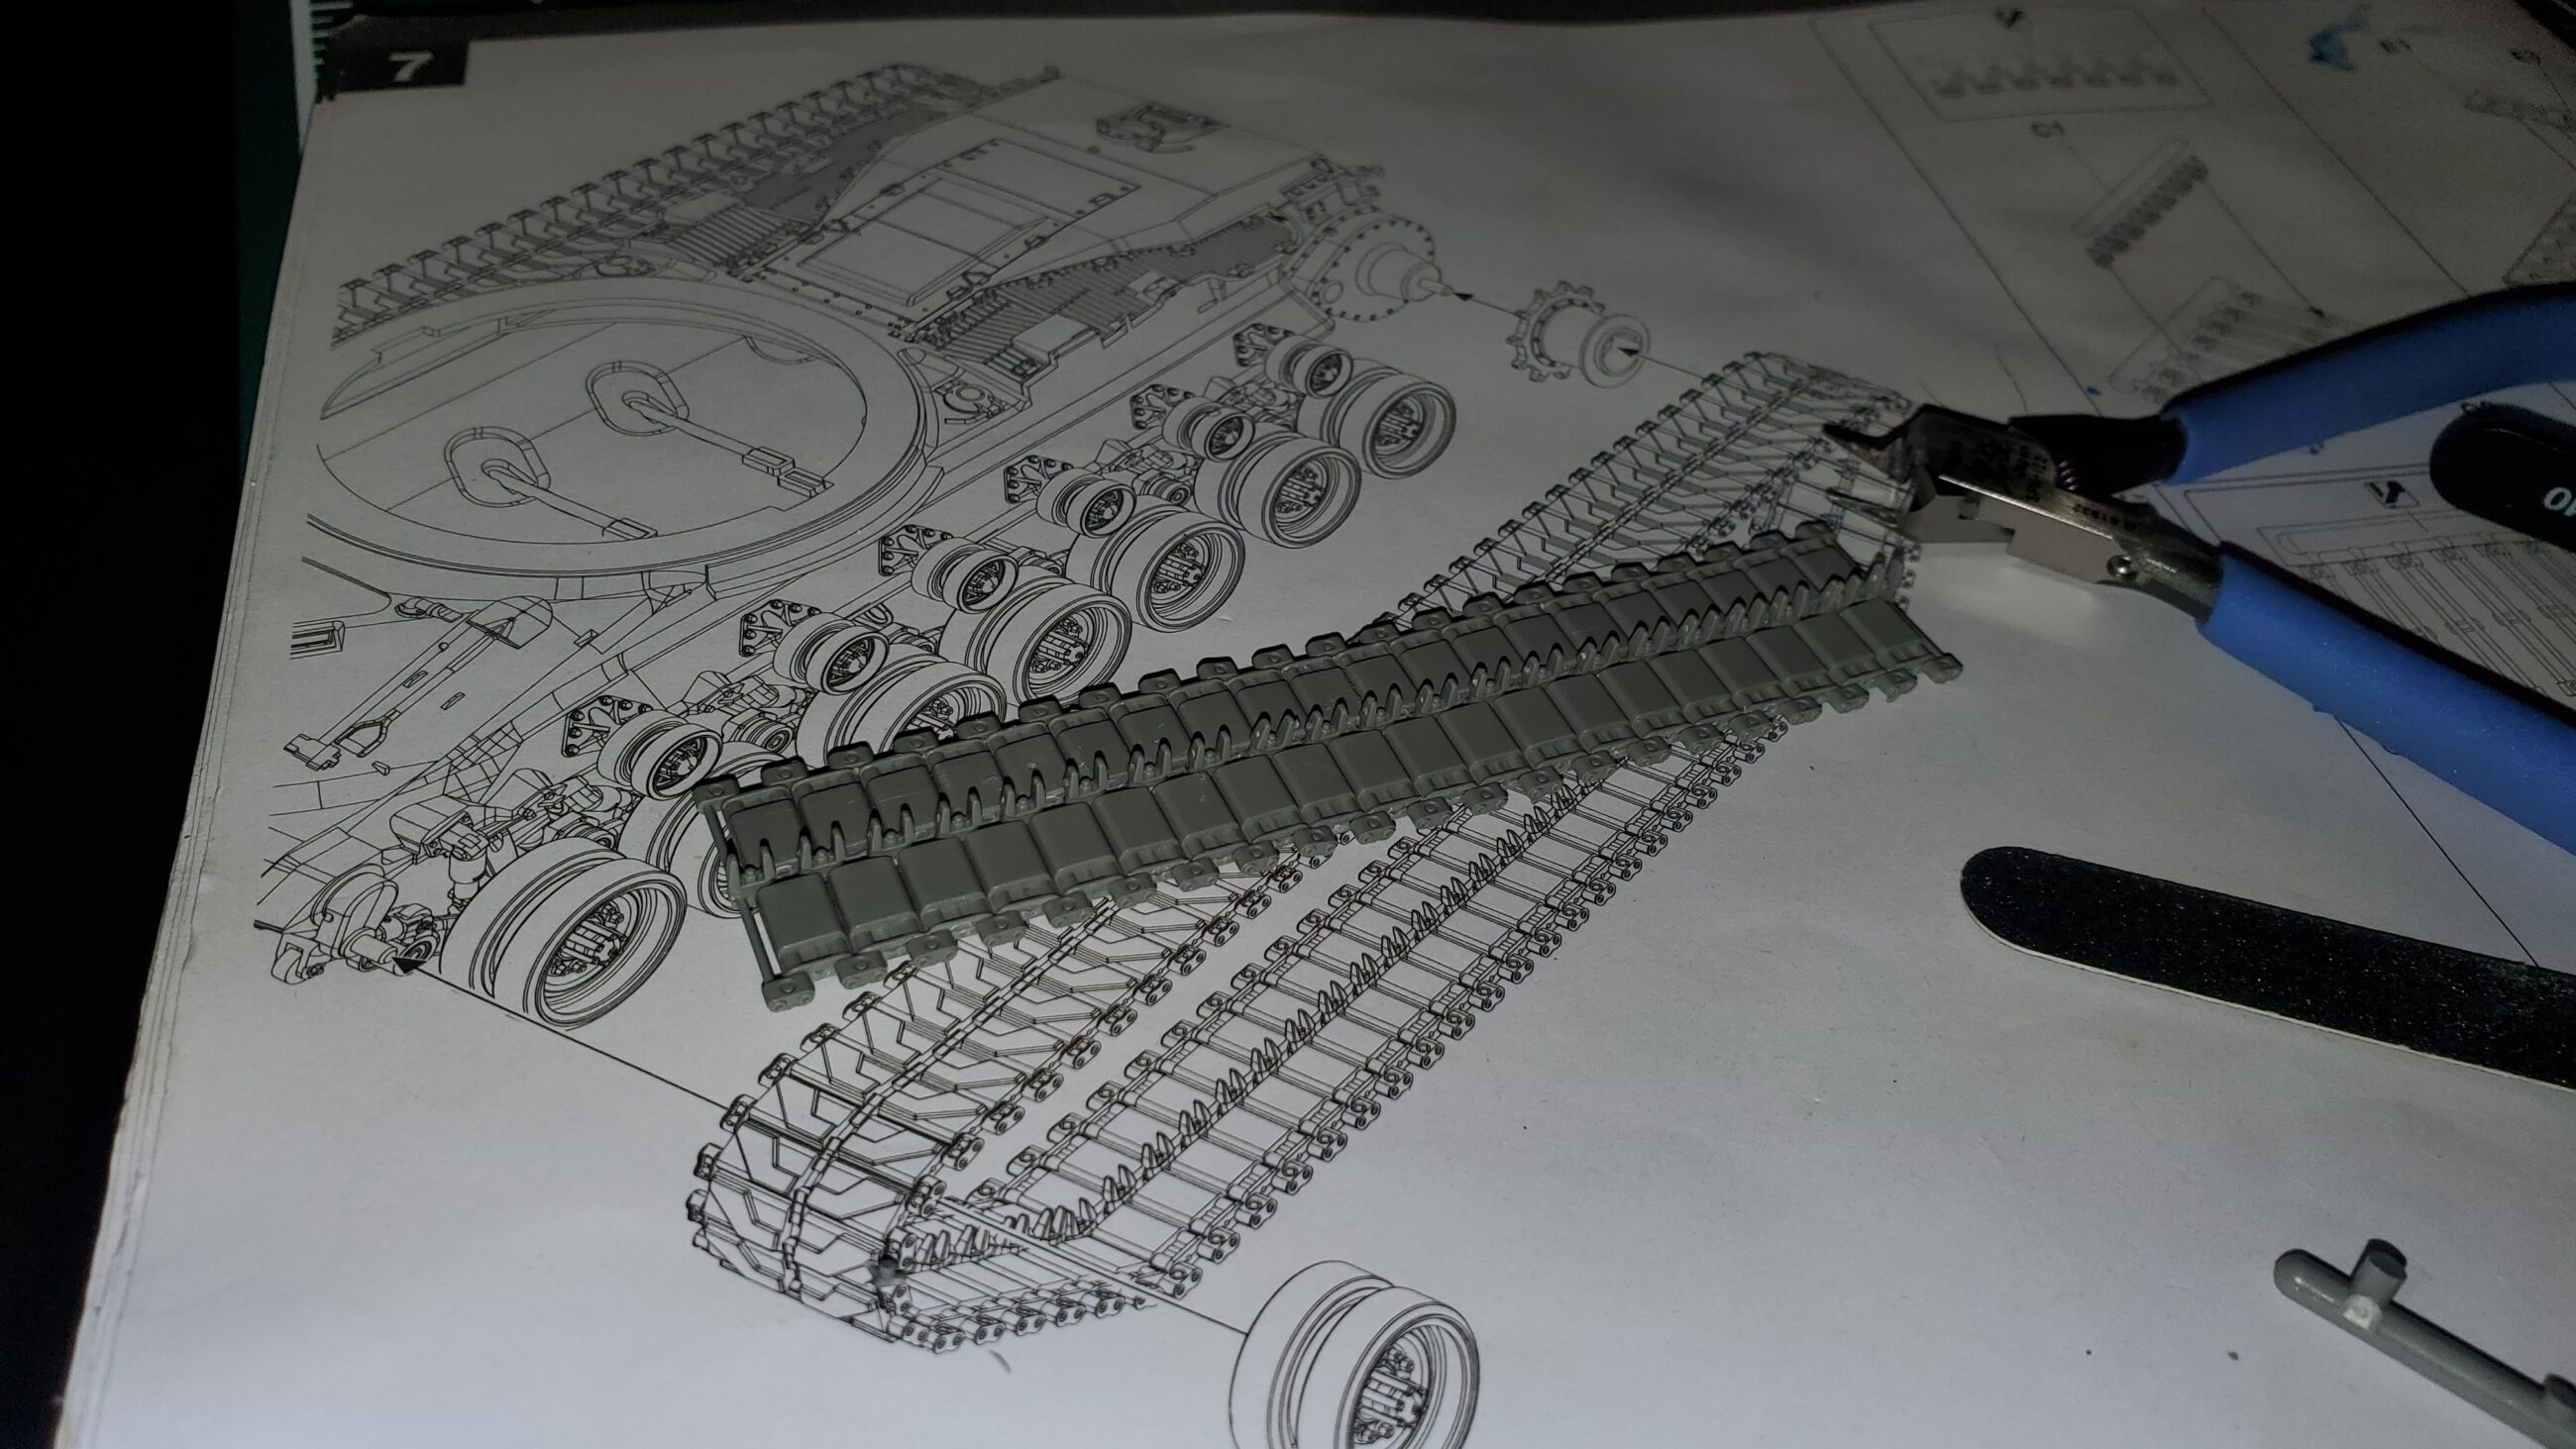
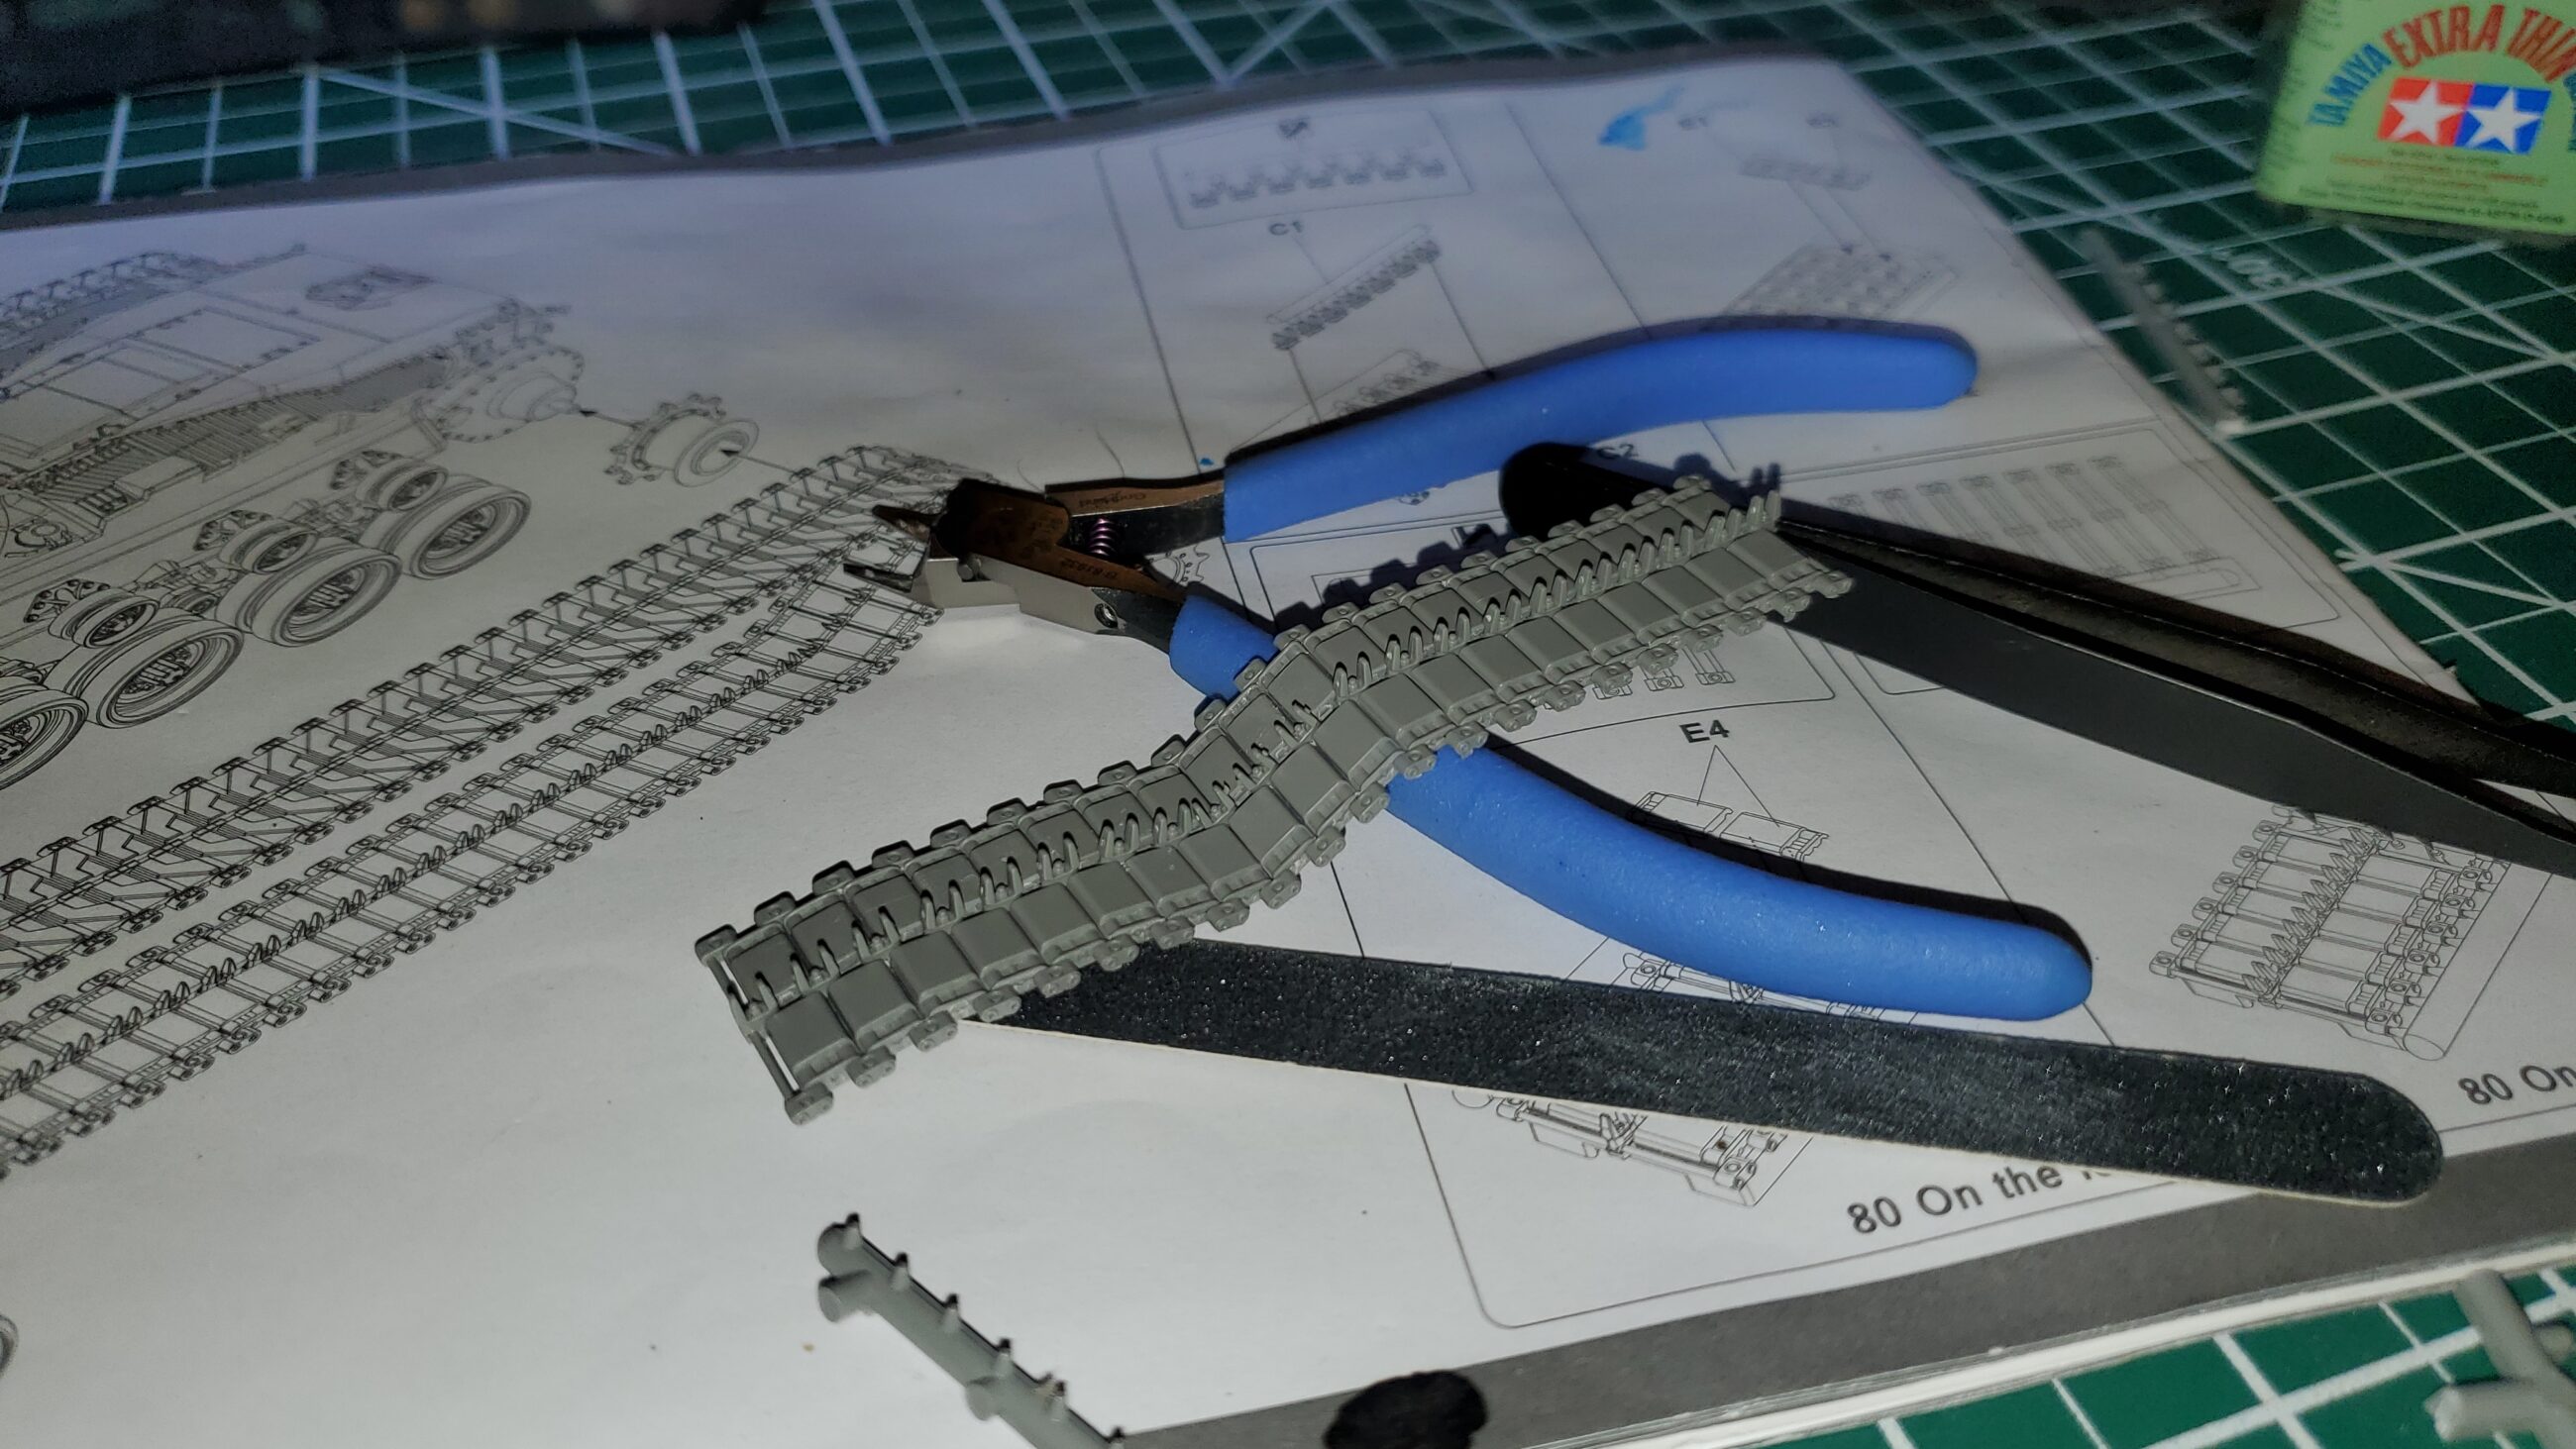
The tracks have been started as well.
More to come, but we are up to date as of 3/30/2024
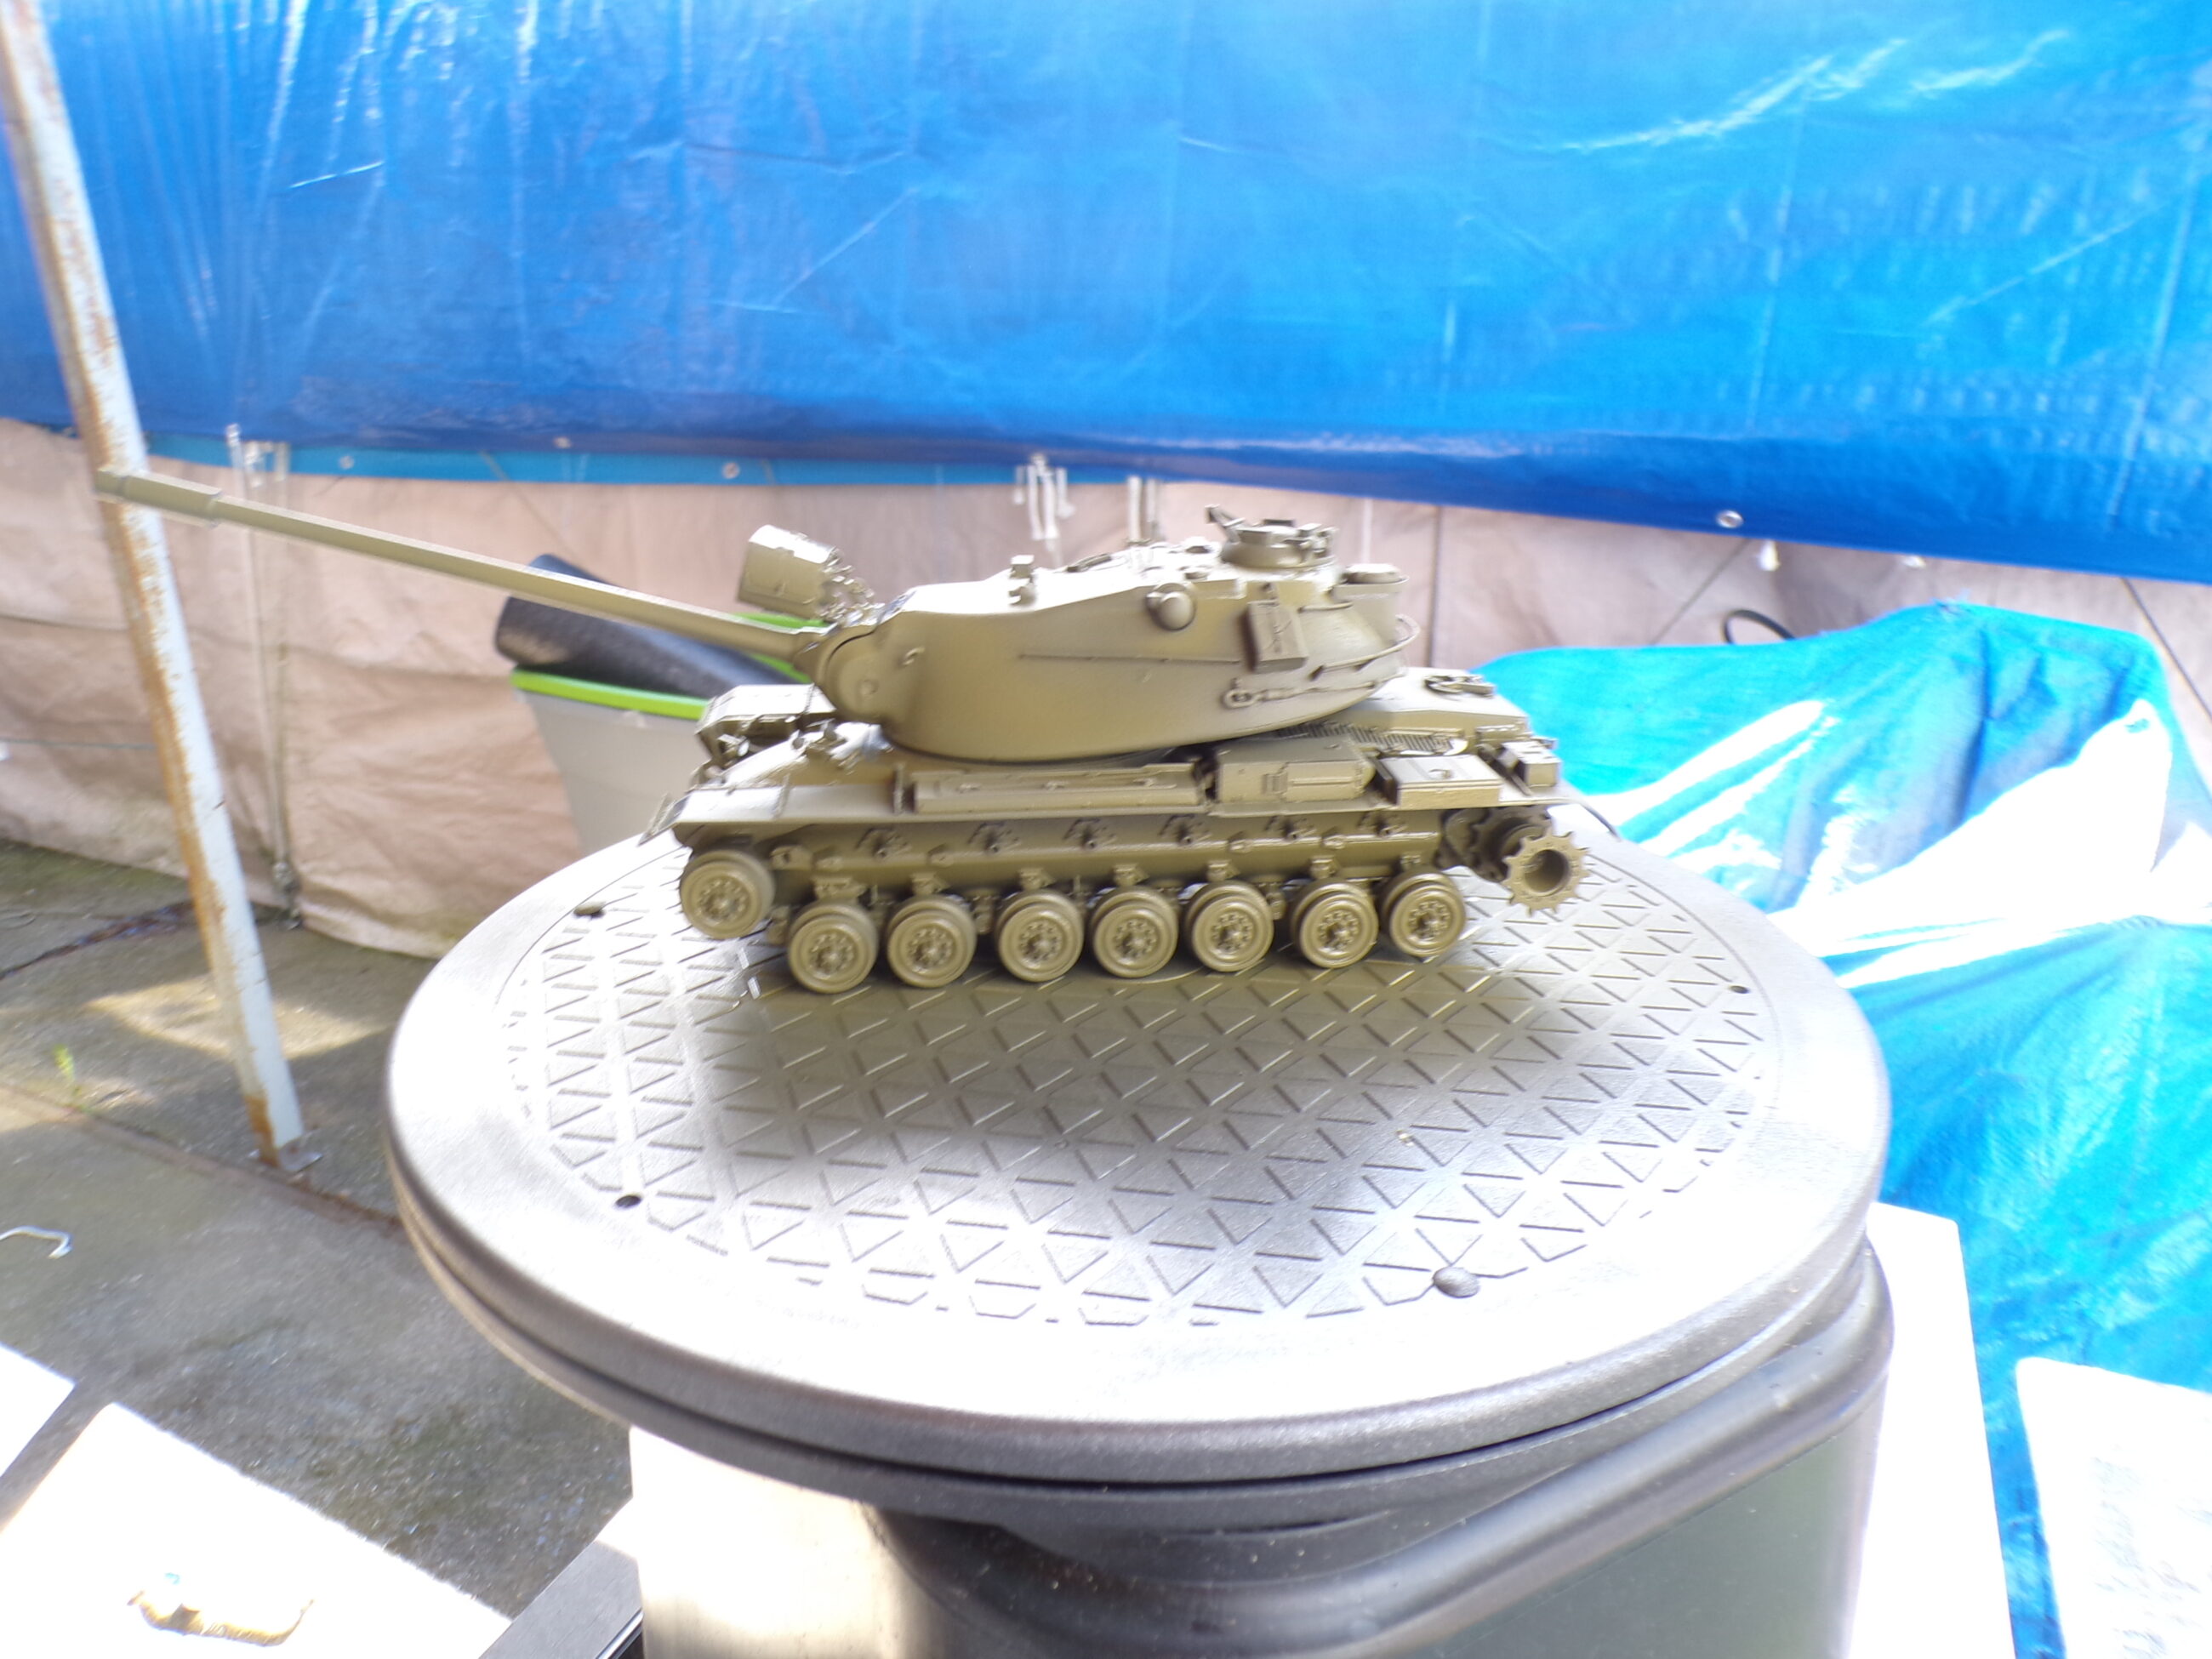
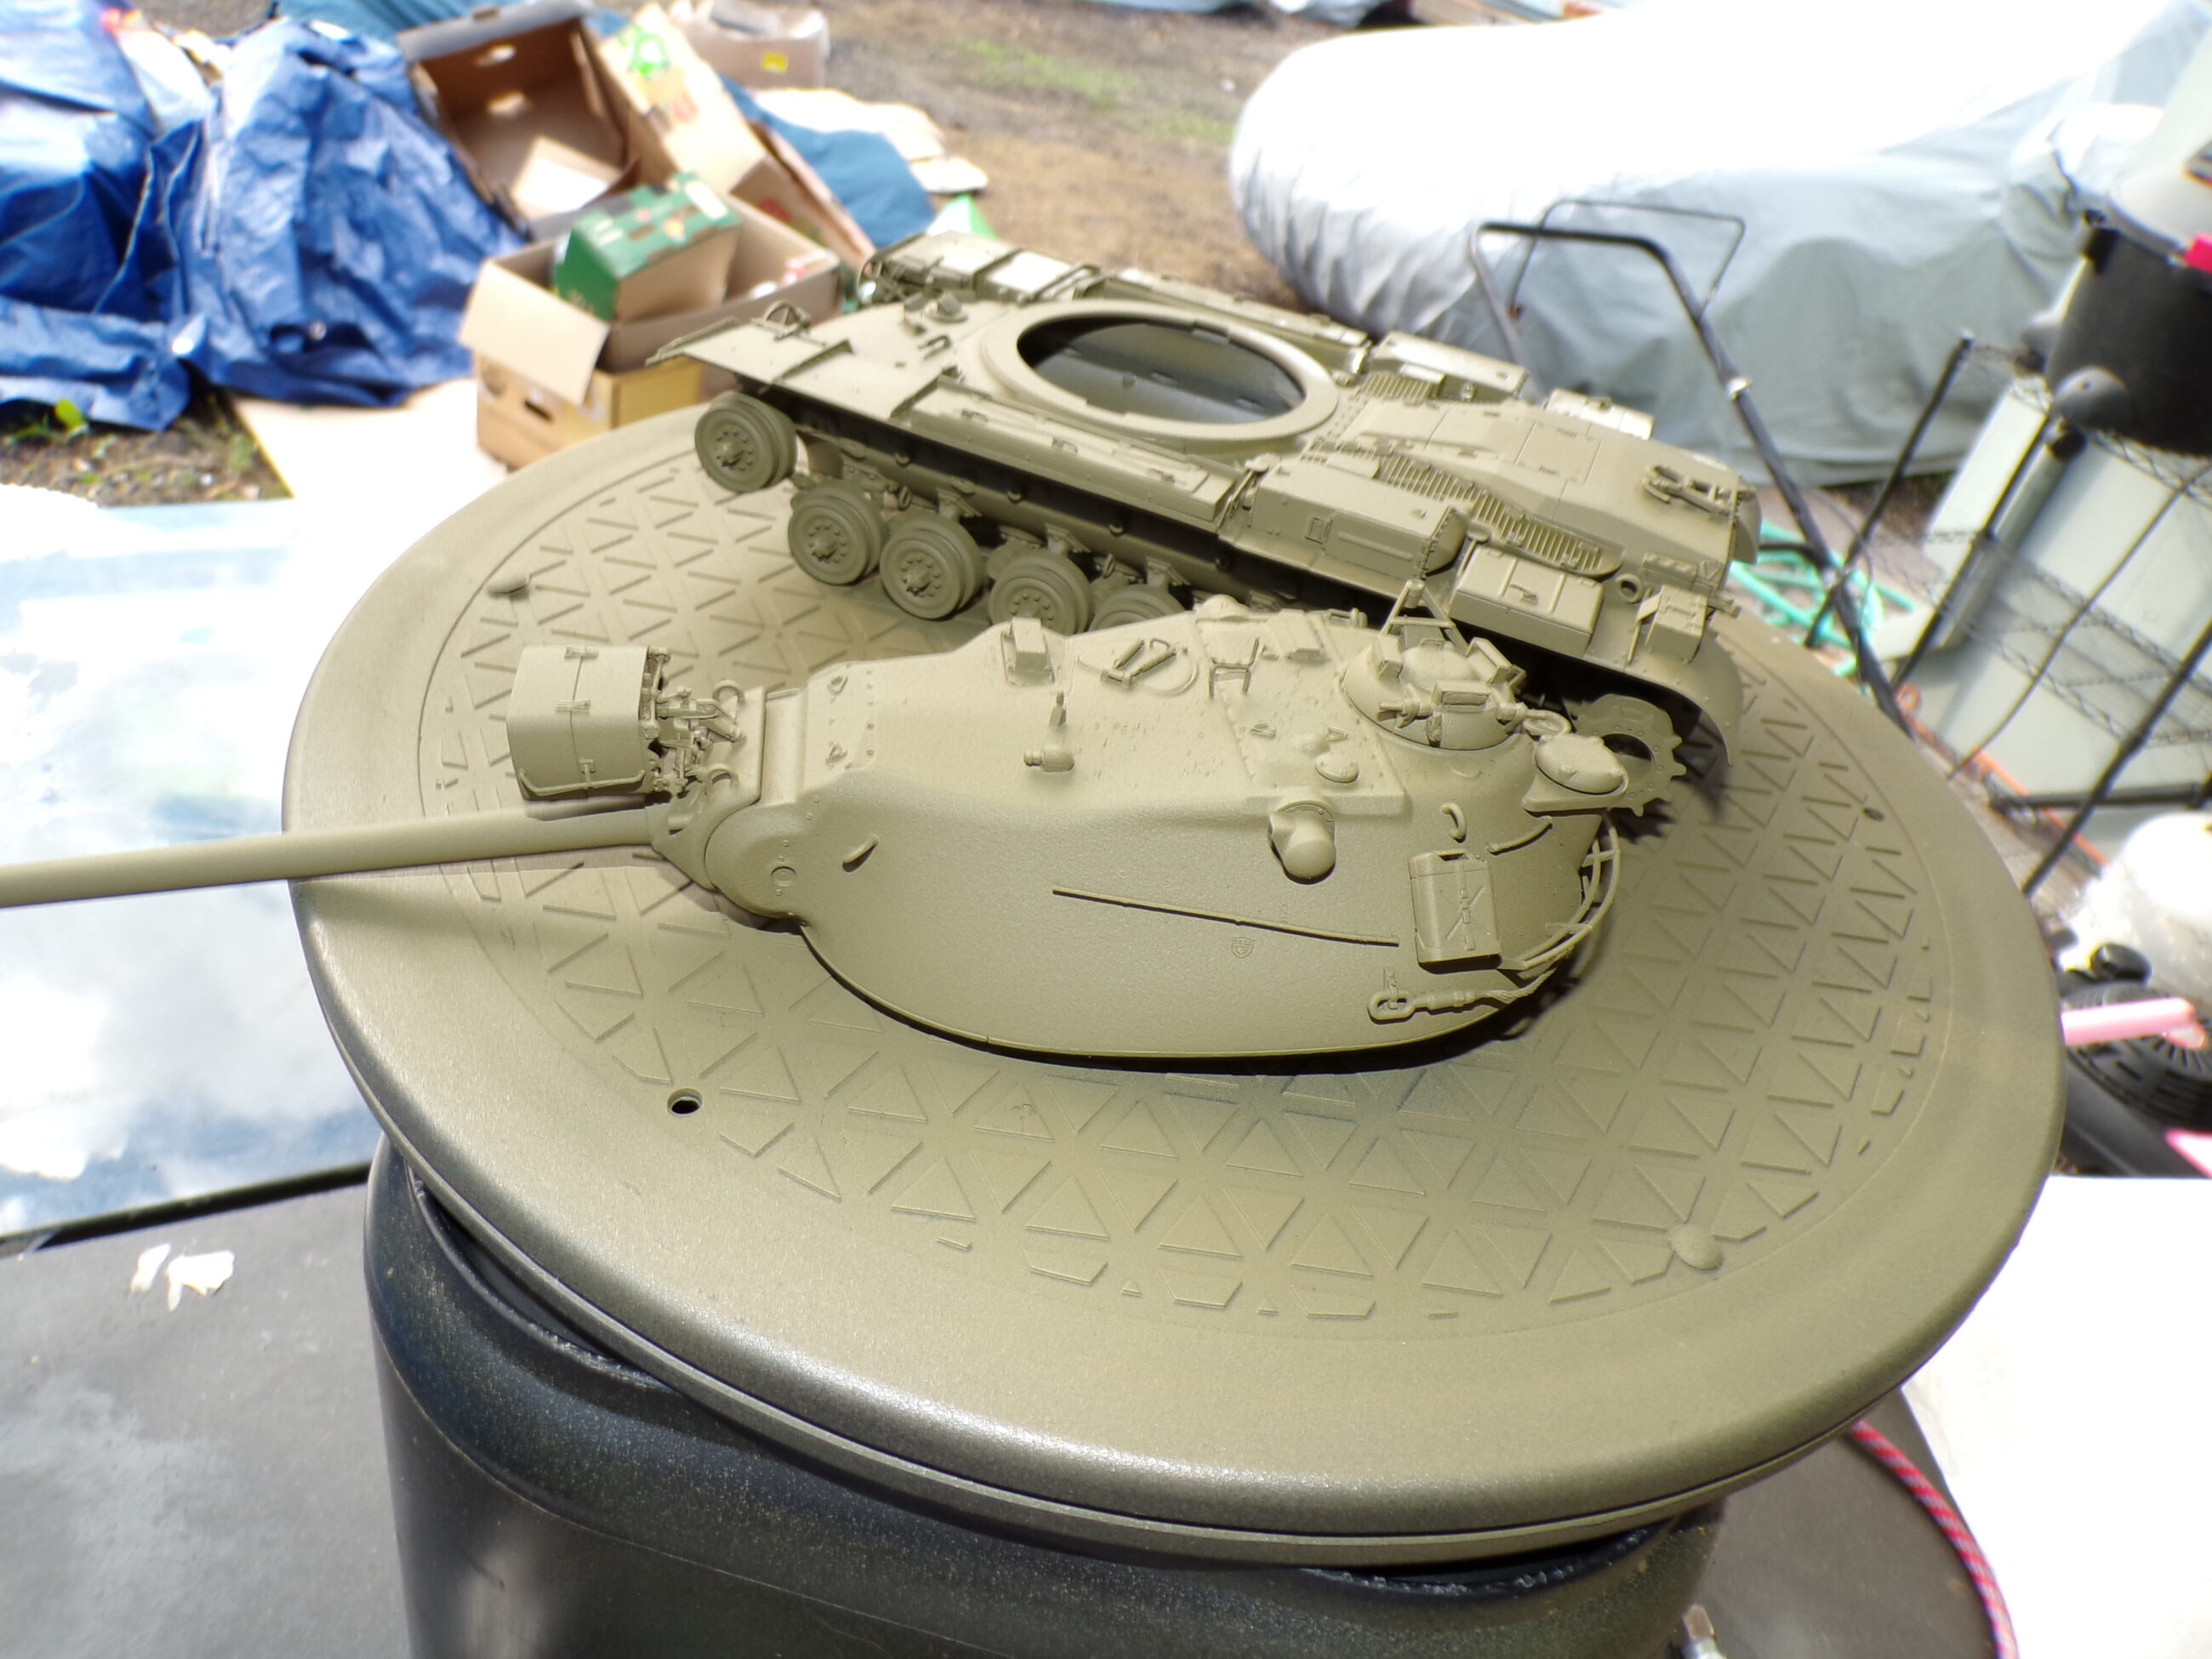
This tank is being painted in what I consider close enough to WWII Olive Drab to use on my tanks. The person I’m building it for likes the shade and wanted it on his M103, even though Marine Green is darker. It probably fades to this pretty fast.
So a word about WWII Olive Drab, but first, a Gallery of what I would consider a primary document on Olive Drab from the Army Motors Magazine, a WWII Army Maintenance monthly.
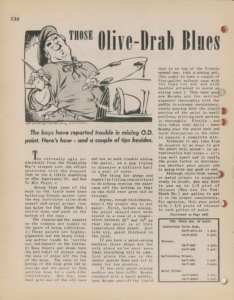
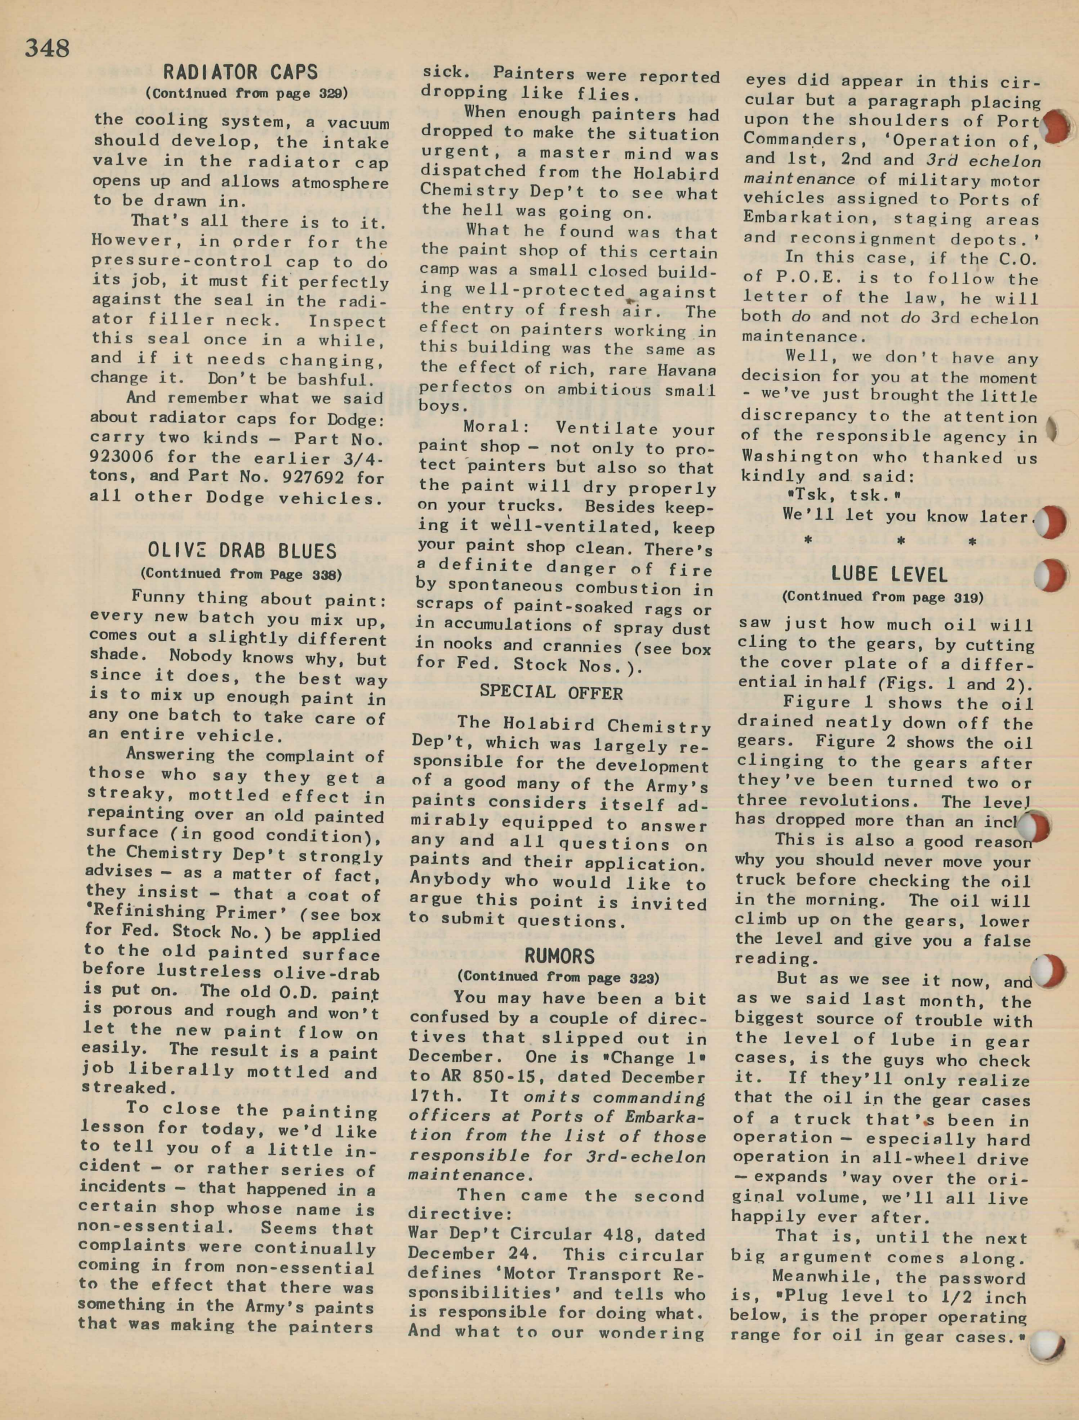
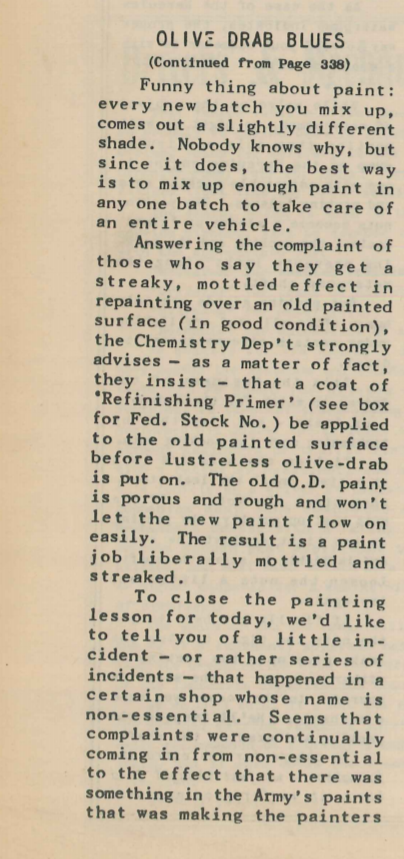
The article’s gist is that it’s hard to get Olive Drab to be consistent from batch to batch, from manufacturer to manufacturer, or even unit to unit in the Army itself. What this means is that there is no correct Olive Drab because no one has any idea what period correct looked like, and it varied even during the war. The most authentic examples I have seen, from behind the VVSS Boggies on several tanks, look much lighter than is currently vague, IE the current Tamiya Olive Drab.
This means, pick the tone of Olive Drab you like, and know the experts are just making educated guesses as well. This is all said without even mentioning how much converting things to digital introduces all kinds of ways for the color to change through the conversions or for your system monitor not to be calibrated.
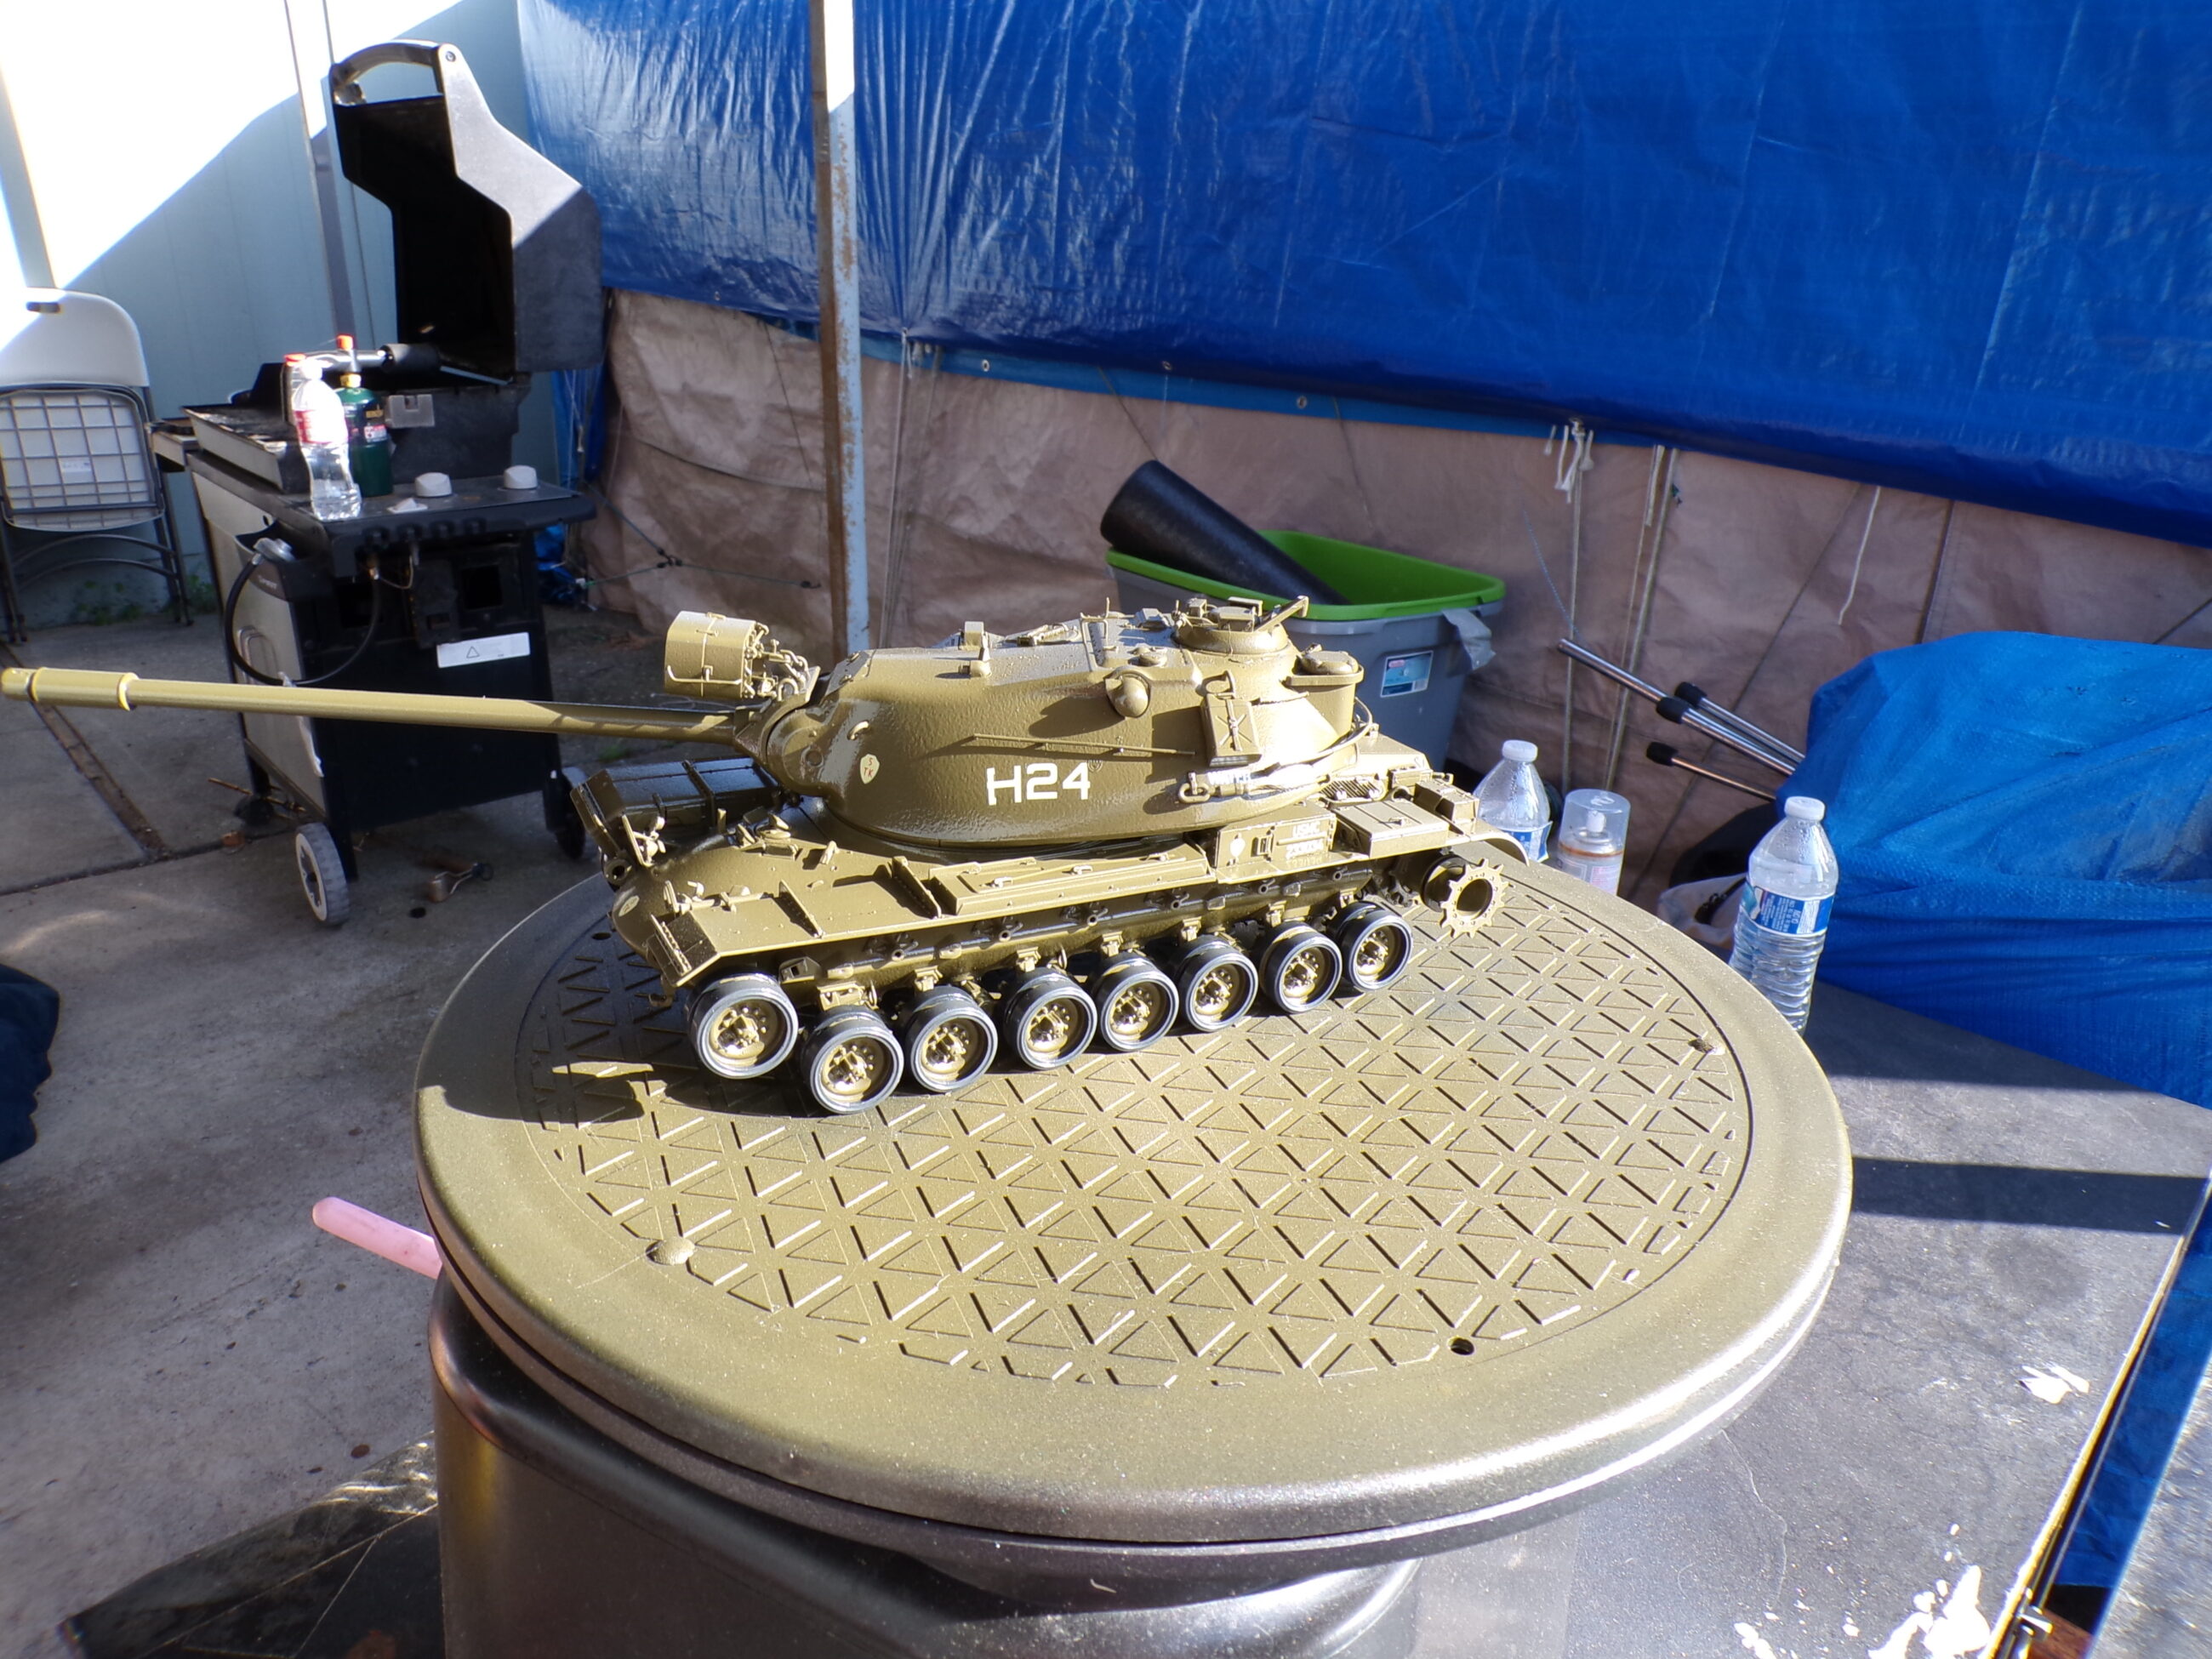
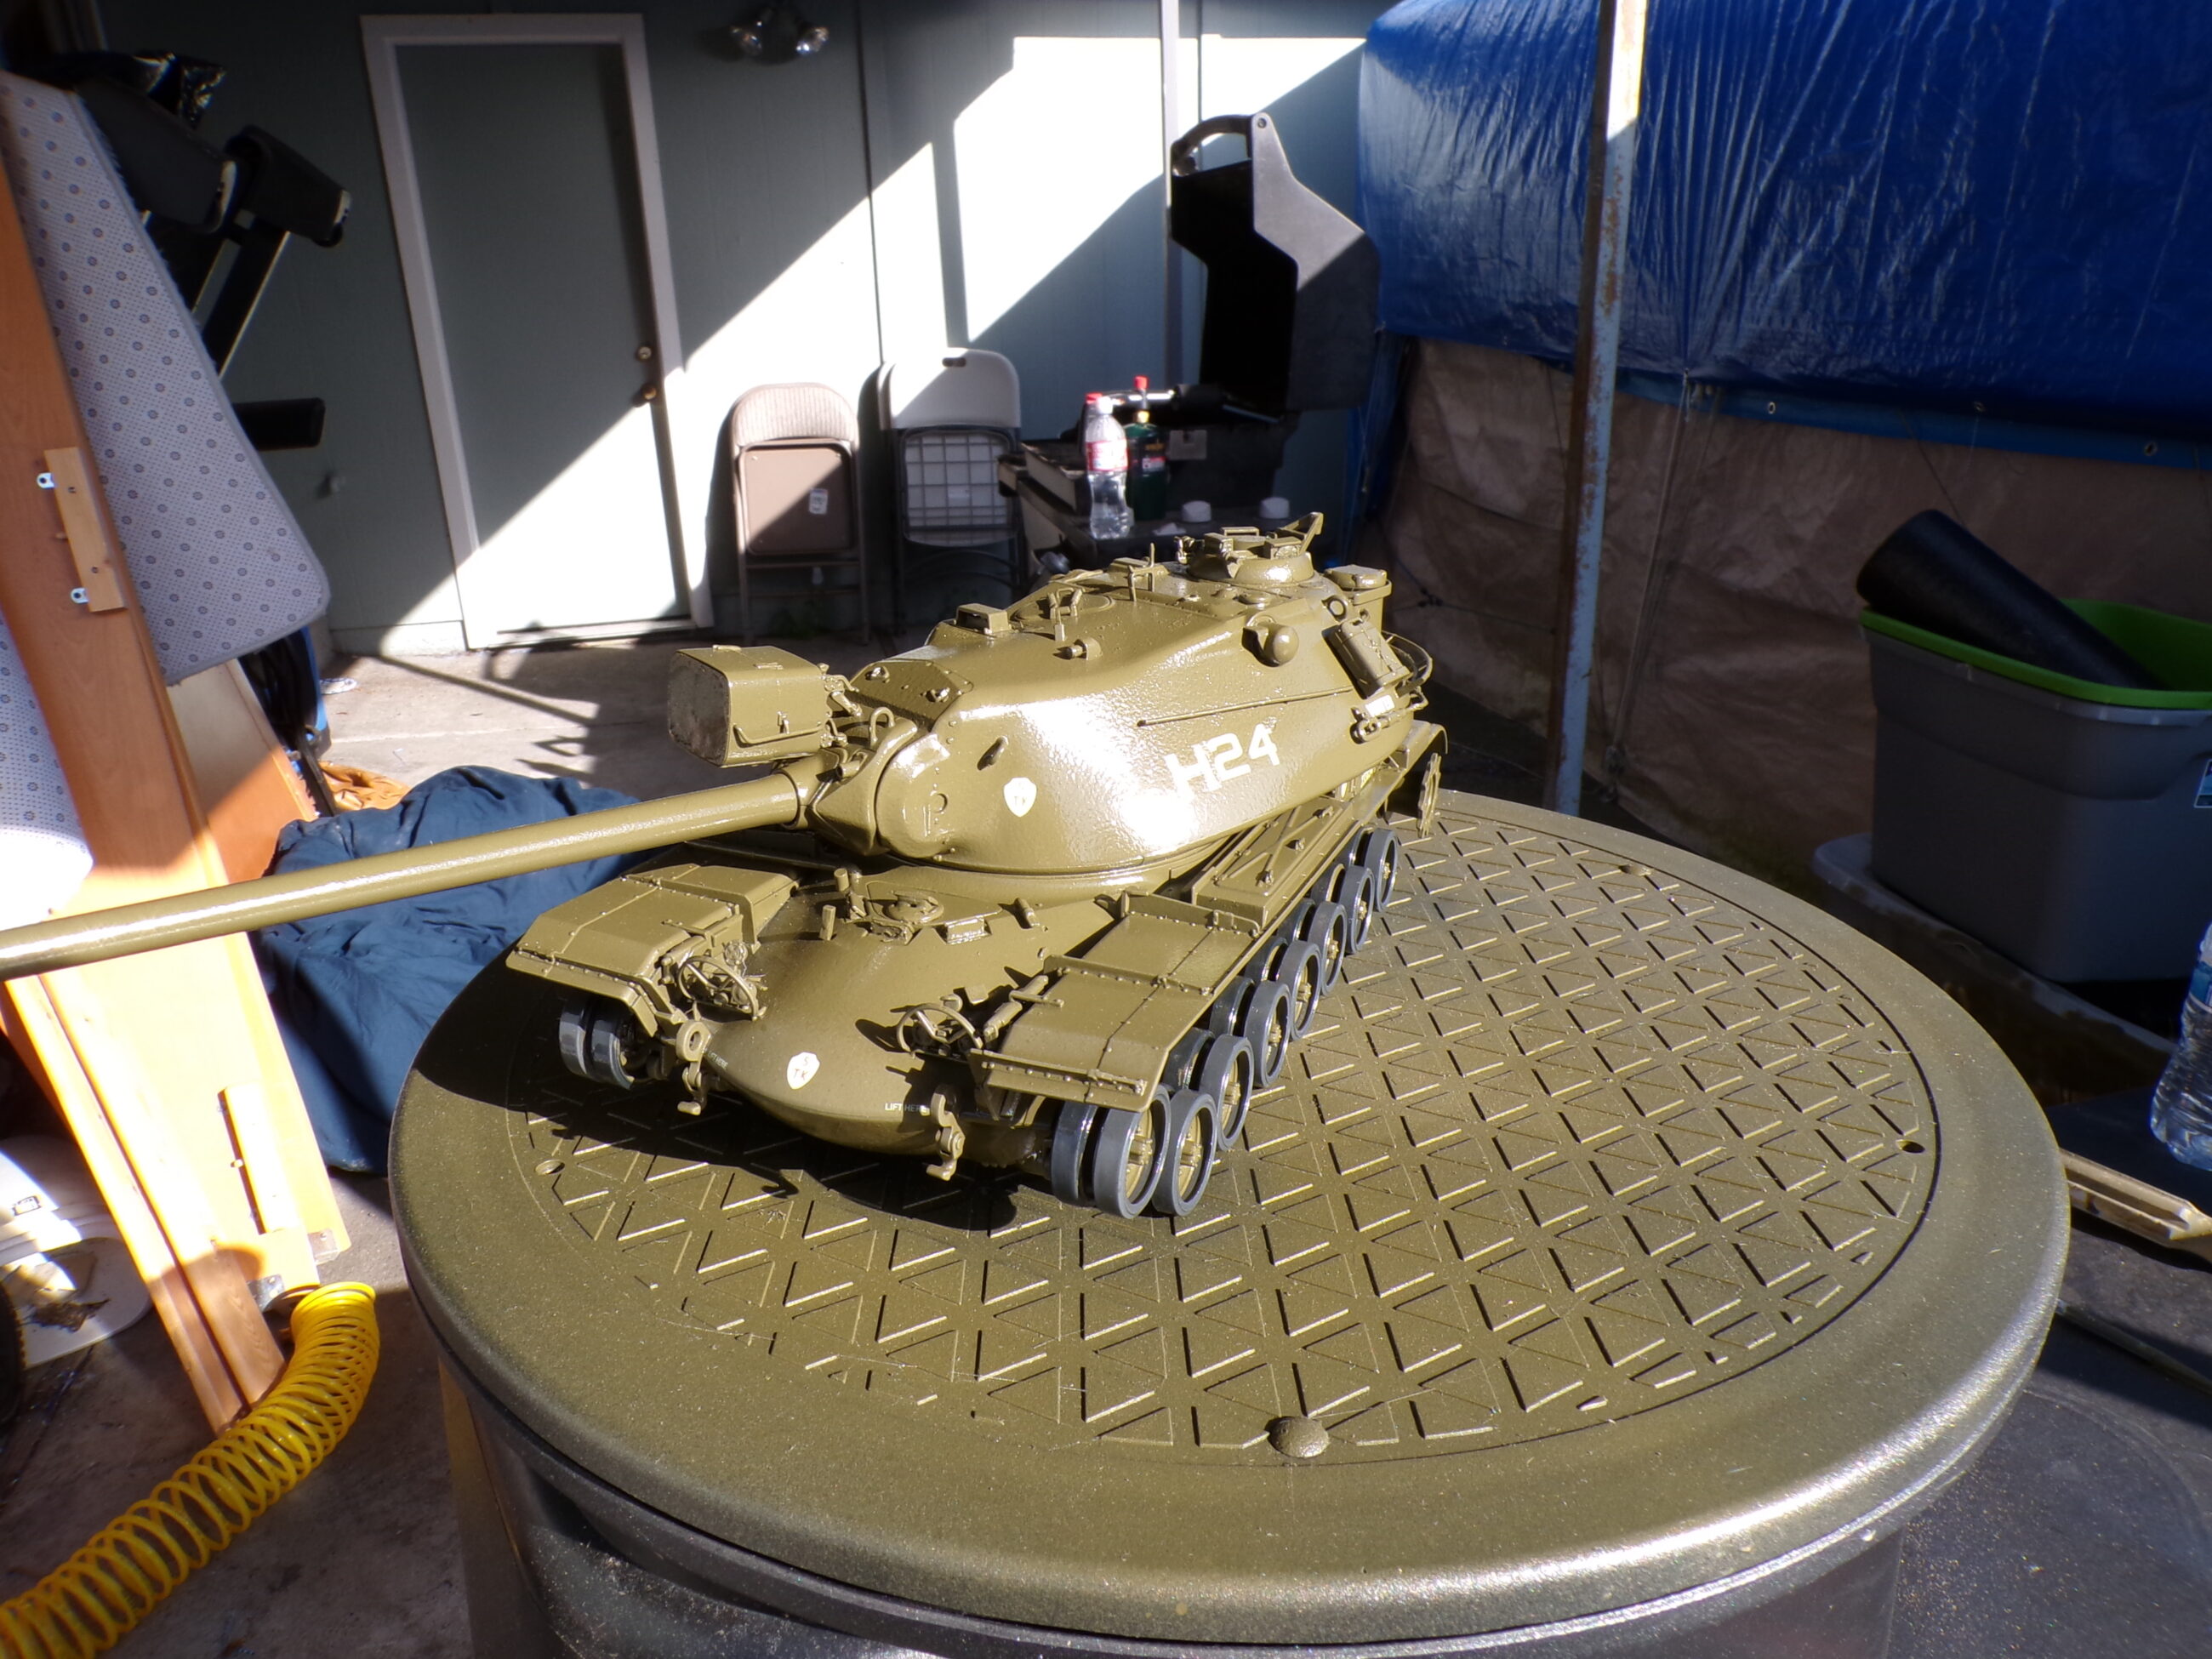


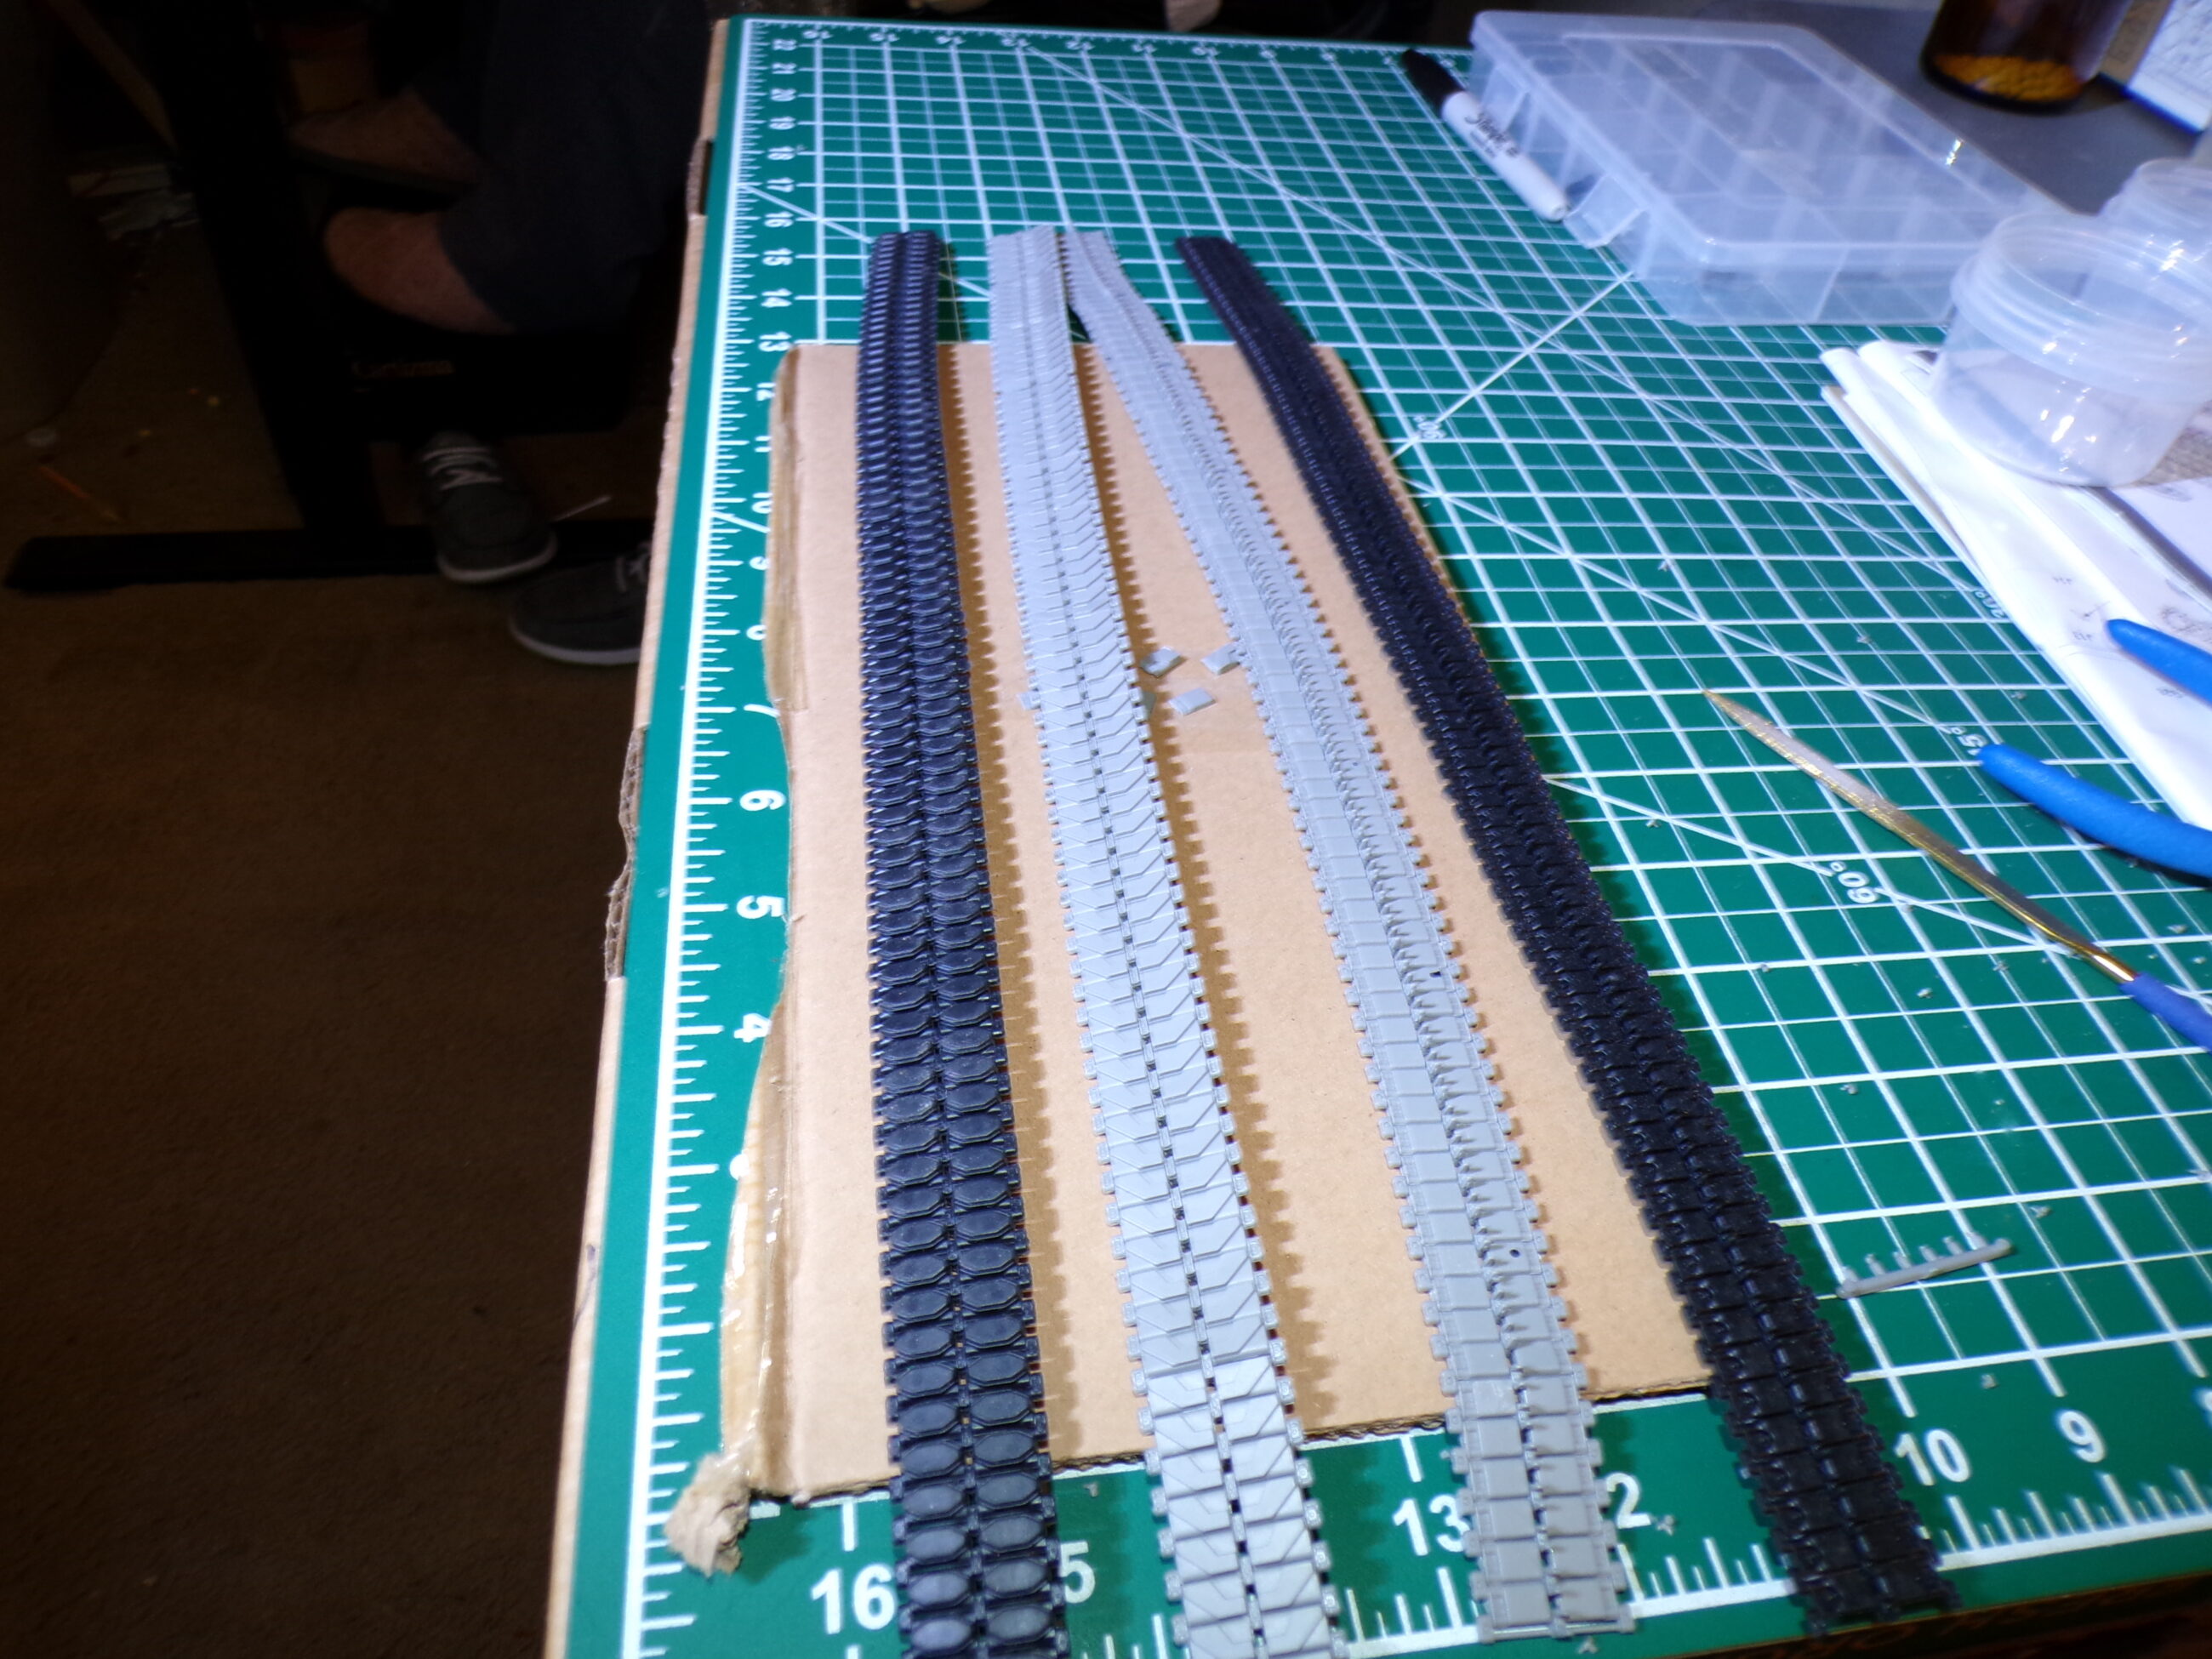

Tracks all done. These were the most frustrating part of the build, but not horrible once you get used to them. Keeping the Center guides on was no fun.


The tracks and shocks went on relatively trouble-free and look really good. I have been weathering the rest of the tank while I worked on the tracks. I primed the tracks in gunmetal, and painted the pads nato black. Then used various AK and MIG washes on them.


